Menu Close

Category: DIY – BOOKS & NOTES (page 1 of 2)

NOTE BOOK MAKEOVER

Note book makeover | designoform.com

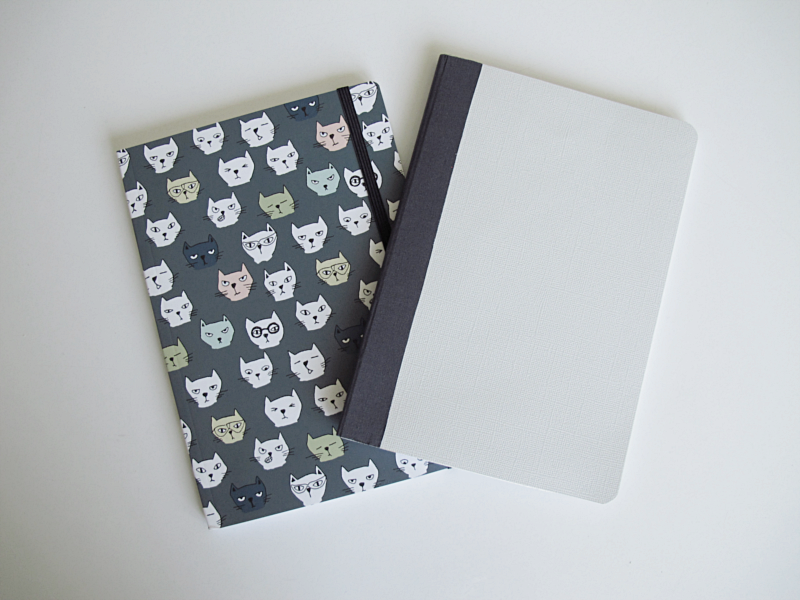
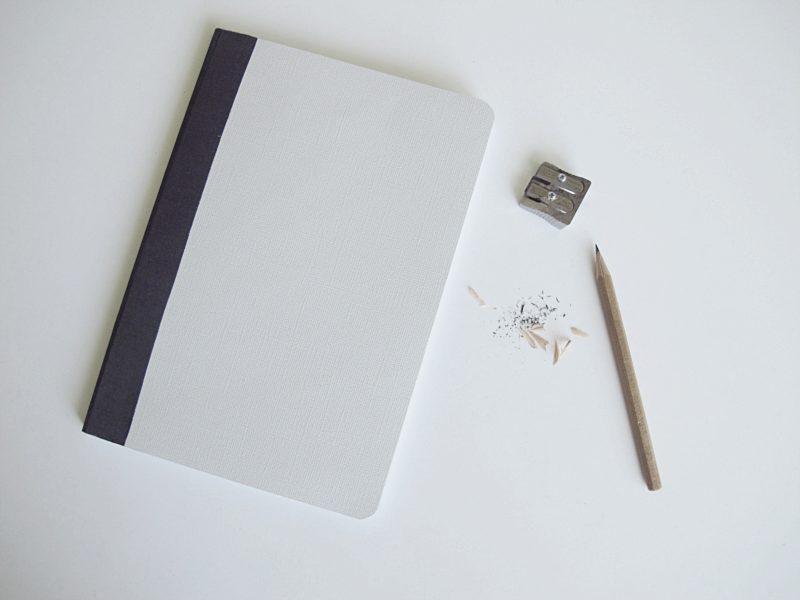
I really, really like to do note book makeovers. So when I find  them on sale I always buy a bunch of them. The good thing about that is it doesn’t matter how they look because I always change them and I get more for the same price ( if that is actually true with the material for the makeover we’re not going to think about now..)  Anyway.. Here you have my latest makeover. If you want to make one too, here’s how I did it.

/// Jag vet inte hur många anteckningsböcker jag gjort om, men jag verkar aldrig ledsna på det. När jag ser dem på rea så köper jag alltid en hel hög, dels för att det inte spelar någon roll hur de ser ut och sen så får jag fler för en billigare peng (om det verkligen blir billigare i slutändan med allt material som jag använder för att göra om dem, bryr vi inte oss om just nu..) Iallafall så är detta min senaste, som jag tänkte visa er om ni vill göra en likadan.

For this you’ll need:

→ A note book
→ A piece of paper
→ Textile tape
→ Glue
→ A pair of scissors

/// Du behöver:

→ En anteckningsbok
→ Ett fint papper
→ Textil tejp
→ Lim
→ Sax

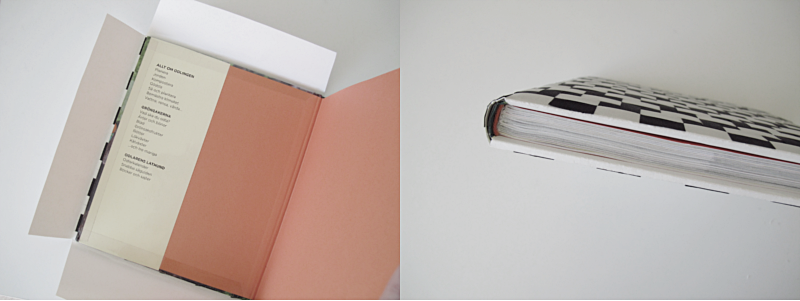
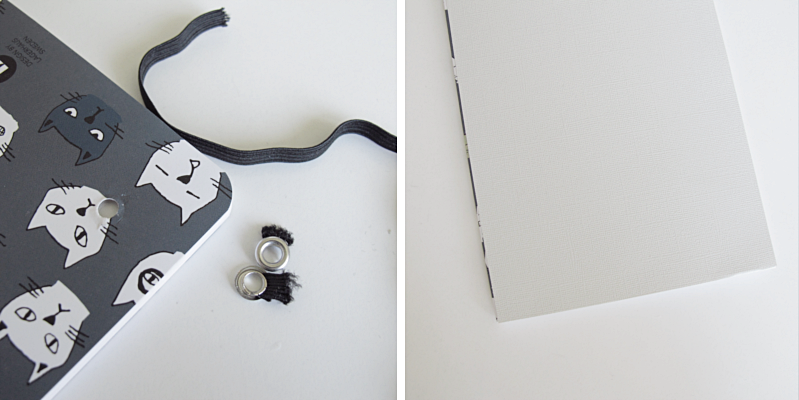
First you remove the band that holds the note book together (if you have one of those). Then you cut out two pieces of the paper, a few millimeters smaller than the width of the note book. And glue them onto the note book.

/// Först tar du bort snöret som håller ihop anteckningsboken (om du har ett sådant). Sedan klipper du två bitar ur papperet, några millimeter smalare än boken, som du sedan limmar fast.
Note book makeover | designoform.com

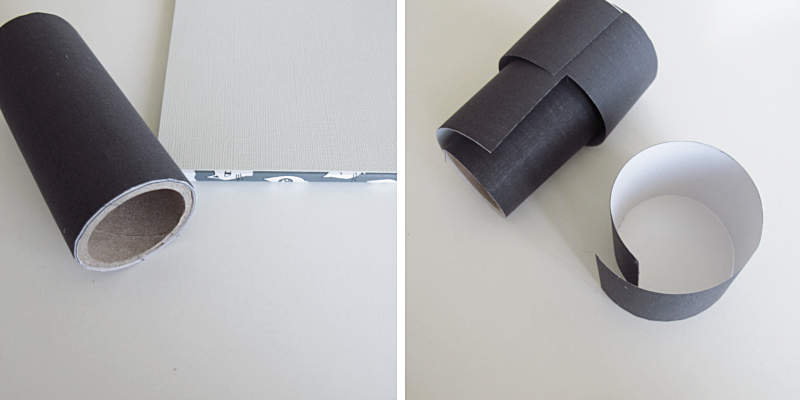
Now its time for the textile tape. Mine was pretty wide so I decided to cut it in half. You also want to cut it a few millimeters longer than the books back.

/// Nu är det dags för textil tejpen. Min var lite bred så jag valde att klippa itu den på mitten. Tänk också på att klippa den några millimeter längre än längden på bokens rygg.
Note book makeover | designoform.com

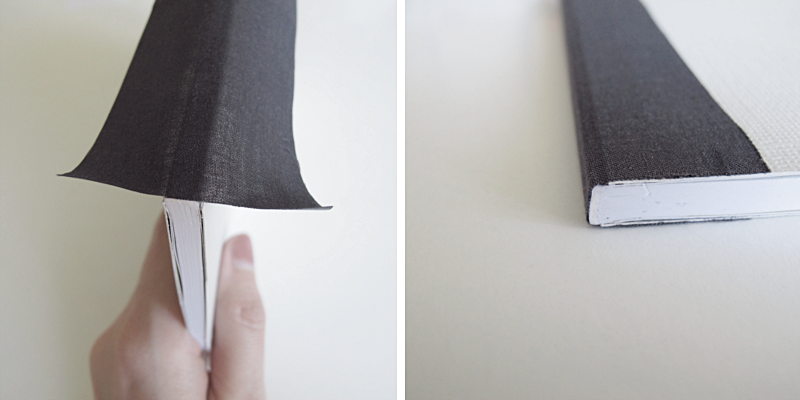
Place the textile tape on the back of the note book and then attach it to the sides. It’s not that visible on the pictures but place the textile tape so that it’s sticking out a couple of mm so that you instead of trying to stretch the tape, cut the excess off.

/// Lägg textil tejpen på bokens rygg och vik sedan ner den mot sidorna. Det syns inte så bra på bilden men sätt tejpen några millimeter utanför kanten så att du får klippa bort det som sticker ut, istället för att försöka sträcka så att det räcker till.
Note book makeover | designoform.com

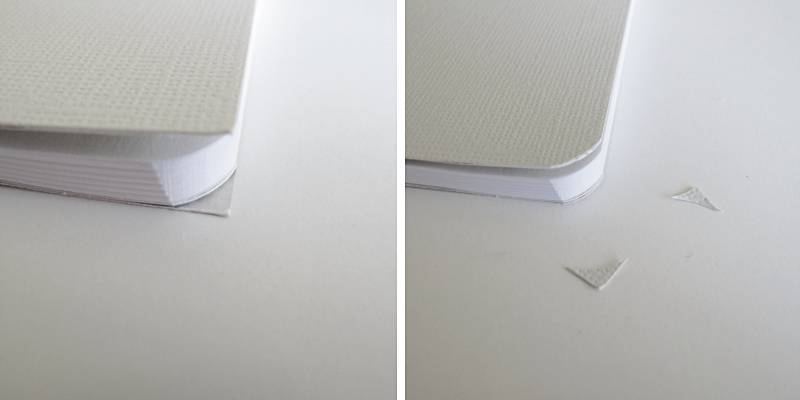
Cut away the excess paper (if you have rounded corners like I do). And you are done!

/// Klipp bort papperet som sticker ut i hörnen (Om du har rundade hörn som jag har). Och du är klar!
Note book makeover | designoform.com

Note book makeover | designoform.com


like

This marble book makeover
This table makeover
This leather notebook makeover

DIY – SEWN NOTEBOOK

notebook
notebook

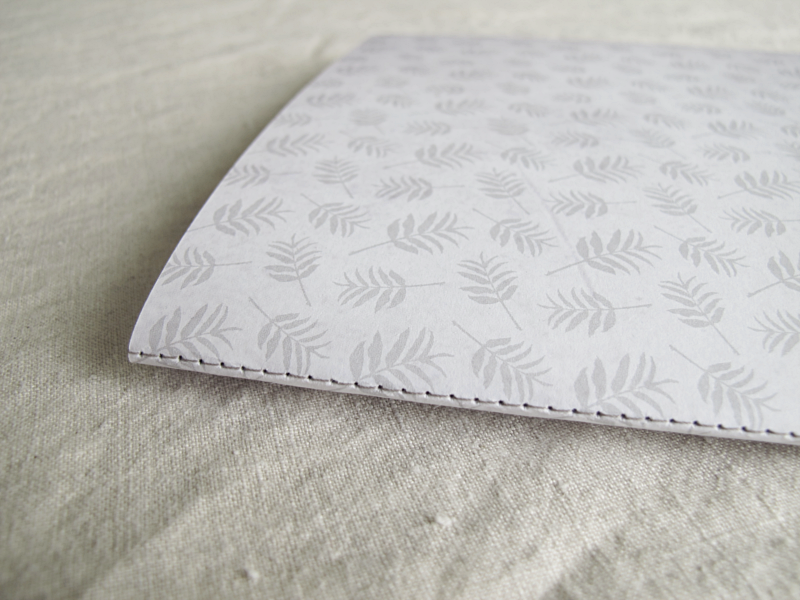
I guess it’s no surprise to you that I like note books. I’ve done one in marble, leather, a braided one and one with thread (and a couple more). Todays diy is one with a sewn back.

For this you need:

→ 15 A4 copying papers
→ Thread. You can choose to use a matching thread or a contrast color
→ A sewing machine
→ One paper 30 x 30cm to use as a cover. I used a scrapbook paper
→ Paper knife

/// Jag antar att det inte kommer som någon överraskning för er att jag gillar anteckningsböcker. Jag har gjort en i marmor, en i läder, en flätad och en med tråd (plus några fler varianter). Dagens anteckningsbok är en med sydd rygg.

Till detta behöver du:

→ 15 st kopieringspapper, A4
→ Sytråd. Du kan välja om du vill ha en som är samma färg som omslaget eller ett i annan färg som en kontrast.
→ Symaskin
→ Ett papper som är 30×30 som ska fungera som omslag. Jag använde ett för scrapbooking.
→ Papperskniv

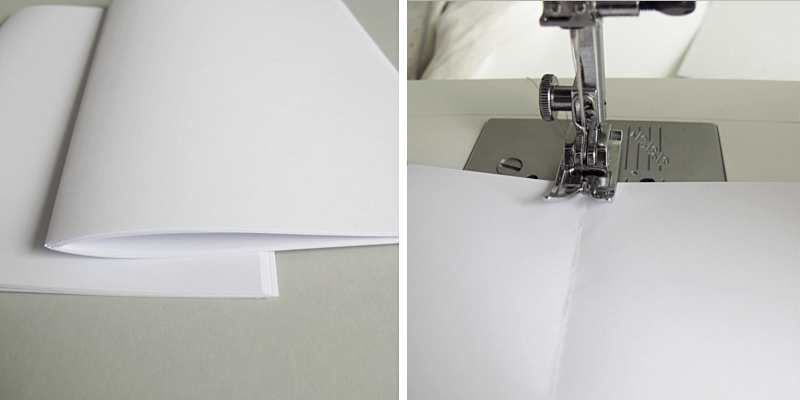
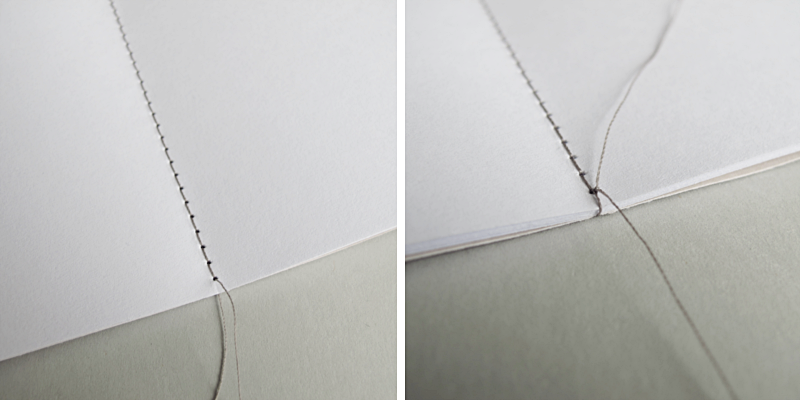
Start by folding all the papers in half including the cover paper. When that is done place all the papers on top of the cover paper and sew a seam along the folded line. Make sure you have long pieces of the thread sticking out on both ends of the note book. This makes it easier to tie them together. I choose to tie them on the inside of the note book, as close to the hole as I could.

/// Börja med att vika alla papper på mitten, inklusive omslagspapperet. När det är klart så lägger du alla papper uppe på omslagspapperet och syr en sömn längst efter den vikta linjen. Tänk på att ha en ganska lång bit tråd kvar på båda sidorna av anteckningsboken, då det blir lättare att knyta ihop dem sedan. Jag valde att knyta på insidan av anteckningsboken så nära hålet jag kunde.

notebook

notebook

After that, you fold the note book and carefully cut the excess paper off (when you place the papers on top of each other and then fold the note book, a bit of shifting occurs.)

And then you are done!

/// Vik sedan anteckningsboken och skär försiktigt bort det överflödiga papperet som sticker ut. (När man lägger alla papper i varandra och sedan viker boken så förskjuts bladen lite).

Och så var det klart!

notebook

DIY – BRAIDED BOOK COVER

cover

cover

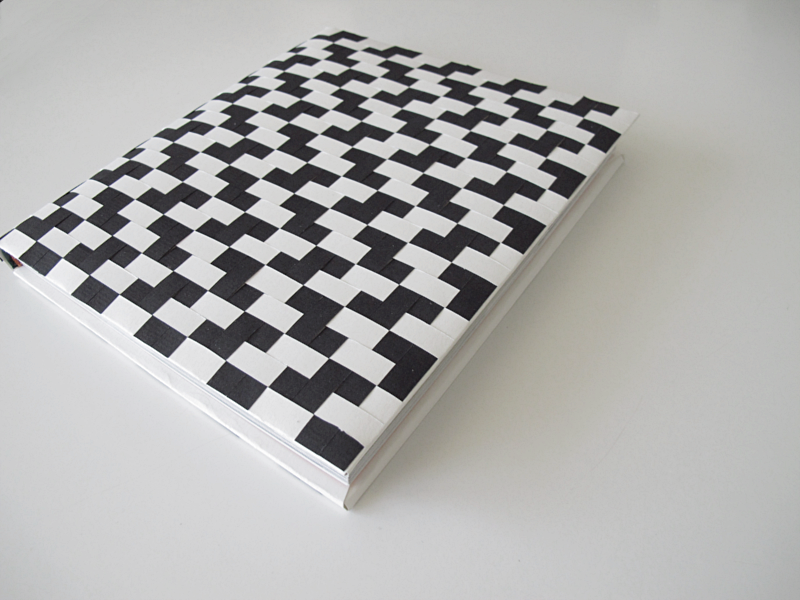
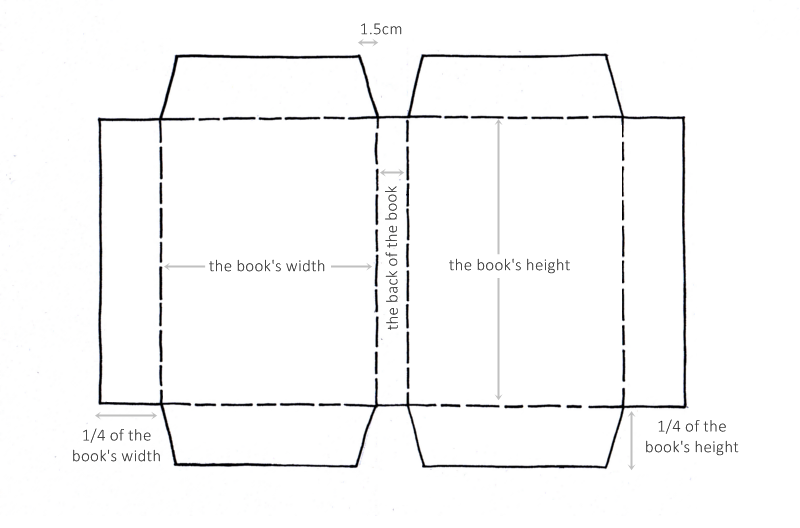
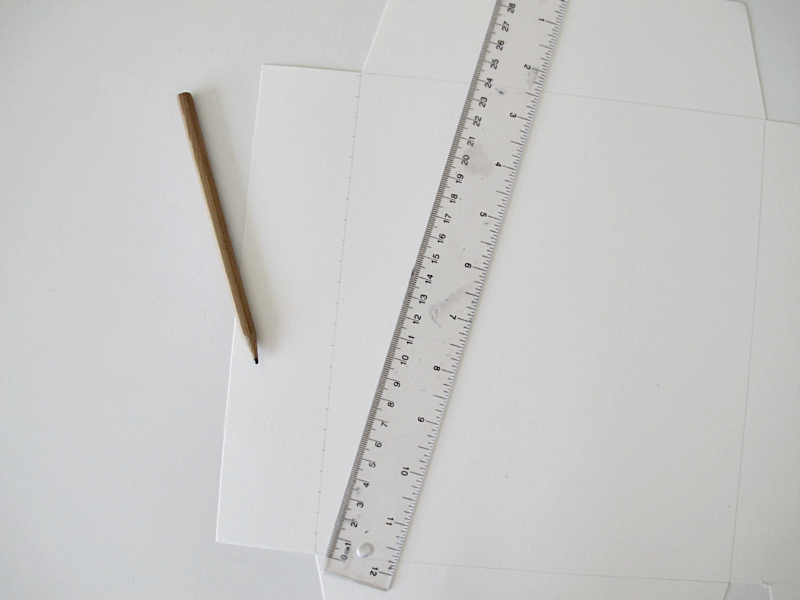
Today I’m going to show you how to make a braided book cover out of paper. Start by drawing your book on a large piece of paper, as the drawing shows. Be sure to check both one and two times that your book fits the drawing. Then, cut along the exterior lines. After that you make marks on the side of the figure with 1cm between. Do this on both sides.

/// Idag tänkte jag visa hur man gör ett flätat bokomslag i papper. Börja med att rita av din bok på ett stort papper, som ritningen visar. Var noga och kontrollera både en och två gånger att din bok passar i omslaget. Sedan klipper du längst med de yttre linjerna. Gör sedan markeringar efter sidan på figuren med 1cm emellan. Gör detta på båda sidorna.

omslag

cover

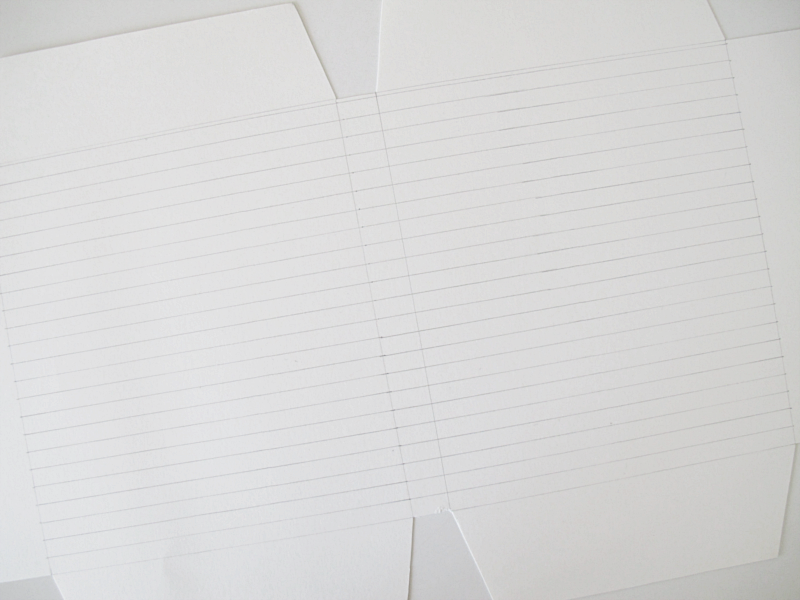
Draw lines between the marks.

/// Sedan drar du streck mellan markeringarna.

cover

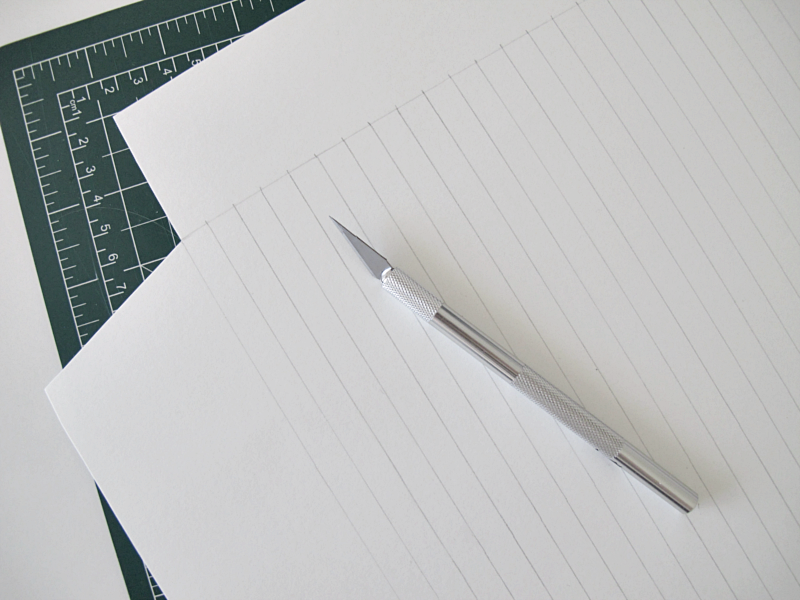
Cut along the lines. But be careful so that the paper knife doesn’t slip. And do not cut on the lines that are far out on each side. There we will fold later.

/// Skär längst med strecken. Men var försiktig så att inte kniven slinter. Och skär inte  på de strecken som är längst ut på varje sida. Där ska vi vika senare

cover

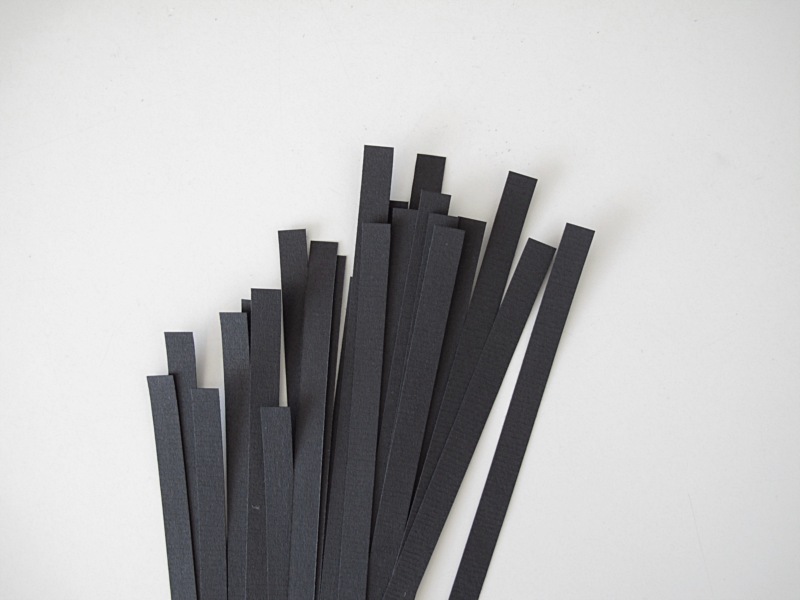
Then cut out some strips in a different paper. They too should be 1cm wide. How long depends on your book’s height.

/// Sedan klipper du ut remsor i ett annat papper. Även de ska vara 1cm breda. Hur långa beror på hur hög din bok är.

cover

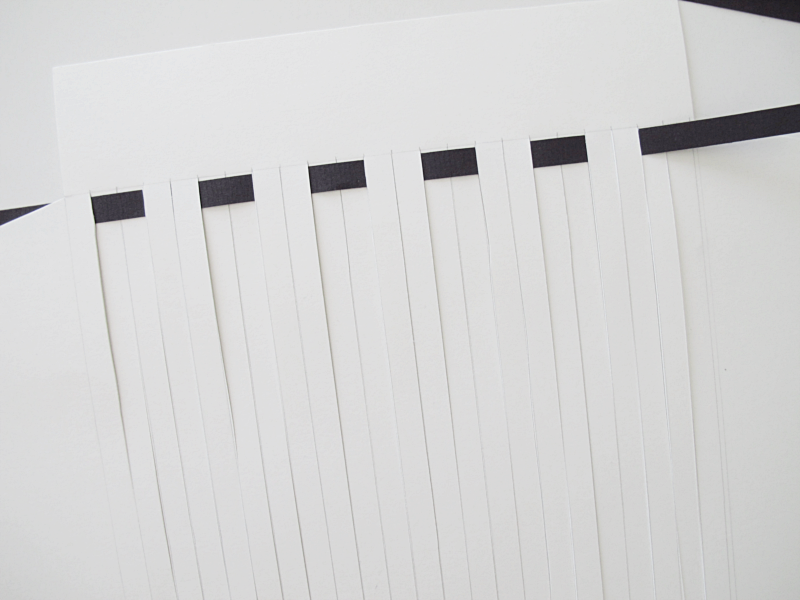
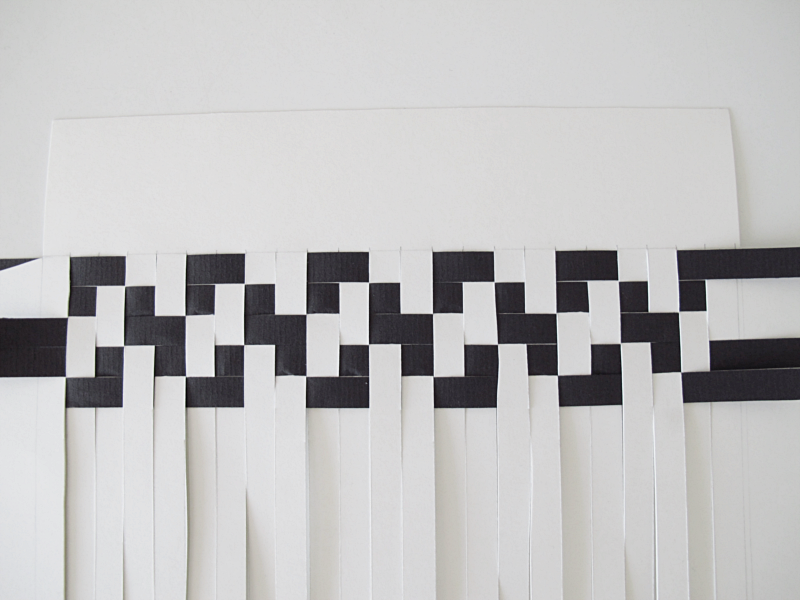
Now is time to start braiding. And now you have to keep track of where you are. I personally find it’s easiest to remember where I am by following the right side of the cover and image. It is also on that side I start. Skip the first two vertical strips and then under the next two. Over two, under two ..

/// Nu är det dags att börja fläta. Och nu gäller det att hålla reda på vart man är. Jag tycker själv att det är enklast att gå efter höger sida på bilden. Det är också på den sidan jag börjar på. Hoppa över de två första lodräta remsorna och sedan under de nästa två. Över två, under två..

cover

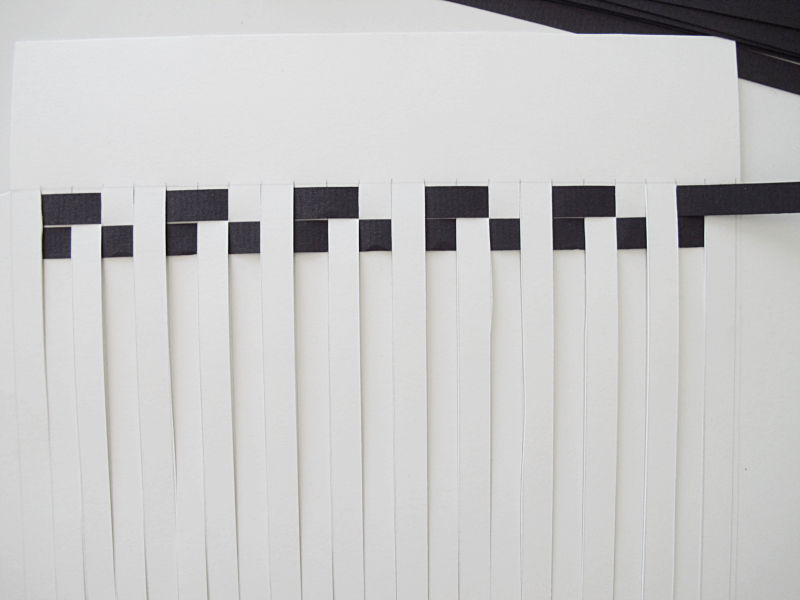
Next row, start with the black strip under the cover, and slide it through the first score. Then thread it over one, under one, over one, under one ..

/// Nästa varv börjar du med den svarta remsan på undersidan, och kommer upp med den i första skåran. Sedan trär du över en, under en, över en, under en..

cover

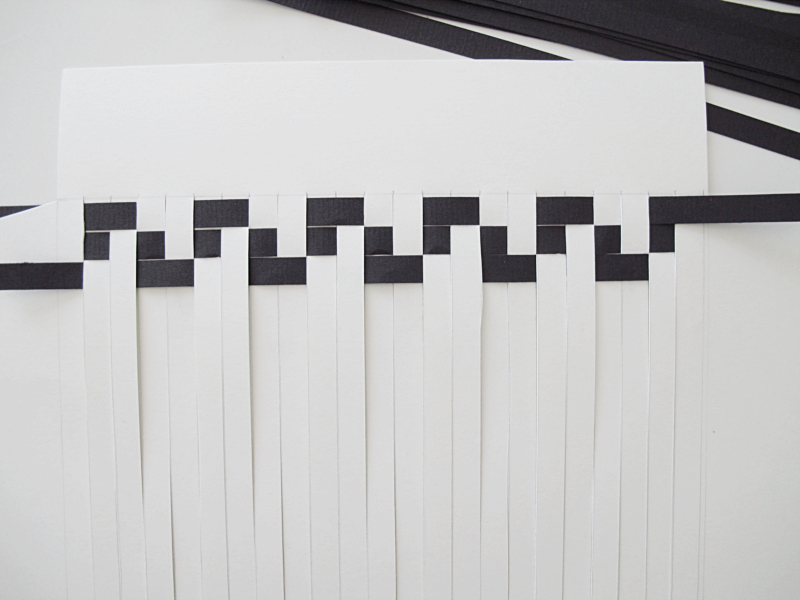
Third time around the black strip should start under the cover and come up in the second score. Then slide over two, under two , over two..

/// Tredje vändan börjar den svarta på undersidan och kommer upp i andra skåran. Sedan trär du två över, två under, två över, två under..

cover

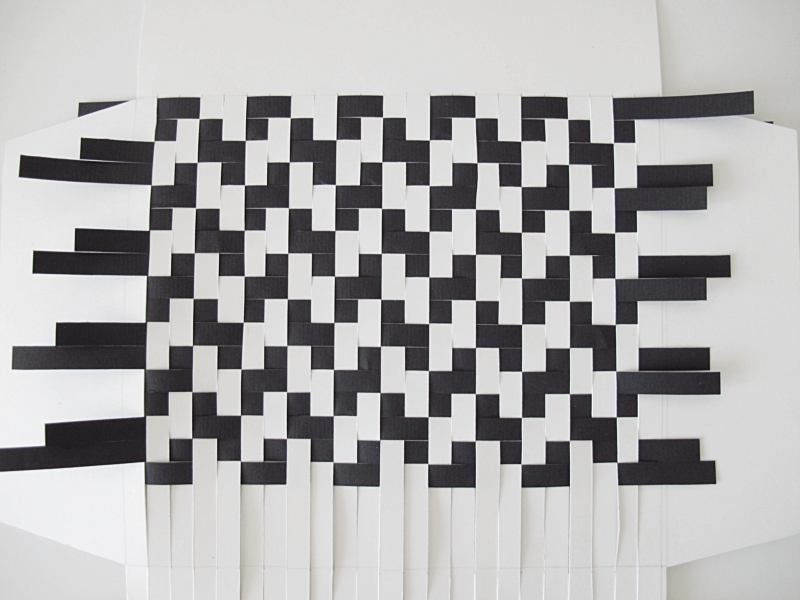
Fourth time around (the picture shows the fifth time) you slide the strip down through the first score then under one, over one, under one..

Fifth time around, start from the beginning again. That is jump over two, under two, over two..

/// Fjärde vändan (bilden visar femte vändan) trär du den svarta remsan ner i första skåran och under en, över en, under en..

Femte vändan börjar du om från början igen. Alltså hoppa över två, under två, över två..

cover

Continue until you have reached the end of the cover. The last black strip can be a bit tricky to get there, and you almost always have to cut it a little narrower. But it all depends on the size of the book you make the cover for.

/// Så fortsätter du tills du har kommit till slutet. Sista svarta remsan kan vara trixig att få dit, och man måste nästan alltid skära den lite smalare. Men det beror helt på storleken på boken du gör omslaget till.

cover

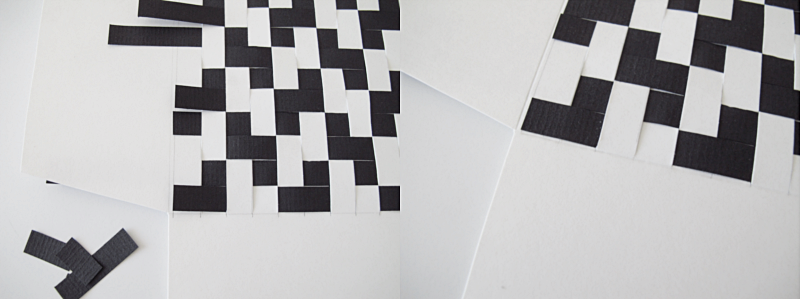
Now, you can cut off the black strips on the inside of the cover. Then glue them. And fold the sides of the cover towards the middle.

/// Nu ska du klippa av de svarta remsorna på insidan av omslaget. Limma sedan fast dem. Och vik in sidorna mot mitten.

cover

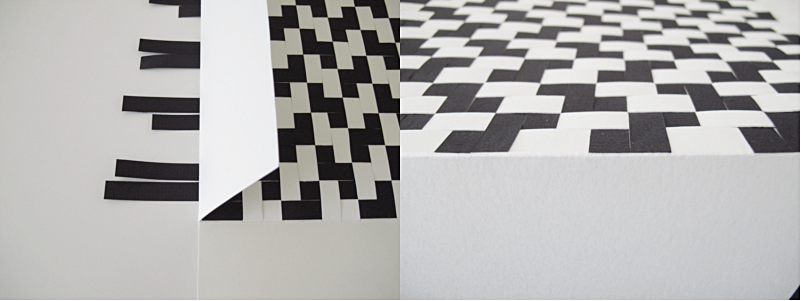
When we are cutting off the black stripes on the outside of the cover,  I think it’s easiest if you put the cover upside down, like the picture shows, and then cut them along the edge of the cover with a paper knife. By doing so you get a more even edge on them than if you just cut them off. Then glue them.

/// När de svarta remsorna på utsidan ska klippas av så tycker jag det är enklast om man lägger omslaget som bilden visar, håller fast de svarta remsorna och skär av dem längst med omslagets kant. På detta sätt får man ett jämnare avslut på dem än om man bara klipper. Limma sedan fast remsorna.

cover

Put the book in the cover and you’re done!

/// Stoppa in boken i omslaget och du är klar!

cover

NOTEBOOK

book

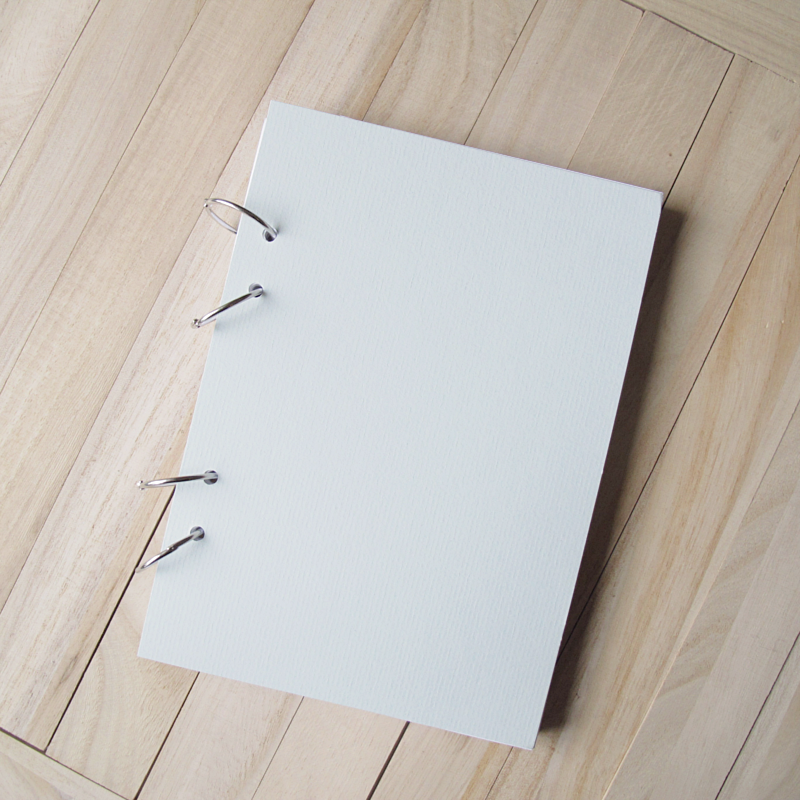
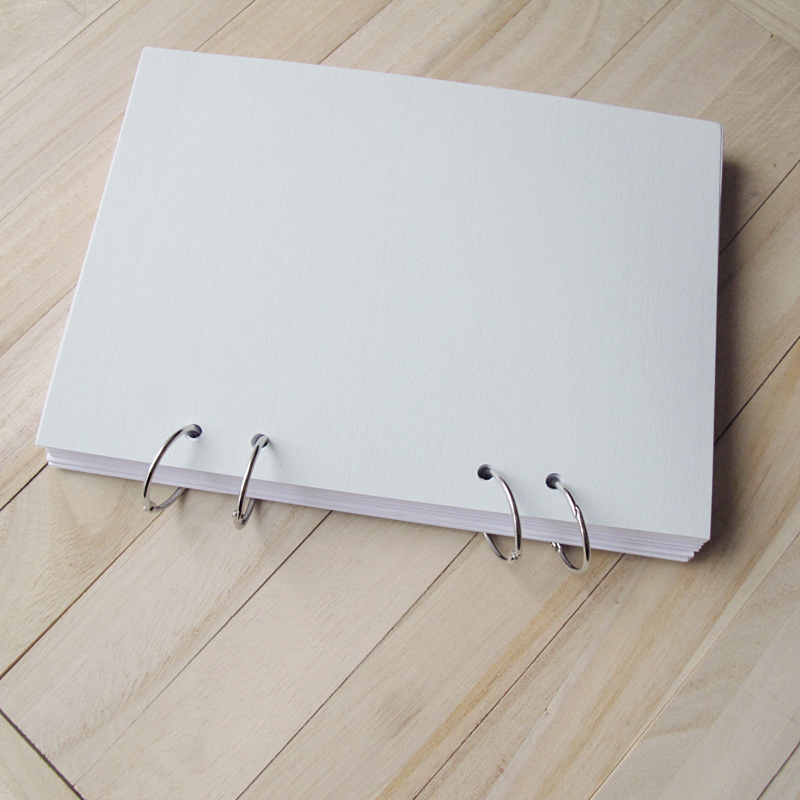
You might know by now that I like making notebooks. And here´s one I made yesterday. I took a bunch of a5 papers and made holes with a regular hole puncher. Then I took two thicker a5 papers and made holes in those too. To hold all the papers together I used four ring clamps.

/// Ni vet nog vid det här laget att jag gillar att göra anteckningsböcker. Och här är en som jag gjorde igår. Tog en bunt med a5 papper som jag gjorde hål i med hjälp av en vanlig hålslagare. Sedan gjorde jag även hål i två tjockare a5 papper som jag använde som omslag på boken. För att sätta ihop alla papper använde jag fyra stycken ringklämmor.

book

DIY MARBLE NOTEBOOK

boken

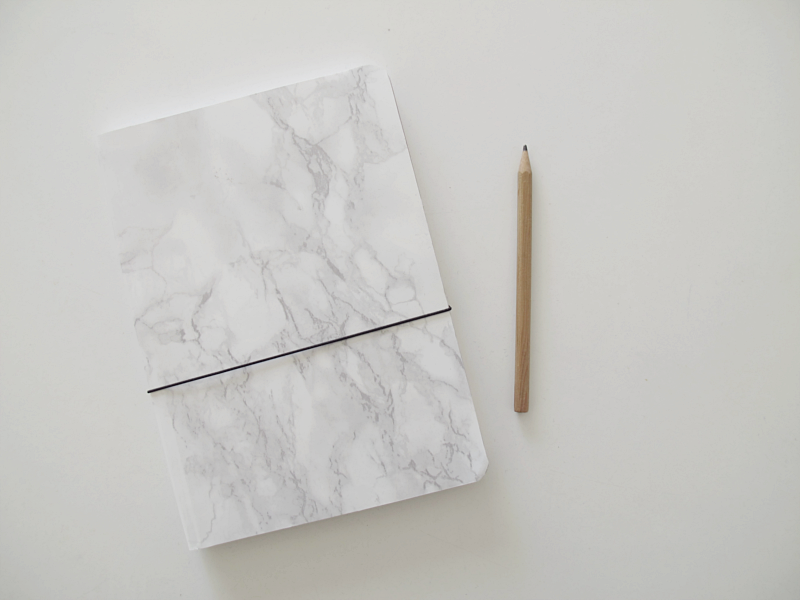
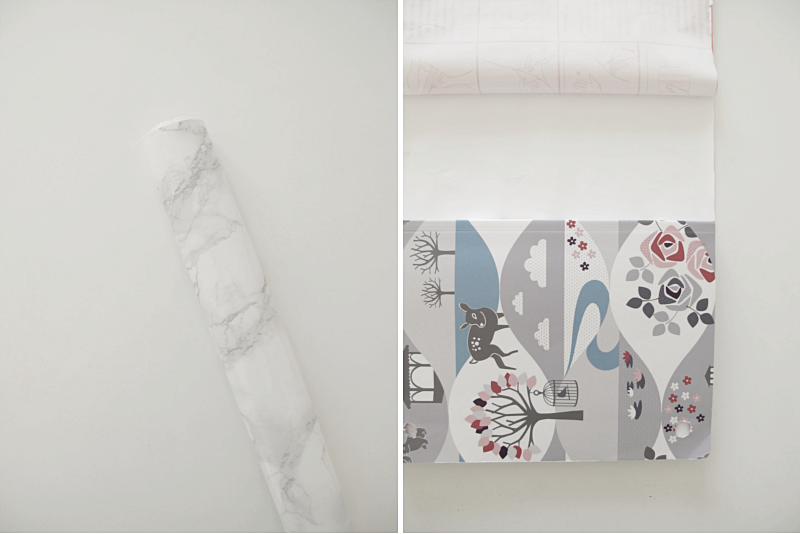
I did a marble looking notebook today, and here’s how to do it. For this you need an old notebook and some adhesive plastic. Start by cutting of the already existing band, (if there is one) and then place your book on top of the plastic.

/// I dag har jag gjort en marmor anteckningsbok. Och så här gör du om du vill ha en likadan. Till detta behöver du en gammal anteckningsbok och kontaktplast. Börja med att klippa bort bandet på boken (om det finns ett). Lägg sedan din bok på plasten.

boken

Turn it over so you get plastic on the back of the book, and turn it over once again for the other side. If you are having problem with bubbles between the book and the plastic you can use a ruler and “scrape” the plastic as you go. Then use a paperknife and cut the excess plastic off.

/// Vänd boken så att även ryggen och andra sidan blir plastad. Får du problem med bubblor mellan plasten och boken så kan du använda en linjal och “skrapa” plasten allteftersom du plastar. Sedan använder du en papperskniv till att skära bort överflödig plast.

boken

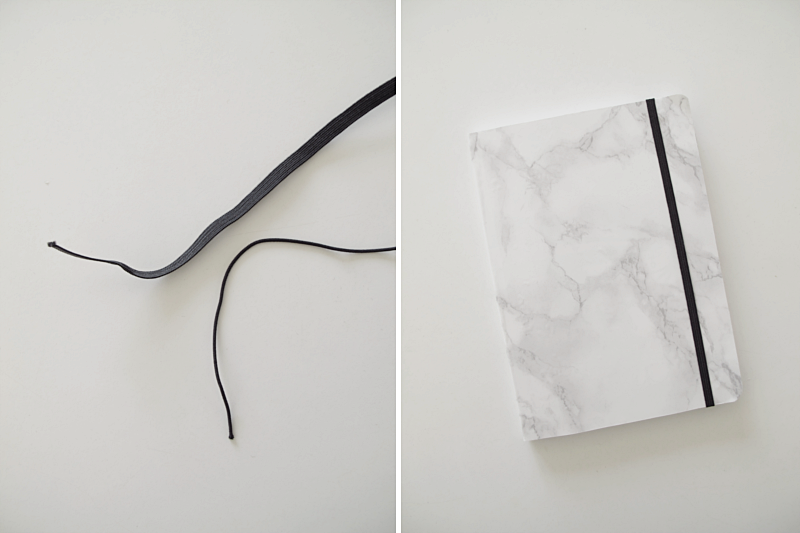
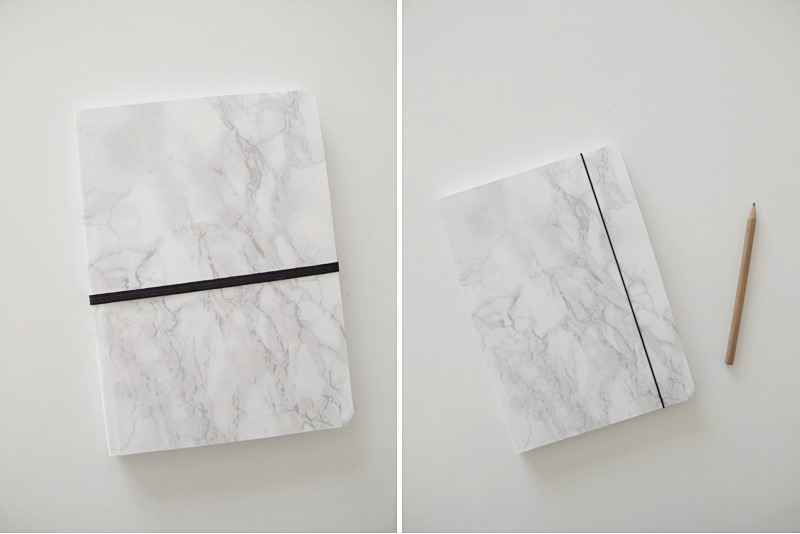
For the new band you can choose a thicker or smaller one. And choose which side you want it on. Here’s a thicker band vertically..

/// Som nytt band kan du välja att använda ett tjockare eller smalare resårband. Du ska även bestämma vilken sida du vill ha det på. Här är ett tjockare lodrätt..

boken

..and horizontal. And a smaller one vertically.

/// …och vågrätt. Och ett smalare lodrätt.

boken

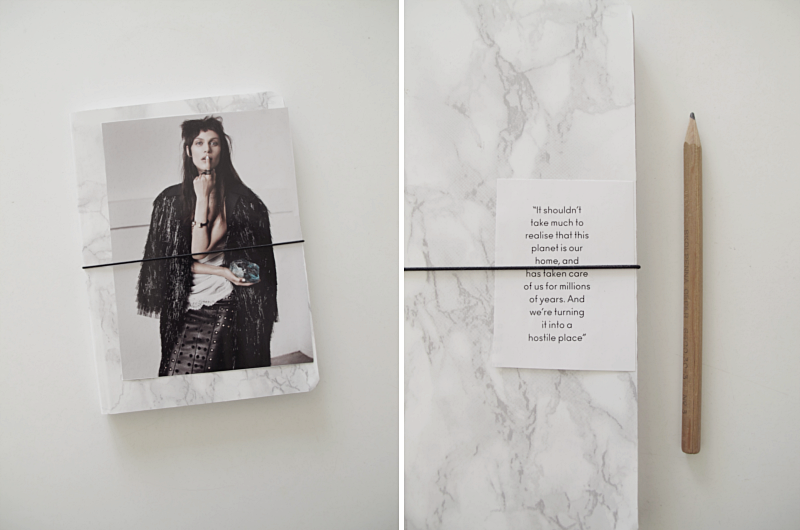
When you have decided which kind of band you want, just sew, heat, or tie it together. And you are done!

/// När du bestämt vilket band du vill använda kan du sy, värma eller knyta ihop det. Och du är klar!

boken


I bought the adhesive plastic here.

/// Kontaktplasten har jag köpt här.