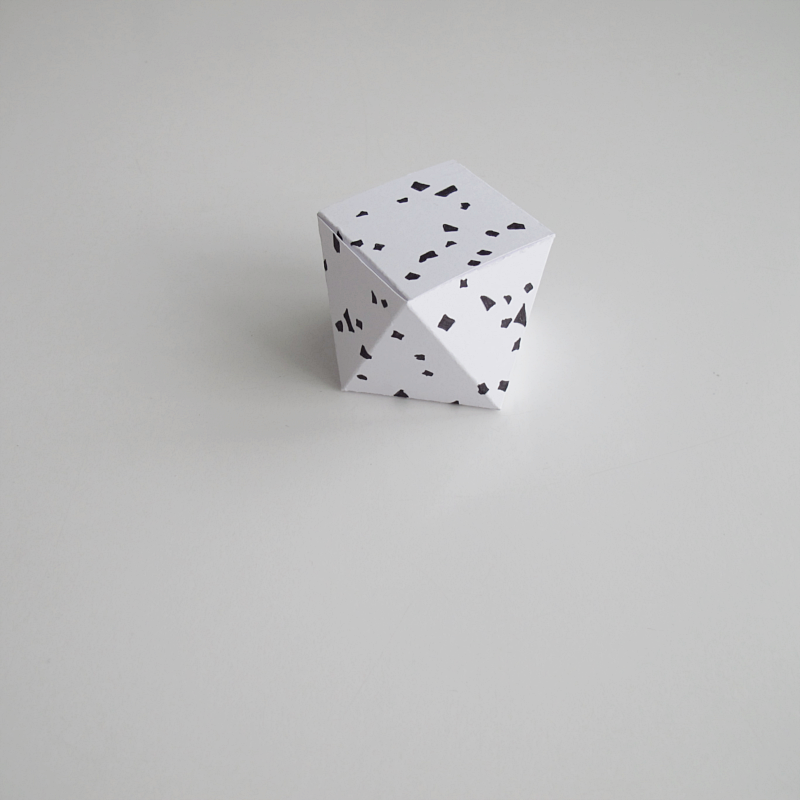
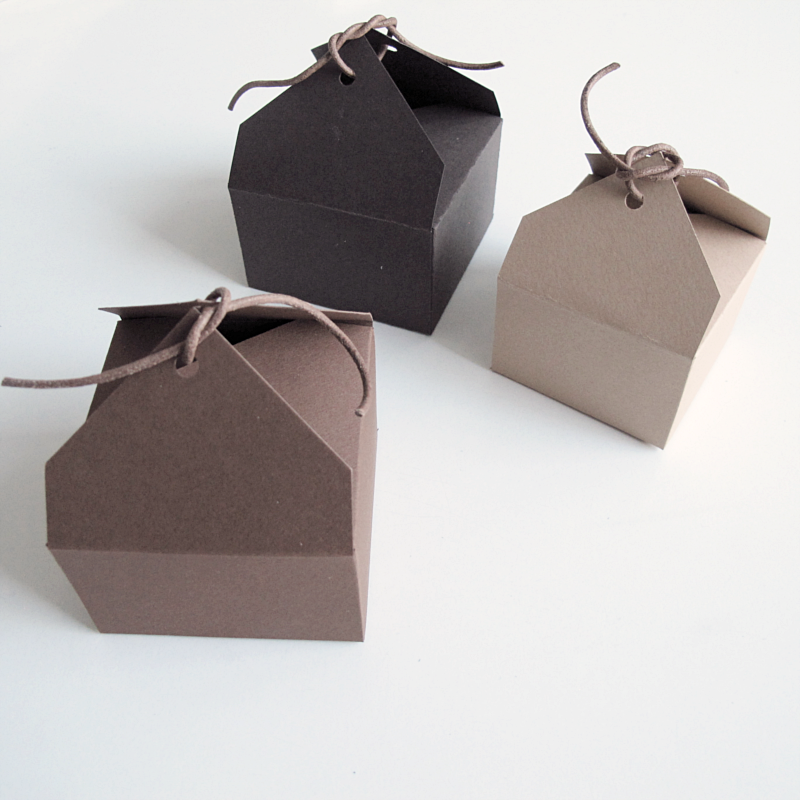
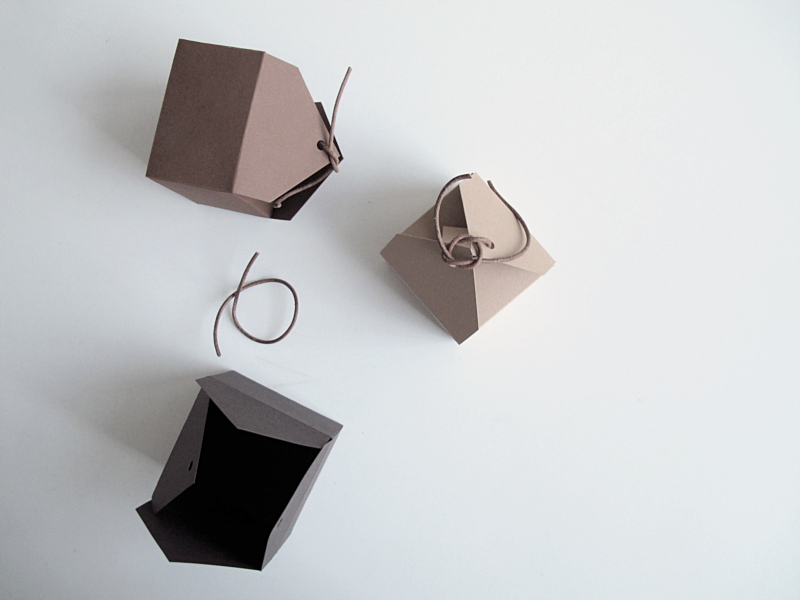
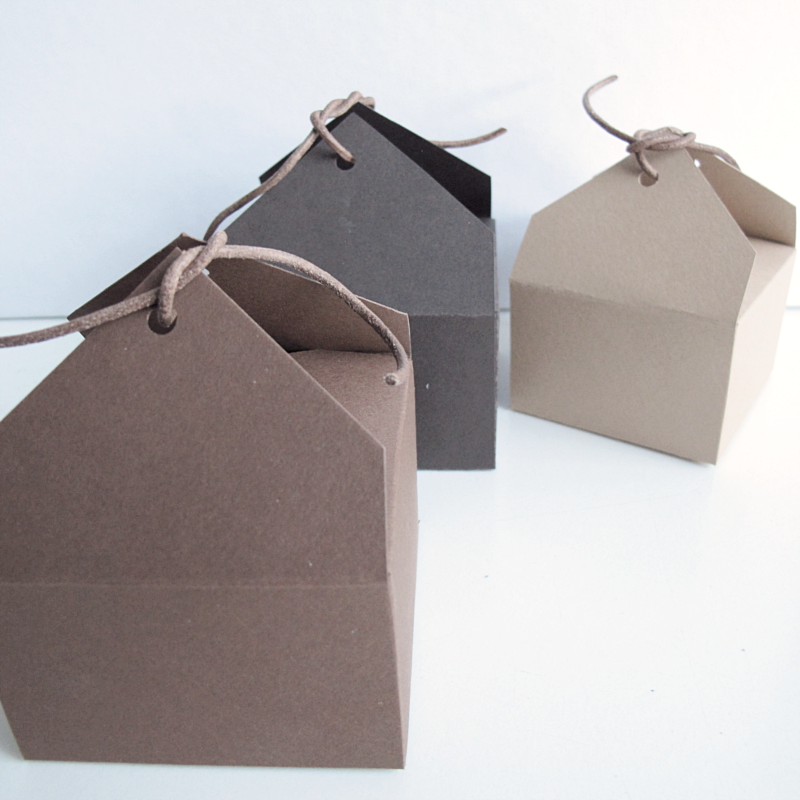
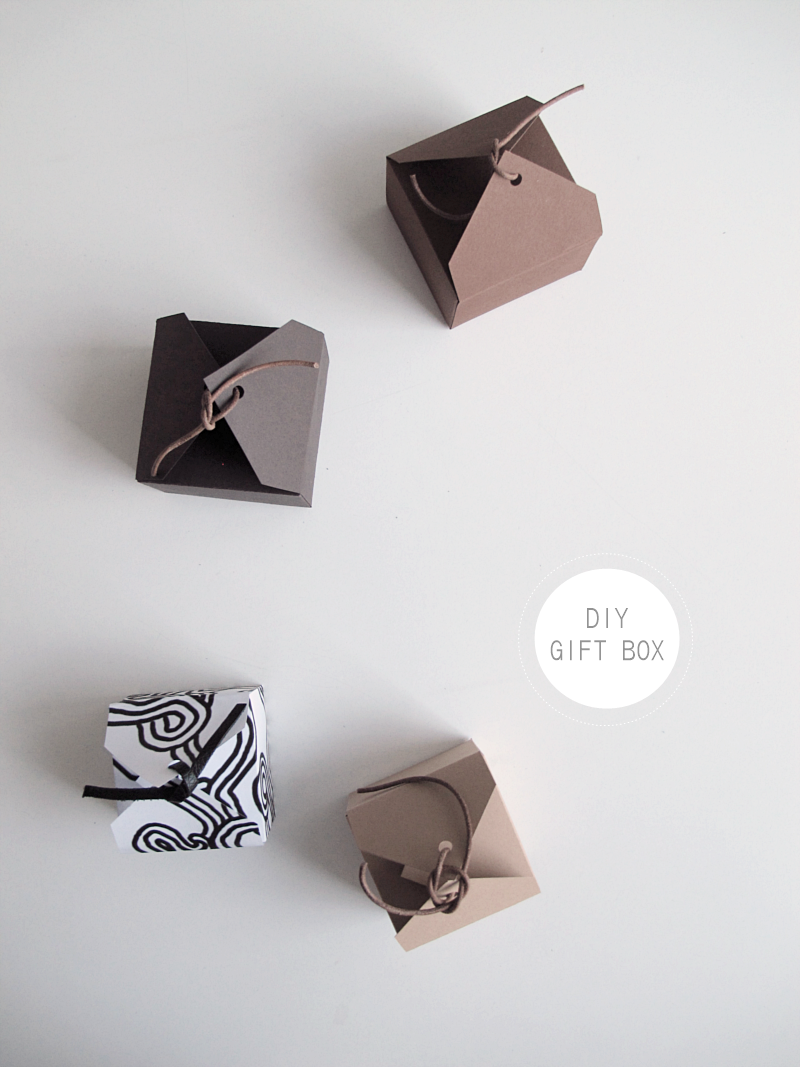
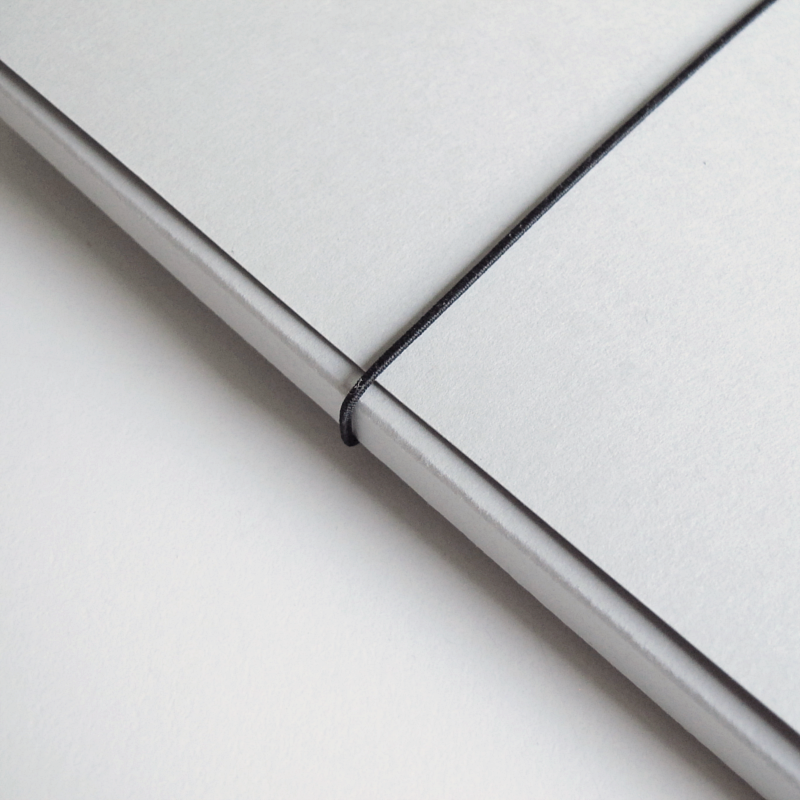
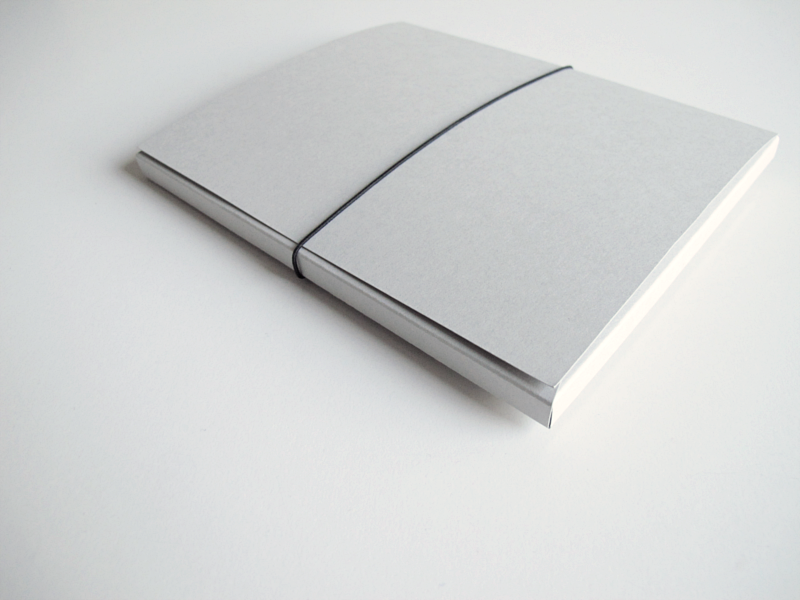
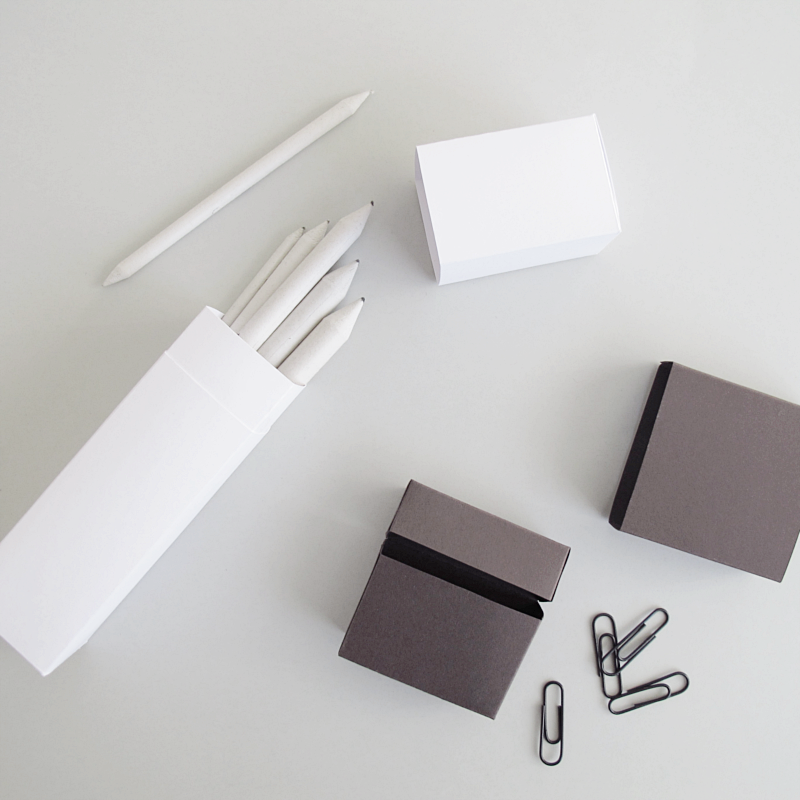
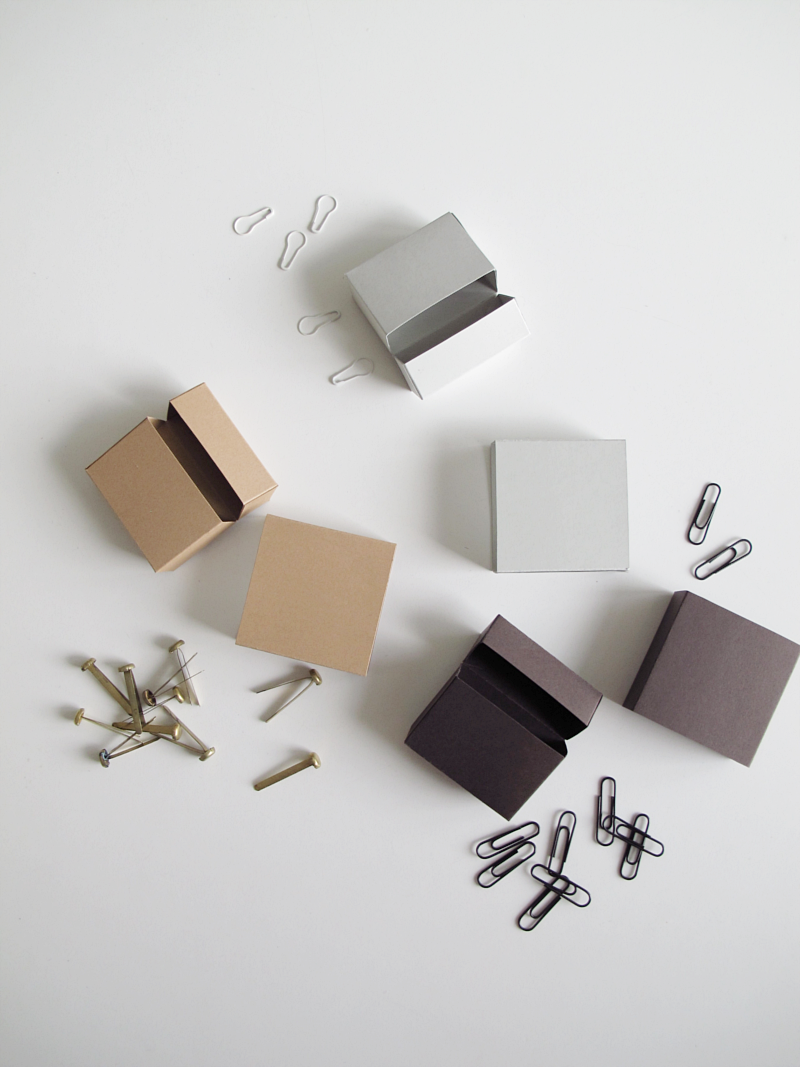
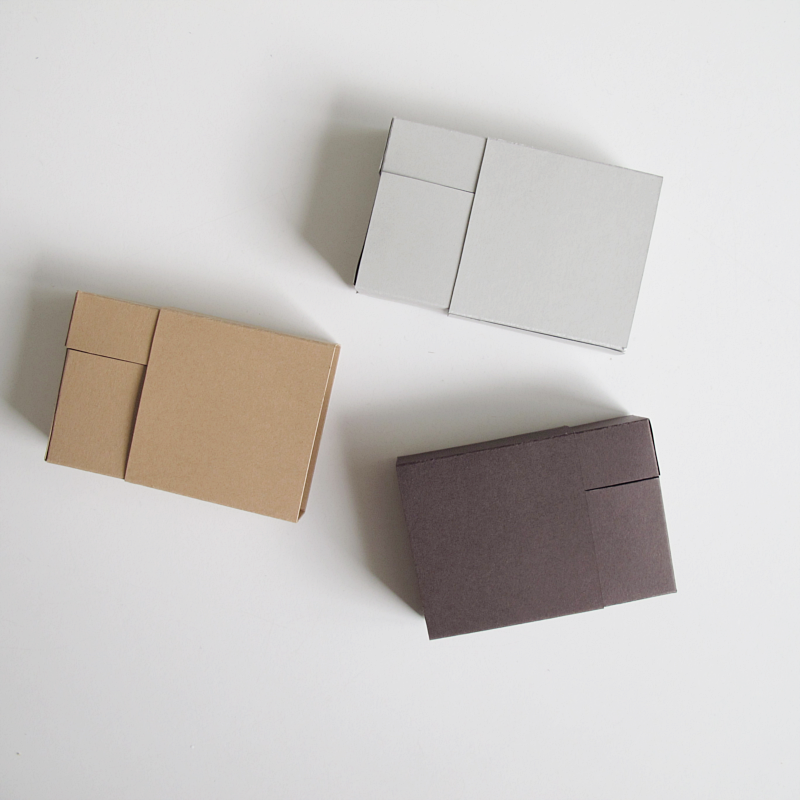
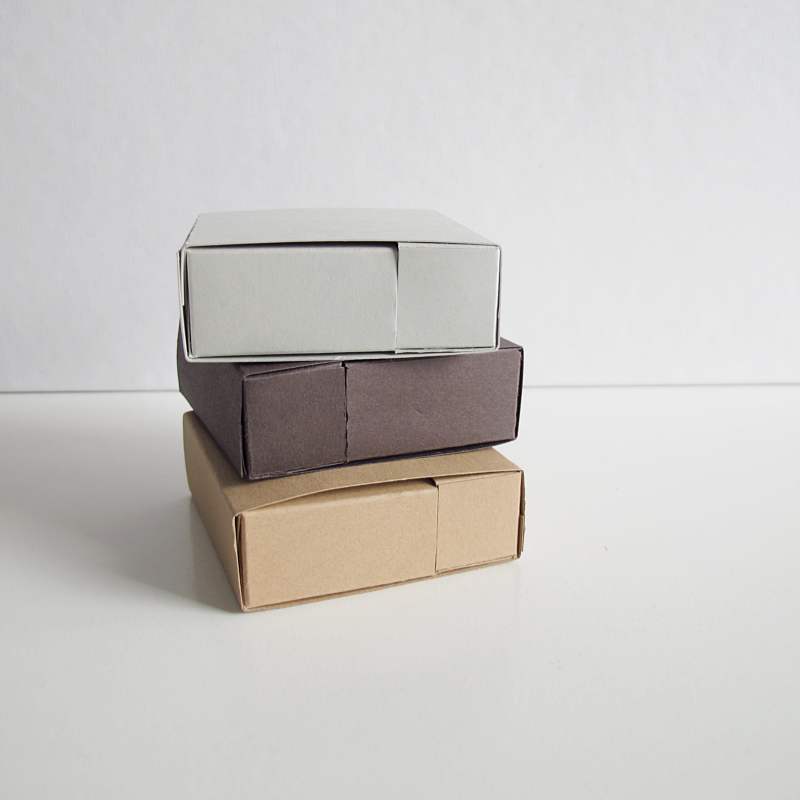
Something that makes me frustrated is all the tiny bits and bobs that really doesn’t have a special place but seems to be everywhere (but you can’t find it when you actually need it). Like paperclips and things like that. So I desided to make these tiny boxes to hopefully get a little more organized. If you want one too, here comes a tutorial.
/// Jag blir så frustrerad över alla små gem och klämmor som egentligen inte har någon speciell plats men som ändå finns överallt (men som man ändå inte hittar när man letar) så jag bestämde mig för att göra små askar för att förhoppningsvis få lite mer ordning. Om du också vill ha likadana så kommer här i vanlig ordning en beskrivning.
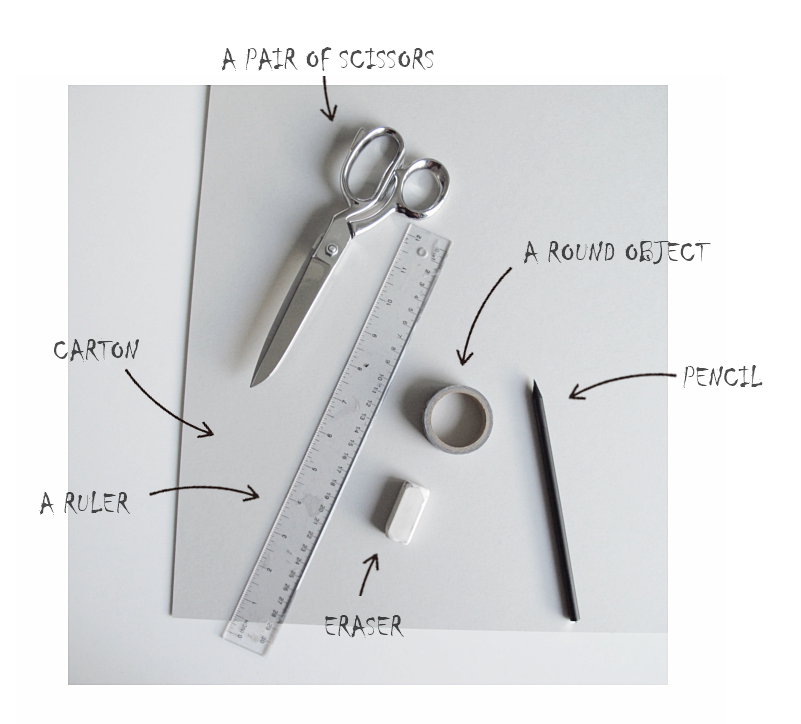
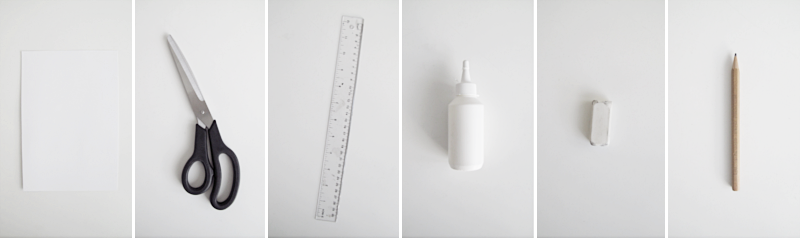
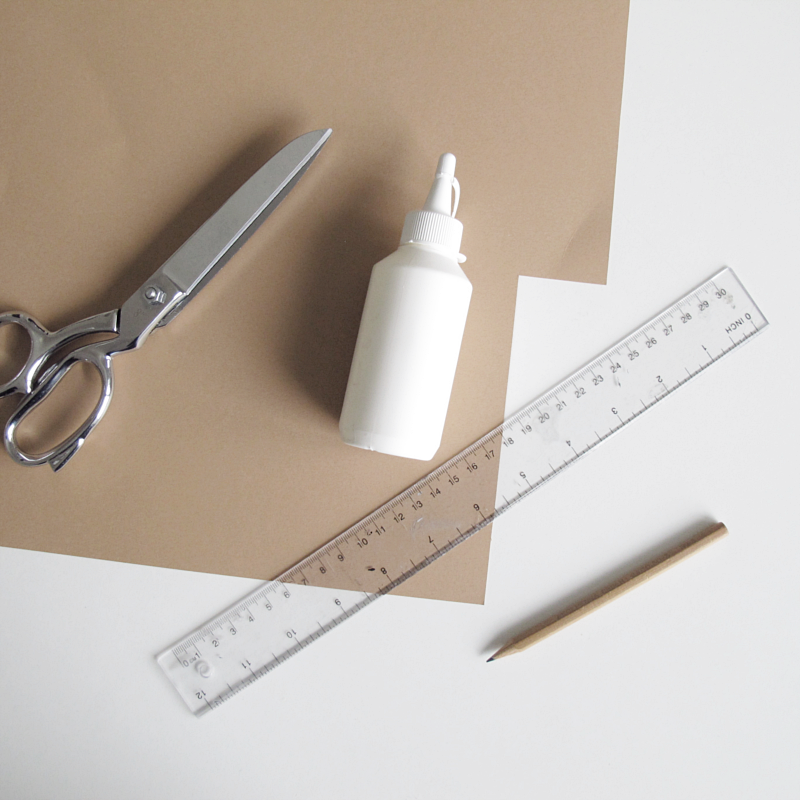
For this you need:
→ carton
→ glue
→ a ruler
→ a pencil
→ a pair of scissors
→ eraser (If you are using a carton with light color)
/// Till detta behöver du:
→ hobbykartong
→ lim
→ linjal
→ blyertspenna
→ sax
Ev:
→ sudd (om du använder en ljusare kartong)
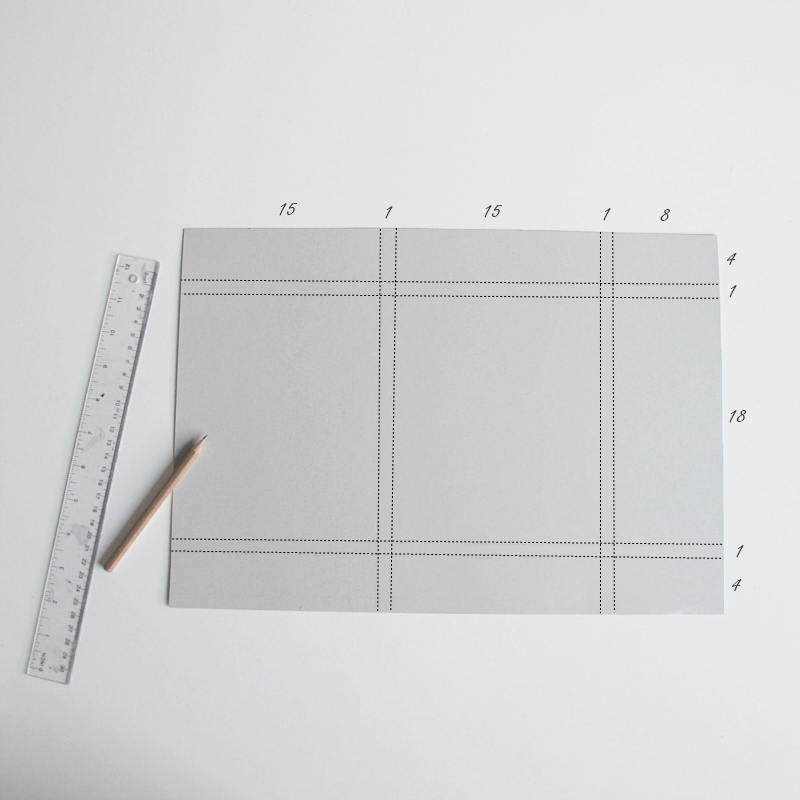
This is how you do it:
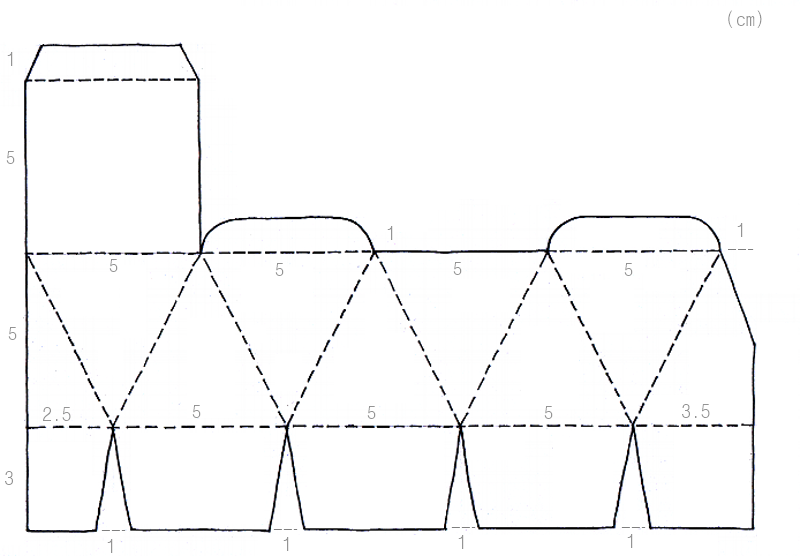
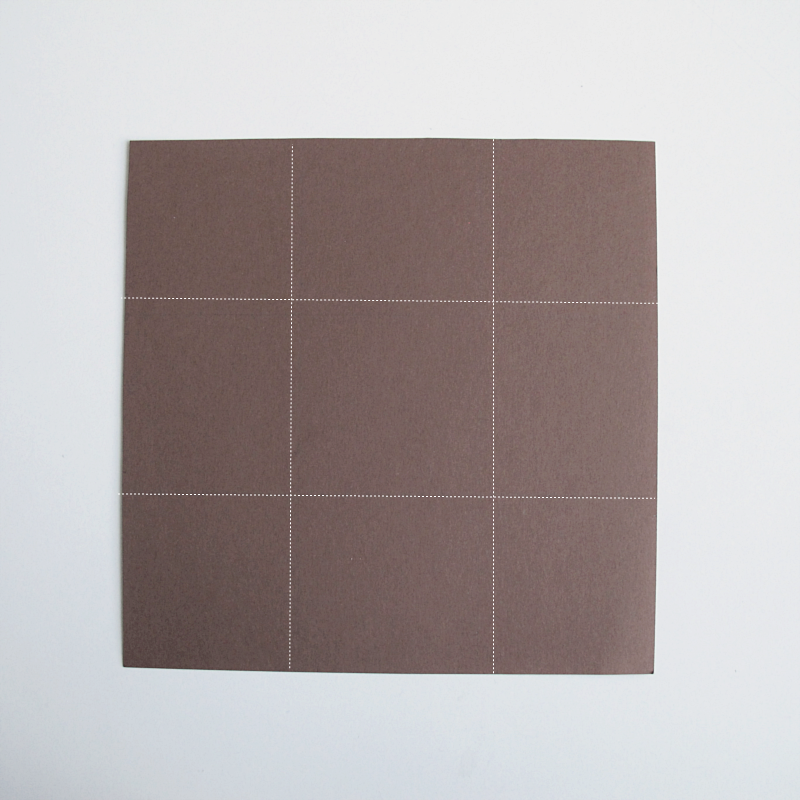
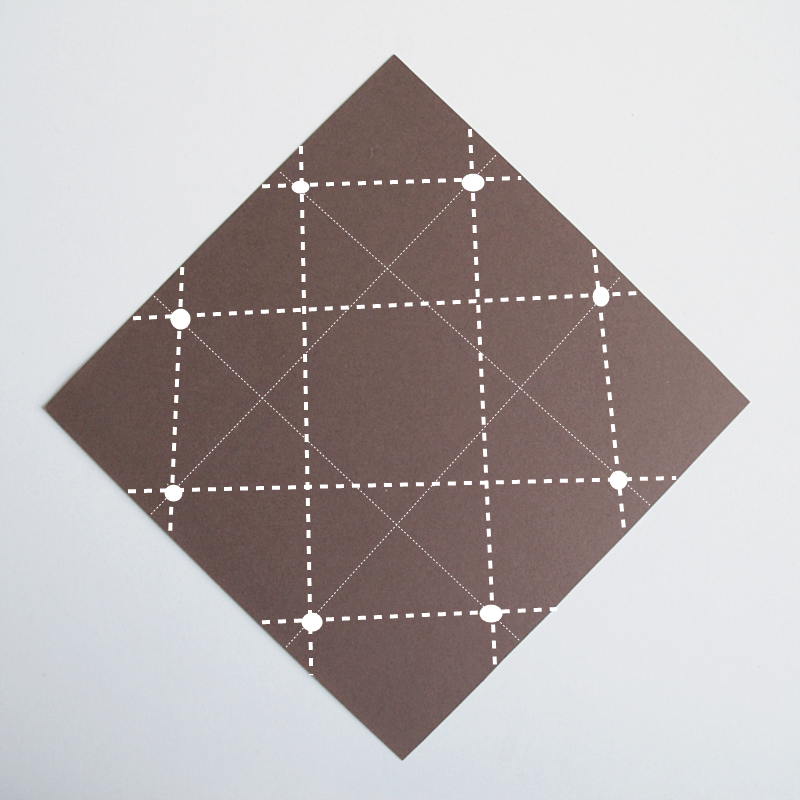
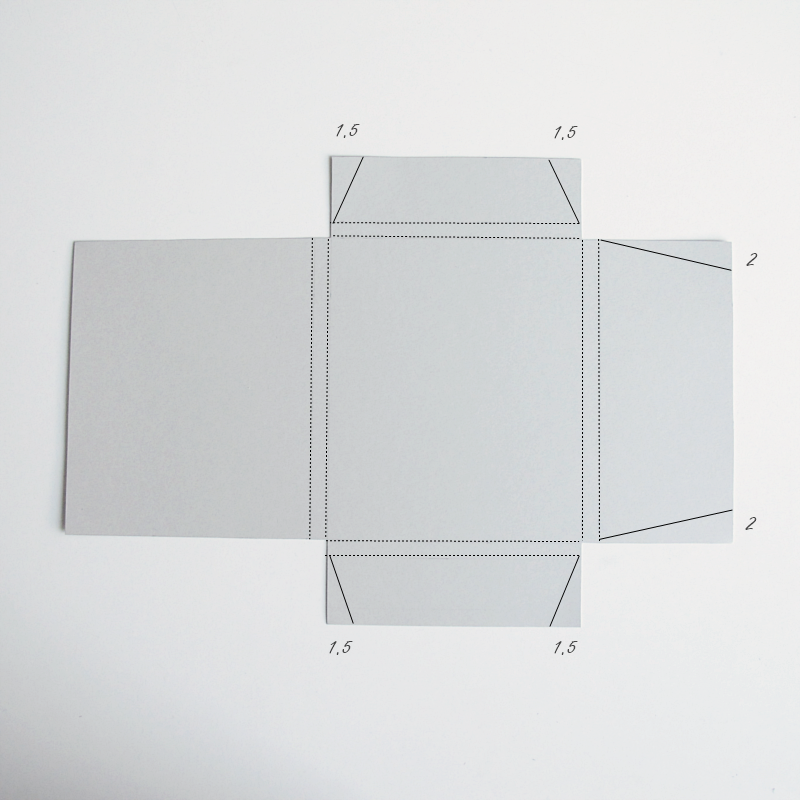
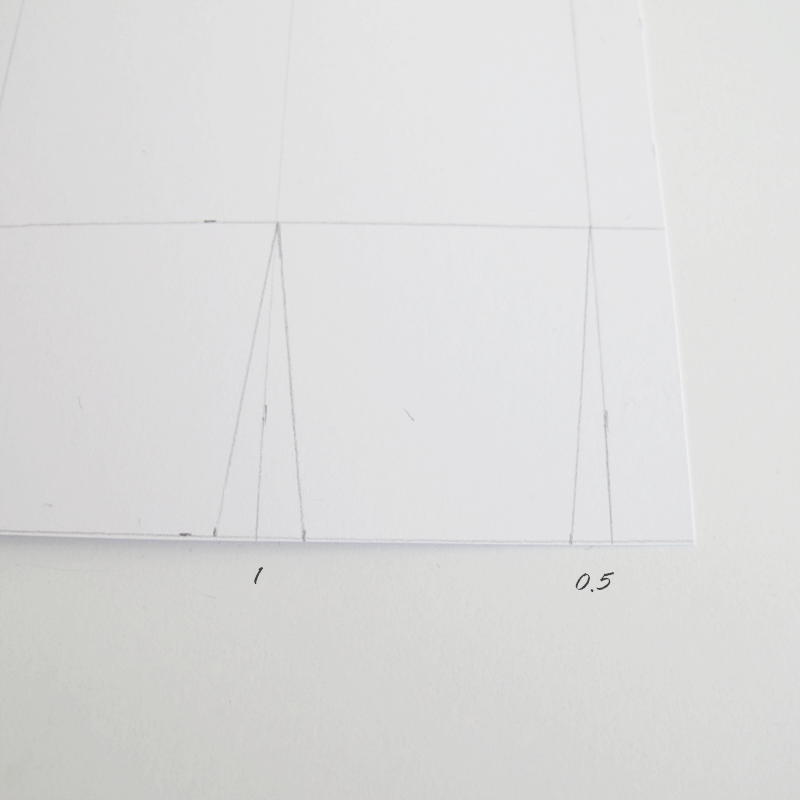
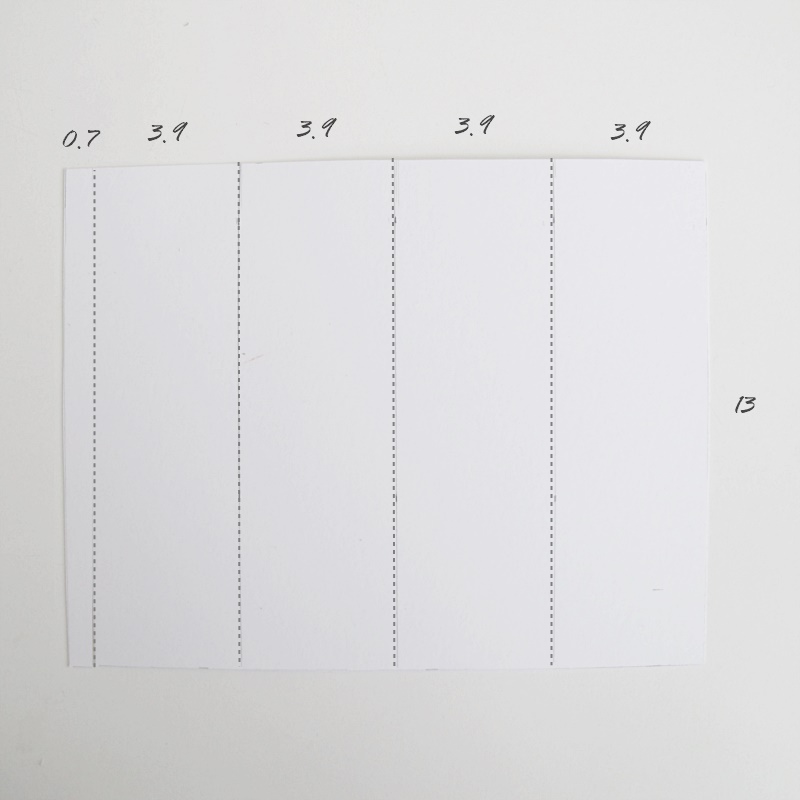
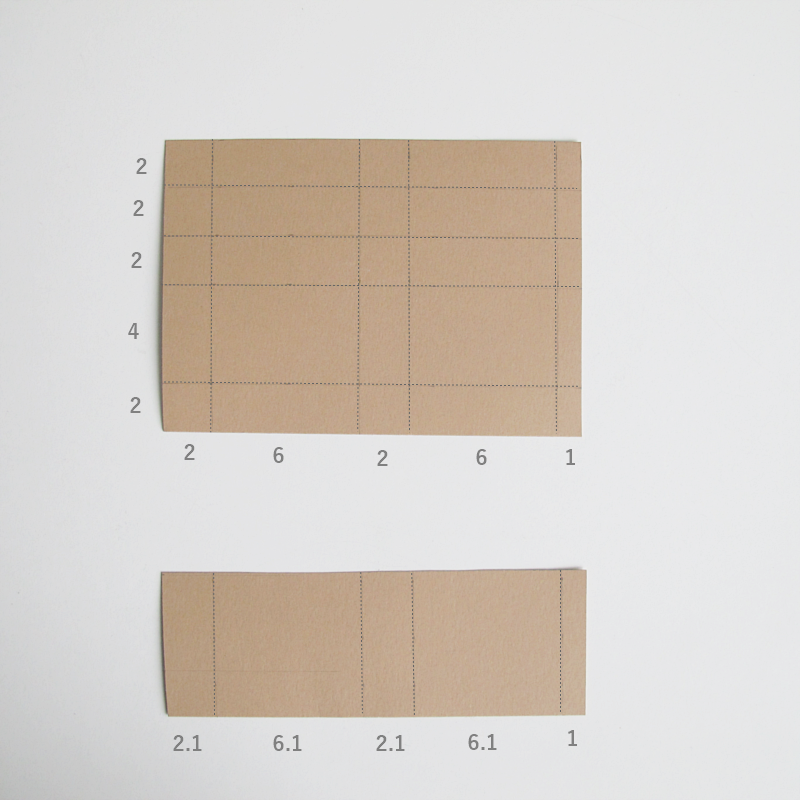
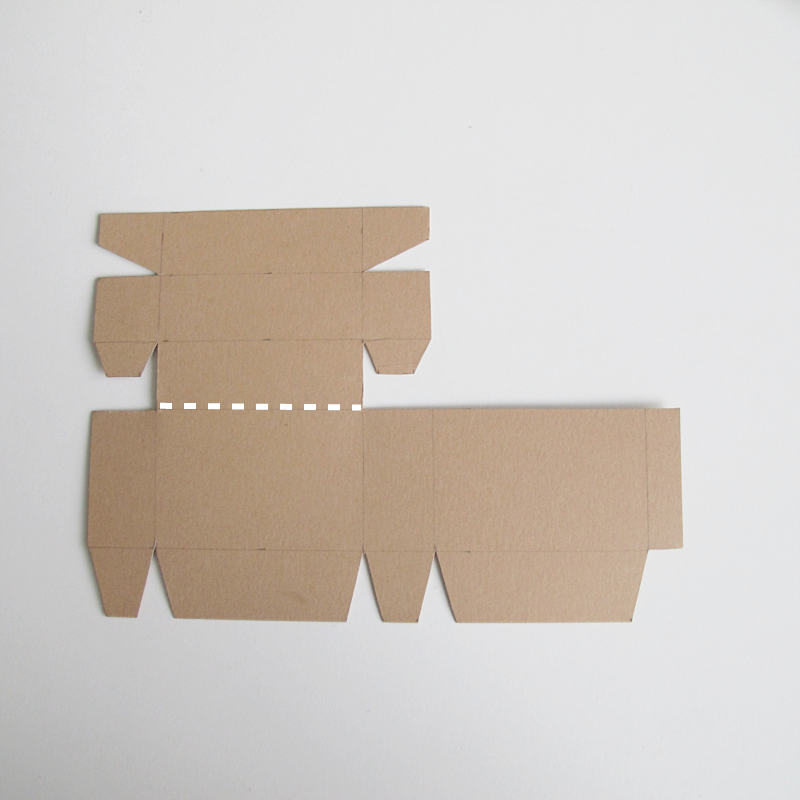
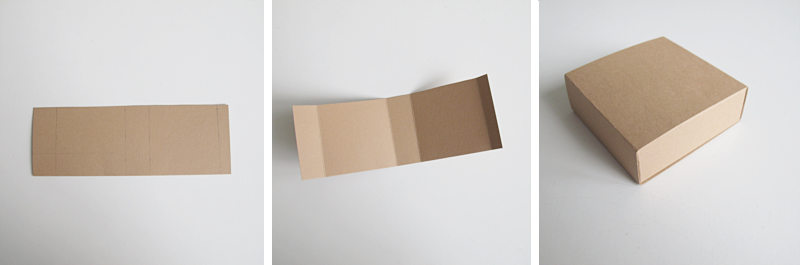
Draw these figures on your carton (in centimeters). Then cut them out.
/// Rita och klipp ut två figurer på kartongen med dessa mått. Måtten är i cm.
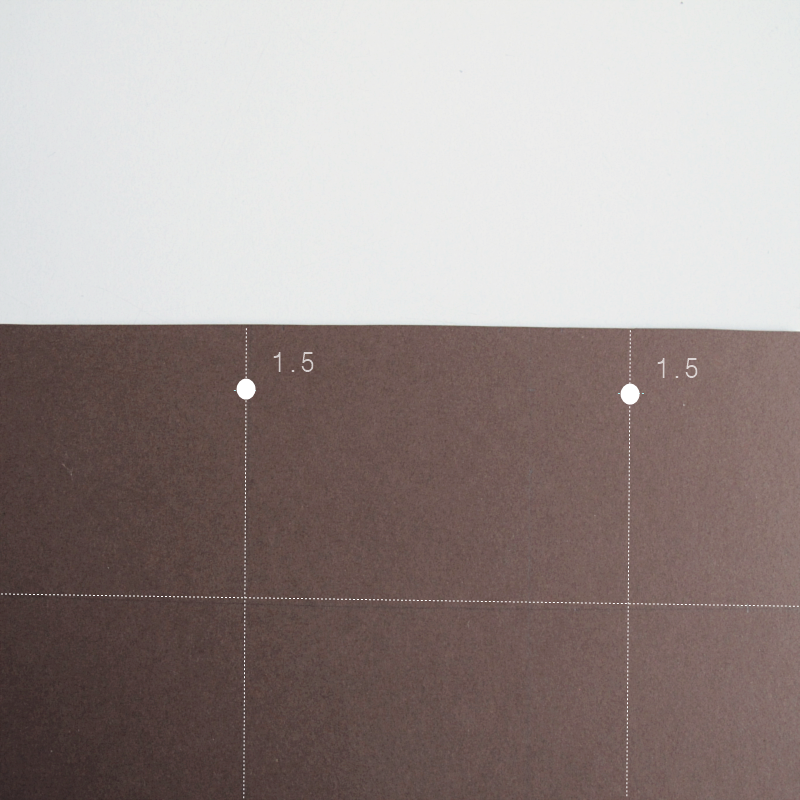
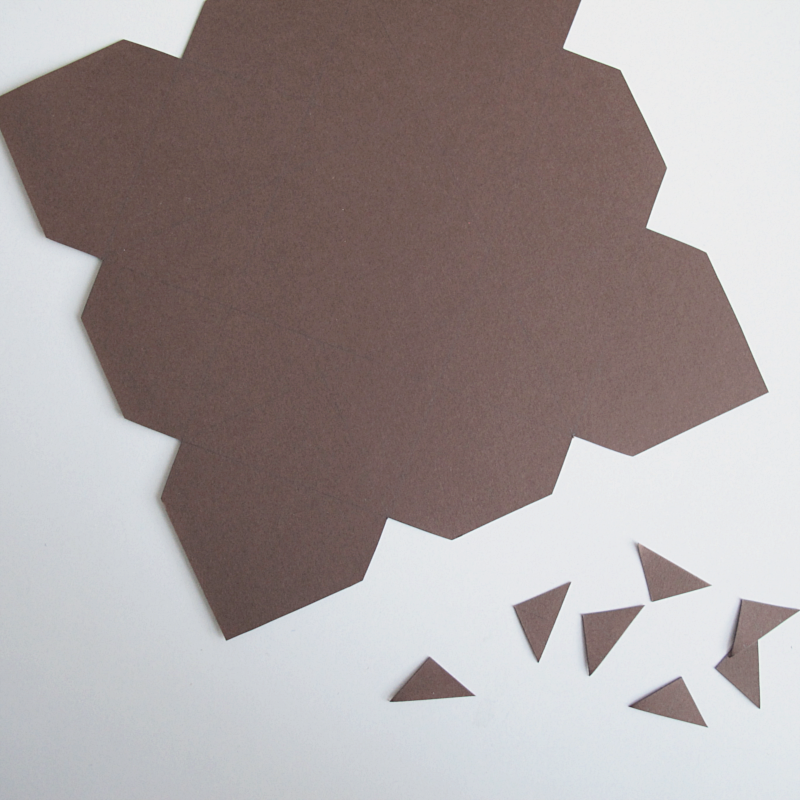
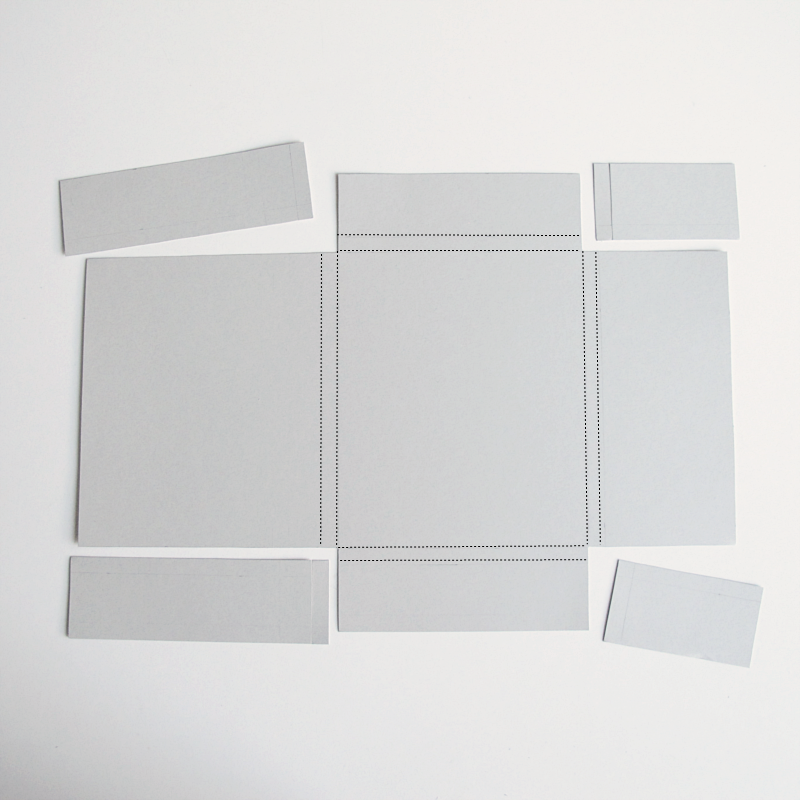
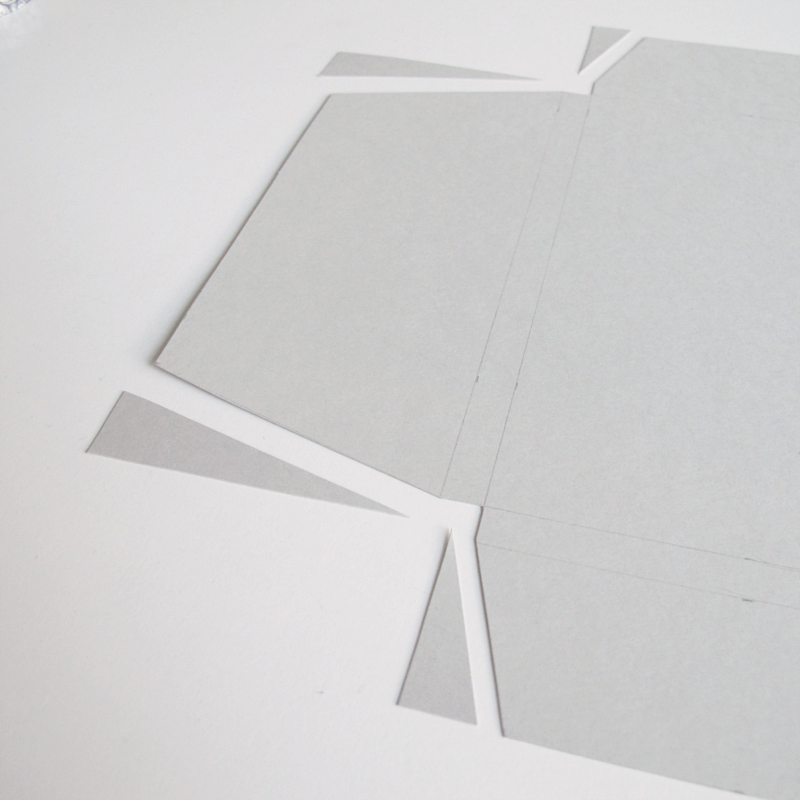
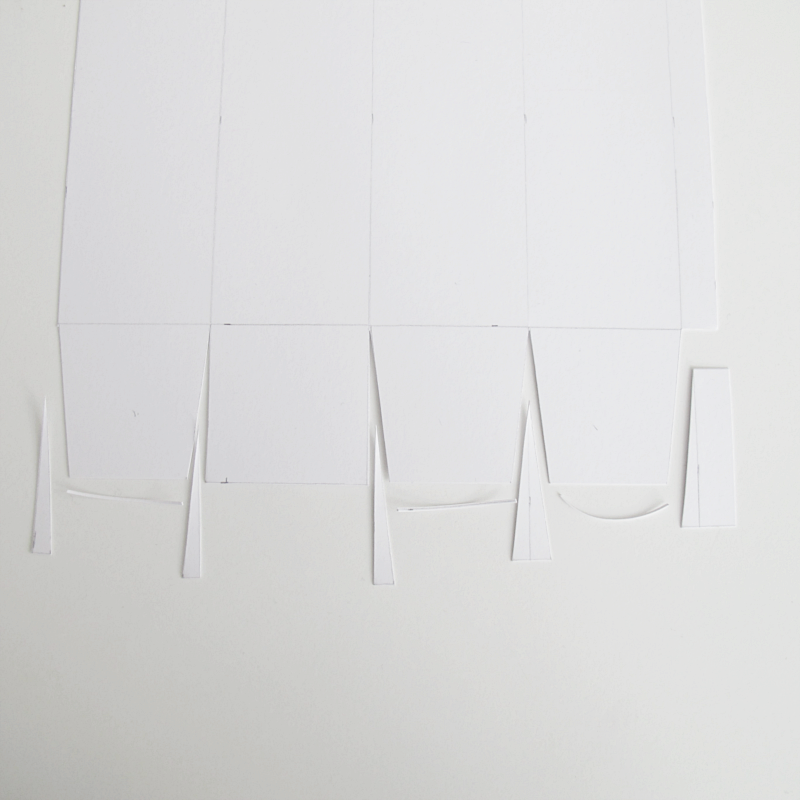
Then you measure a bit more.
/// Sedan ritar du lite till.
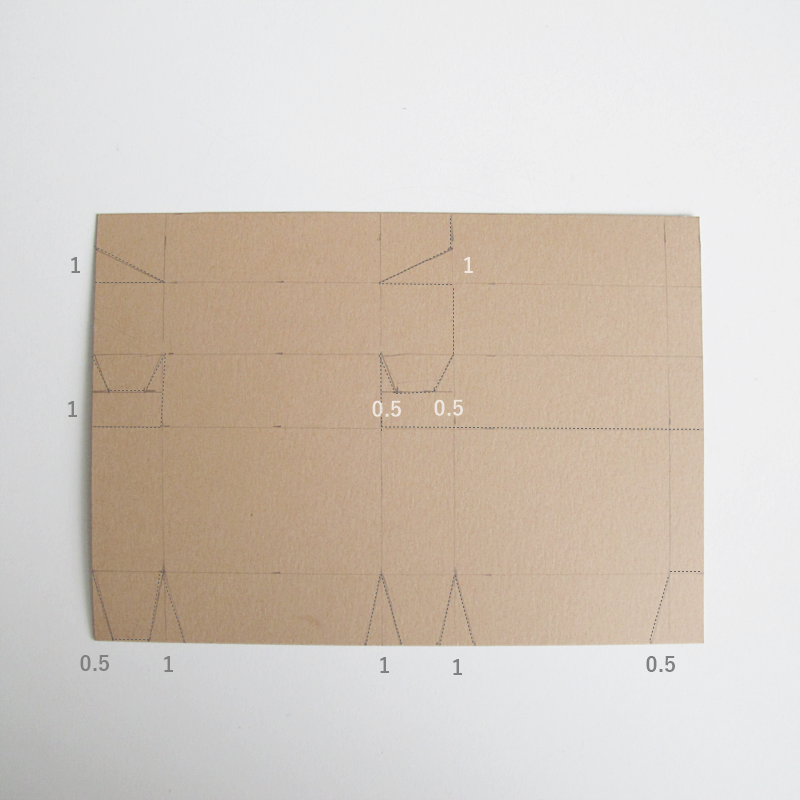
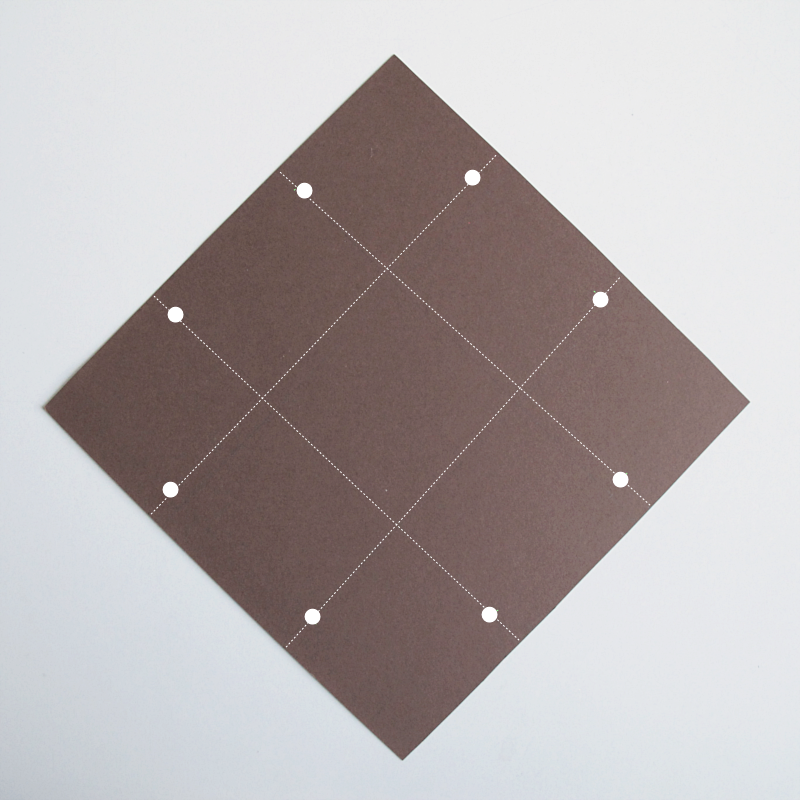
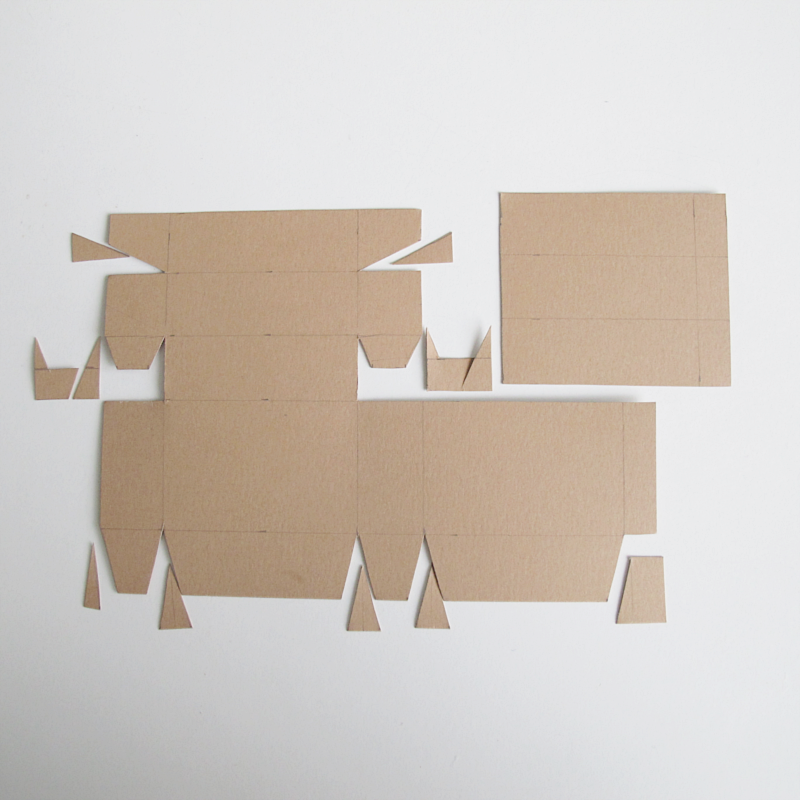
Cut it out like the picture shows.
/// Klipp som bilden visar.
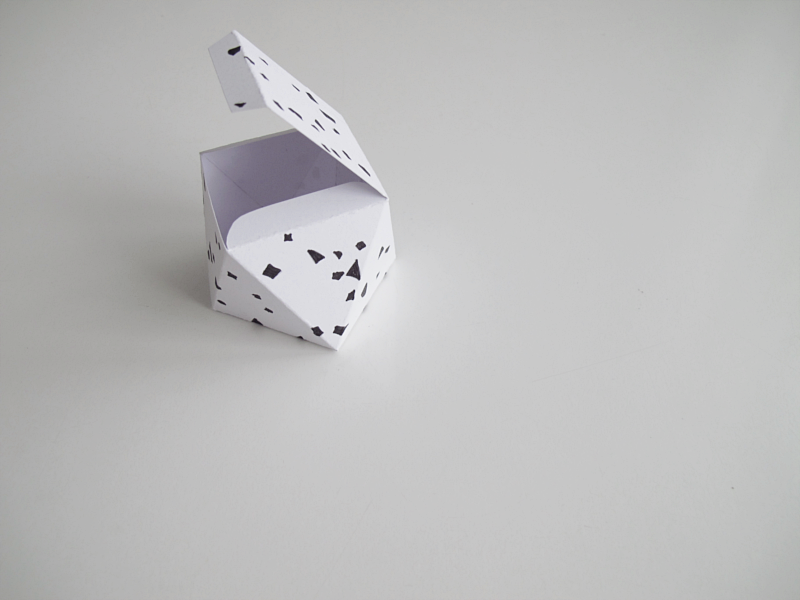
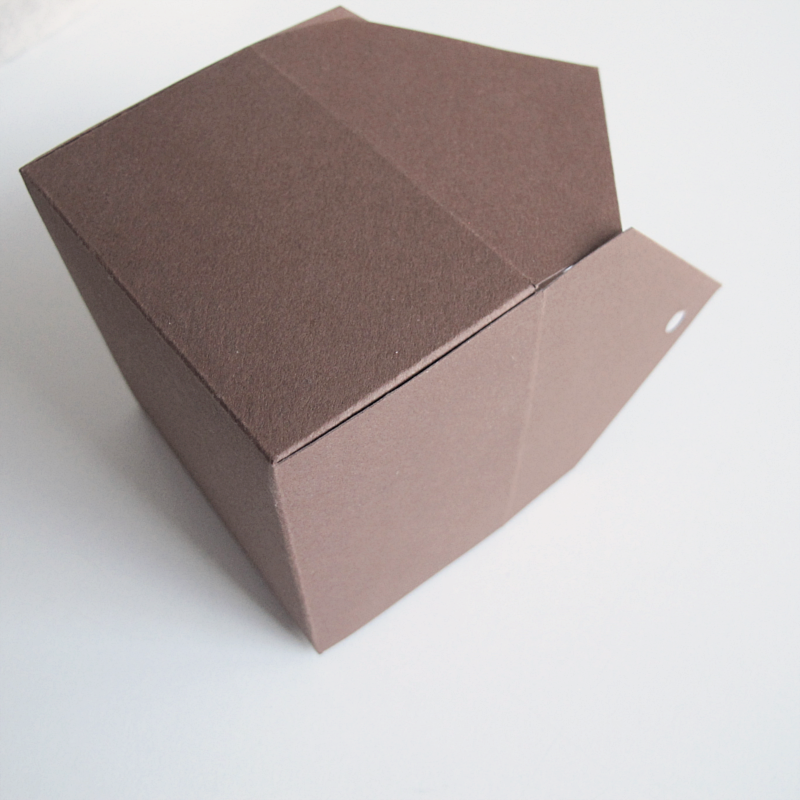
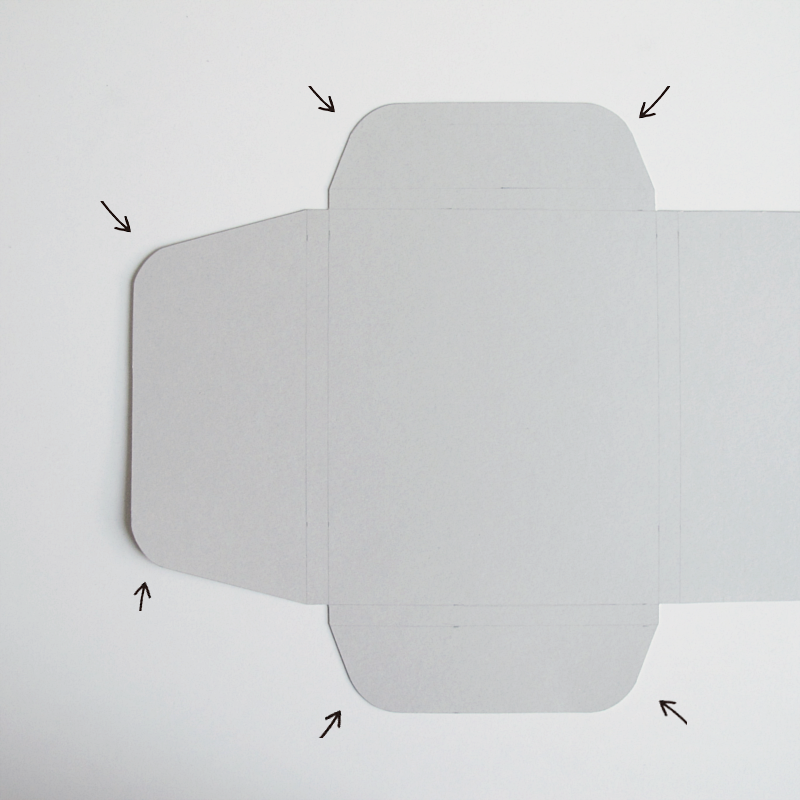
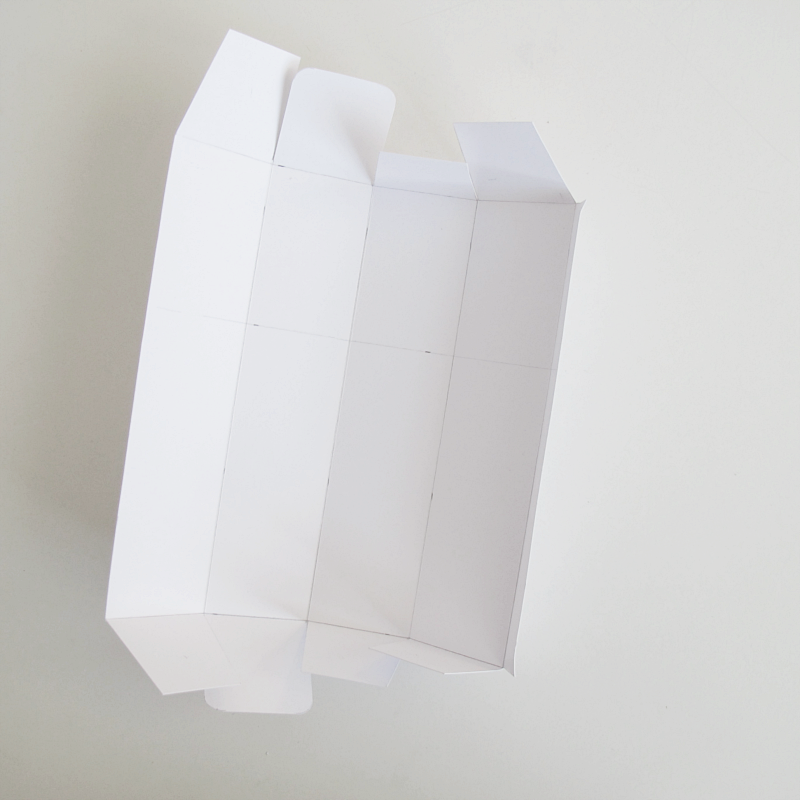
Time to fold. Fold along all lines, and fold them towards you. Except the line where the white dots are, that line you fold backwards/away from you.
/// Nu är det dags att vika. Vik längst alla linjer, och vik dem mot dig. Förutom den linjen som är vit på bilden, där viker du från dig.
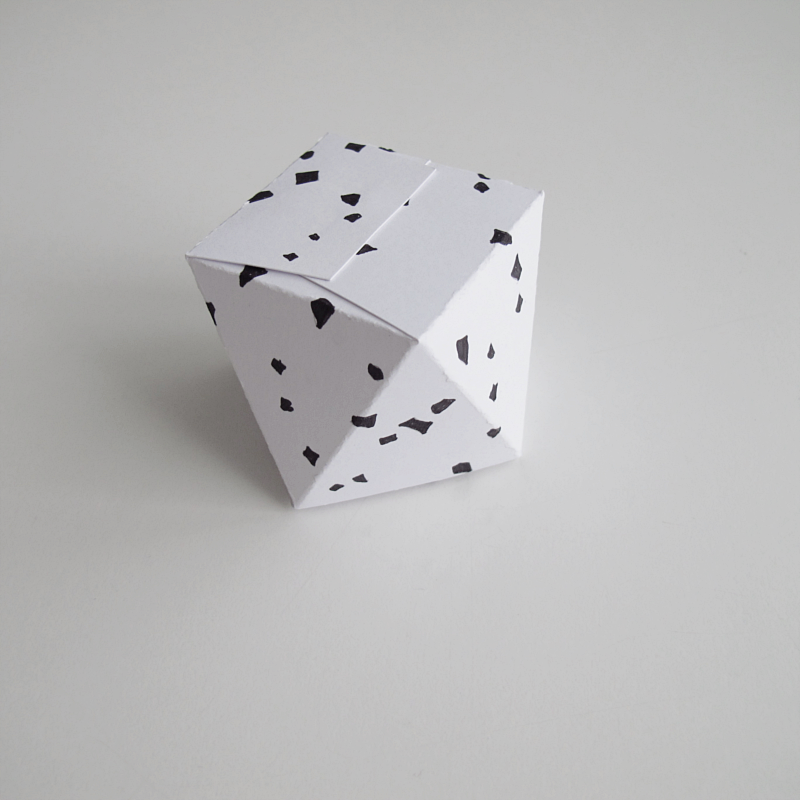
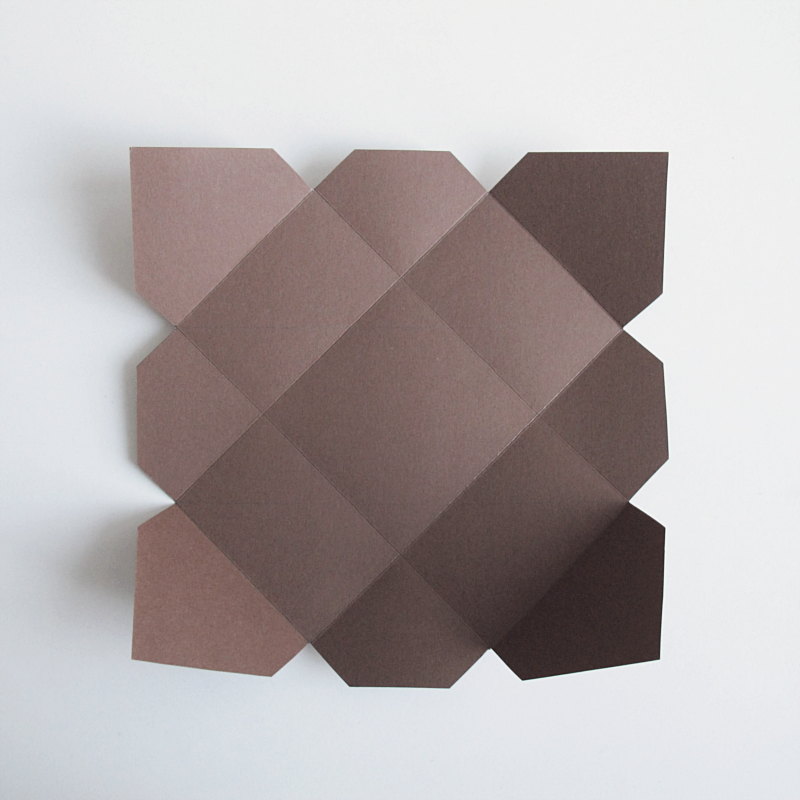
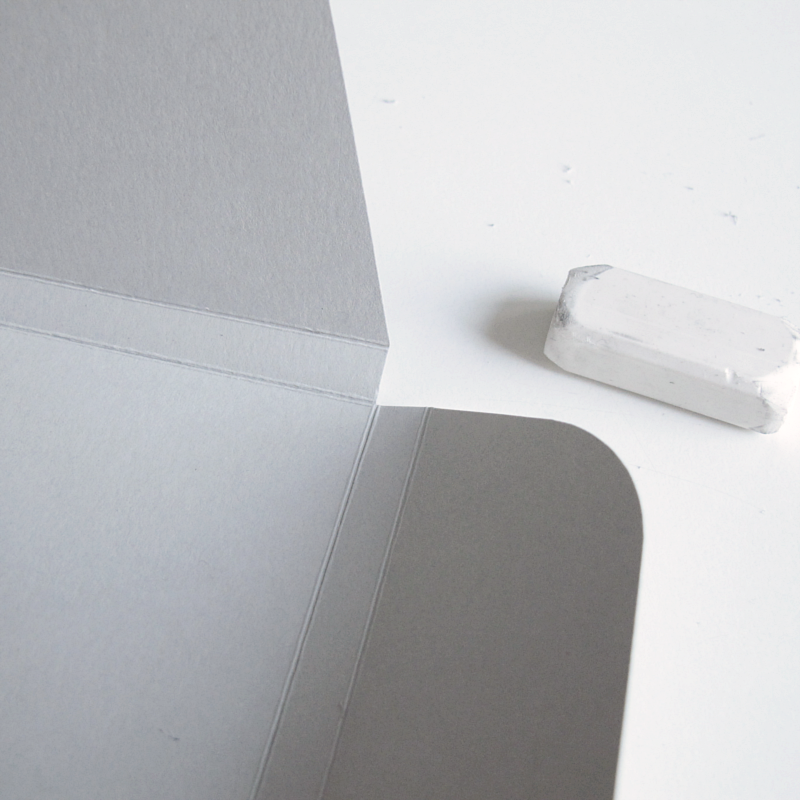
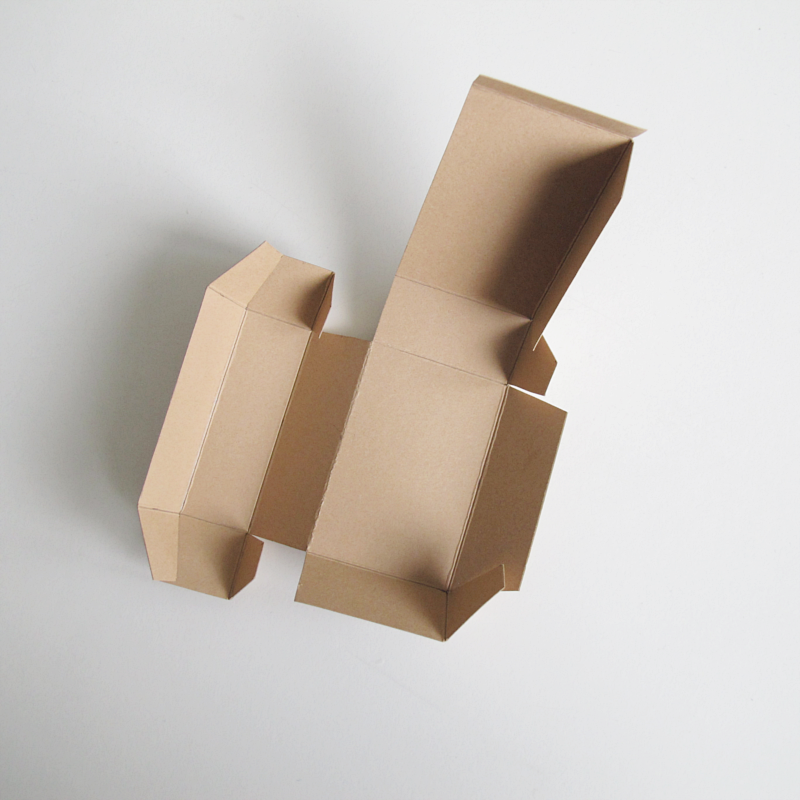
Like this. ↓ You can now also erase all the pencil lines.
/// Såhär. ↓ Om du använder en ljus kartong så kan du nu också sudda bort alla blyertsstreck.
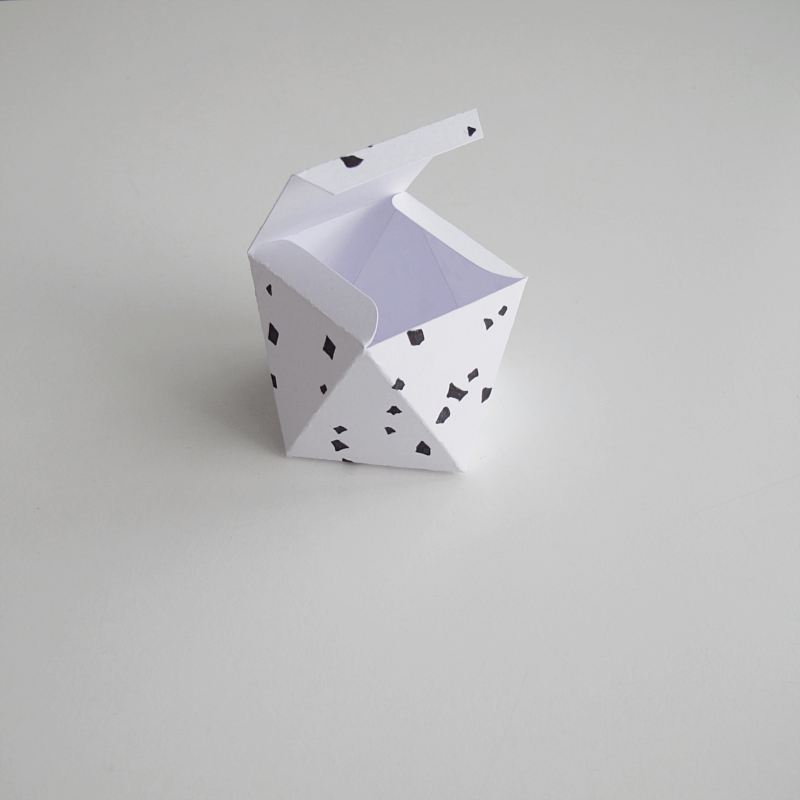
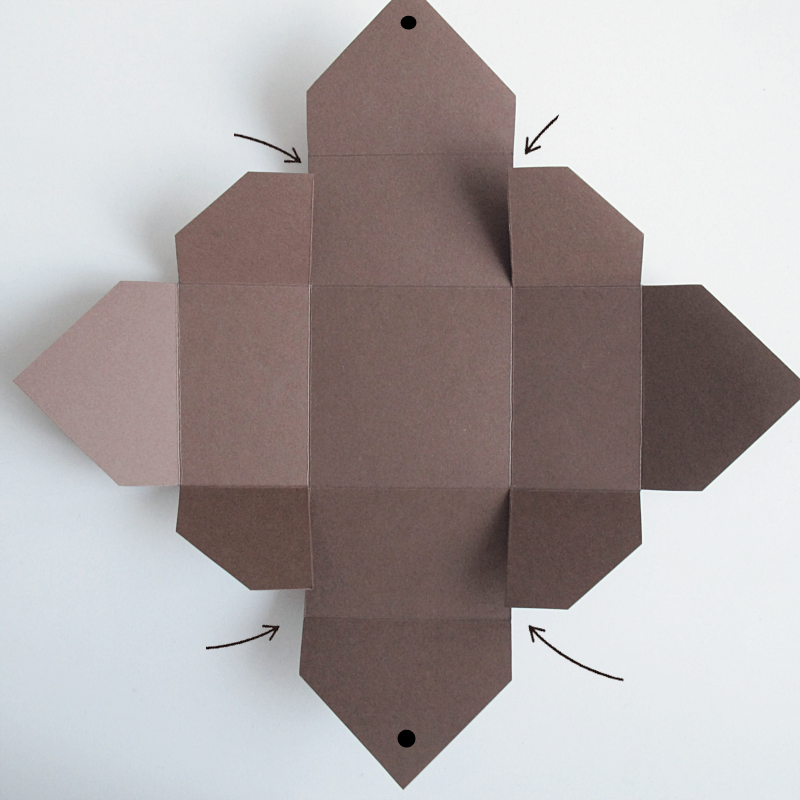
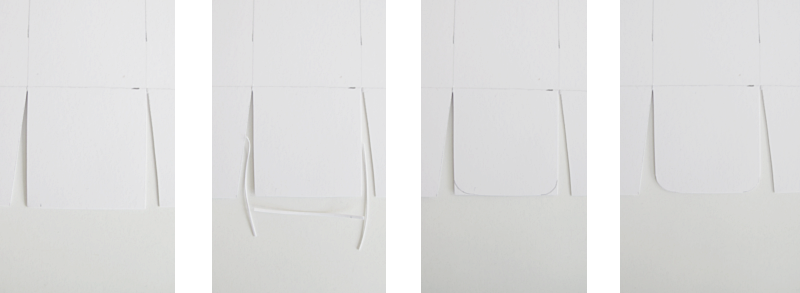
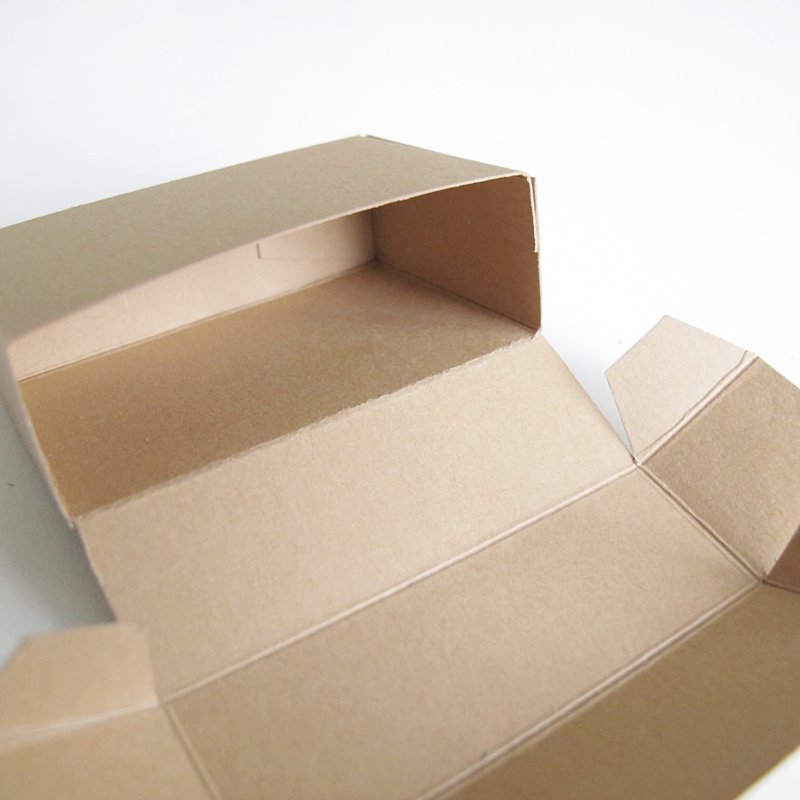
Glue the box together by folding the tiny flaps in the bottom inwards..
/// Limma ihop asken genom att vika in de små flikarna i botten…
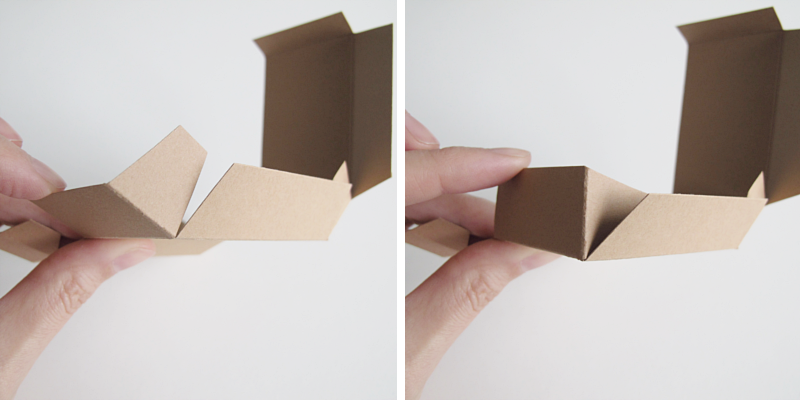
.. . then you fold the flap on the side so that you get that one on the inside..
/// … sedan stoppar du in fliken på sidan av asken på insidan…
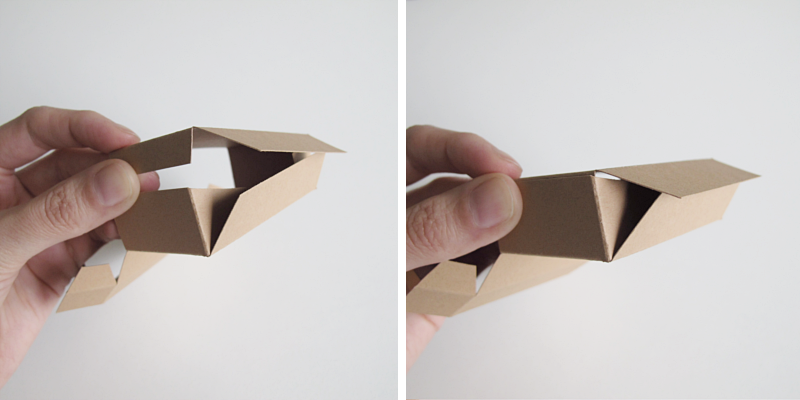
..and finally, the big flap at the bottom.
/// .. och så sist, den stora fliken i botten.

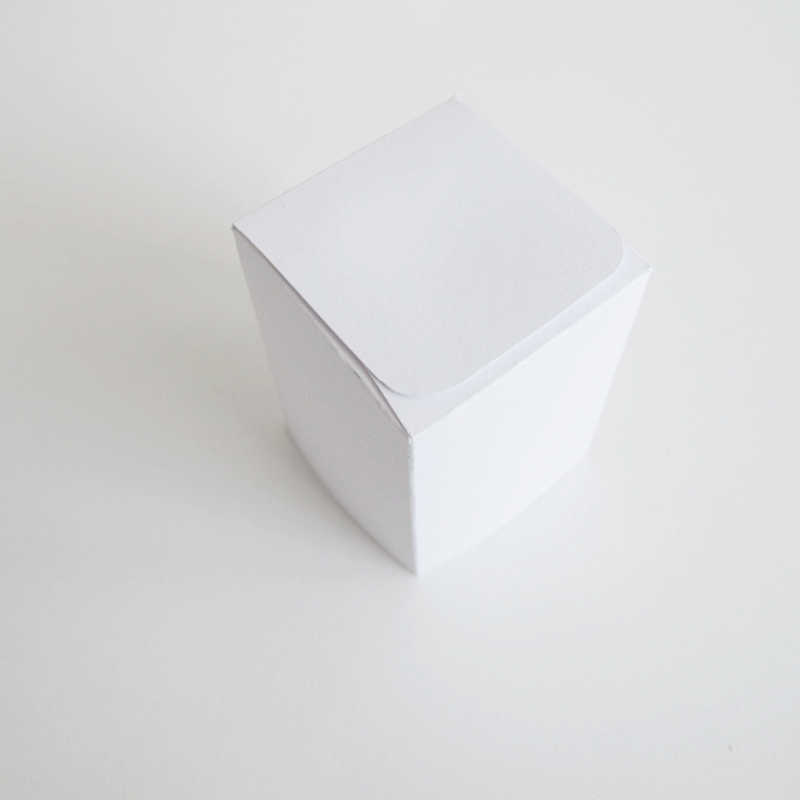
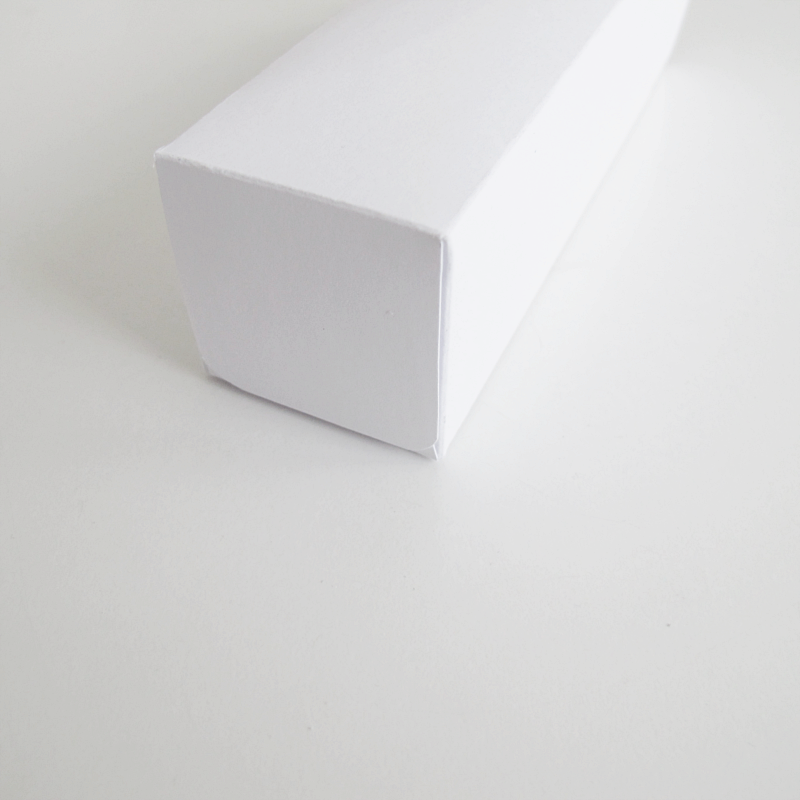
Like this.
/// Såhär.
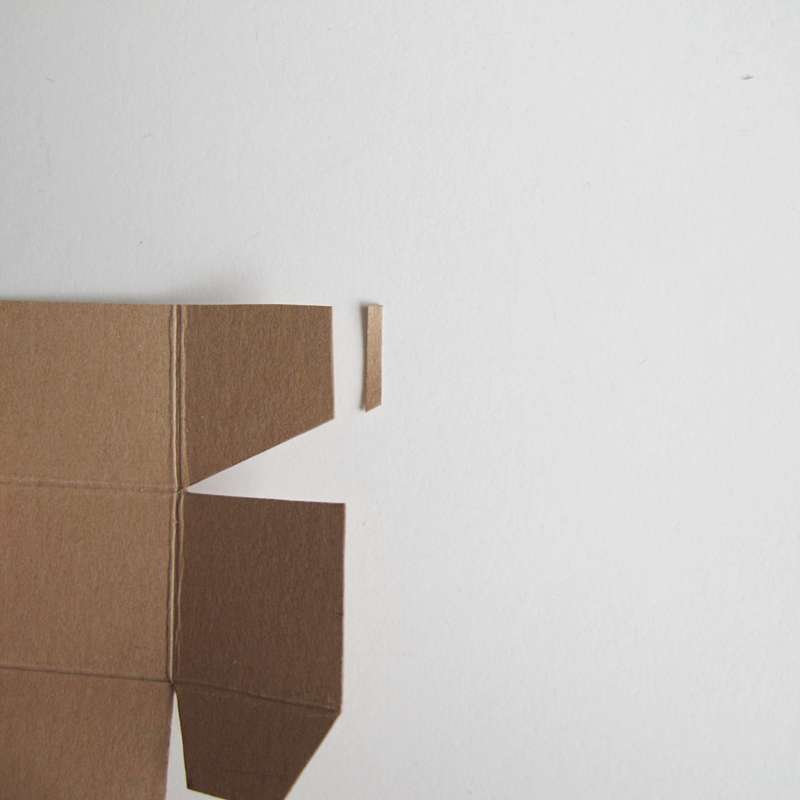
Before you glue the upper part of the box, cut away a few millimeters of the top flaps.
/// Innan du limmar ihop övre delen på asken så klipp bort ett par millimeter på den översta flikarna.
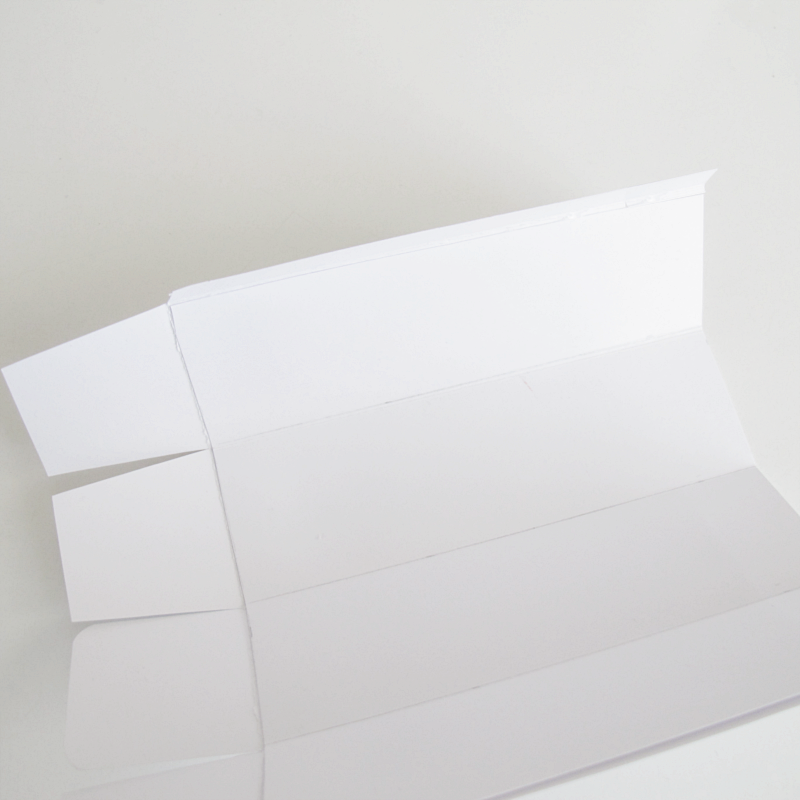
Then you fold these flaps (the top ones) inwards and glue them onto the sides.
/// Sedan viker du in dessa flikar (de övre) och limmar fast dem på sidorna.
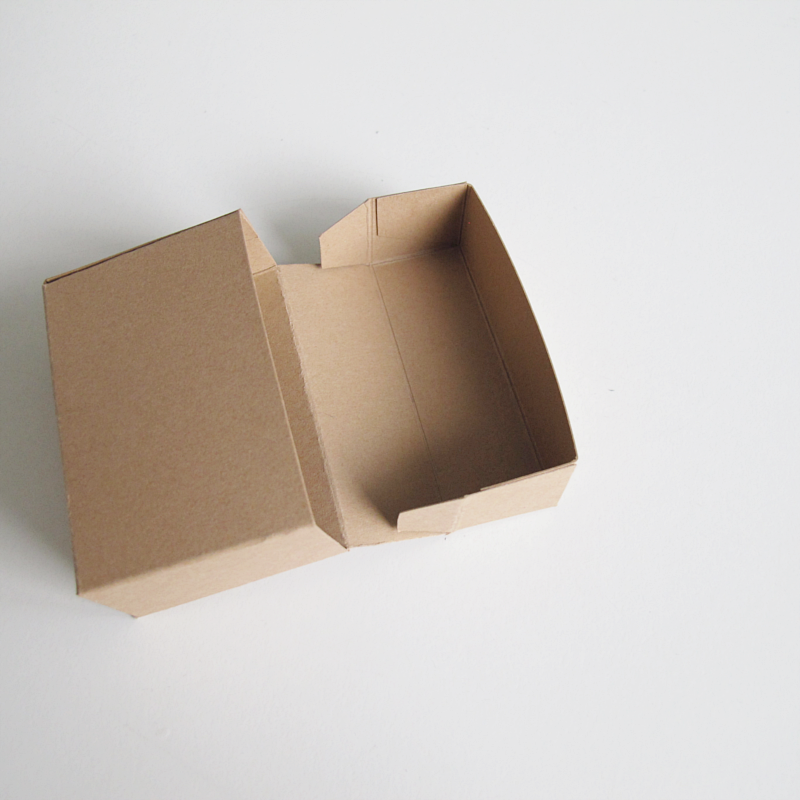
After that you fold the lower flaps inwards and glue those too. Now you are finished with this part.
/// Sedan viker du in de nedre flikarna och limmar fast dem också. Nu är denna delen klar.
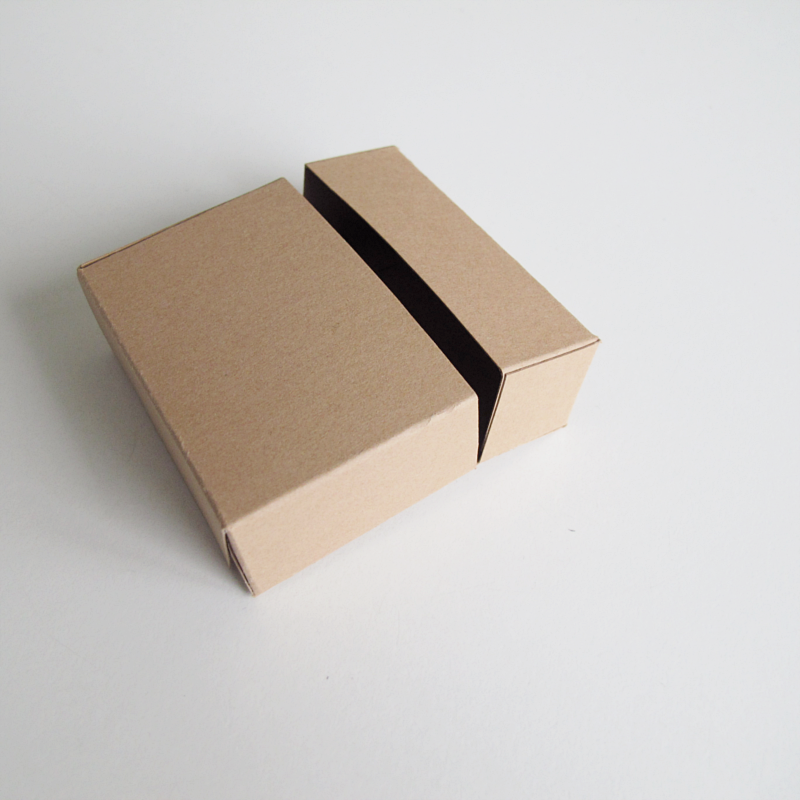
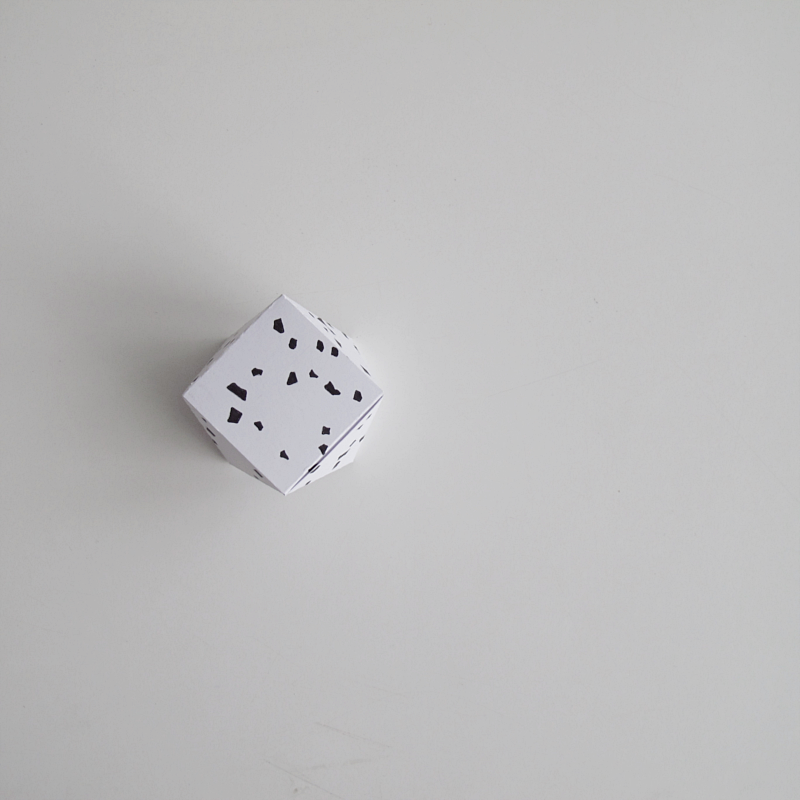
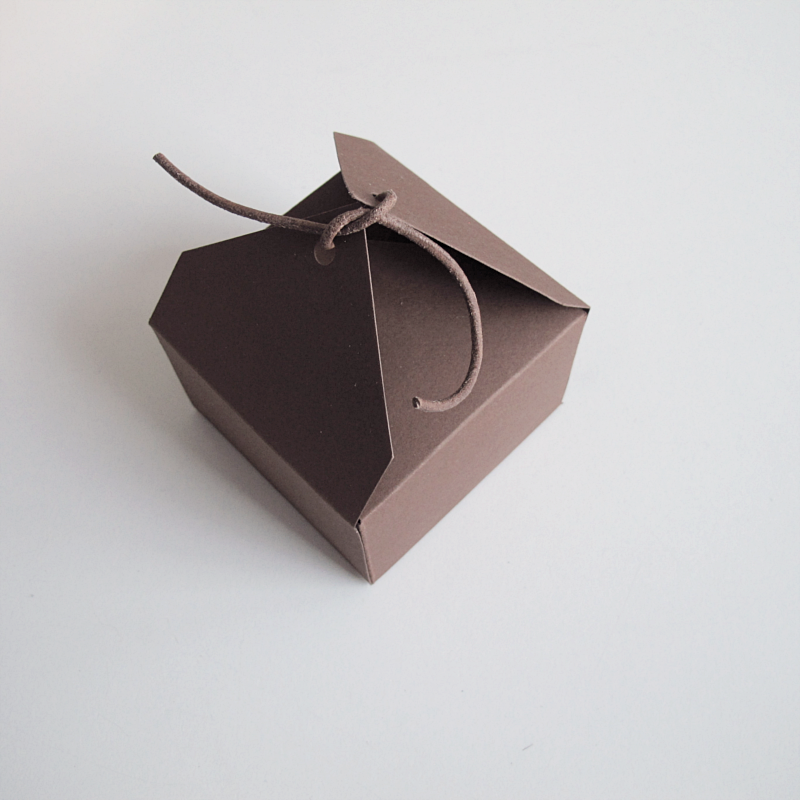
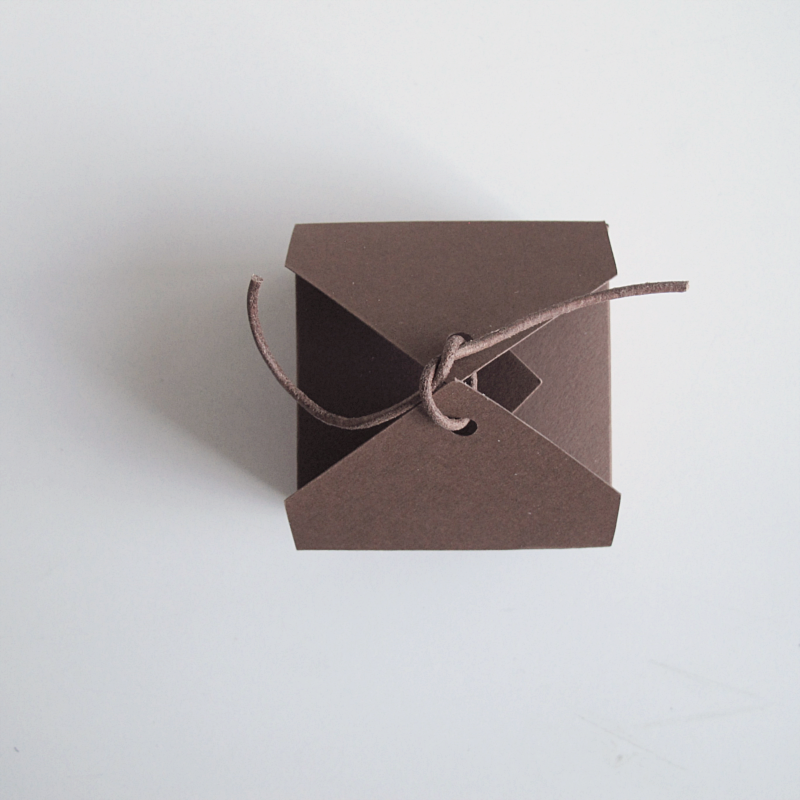
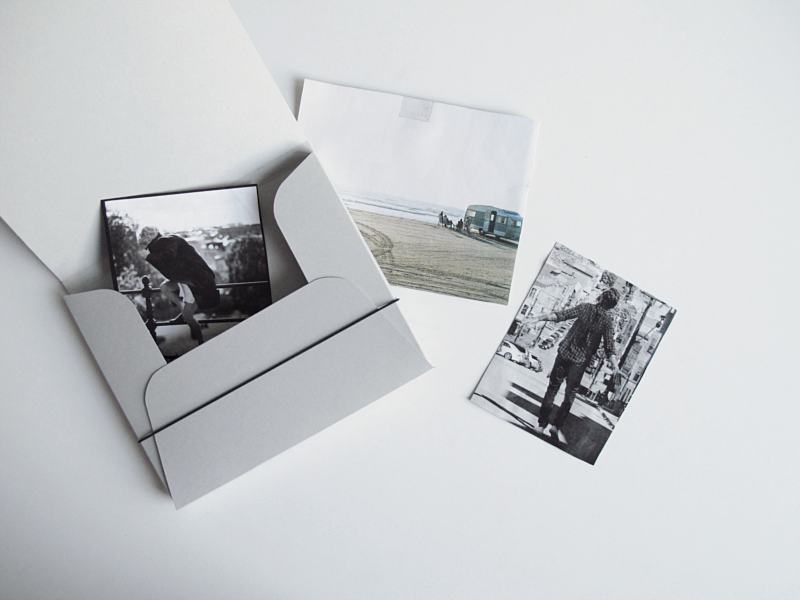
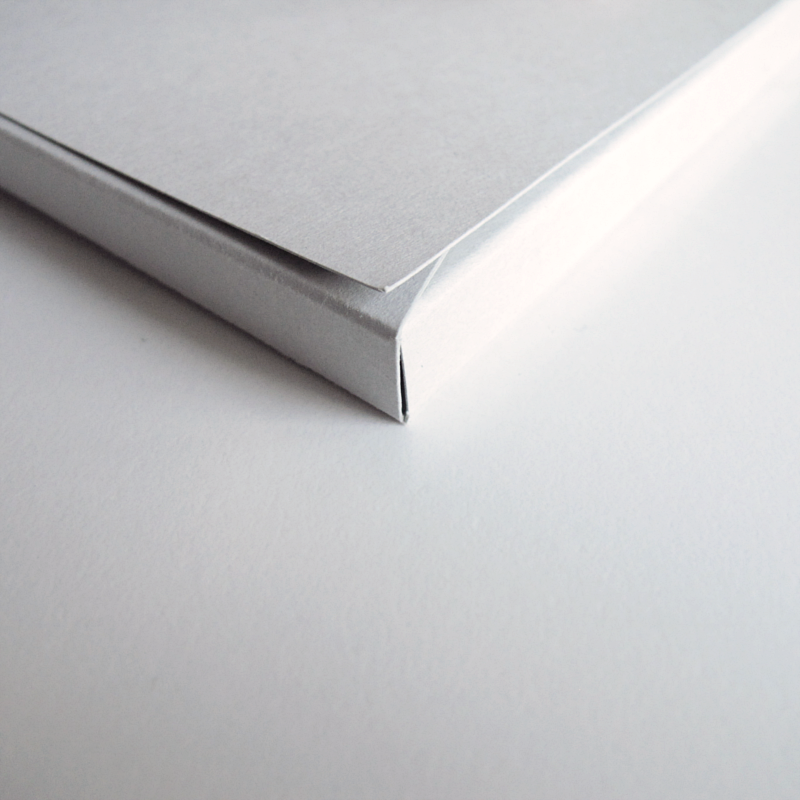
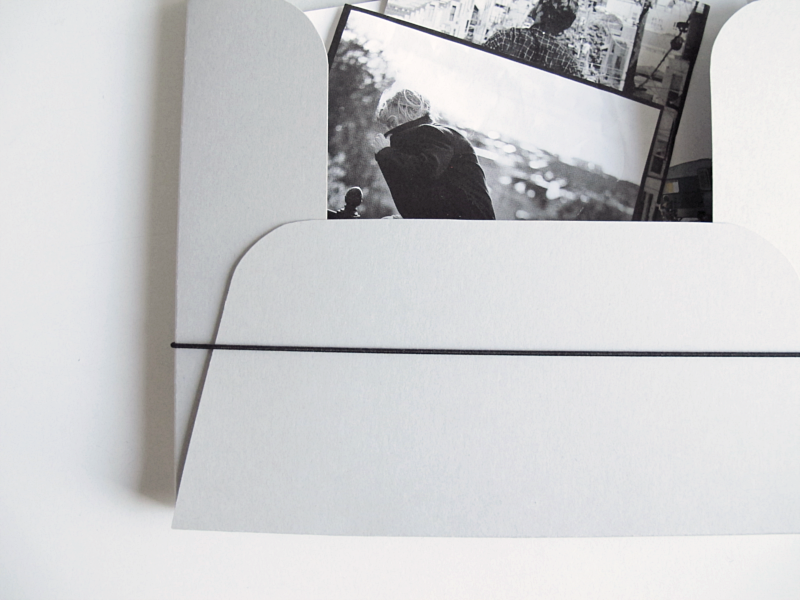
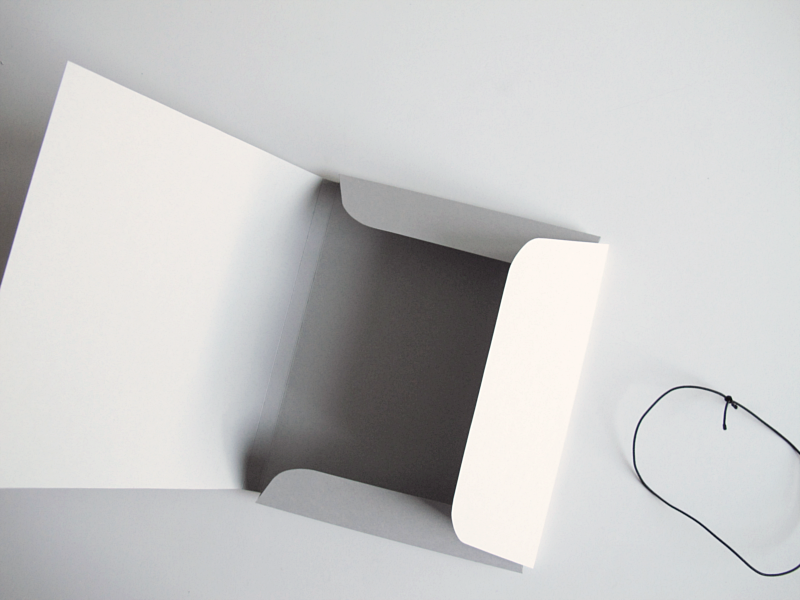
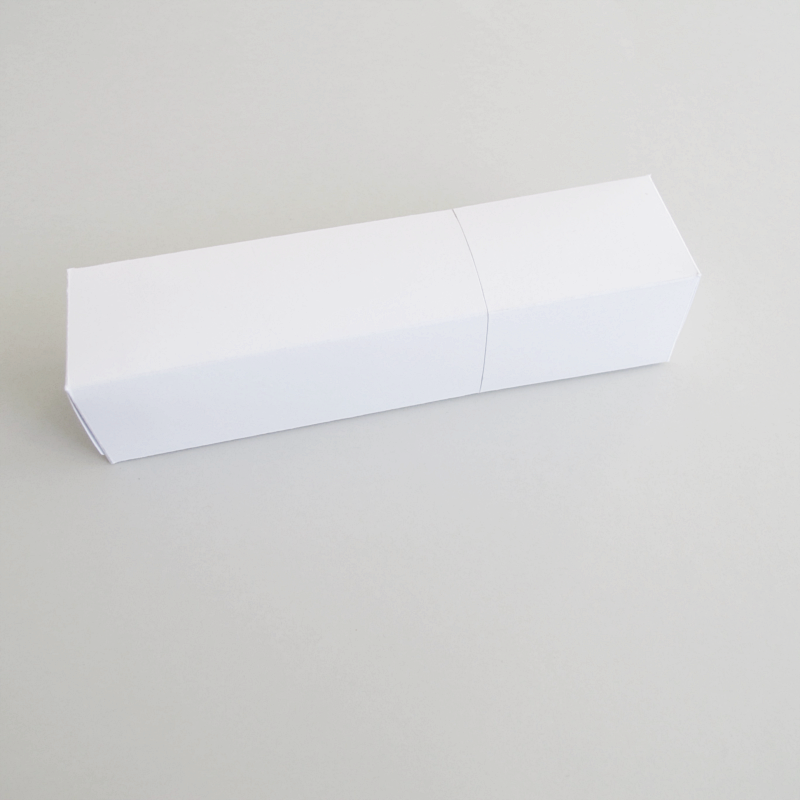
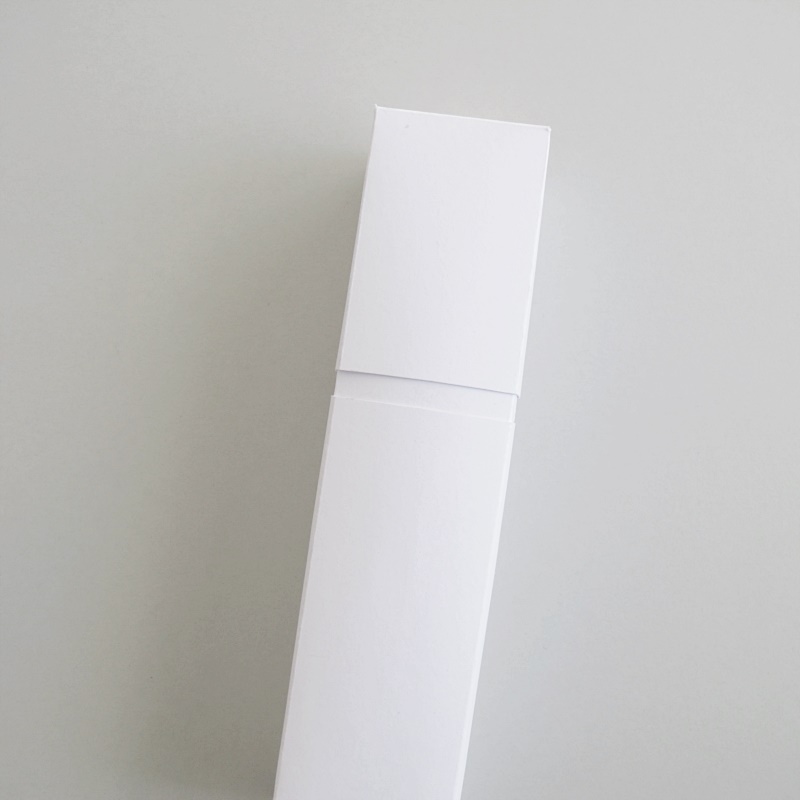
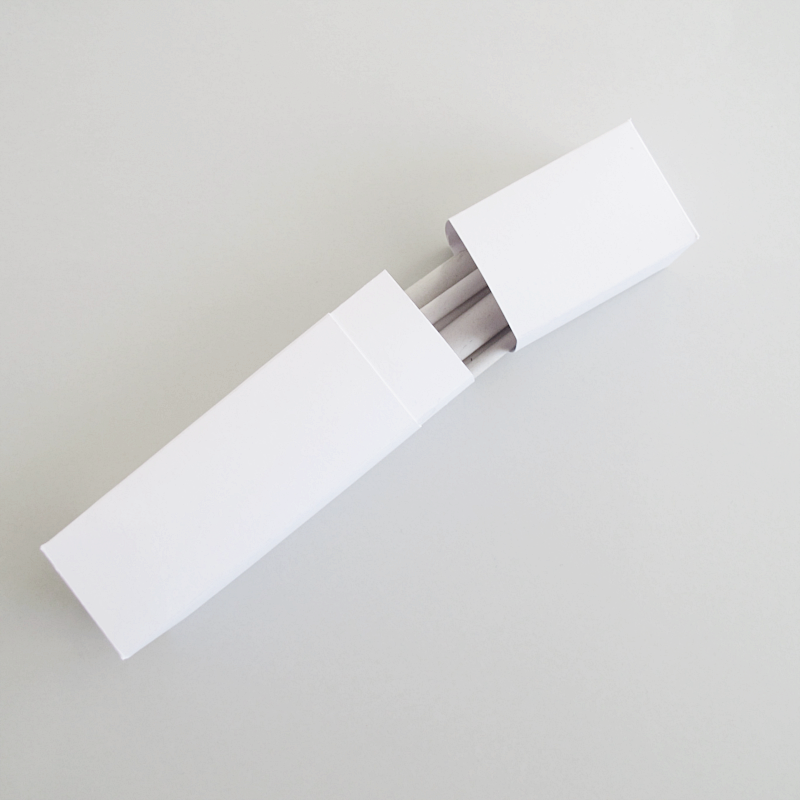
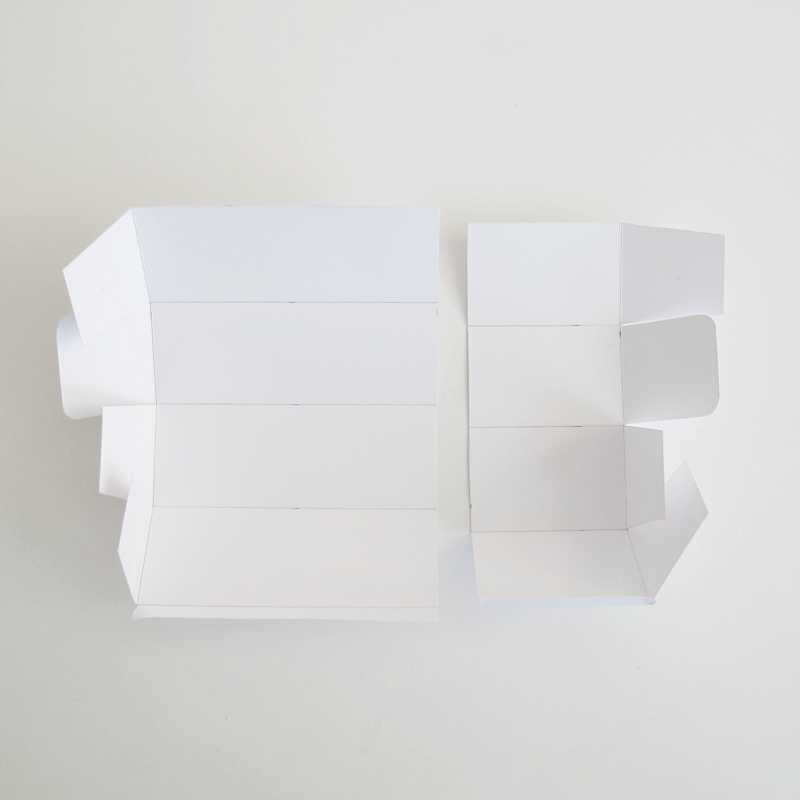
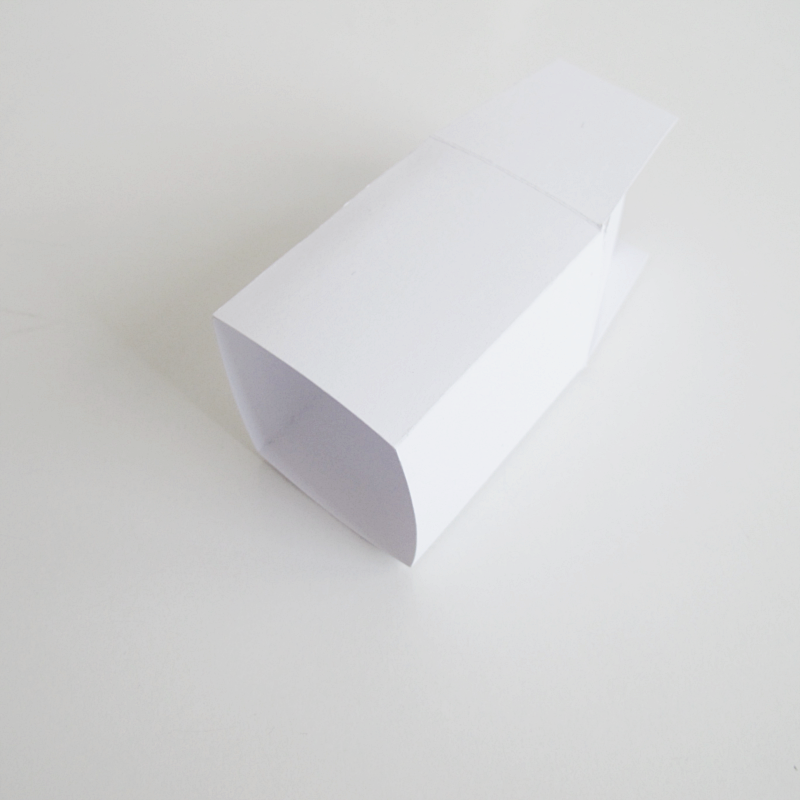
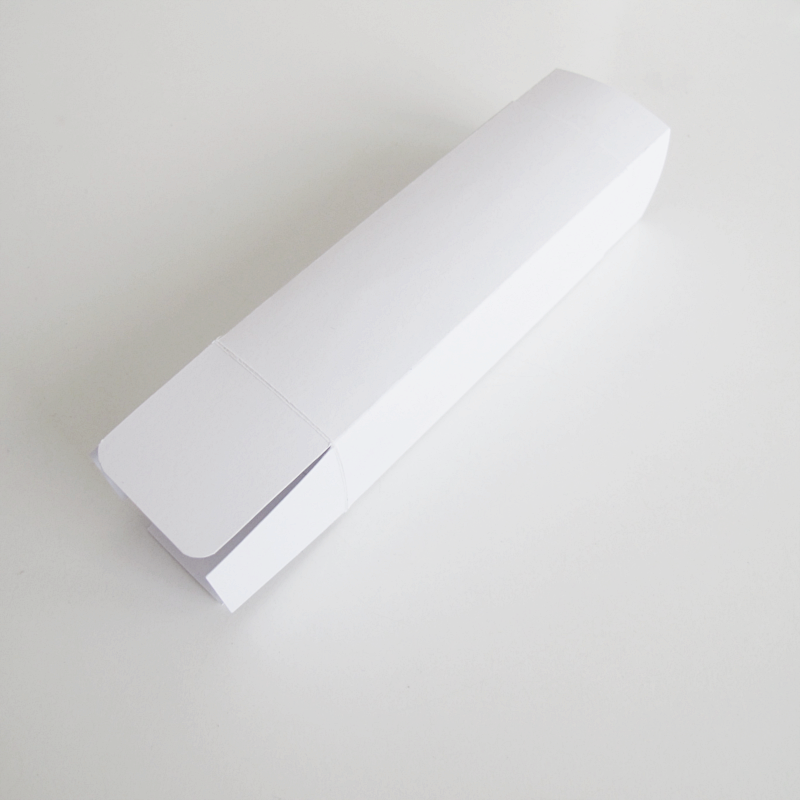
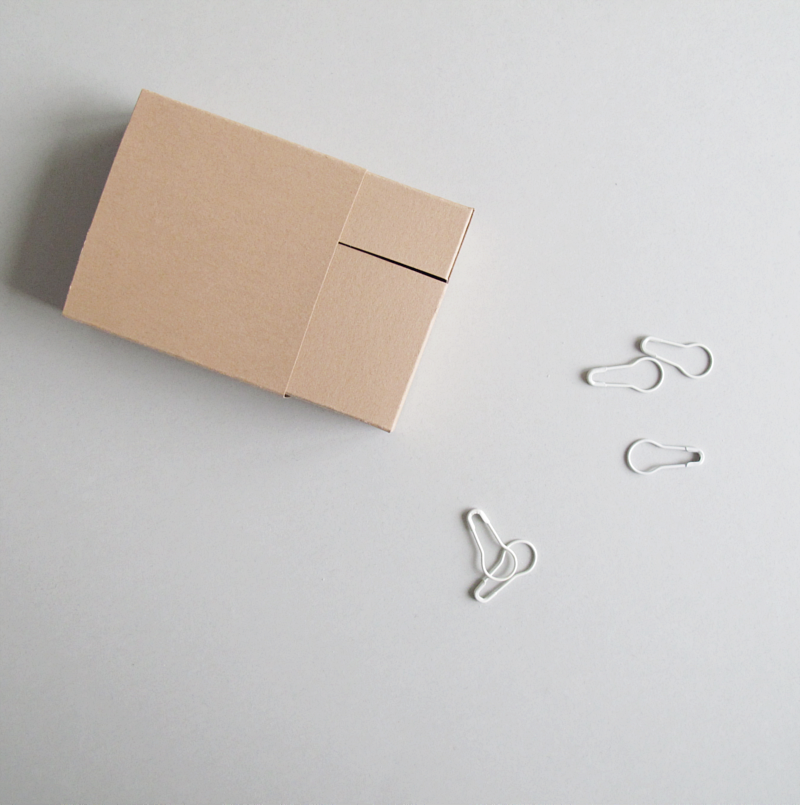
Over to the other piece of carton, the one that will work as a cover. Fold along the lines, (if you use a lighter colored paper erase all pencil lines), glue the two ends together, slide the box into the cover and you are done!
/// Så till den mindre biten, den som ska fungera som fodral. Vik längst med alla linjer, sudda eventuellt bort blyertsstreck och slutligen så limmar du ihop kortsidorna. Trä asken i fodralet, och du är klar!
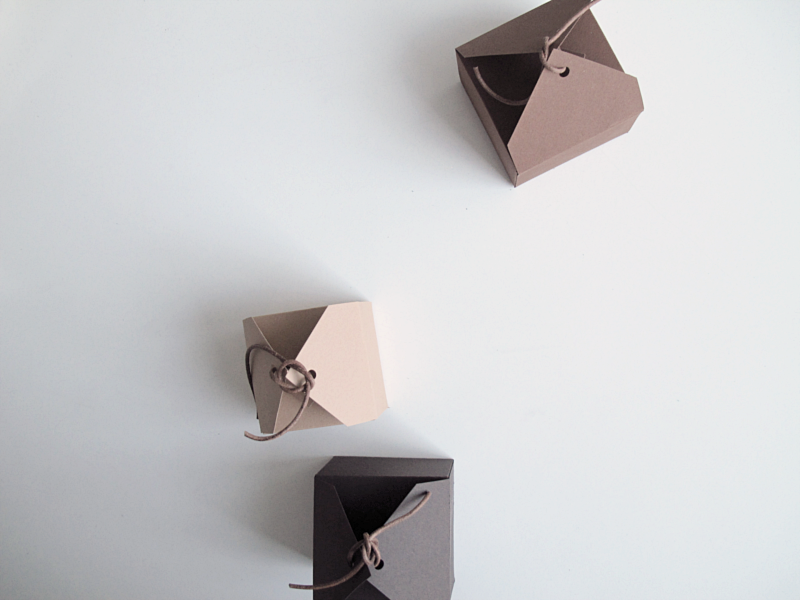
♦

Spara