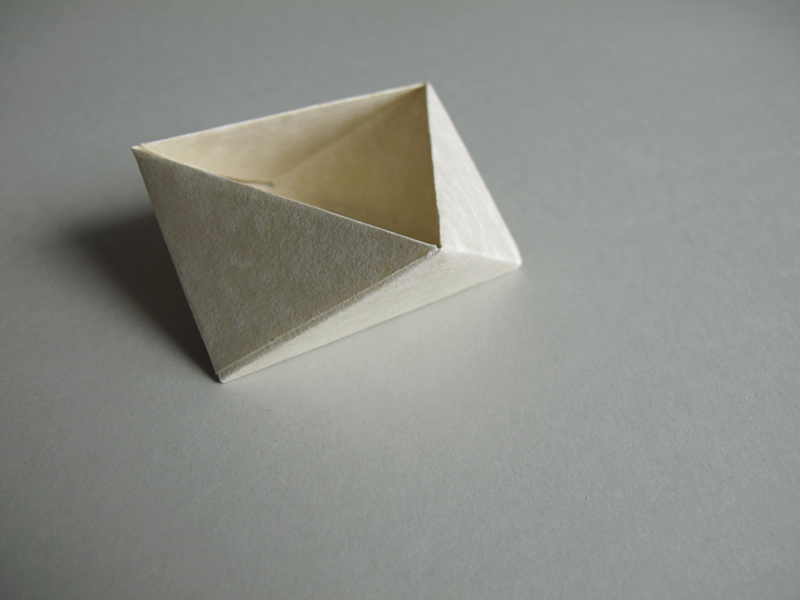
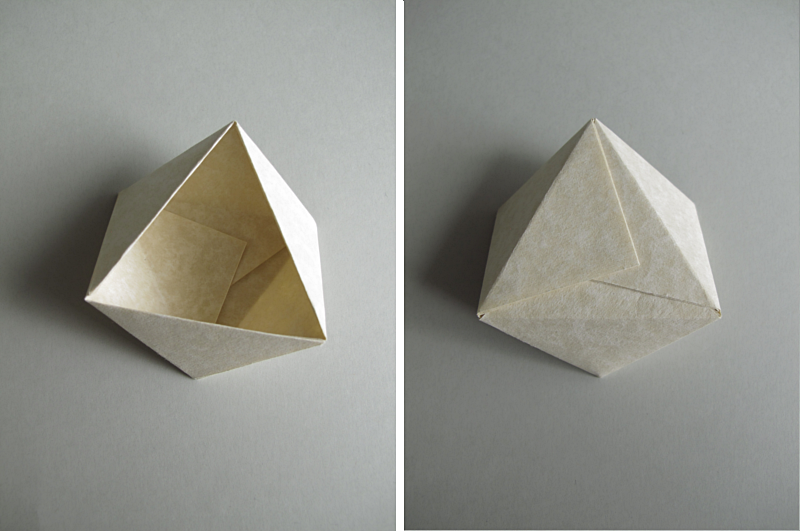
So many of you followers on Bloglovin liked the Paper pen holder I did so I thought that you might like this one too, and it’s actually a bit easier to make. No cutting or measuring at all.
For this you need:
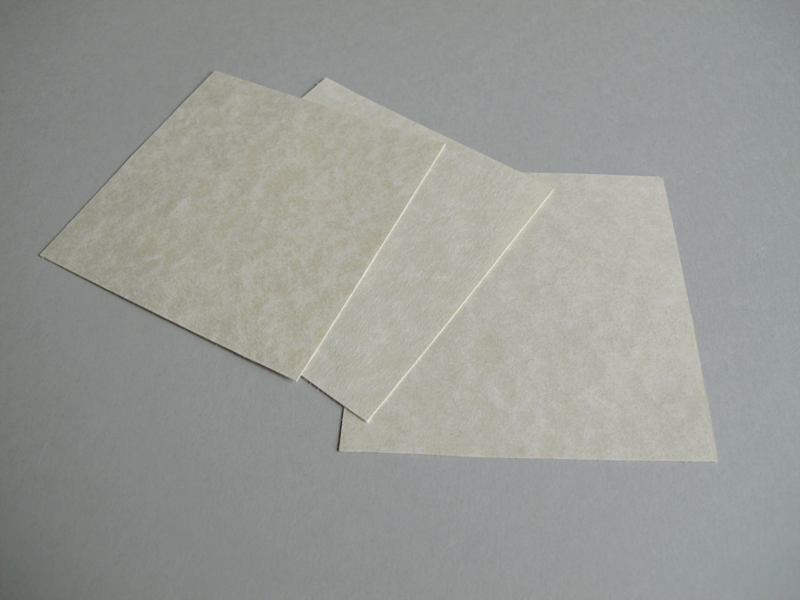
→ 3 pieces of thin paper in the shapes of squares. How big, you decide. I did one 9x9cm and the finished bowl is about 6.5 cm wide and 2.5 cm high. I also did one 13x13cm and that turn out to be about 9 cm wide and 4 cm high.
→ Glue
/// Så många av er följare på Bloglovin gillade Pennhållaren jag gjorde, så jag tänkte att ni nog skulle gilla den här också. Den är faktiskt lite lättare att göra. Inget klippande eller mätande överhuvudtaget.
Till denna behöver du
→ 3 bitar fyrkantigt tunt papper. Hur stora bestämmer du själv. Jag gjorde en skål med papper som var 9x9cm och då blev måtten på den färdiga skålen ungefär 6.5cm bred och 2.5cm hög, och en med papper som var 13x13cm och då blev skålen ungefär 9cm bred och 4cm hög.
→ Lim
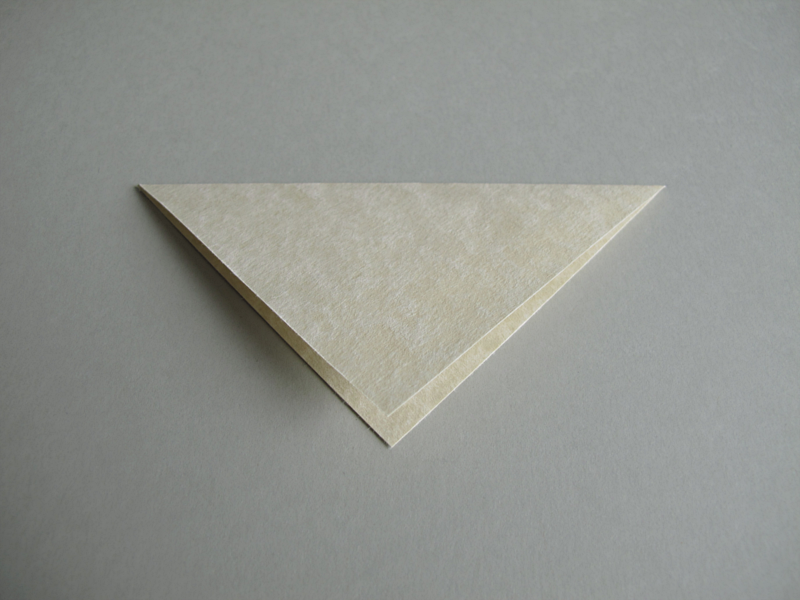
Fold one of the squares, so that the top meets the bottom.
/// Vik ett av papperna på mitten.
Fold the top left corner so that it meets the bottom corner.
/// Vik in vänstra spetsen så att den möter spetsen i botten.
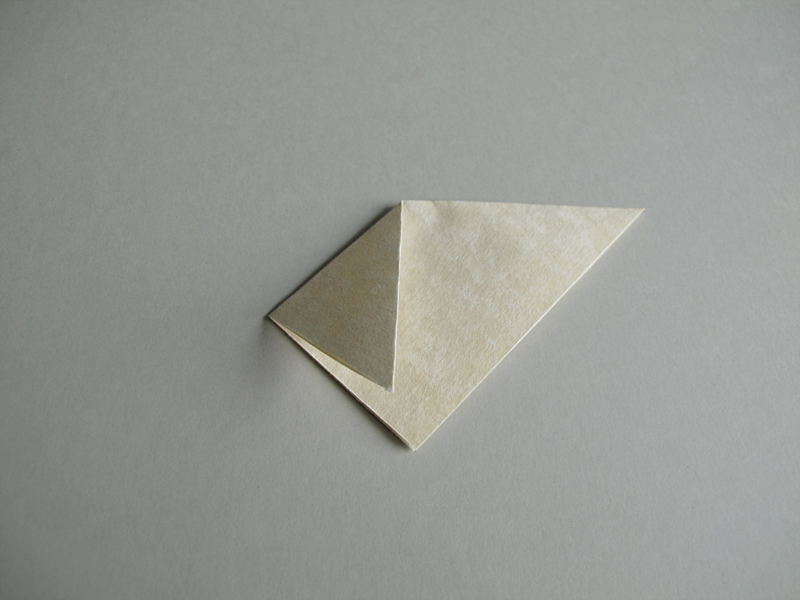
Repeat on the other side.
/// Vik likadant på andra sidan.
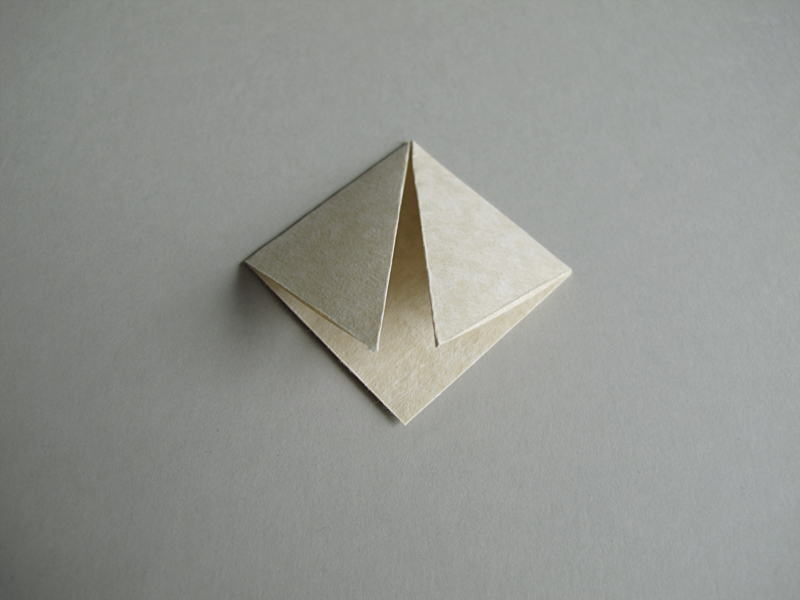
Unfold.
/// Vik upp spetsarna igen.
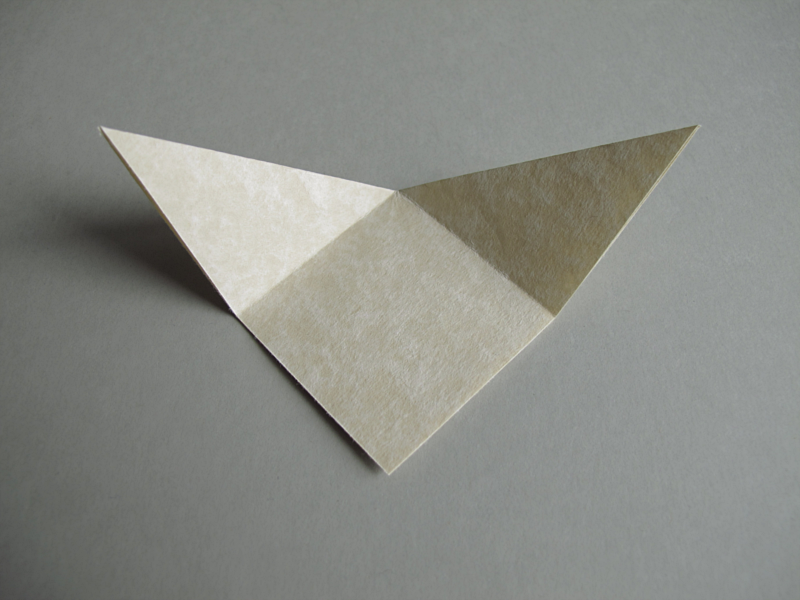
Fold the bottom corner to the top.
/// Vik spetsen i botten uppåt så att den möter övre delen av papperet.
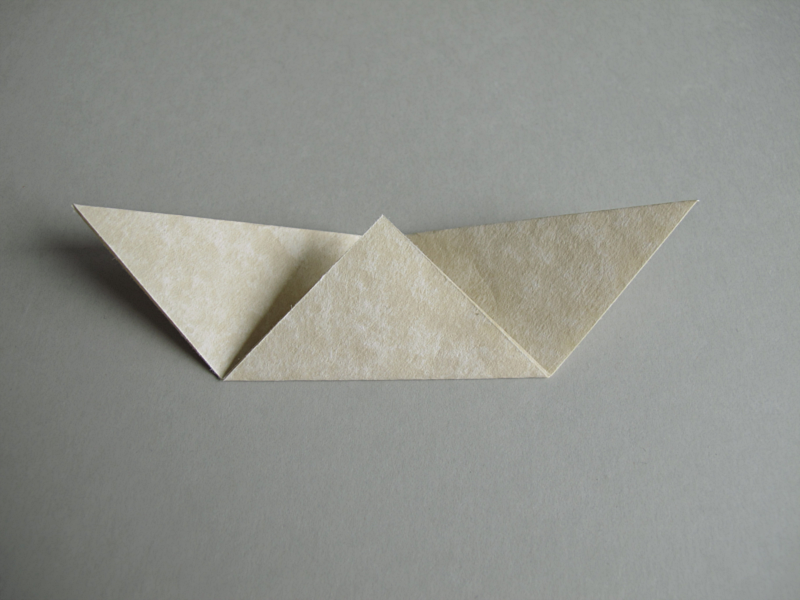
Now fold the two remaining pieces of paper, just like the first one you did.
/// Vik de två andra papperna precis likadant som den första.
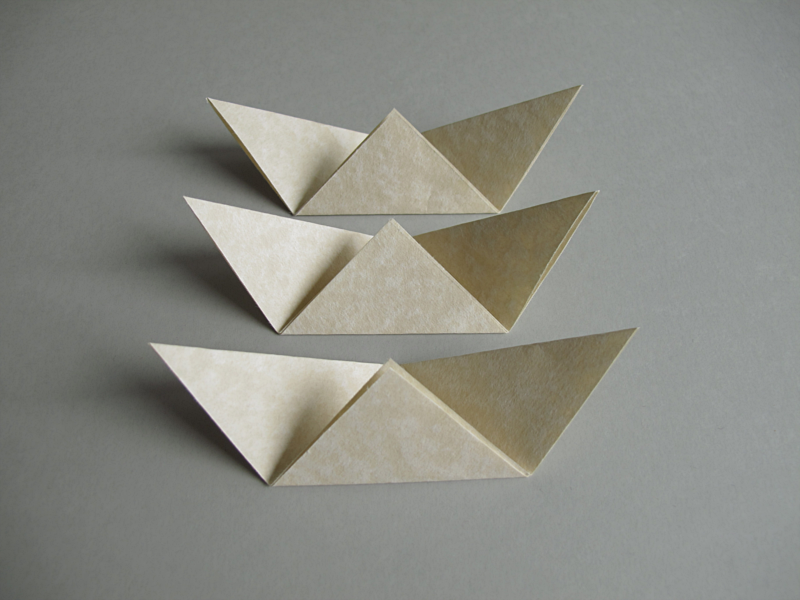
Attach two of the pieces. See picture below.
/// Trä in en spets i spetsen på ett annat papper.

And then attach the last one. Once that is done, attach the two farthest out on each side with each other.
/// Gör likadant med det tredje papperet. När det är klart sätter du ihop de två spetsarna längst ut på vardera sidan med varandra.
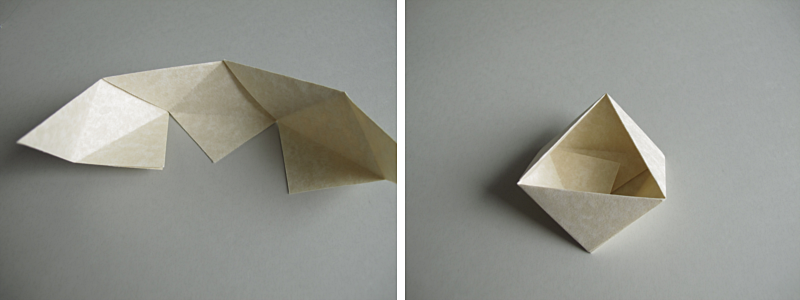
Put some glue on the ends at the bottom of the bowl. And press them together until the glue is dry.
/// Limma ihop bitarna i botten och tryck lätt tills limmet torkat.
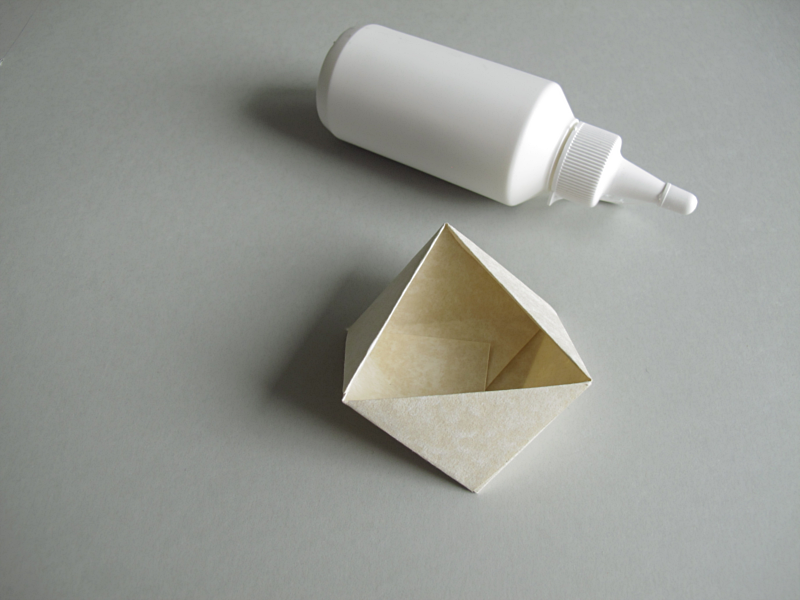
And you are done!
/// Klart!
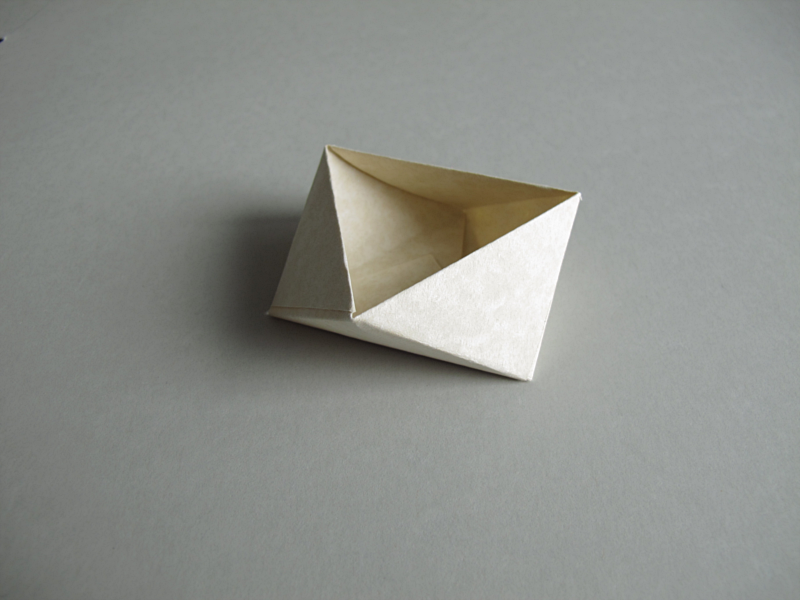
Next week I’ll show you how to do this with carton instead.
/// Nästa vecka tänkte jag visa er hur man gör denna i kartong istället.


