Menu Close

Month: April 2016

IN THE MAKING – SPOONS

Okey let me just tell you. I have been working on another diy for you and it’s been taking the whole week and I’m still not finished. It is not going well! I wanted to show you a wall hanging thingie that i’ve been seeing alot lately, but first I could NOT figure out how to tie from the instructions I was following, and I had to start over a couple of times. And feeling really stupid about it. Then I desided that “aah I do it my own way”, so I started doing it the way I remember doing “friendship bracelets”. And in the middle of the whole thing I remember I haven’t taken a single picture for the tutorial.. gah! And on top of that I really like the look of the ones that have a really thin thread, and I think I might have taken a thread that is too thin because it is going to take forever… So instead of that you get to se a couple of pictures from another diy I’m working on.

// Okej, först måste jag bara berätta att jag har pysslat med ett annat diy till bloggen hela veckan och det är fortfarande inte klart! Jag kan bara säga att det inte gått bra. Jag ville visa er ett diy som är en vägghängd bonad som vi har sett så mycket av på sistone, men först kunde jag verkligen inte komma på hur jag skulle knyta från instruktionerna jag följde, så jag fick börja om ett par gånger. Sen tänkte jag att “ääh jag knyter väl som jag själv vill”, och började knyta, ni vet som när man gjorde “vänskapsband”.  Och mitt i allt knytande så kom jag på att jag inte tagit några bilder på hur jag gjort.. pust..  Och till råga på allt så gillar jag utseendet på de bonaderna som har riktigt riktigt tunn tråd, men jag tror att jag kanske har valt en alldeles för tunn för det kommer att ta evigheter.. Så istället för det diy:et så får ni se bilder från ett annat diy jag håller på med.

spoon

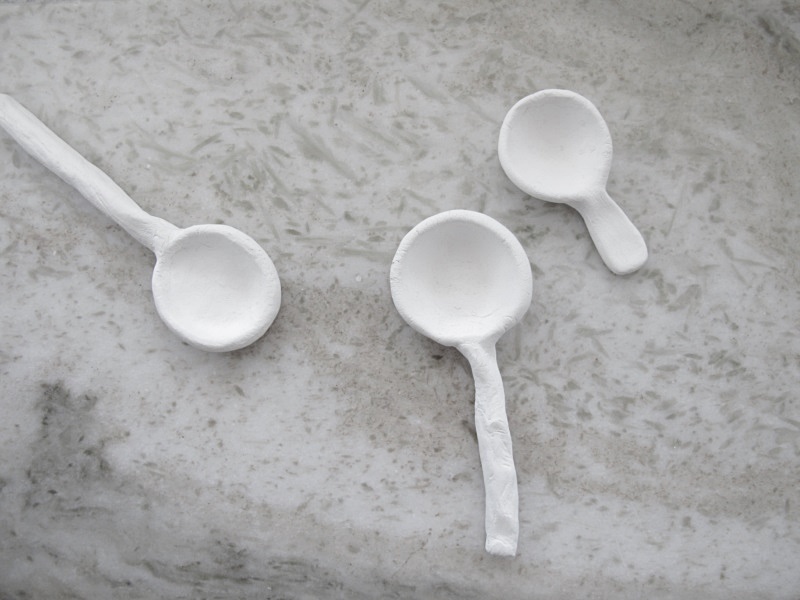
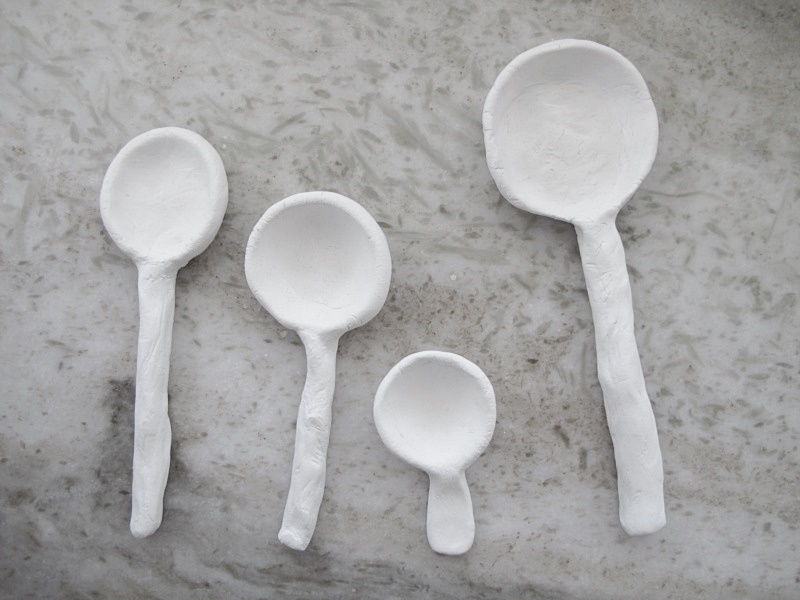
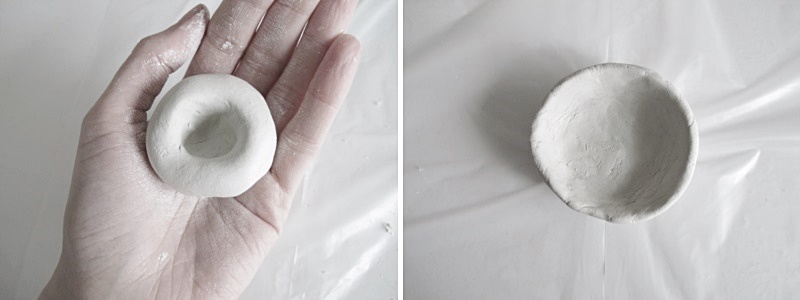
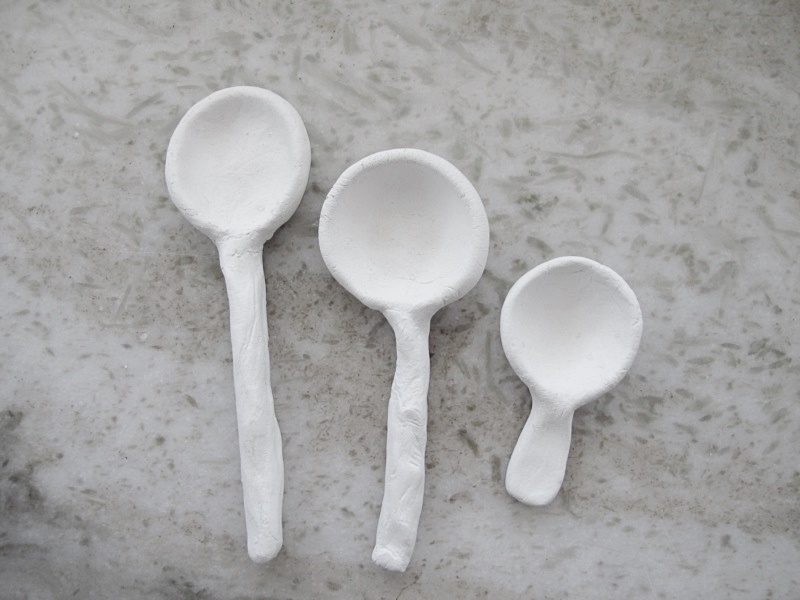
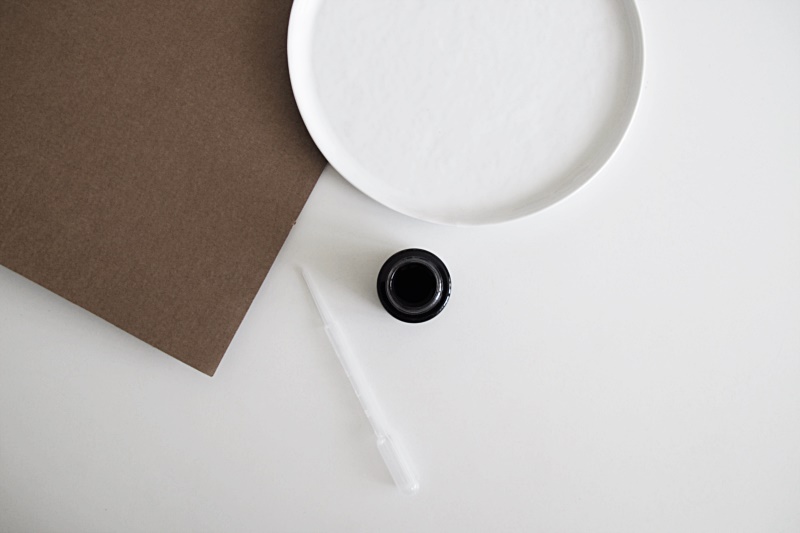
I don’t know where it comes from but I have really started to like ceramics that look homemade. A bit crocked, with fingerprints, and not at all “perfect”. So I bought some white clay, and made some spoons. I also tried some different ways to make them. The biggest spoon (on the right) I made by forming the top of the spoon with my fingers. The others I made by rolling a ball first, then I pressed my thumb in the middle of the ball to make the spoon shape. I like the look of the second way better, so the rest of the spoons I made the same way. The next step will be to treat the spoons with something ( I haven’t decided yet) so that it doesn’t matter if the spoons get wet. Stay tuned..

/// Jag vet inte riktigt vart det kommer ifrån, men jag har verkligen börjat gilla keramik som ser handgjord ut. Ni vet så där krokigt, och snett, med fingeravtryck, och inte alls “perfekt”. Så jag köpte lite vit lera och gjorde några skedar. Jag provade också att göra dem på lite olika sätt. Den stora skeden ( till höger) har jag bara tagit en bit lera och format den fritt till en skedform, de andra skedarna gjorde jag genom att först rulla en boll, sedan trycka tummen i mitten av bollen och på så sätt forma en sked. Jag gillade utseendet på det andra sättet bättre, så de resterade skedarna gjordes på det sättet. Nästa steg blir att behandla dem med något ( har inte bestämt vad än) så att det inte spelar någon roll om skedarna blir blöta. Fortsättning följer..

spoon1

spoon

spoon2

INSTAGRAM FAVORITE #13

trotter

A little instagram love to end the week. thetrottergirl. Lovely picture from around the world.

/// Lite instagram kärlek får avsluta veckan. thetrottergirl. Finfina bilder från världen alla hörn.

DIY -LINEN POTHOLDERS

diy potholders9

I really like linen, and the combination brown and beige, so that’s what I used when I made these potholders. But I actually used a fabric that was 50% linen and 50% cotton, just because I really like the structure and feel of it.

If you want to make your own you need: fabric, batting fabric (I used 130g/m2), binding (2 cm wide), a measuring tape, thread, a pair of scissors, a needle and a sewing machine.

/// Jag gillar linne, och jag gillar kombinationen brunt och beige, så det var det jag använde när jag gjorde dessa grytlappar. Om sanningen ska fram så är tyget faktiskt 50% linne och 50% bomull, bara för att jag gillade strukturen och känslan på tyget.

Om du vill göra likadana så behöver du: linnetyg, vadd ( jag använde 130g/m2), 2 cm brett kantband, måttband, tråd, en sax, nål och en symaskin.

diy potholders1

Start by cutting two squares out of the linen fabric, 22x22cm. Then you cut one square from the batting fabric too. Same size.

/// Börja med att klippa ut två fyrkanter av tyget och en fyrkant från vadden. 22x22cm.

diy potholders2

Then you zigzag around the edges of the linen fabric.

/// Sicksacka runt kanterna på de två tygbitarna.

diy potholders3

Then you place the batting fabric on a plain surface, and put the two pieces of fabric on top. Fold down the top fabric and place your piece of binding like the picture shows. I used a binding about 12 cm long. Make sure you have 10 cm on each side of the binding.

/// Lägg vadden på en plan yta, och lägg sedan de två tygbitarna ovanpå. Vik sedan ner en bit av det översta tyget och lägg ditt kantband där, som bilden visar. Mitt kantband var ungefär 12cm långt. Se till att du har 10cm på vardera sida av kantbandet.

diy potholders5

Sew the pieces together using the sewing machine. Put the side with the batting fabric upwards when you sew.  Make sure you leave a small opening at the bottom of the potholder.

/// Sy ihop delarna med hjälp av symaskinen. Ha sidan med vadden uppåt när du syr. Kom också ihåg att lämna en liten öppning längst ner på grytlappen.

diy potholders6

Then you turn the potholder inside out using the opening.

/// Vänd sedan grytlappen ut och med hjälp av hålet.

diy potholders7

Sew together the opening by hand, and then you sew, using the sewing machine of course ;), a border around the potholder.

/// Sy igen hålet för hand med nål och tråd, sedan syr du ett kant runt grytlappen, med symaskinen såklart ;)

diy potholders8

If you want to you can be finish now, or you can sew some pattern on your potholder. I made an X on my. Good luck!

/// Nu kan du vara klar eller så kan du välja att göra ett mönster på din grytlapp. Jag valde att göra ett X. Lycka till!

diy potholders92

DIY – SPOTTED PLATE

DIY- Spotted plate

Ever since I first saw these spotted plates, I´ve wondered if it would be possible to make one myself. So I bought some porcelain paint and a pipette and here you have the result..

Some tips along the way if you want to try it too:

  • Make sure you have a big piece of protection paper under the plate when you “paint” because the color really flies everywhere.
  • I “test painted” once on the protection paper after every time I filled the pipette because I felt that it otherwise was too much color at once.
  •  Try “painting” from different directions, not only from the top, and press various hard on the pipette  to get different effects.
  • Keep in mind that porcelain paint is quite watery so if you, as I did from the beginning, “paint” too much on the edges of the plate , the color will flow down towards the bottom of the plate.

When you feel like you´re done, just follow the instructions on the porcelain paint packaging. Good luck!

// Det här DIY är egentligen kanske inte nått riktigt DIY då det inte kommer med instruktioner, men jag tänkte ändå att jag skulle visa er. Ända sen jag först såg dom här tallrikarna har jag funderat om det inte skulle vara möjligt att göra en själv, så jag köpte lite porslinsfärg och en pipett, och så satte jag igång…

Några tips på vägen ifall ni vill prova själva:

  • Se till att ni har ordentligt med skydd under tallriken där ni “målar” för färgen flyger verkligen överallt.
  • Jag “provmålade” en gång på sidan av tallriken efter varje gång jag fyllt pipetten för jag upplevde att det annars kom för mycket färg på en gång.
  • Testa att “måla” från olika håll, inte bara uppifrån, och prova också att trycka olika hårt på pipetten för att få olika effekter.
  • Tänk på att porslinsfärg är ganska vattnigt så om ni, som jag gjorde från början, “målar” för mycket på tallrikens kanter kommer färgen att rinna ner i botten.

När ni känner er klara, så följer ni bara instruktionerna på porslinsfärgens förpackning. Lycka till!

DIY- spotted plate

I’m back

hi

Hi guys.. you know what? I think I might be back again. Because I really miss the blog, and to be creative and share it with you, read all your comments about the things you make and to share with you things I like that other people make..

When I stopped blogging in june, almost two years ago, to be honest with you I’d lost myself in why I was blogging, and started doing it for everybody but myself, and I don’t want that to happen again so I really don’t know which way the blog will go. I know I want to continue to share DIY’s, be creative, and share things I like with you and that´s pretty much all I know.. So we just have to see where it goes from here.

But for now. Happy to be back!

/// Hallå.. vet ni vad? Jag tror jag är tillbaka igen. Jag har saknat bloggen, att vara kreativ och få dela det med er, få läsa alla era kommentarer om de saker ni gör och få visa saker jag gillar som andra gjort..

När jag slutade blogga i juni, för nästan två år sedan, så hade jag tappat bort mig själv nånstans i bloggandet och det kändes som jag gjorde det för någon annans skull, och jag vill verkligen inte att det ska bli så den här gången, därför vet jag inte riktigt åt vilket håll bloggen kommer att gå, mer än att jag vill fortsätta med DIY, visa saker jag gillar och.. ja det är ungefär det jag vet nu.. Så vi får helt enkelt bara se vart det tar vägen härifrån.

Men för nu. Tokglad att vara tillbaka igen!