Menu Close

Month: November 2012 (page 1 of 2)

another star

Here is another star diy for you. /// Här kommer ännu ett stjärn diy till er.

(Sorry for the bad quality of the photos. It turns dark really fast this time of year! /// Ursäkta de dåliga bilderna. Blir ju mörkt så fort!)

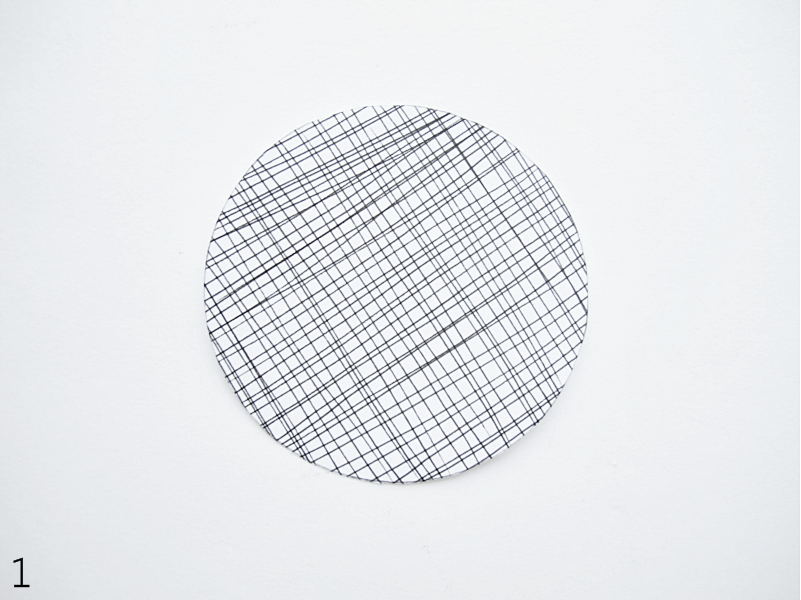
1. Cut out a circle in a piece of paper you like /// Klipp ut en cirkel ur ett papper du gillar.

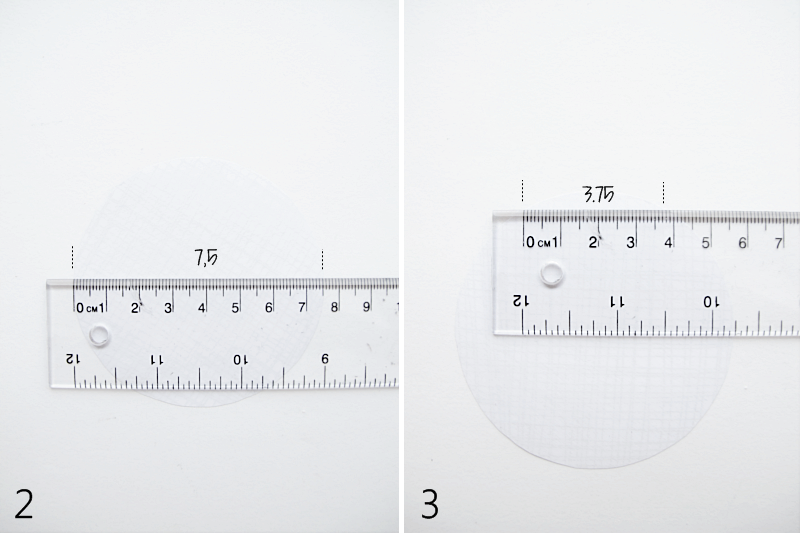
2. Measure the diameter of the circle. My circle is 7,5 cm. /// Mät diametern på cirkeln. Min är 7,5cm

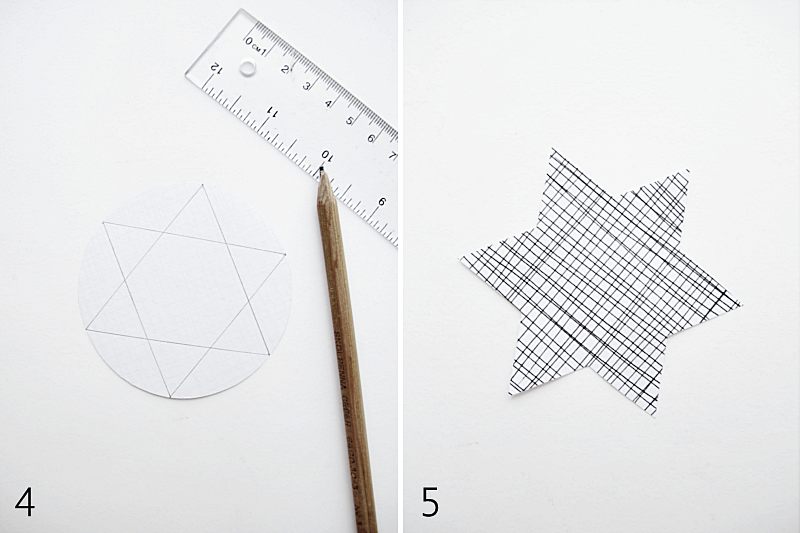
3. Divide the diameter in half, for me that is 3,75cm, and make a little dot every 3.75cm around the circles perimeter. /// Ta halva diameterns mått, för mig blir det 3,75cm och gör små prickar utefter cirkelns ytterkant med ett avstånd av 3,75cm.

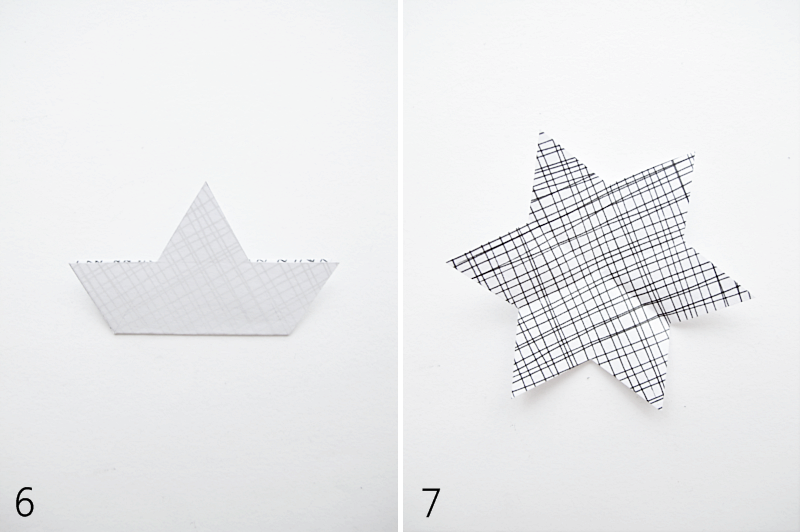
4. Connect all the dots.  /// Dra steck mellan de 6 punkterna.

5. Then cut it out.  /// Klipp sedan ut stjärnan.

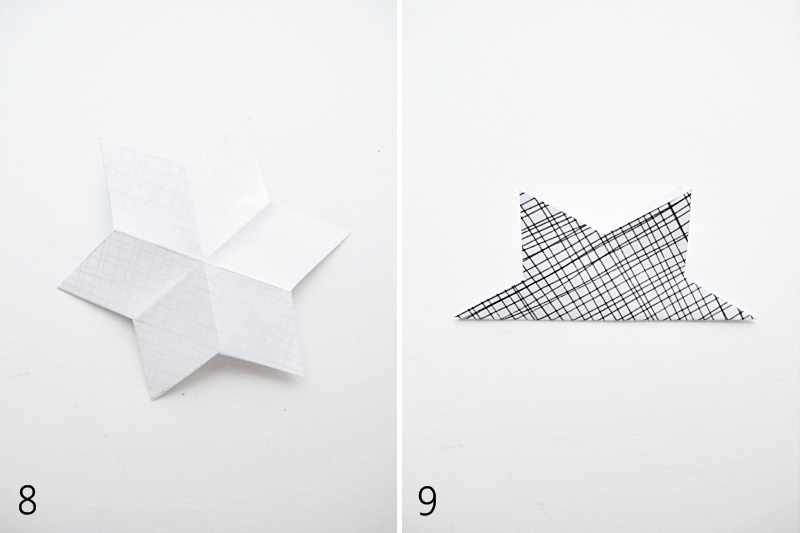
6-7. Now you´re going to fold the star. Make sure you fold it in the same way as in the picture. In the stars “waist”. Fold it three times.  /// Nu ska du vika stjärnan. Var noga med att vika den som bilden visar. Alltså där stjärnan är som smalast. Vik tre gånger.

8. Turn the star upside down. /// Vänd stjärnan upp och ner.

9. And fold it again. This time were the star is the widest. Fold three times. /// Vik stjärnan igen. Denna gång där stjärnan är som vidast. Vik tre gånger.

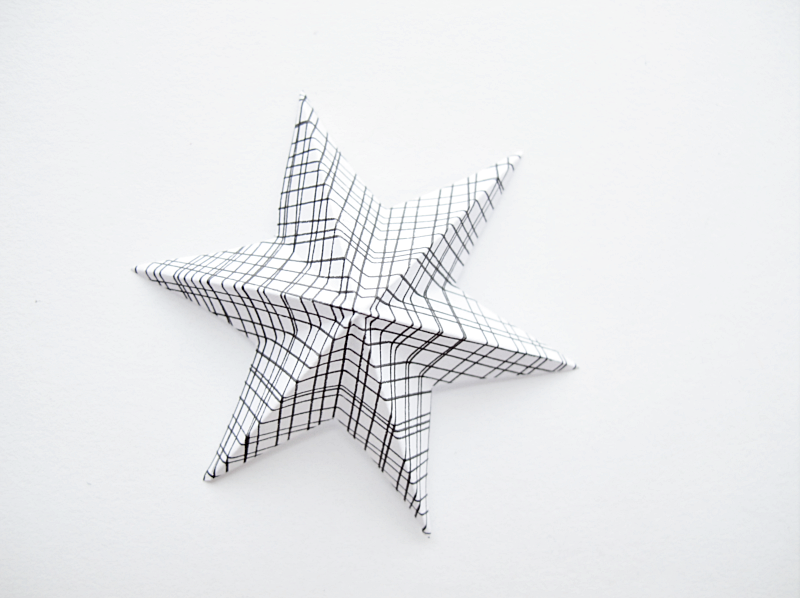
And you´re done. /// Och nu är det klart!

anna

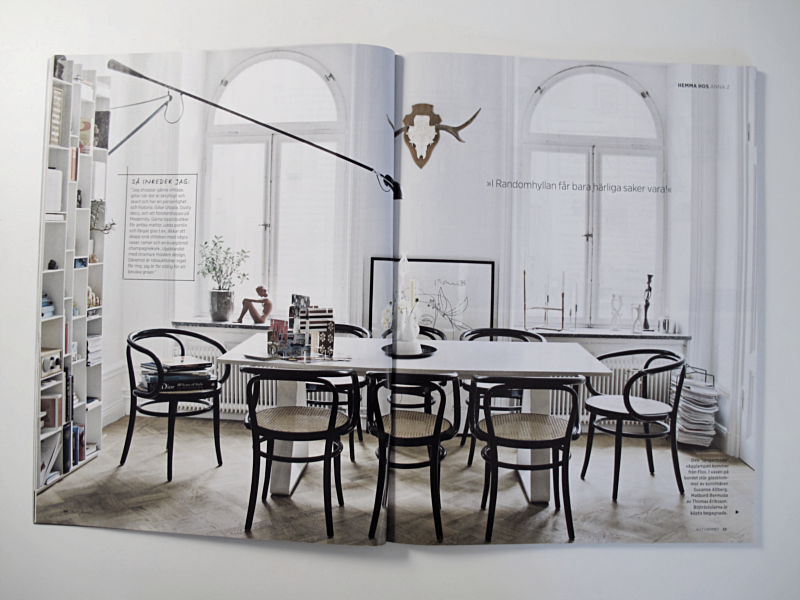
I was looking trough some old magazines and found this picture of Anna Zethraeus (swedish magazine Allt i Hemmets editor in chief) dining room. Looks great!

/// Jag tittade igenom några gamla tidningar och hittade denna bild på Allt i Hemmets chefredaktör Anna Zeatreaus matrum. Väldans fint tycker jag.

fo: from the july issue of swedish magazine Allt i Hemmet

diy star

It´s not that many weeks left until christmas, so I wanted to show you an easy way on how to make your own christmas star. Once you learned the basics of making this kind of star, you can modify the look on it however you like it the most. /// Med bara fem veckor kvar till julafton, vill jag visa er hur man enkelt gör en egen julstjärna. När man väl har lärt sig grunden till den, så kan man ändra utseendet till den varianten man gillar mest.

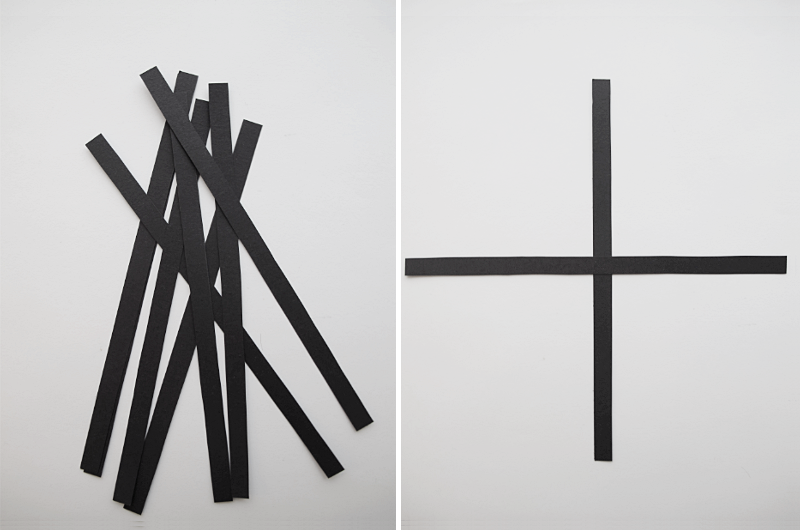
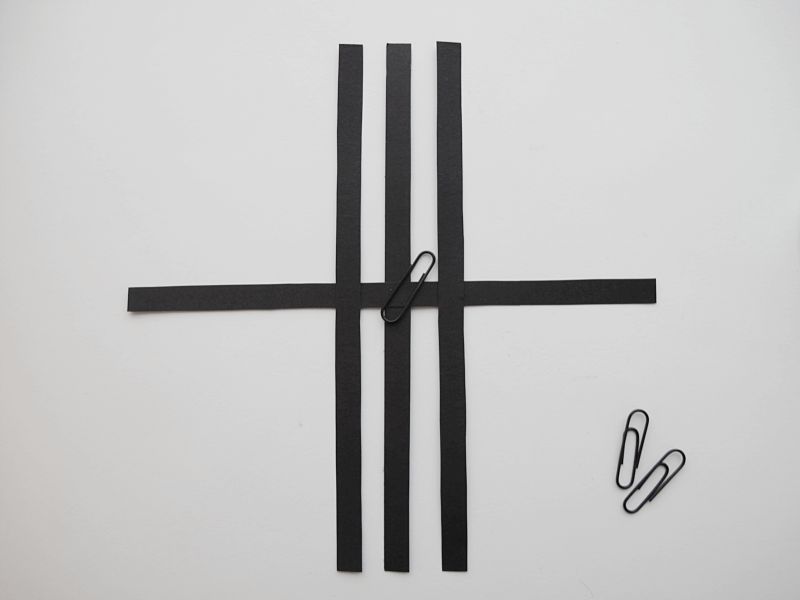
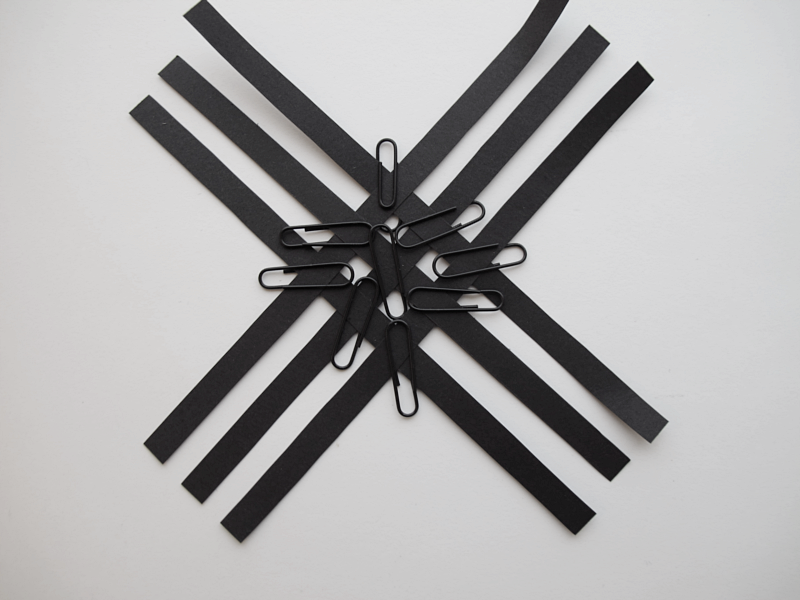
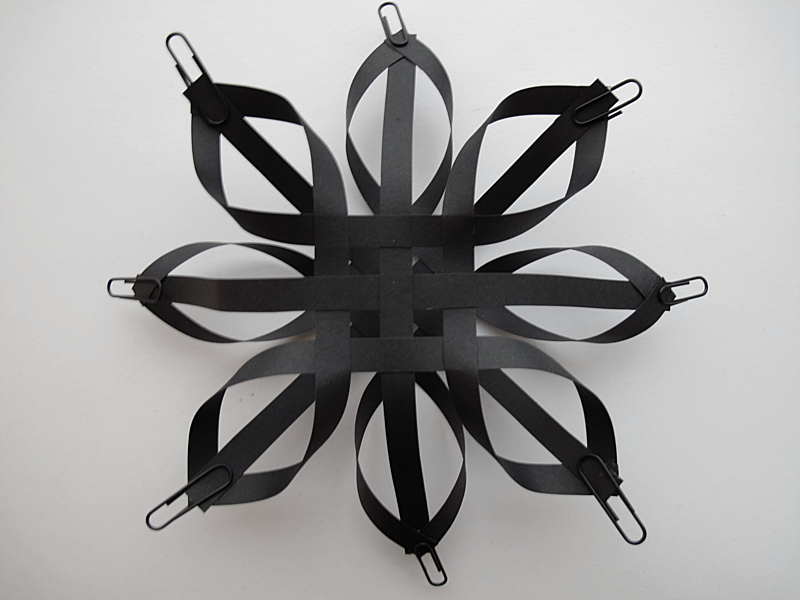
First you cut a paper into 12 pieces. (1cmx21cm). Then you glue two strips together like a cross. You can use paper clips or clothespins to keep it in place while it dries. ↓ /// Först klipper du ut 12 rektangulära bitar ur ett papper med måtten 1cmx21cm. Sedan limmar du ihop två av bitarna som ett kors. Du kan använda ett gem eller en klädnypa till att hålla papper på plats tills dess att limmet torkat. ↓

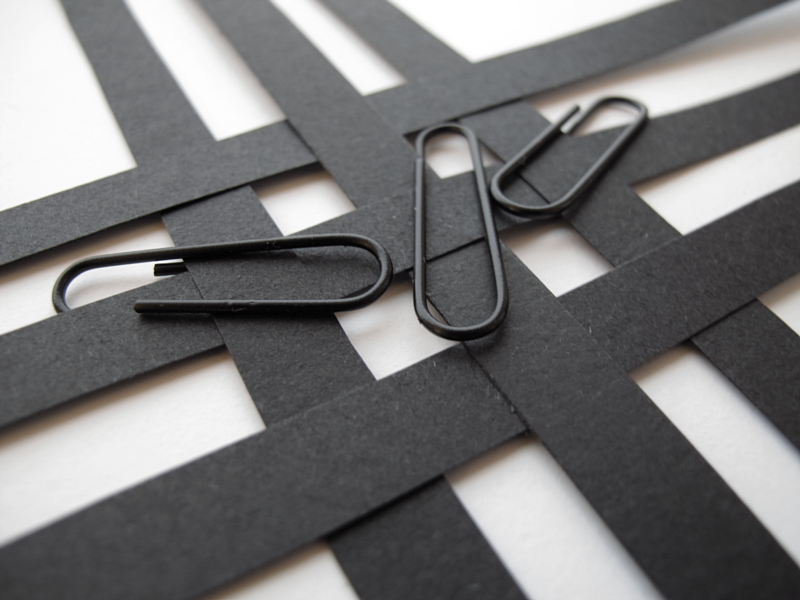
Then you add two more strips and alternate them over and under. ↓/// Sedan tar du två bitar till och limmar fast dem. Varva bitarna under och över. ↓

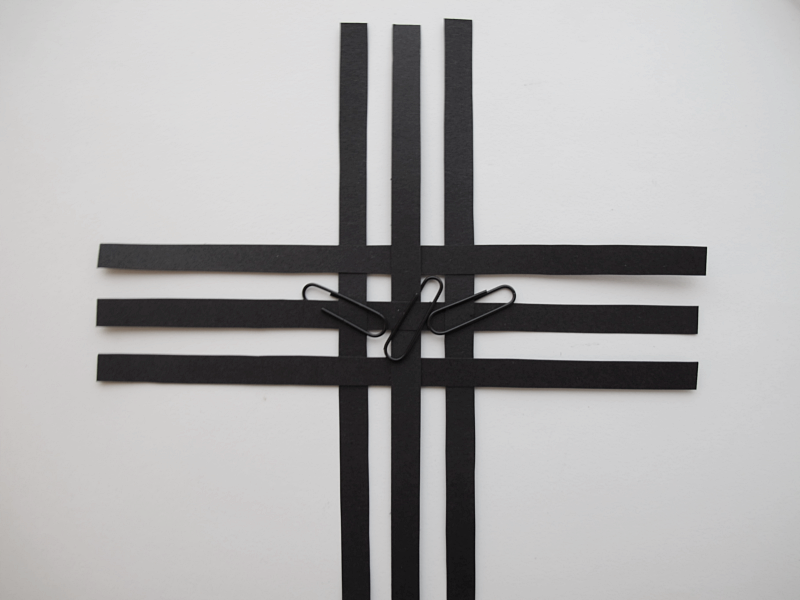
And do the same in the other direction. ↓ /// Gör nu likadant åt andra hållet. ↓

It should look like this: ↓ /// Nu borde det se ut så här: ↓

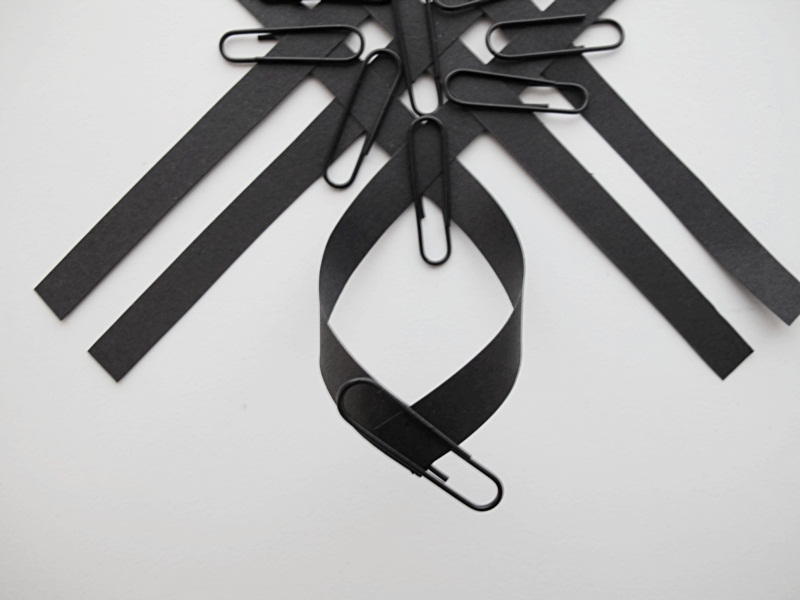
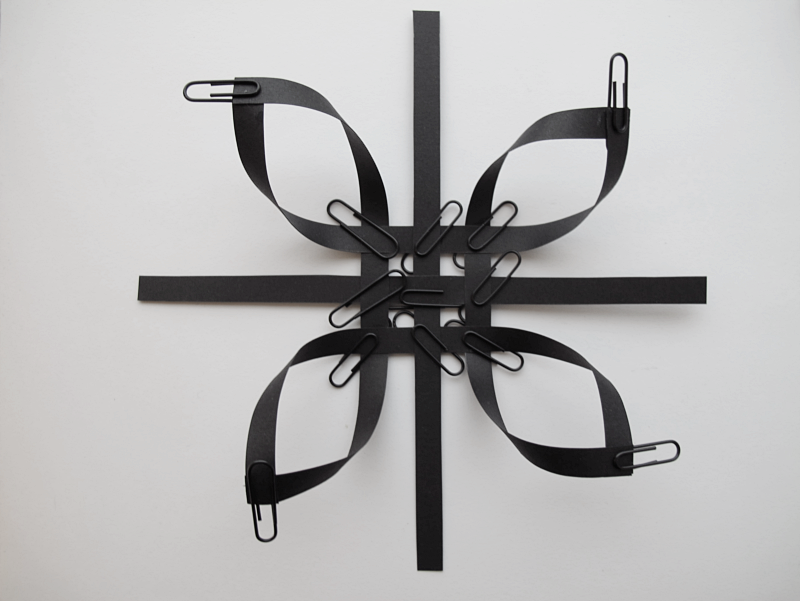
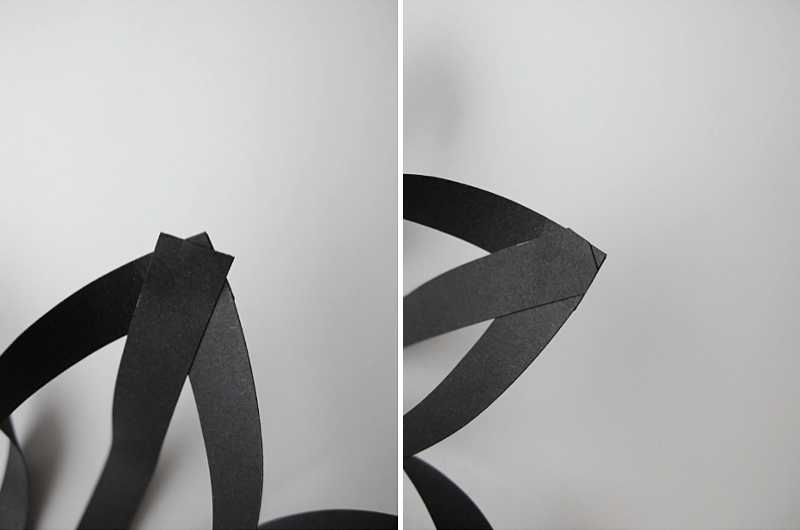
Now you are going to take two of the corner strips of two sections and glue them together. See pictures below. ↓ /// Nu ska du ta två av hörnbitarna i närliggande sektioner och limma fast dem med varandra. Se bilderna nedanför ↓

Repeat on the other sides. ↓ /// Gör likadant på de andra sidorna. ↓

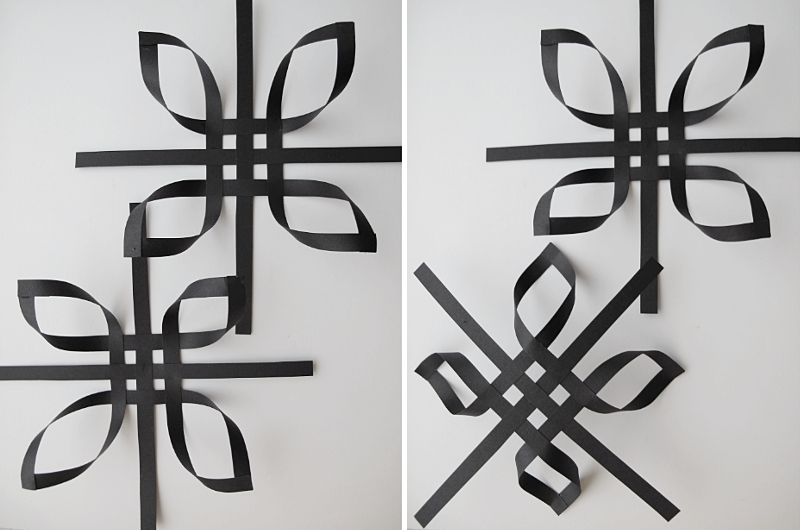
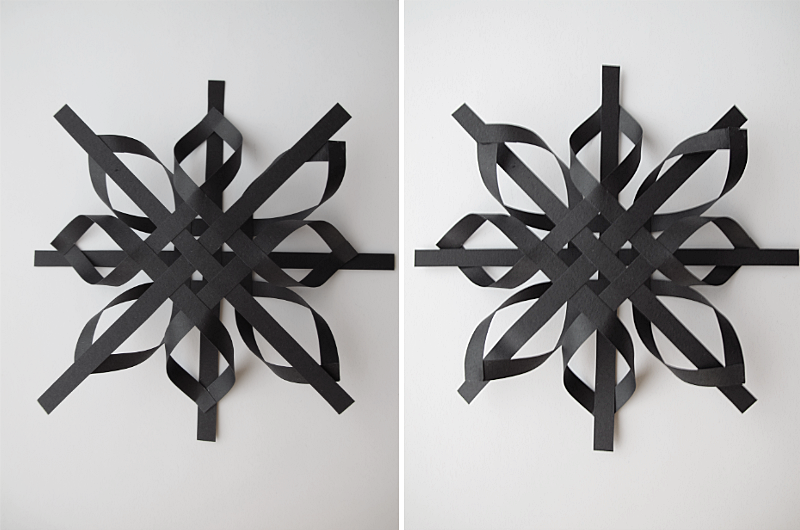
Repeat all the before steps so you end up with two pieces that looks like this. Turn one of them upside down and turn it 45°. ↓ /// Upprepa nu alla stegen igen så du får två bitar som ser ut så här. Vänd en av dem upp och ner och vrid på den lite. ↓

Now place one on top of the other. And thread the longer pieces inside the loops. (You might think that they are to long and feel the urge to cut them, but don´t do it, they are supposed to be that long) ↓ /// Placera den upp och nervända delen på den andra och trä igenom de långa bitarna i öglorna. (Nu kanske du tycker att de långa bitarna är lite för långa och vill klippa av dem. Men gör det inte, det är tänkt att de ska vara så långa.) ↓

Glue the longer strips onto the corner of the loops. ↓ /// Limma fast de längre bitarna i hörnet på öglorna. ↓

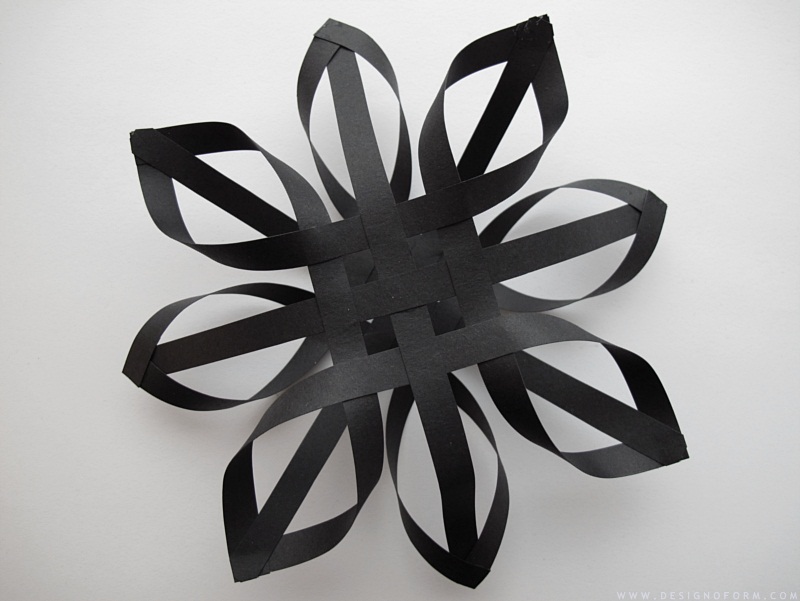
Once it dries you can cut the corners off. ↓/// När limmet har torkat kan du klippa av de utstickande hörnen med en sax. ↓

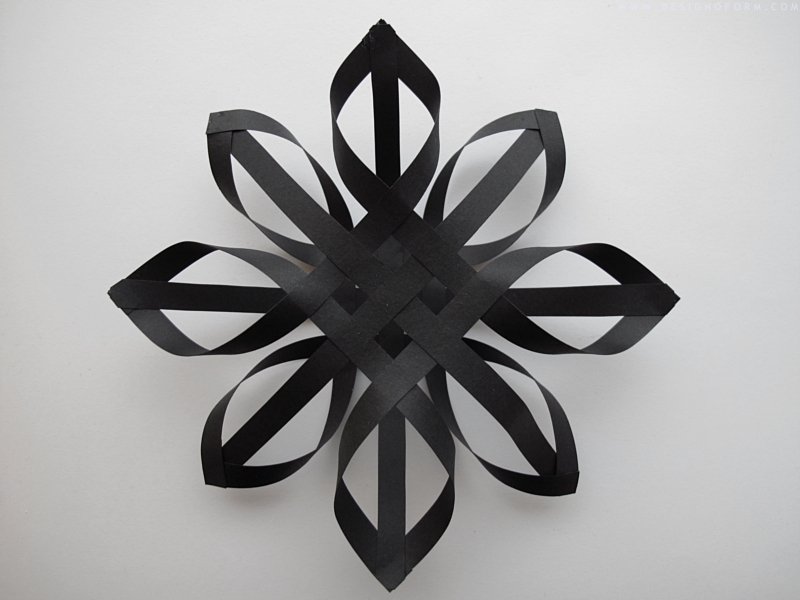
And you are done! /// Och du är nu klar!

Good Luck! /// Lycka till!

just because..

Just because I like them..

/// Bara för att jag gillar dem..

fo: 1 2

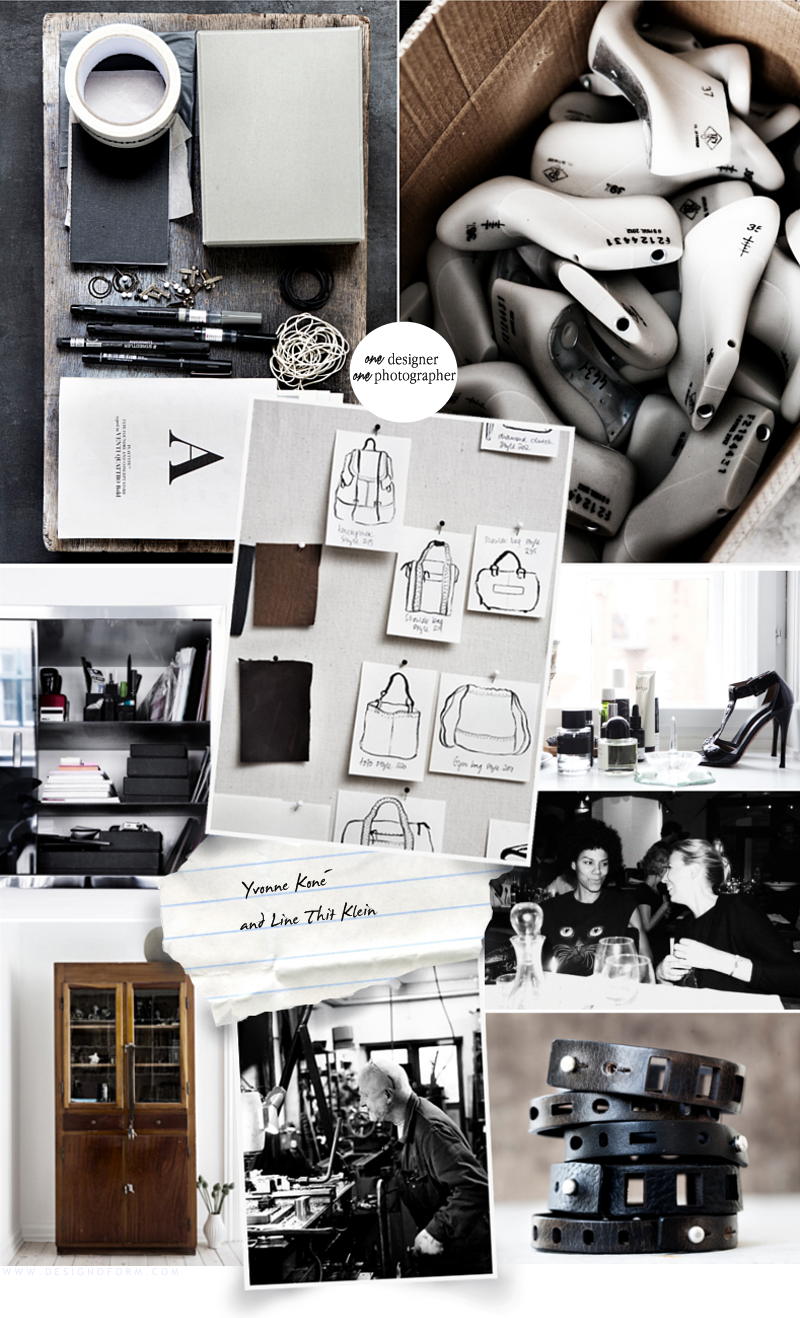
a perfect match

Line Thit Klein and Yvonne Koné. Two women who really know what they are doing, and they do it so well. The crazy good photographer and the amazing designer just makes a perfect team!

/// Line Thit Klein och Yvonne Koné. Där har vi två som verkligen vet vad de håller på med, och dom gör det så bra! En galet bra fotograf tillsammans med en helt otrolig designer är verkligen en lyckat kombination.

fo: Yvonne Koné | Line Thit Klein

collage: me