Menu Close

Tag: makeover (page 1 of 3)

IKEA CUPBOARD

livethemma

Ikea’s cupboard Knoxhult, in  Annie Lindgren’s home, with a gray color in the same nuance as the wall behind it. Just perfect. For more photos click here.

/// Ikea’s skåp Knoxhult, hemma hos Annie Lindgren, i fin grå färg med samma nyans på väggen bakom. Perfekt! Se fler bilder här.

fo: Livet hemma, Anna Malmberg | styling: Pella Hedeby

TODAY’S DIY INSPIRATION

via ikealivethemma

Today’s DIY inspiration is Helena’s makeover on BJÖRKSNÄS cabinet from Ikea. She first painted with a “diluted” green color and then she used dark furniture wax, and I think the result turned out really good! Imagine what a little color (and wax) can do.

/// Dagens DIY inspiration blir Helenas makeover på BJÖRKSNÄS vitrinskåp från Ikea. Hon har först målat med en “utspädd” grön färg för att sedan använda sig av mörkt möbelvax, och jag tycker resultatet blev riktigt bra! Tänk vad lite färg (och vax) kan göra.

fo: Ikea Livet Hemma | Helena Nord

DIY – LACK MAKEOVER

via ikea livet hemma

Do you remember the tiled bench by Matilda gillar that I posted a while ago? Now the crew behind Ikea Livet hemma has made a similiar DIY with the famous LACK tables. Nice! For instructions click here (In swedish but use google translate!)

/// Kommer ni ihåg den fina kaklade bänken som Matilda gillar gjort och som jag visade för ett tag sedan? Nu har gänget på Ikea Livet hemma gjort en liknande variant på det välkända LACK borden, och fint blev det! Beskrivning till hur du gör ditt eget bord hittar du här.

fo: Ikea Livet hemma | Ragnar Ómarsson | Styling: Pella Hedeby, Alicia Sjöström

NOTE BOOK MAKEOVER

Note book makeover | designoform.com

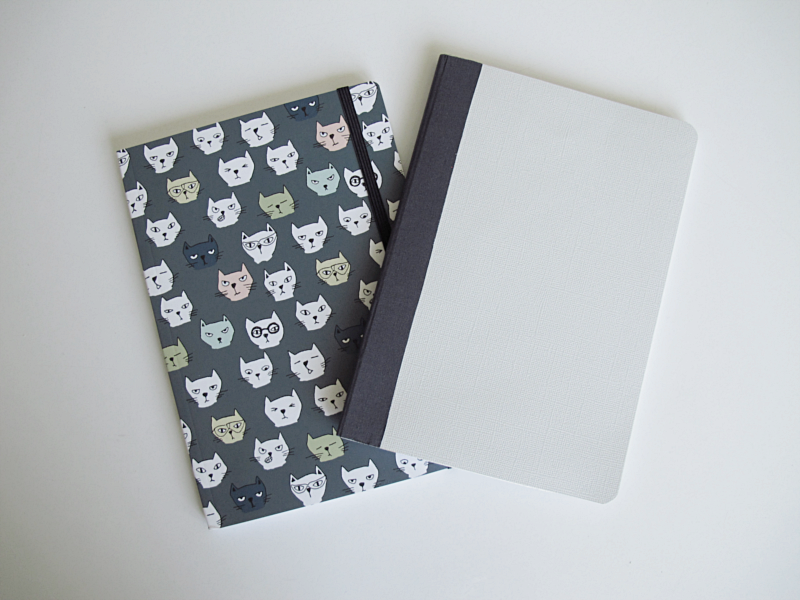
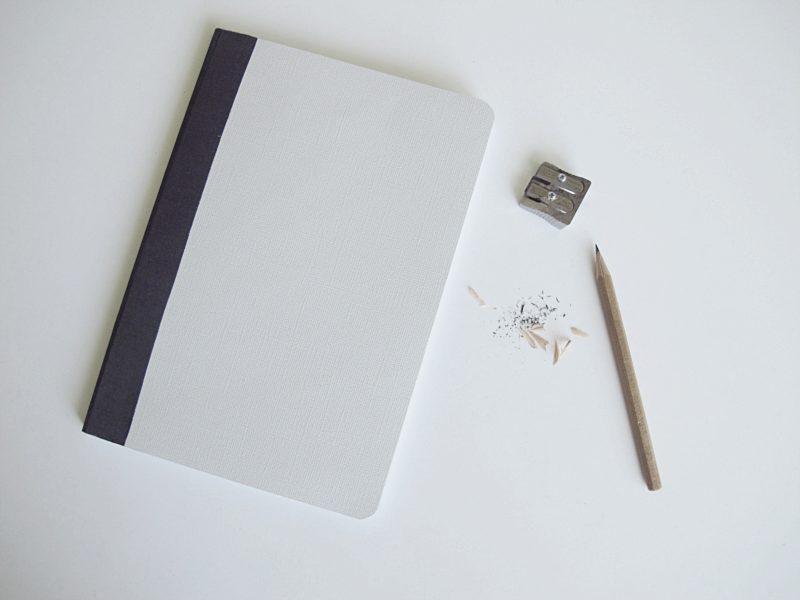
I really, really like to do note book makeovers. So when I find  them on sale I always buy a bunch of them. The good thing about that is it doesn’t matter how they look because I always change them and I get more for the same price ( if that is actually true with the material for the makeover we’re not going to think about now..)  Anyway.. Here you have my latest makeover. If you want to make one too, here’s how I did it.

/// Jag vet inte hur många anteckningsböcker jag gjort om, men jag verkar aldrig ledsna på det. När jag ser dem på rea så köper jag alltid en hel hög, dels för att det inte spelar någon roll hur de ser ut och sen så får jag fler för en billigare peng (om det verkligen blir billigare i slutändan med allt material som jag använder för att göra om dem, bryr vi inte oss om just nu..) Iallafall så är detta min senaste, som jag tänkte visa er om ni vill göra en likadan.

For this you’ll need:

→ A note book
→ A piece of paper
→ Textile tape
→ Glue
→ A pair of scissors

/// Du behöver:

→ En anteckningsbok
→ Ett fint papper
→ Textil tejp
→ Lim
→ Sax

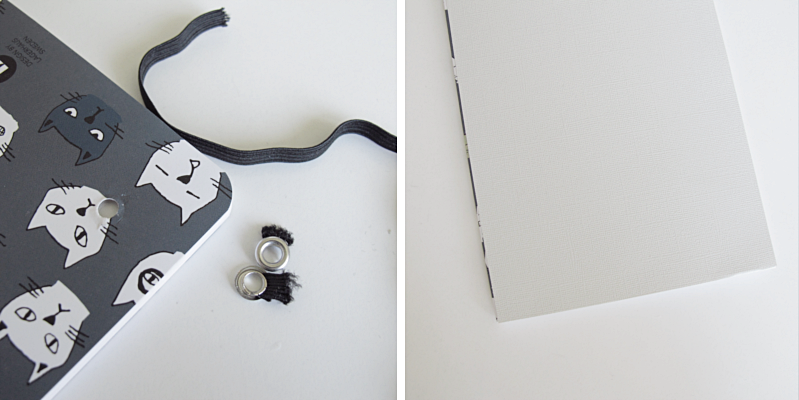
First you remove the band that holds the note book together (if you have one of those). Then you cut out two pieces of the paper, a few millimeters smaller than the width of the note book. And glue them onto the note book.

/// Först tar du bort snöret som håller ihop anteckningsboken (om du har ett sådant). Sedan klipper du två bitar ur papperet, några millimeter smalare än boken, som du sedan limmar fast.

Note book makeover | designoform.com

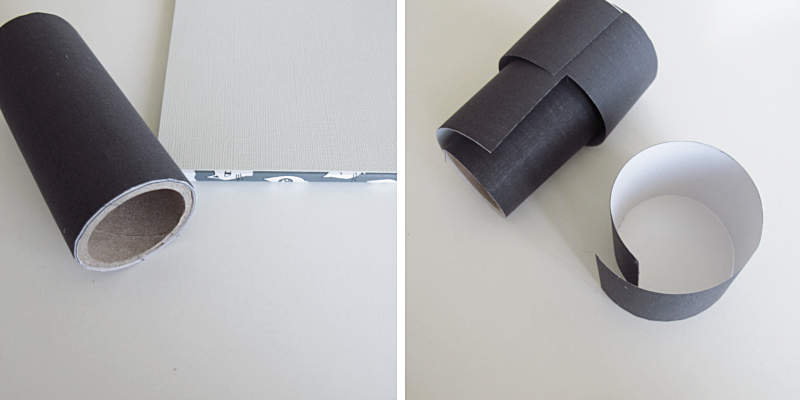
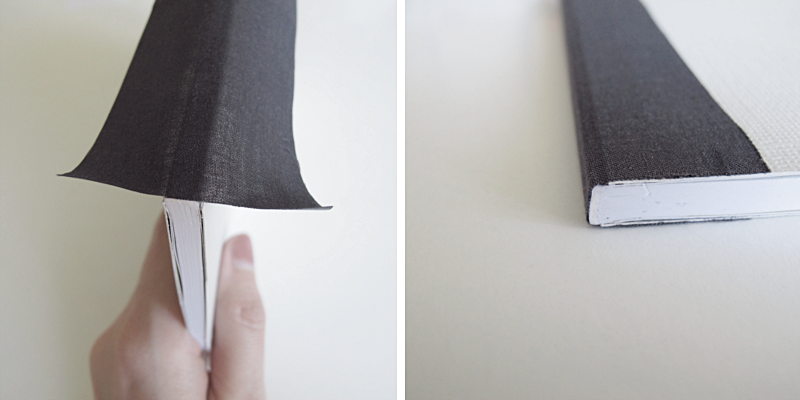
Now its time for the textile tape. Mine was pretty wide so I decided to cut it in half. You also want to cut it a few millimeters longer than the books back.

/// Nu är det dags för textil tejpen. Min var lite bred så jag valde att klippa itu den på mitten. Tänk också på att klippa den några millimeter längre än längden på bokens rygg.

Note book makeover | designoform.com

Place the textile tape on the back of the note book and then attach it to the sides. It’s not that visible on the pictures but place the textile tape so that it’s sticking out a couple of mm so that you instead of trying to stretch the tape, cut the excess off.

/// Lägg textil tejpen på bokens rygg och vik sedan ner den mot sidorna. Det syns inte så bra på bilden men sätt tejpen några millimeter utanför kanten så att du får klippa bort det som sticker ut, istället för att försöka sträcka så att det räcker till.

Note book makeover | designoform.com

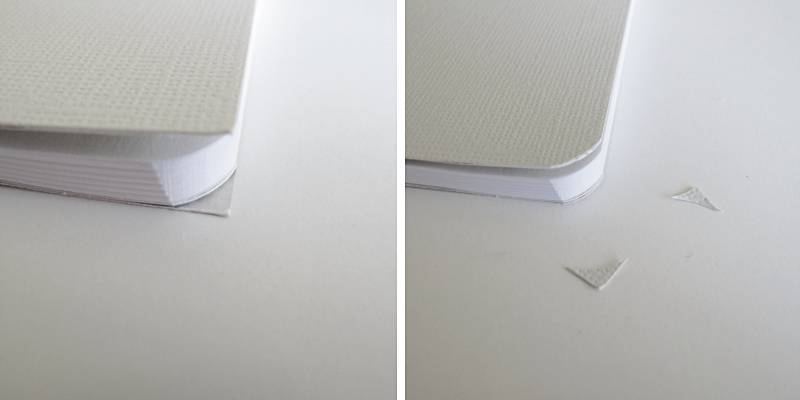
Cut away the excess paper (if you have rounded corners like I do). And you are done!

/// Klipp bort papperet som sticker ut i hörnen (Om du har rundade hörn som jag har). Och du är klar!

Note book makeover | designoform.com

Note book makeover | designoform.com


like

This marble book makeover
This table makeover
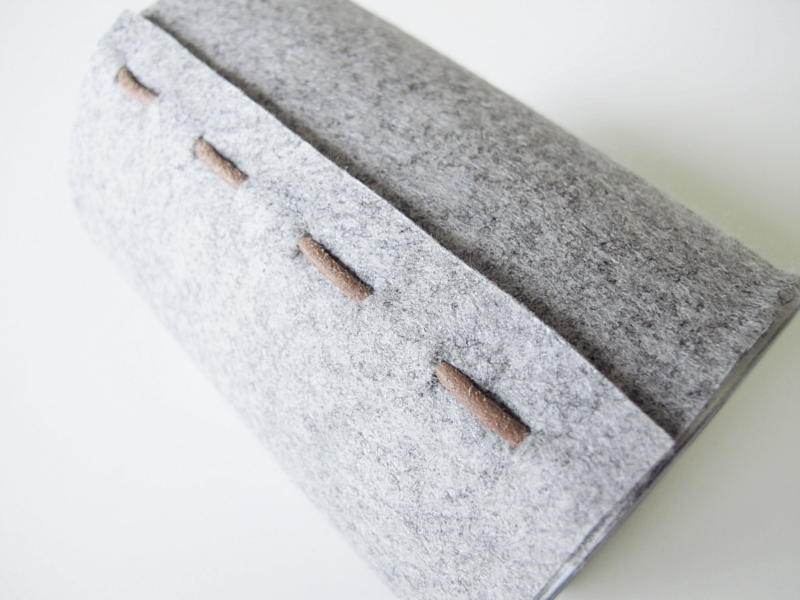
This leather notebook makeover

TIN CAN MAKEOVER

tin can makeover | designoform.com

If you’ve been following the blog for a while you might recognise this DIY. Or at least the felt and leather part. I did a no sewing storage box using the same tecnique  a couple of years ago.

// Om du har följt bloggen ett tag så kanske du känner igen det här DIY:et. Eller i allafall filten och lädret. Jag gjorde nämligen denna förvaringslåda på exakt samma sätt.

For this you’ll need:

→ Felt
→ Tin can
→ Leather thread
→ Paper knife
→ A pair of scissors
→ Paper
→ Pen
→ Measuring tape

/// Till detta behöver du:

→ Filt
→ Konservburk
→ Lädersnöre
→ Papperskniv
→ Sax
→ Papper
→ Penna
→ Måttband

tin can makeover | designoform.com

And this is how  you do it:

Start by measuring your tin can. Add 2cm on the circumference and then cut a piece of felt using thouse measurements (My tin can measured 10.5cm x 24cm. So I cut the felt 10.5cm x 26cm).

/// Börja med att mäta din konservburk. Addera sedan 2cm till omkretsen på burken och klipp ut en bit filt med de måtten. ( Min konservburk hade måtten 10.5cm x 24cm, Så jag klippte ut en bit som var 10.5cm x 26cm).

tin can makeover | designoform.com

Now you are going to make small cuts on both ends of the felt. How far apart you decide. I wanted the ends of my leather thread to be on the inside (between the tin can and the felt), and I wanted the same amount of felt on both sides of  the first and last cut. That made the first cut 1cm from the edge, the next 12mm, the third 12mm and so on. When that is done you cut the leather thread a couple of millimeters longer than the hight of the tin can.

/// Sedan ska du skära små snitt i filten. Hur långt avstånd mellan snitten väljer du själv. Jag ville att mina ändar på lädersnöret skulle vara på insidan filten (mellan filten och konservburken), och så ville jag ha lika mycket filt på båda sidor av första och sista snittet. Vilket gjorde att första snittet blev ca 1 cm in, sedan nästa ca 12mm från det första, den tredje 12mm ifrån den och så fortsatte jag så hela vägen. Huvudsaken är att du gör snitten på samma plats på båda ändarna av filttyget.  När det är klart klipper du en bit av lädersnöret som är några mm längre än höjden på konservburken. (I mitt fall några millimeter mer än 10.5cm)

tin can makeover | designoform.com

Now it’s time to attach the ends of the felt using the leather thread. Do this without the tin can inside.

/// Sedan är det dags att trä ihop filten. Gör detta utan att ha konservburken inuti.

tin can makeover | designoform.com

When that is done you pull the felt over the tin can. This can be a bit tricky but you can do it! Here you can see that the ends of the leather threads are on the inside. And you are done!

/// När det är klart så trär du filten över konservburken. Det kan vara lite pilligt men det går! Här ser du också att ändarna på lädersnöret är på insidan. Och du är klar!

tin can makeover | designoform.com


like

These felt flippers
This braided key holder
This combined card and key holder