Menu Close

Tag: DIY (page 20 of 40)

DIY BRAIDED TRIVET

trivet

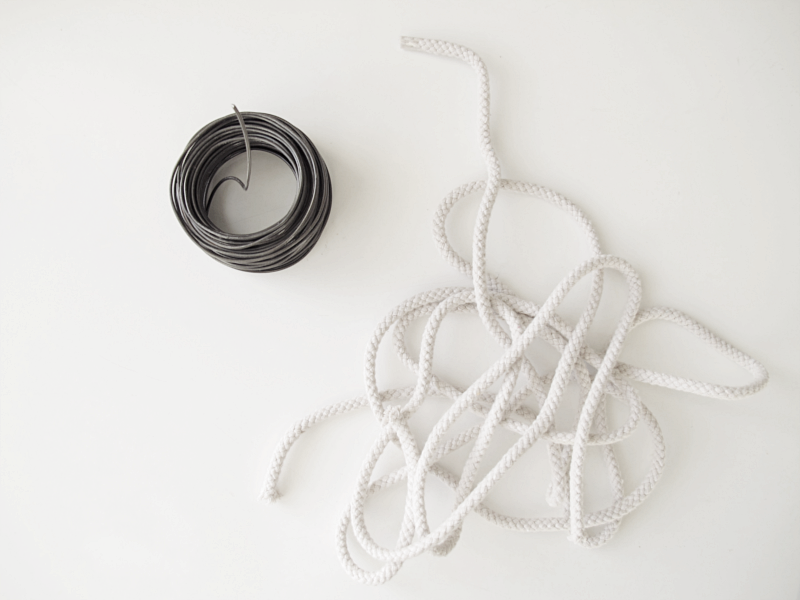
Today I’ll show you how to make a braided trivet. For this you need: A glue gun, a thick string and a thick steel wire. My steel wire was a bit thin so I choosed to wrap it two times. I also used a thinner wire to hold the two together. You decide the size on you trivet, but make sure you have a lot of string, because you will need it.

/// Idag tänkte jag visa hur du gör ett flätat grytunderlägg. Du behöver: En limpistol, tjockt snöre och en tjock ståltråd. Då jag inte hade en jättetjock ståltråd själv så valde jag att linda den två varv. Jag använde även en tunn ståltråd för att hålla ihop de två trådarna. Du bestämmer själv storleken på ditt underlägg. Se bara till att du har ett väldigt långt snöre för det kommer att behövas. 

trivet

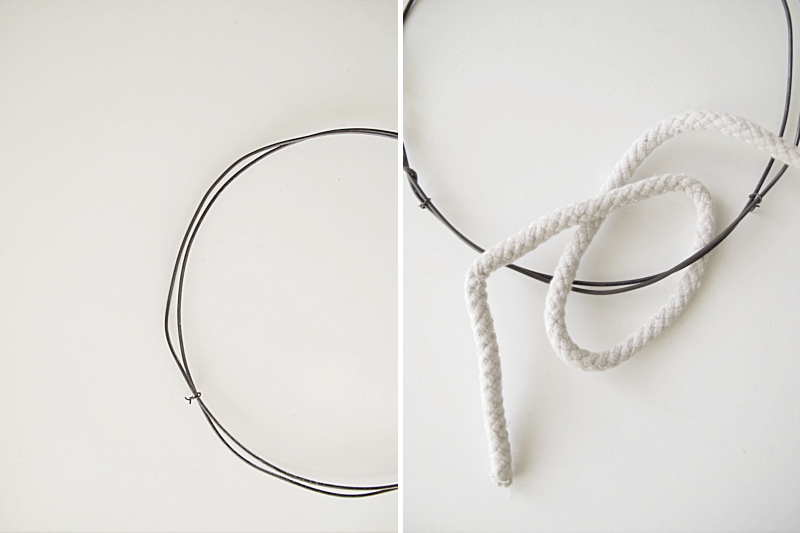
First you make a ring out of the steel wire. Then you thread the string as the picture shows. Hold the end of the string on the left side and use the right end of the string to thread. Through the big ring (steel wire ring), around the wire, and through the small loop.

/// Börja med att göra en ring av ståltråden. Sedan ska du trä tråden som bilden visar. Håll fast änden på vänster sida och med den andra delen av tråden ska du trä. Igenom stora ringen (stråltrådsringen), runt ståltråden, och genom den lilla öglan som blir.

trivet

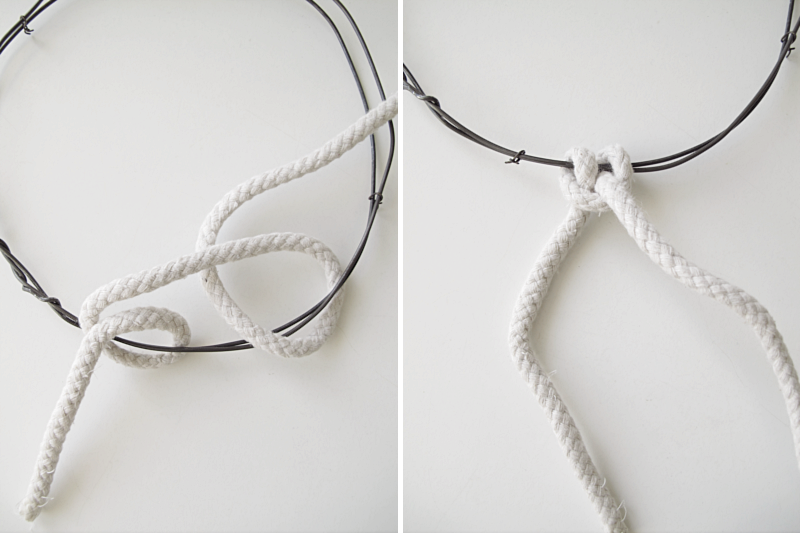
And again. Then tighten.

/// Gör så en till. Och dra ihop. 

trivet

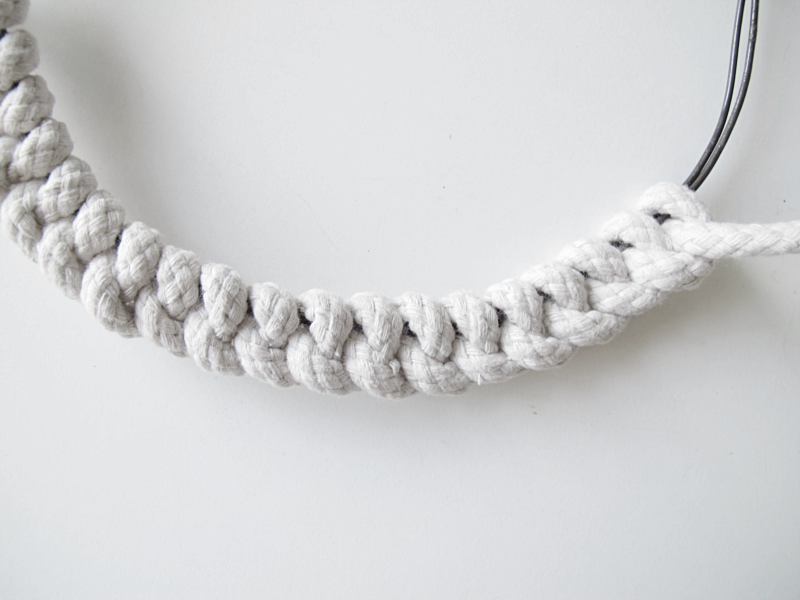
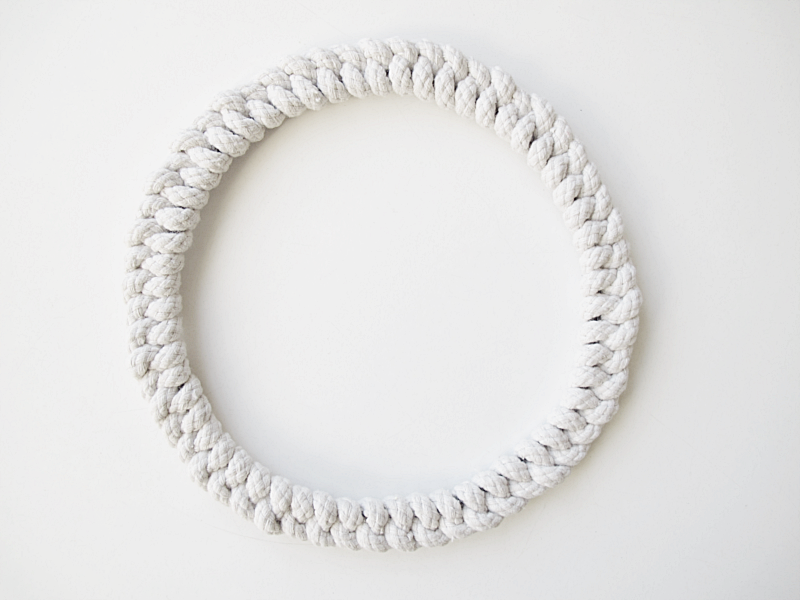
Continue this step all the way around your ring. Through the big ring, around the wire, through the loop. Remember to tighten the same amount each time, so that your trivet becomes nice and round. I choosed to do my trivet pretty tight, because I didn’t want the wire to show.

/// Fortsätt så hela vägen runt ringen. Genom stora ringen, runt, och igenom lilla öglan. Tänk på att dra åt lika mycket varje gång, så att underlägget blir runt och fint. Jag valde också att göra mitt underlägg väldigt tätt, för att inte ståltråden skulle synas så mycket.

trivet

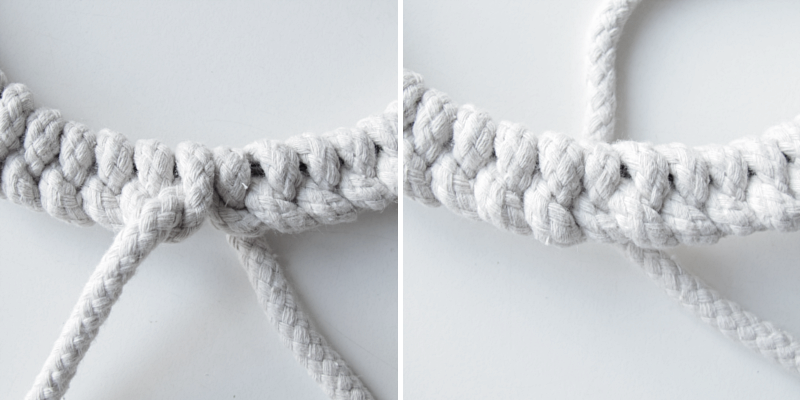
When you want to finish, fold the left end of the string to the right, as the pictures shows. Cut the ends and glue them to the back of the trivet. And you are done!

/// När du så har kommit runt hela ringen, så viker du in tråden till vänster. Se bilderna. Klipper av båda trådarna, och limmar fast dem med limpistol på baksidan. Och du är klar!

trivet

DIY ORGANIZER

diy

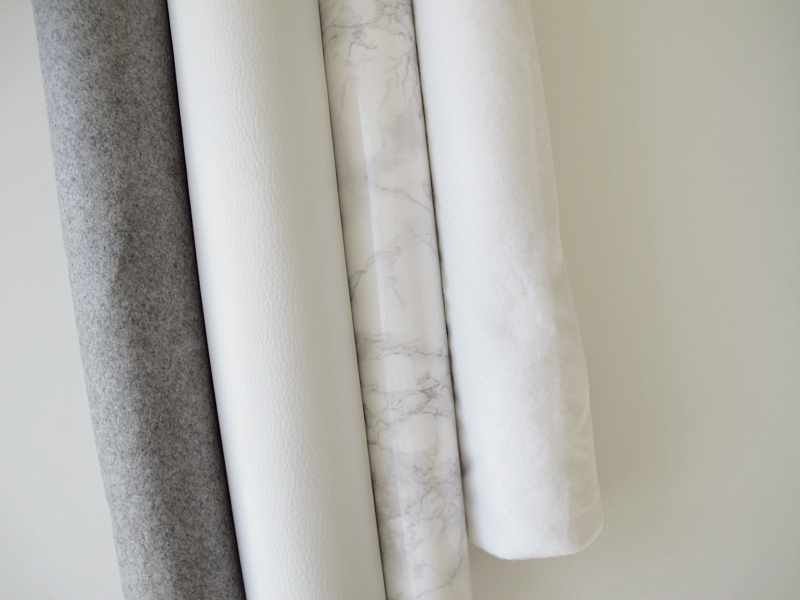
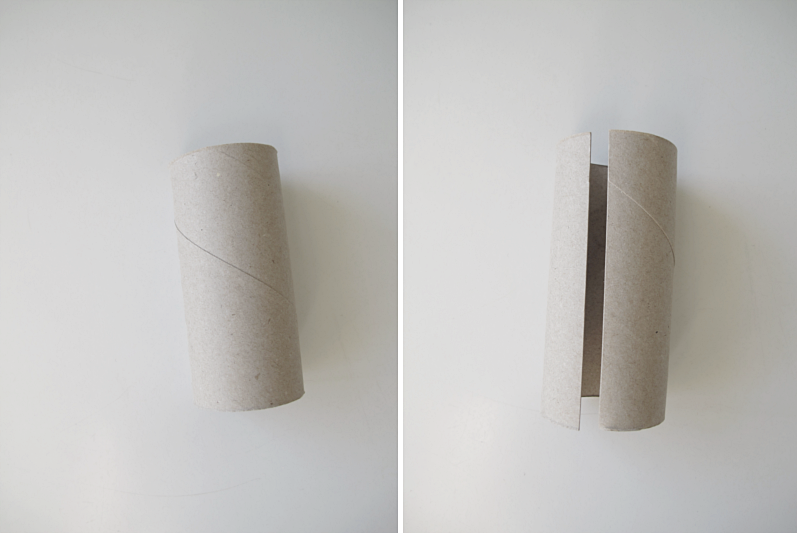
If you are like me you probably have alot of bits and pieces of wallpaper, adhesive plastic, carton and even fabric lying around. But here’s a simple way to organize them. Take a couple of empty toilet rolls and make a cut on one side.

/// Om du är som jag så har du förmodligen snuttar av tapetrullar, självhäftande plast, kartong och till och med tyg som ligger lite varstans. Men nu tänkte jag visa ett enkelt sätt att organisera dem. Ta ett par tomma toapappersrullar, och klipp längs med ena sidan.

diy

Then cover the roll with some nice fabric. Or you can do as I did and cover it with adhesive plastic. And then just thread the toilet roll over the wallpaper and you are done!

/// Klä sedan rullen med något fint tyg som du gillar. Eller så kan du göra som jag och använda självhäftande plast. Och sedan är det bara att trä toapappersrullen över den lilla tapetrullen och du är klar!

diy

( And if you don´t want the little “edge” on the paper roll to show, just use a piece of carton between the roll and the plastic.)

/// ( Och om du inte vill att den lilla “kanten” på toalettrullen ska synas så använd en kartongbit mellan rullen och plasten.)

DIY – CARD HOLDER 2.0

cardholder

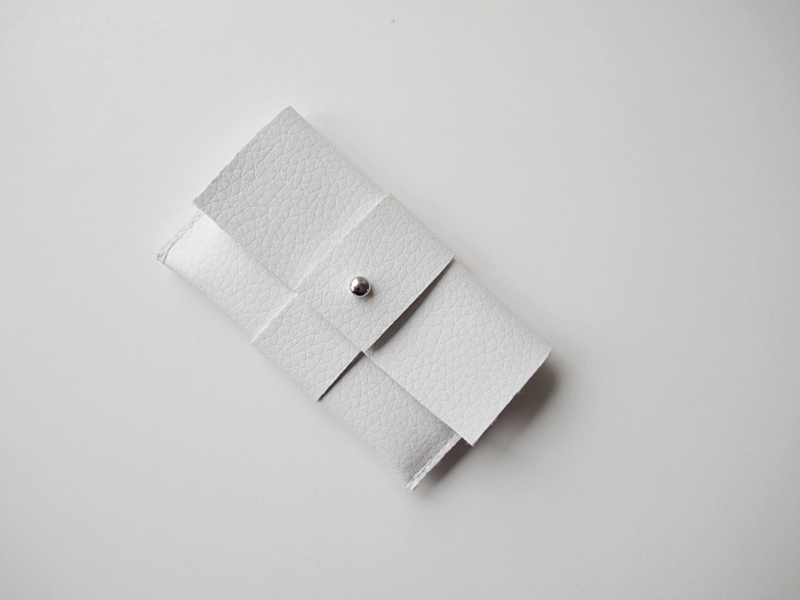
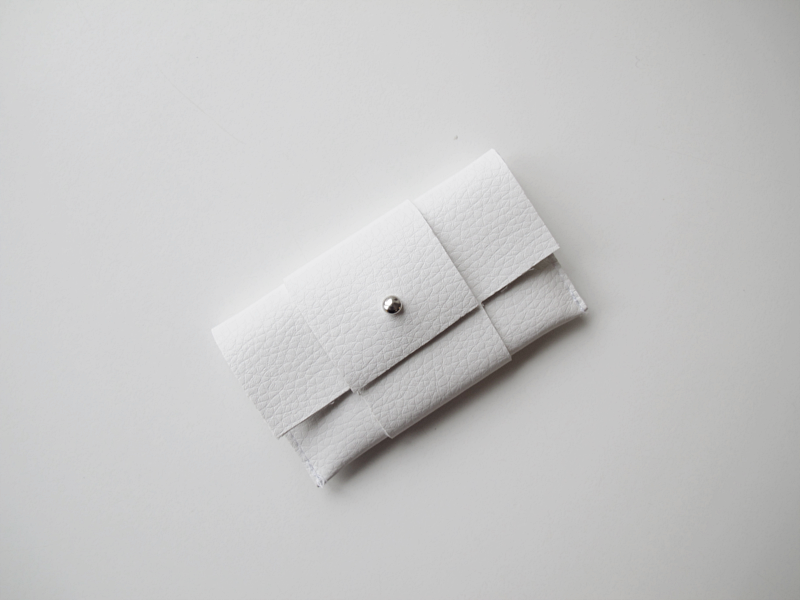
Todays diy is a super easy card holder. For this you need some (fake) leather, a pair of scissors, a sewing machine (or you can sew by hand), a screw back button stud, a hole puncher and a measuring tape.

/// Dagens diy är en superenkel korthållare. Till detta behöver du: en bit (fejk) läder, sax, symaskin (eller så syr du för hand), en låsknopp, en håltång och ett måttband.

holder

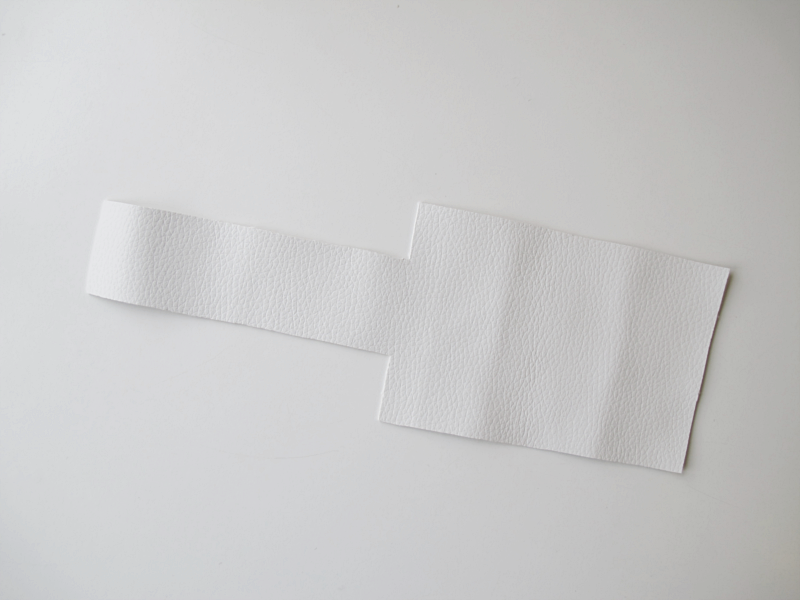
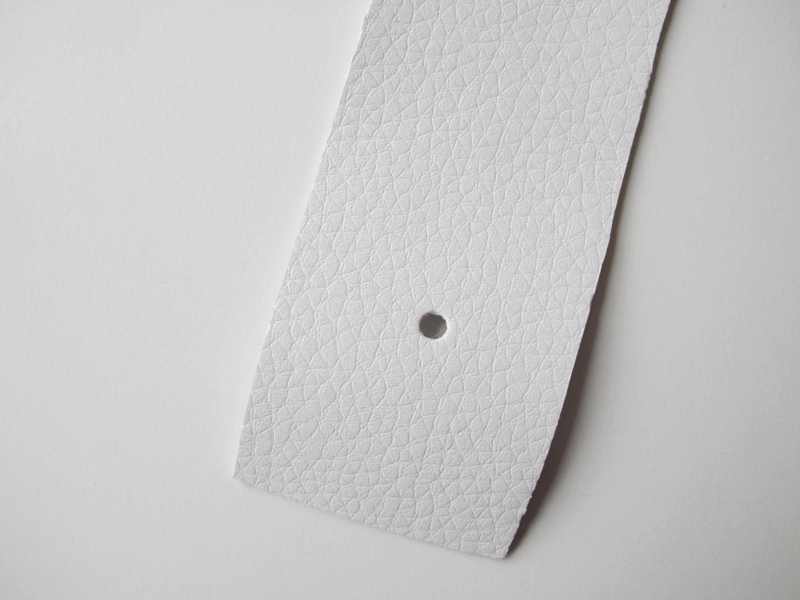
Cut out a piece of the leather in this shape. The bigger side is 15*10.3cm and the strap is 14*4.5cm.

/// Klipp ut en bit av lädret i den här formen. Den större sidan är 15*10.3cm och remmen är 14*4.5cm.

holder

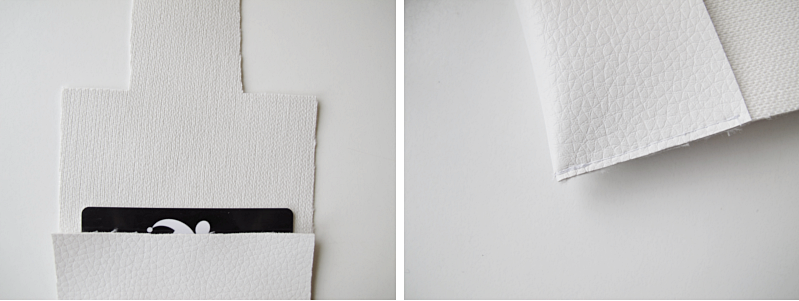
Take one of the cards you’re planning to have in the holder and use that as a template to see where you want to fold. I folded at about 5cm. Then sew the edges together.

/// Ta ett kort och använd den som mall för att se vart du vill vika . Jag vek min ungefär 5 cm in. Sedan syr du ihop sidorna.

holder

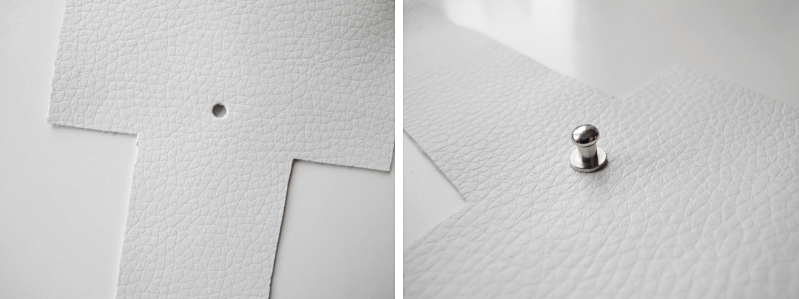
Make a hole just before the strap begins. And attach a screw back button stud.

/// Gör ett hål en liten bit innan remmen börjar. Skruva sedan fast låsknoppen.

holder

Make another hole on the end of the strap. Where you make the hole depends on the cards you are using. I did mine about 12.6 cm from the other hole. And that makes the holder a bit loose when I´m only having one card in it, but perfect when I have a couple. You can also cut of a bit on the end of the strap.

/// Gör ett till hål på änden av remmen. Jag gjorde mitt hål ungefär 12.6cm från det första. Detta gör att min hållare är lite lös när jag bara har ett kort i men perfekt när jag har ett par. Men det är bara att testa innan du gör hålet för att se vart det blir bäst. Du kan även klippa av en del av remmen.

holder

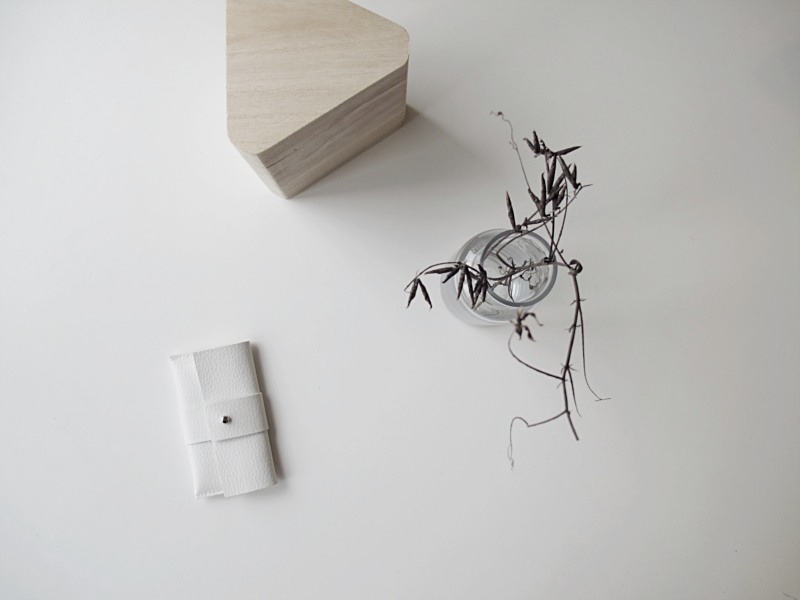
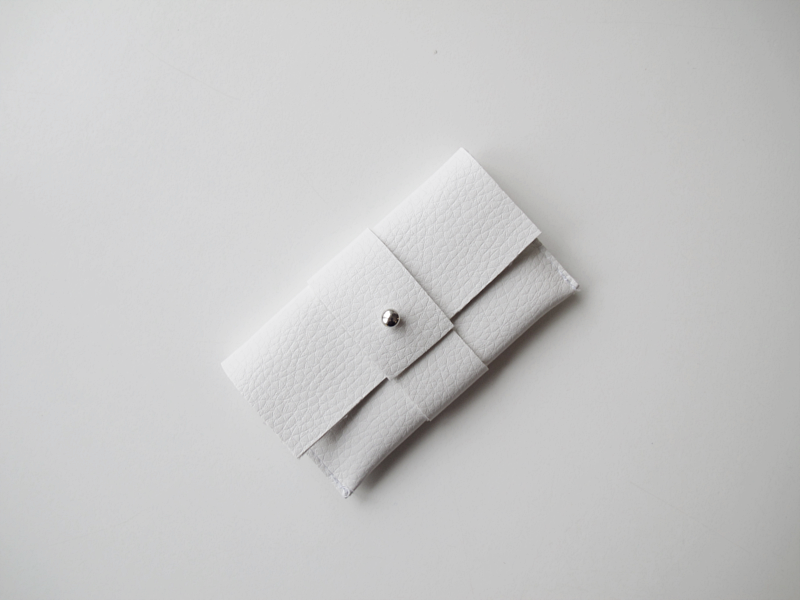
And you are finished! If you like the look of the holder you just leave it as it is. But you can also make the strap around the holder thinner..

/// Och du är klar! Om du gillar hur din korthållare ser ut nu, så gör du inget mera, men om du vill kan du göra remmen smalare..

holder

..like this.

/// ..så här.

holder

COFFEE TABLE MAKEOVER

diy

You probably know by now that I like my marble-contact plastic, since I´ve done a whole bunch of diy’s with it. And when I found this diy over at Livet hemma – IKEA, I just had to share it with you. A makeover on Klubbo-coffee table. Great idea! And I really like the styling of the pictures too.

/// Ni har nog kanske förstått att jag gillar min marmorliknande kontaktplast vid det här laget, då jag gjort en hel hög med makeovers med den. Och så hittade jag detta diy hos Livet Hemma – IKEA och var ju bara tvungen att visa er. En makeover på Klubbo soffbord. Fint! Och så gillar jag verkligen stylingen på bilderna också.

fo: livet hemma

5 MINUTE MAKEOVER AND THINKING OUTSIDE THE BOX

skål

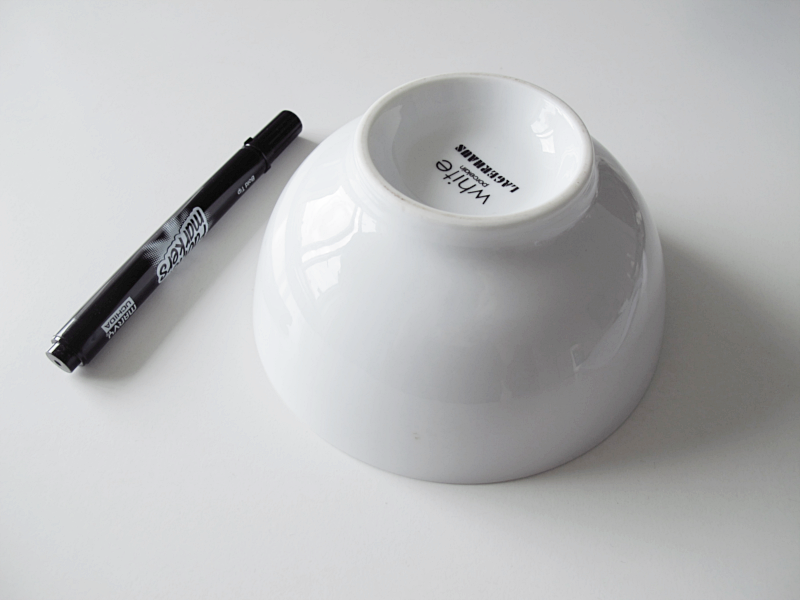
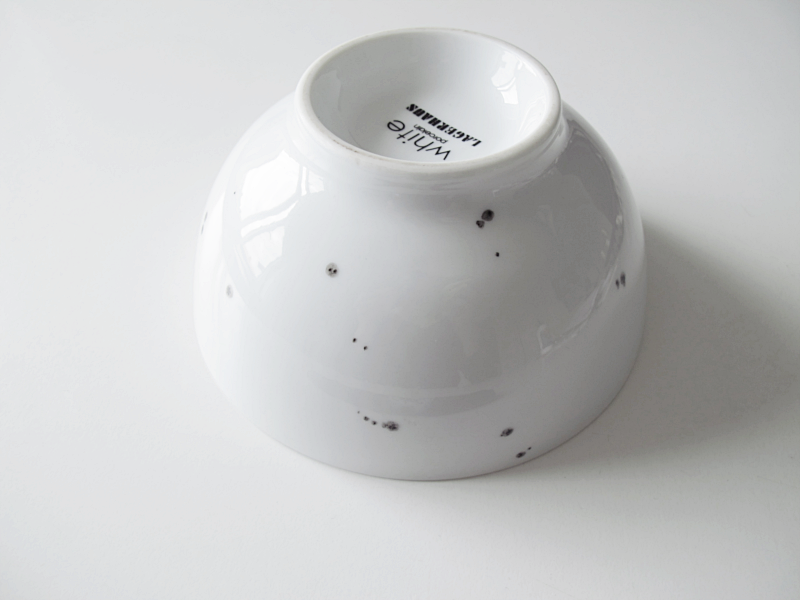
Sometimes I get a picture in my head with an idea, but I don’t know how I’m going to do it. Like with this bowl. I wanted dots that looks like they were made with a brush and watercolor. But you can’t do them with actual watercolor. I tried with my porcelain pen, but the dots became too “compact”. Then I found my fabric marker on the bottom of the drawer, and thought: “Why not?”. And it turned out just the way I wanted it! I just placed the dots a bit random, and the three in a row, I wanted to look like the paint had dripped a bit. Sometimes is good to think outside the box.

/// Ibland får jag en bild i huvudet av en idé som jag vill göra, men som jag inte riktigt vet hur jag ska göra. Som med denna skål. Jag ville ha vattenfärgsliknande prickar, som såg ut som man använt en pensel för att sätta dit. Men vattenfärg funkar såklart inte på en skål. Provade med porslinspenna, men prickarna blir då väldigt “kompakta”. Så hittade jag textilpennan längst ner i pyssellådan och provade den. Och det blev precis som jag ville ha det! Prickarna har jag bara satt dit lite hursomhelst, och de tre prickarna i rad är tänkt att se ut som om penseln droppat lite. Ibland är det bra att tänka utanför boxen.

skål

It took a while for the paint to dry, and I haven´t washed the bowl yet, in case you want to make one too.

///  Det tog ett tag innan prickarna torkade men nu sitter de där. Har inte provat att diska skålen än, så vet inte om prickarna försvinner då eller inte.. Ifall ni vill göra en likadan.