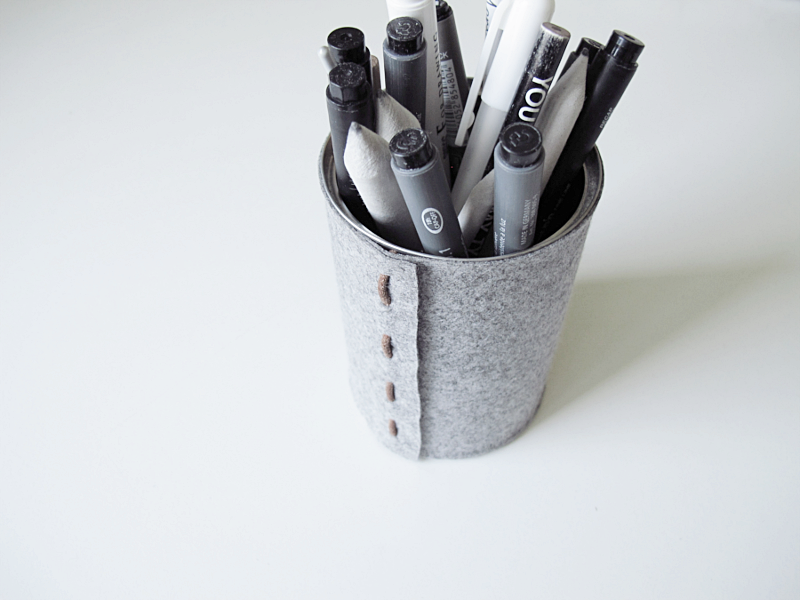
If you’ve been following the blog for a while you might recognise this DIY. Or at least the felt and leather part. I did a no sewing storage box using the same tecnique a couple of years ago.
// Om du har följt bloggen ett tag så kanske du känner igen det här DIY:et. Eller i allafall filten och lädret. Jag gjorde nämligen denna förvaringslåda på exakt samma sätt.
For this you’ll need:
→ Felt
→ Tin can
→ Leather thread
→ Paper knife
→ A pair of scissors
→ Paper
→ Pen
→ Measuring tape
/// Till detta behöver du:
→ Filt
→ Konservburk
→ Lädersnöre
→ Papperskniv
→ Sax
→ Papper
→ Penna
→ Måttband
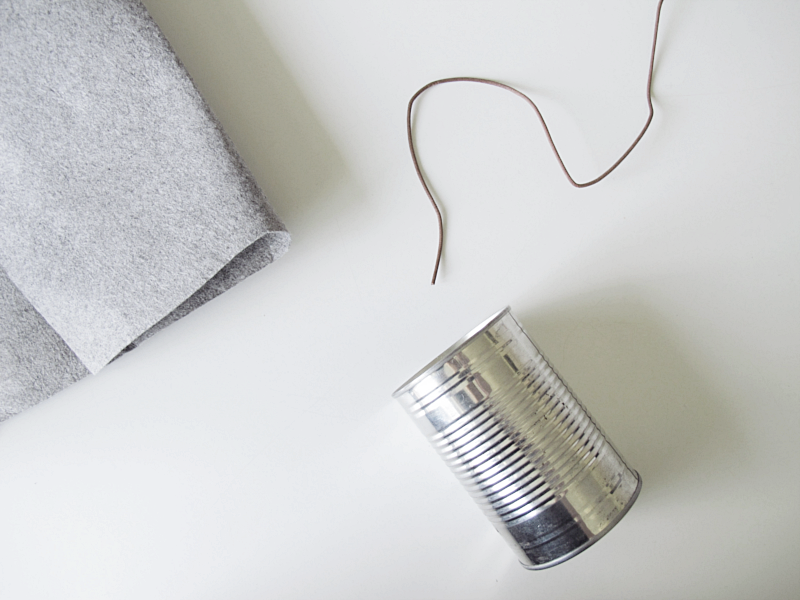
And this is how you do it:
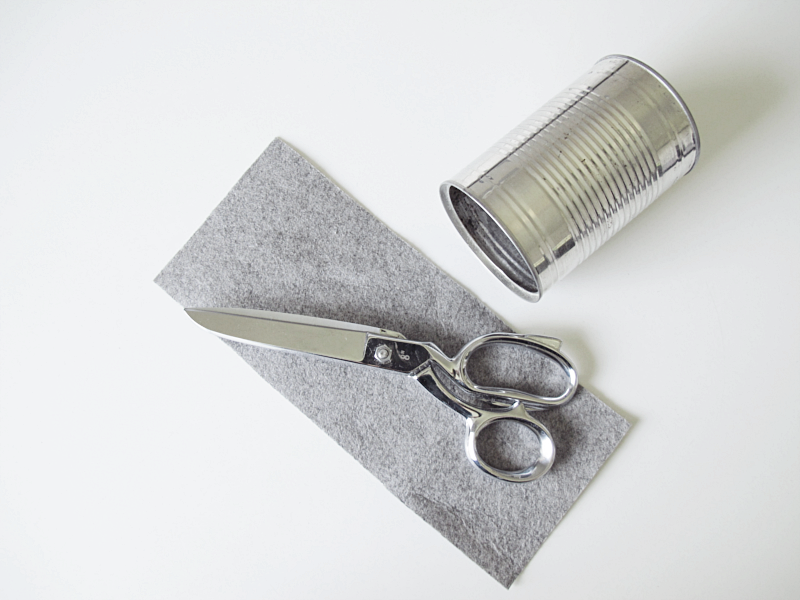
Start by measuring your tin can. Add 2cm on the circumference and then cut a piece of felt using thouse measurements (My tin can measured 10.5cm x 24cm. So I cut the felt 10.5cm x 26cm).
/// Börja med att mäta din konservburk. Addera sedan 2cm till omkretsen på burken och klipp ut en bit filt med de måtten. ( Min konservburk hade måtten 10.5cm x 24cm, Så jag klippte ut en bit som var 10.5cm x 26cm).
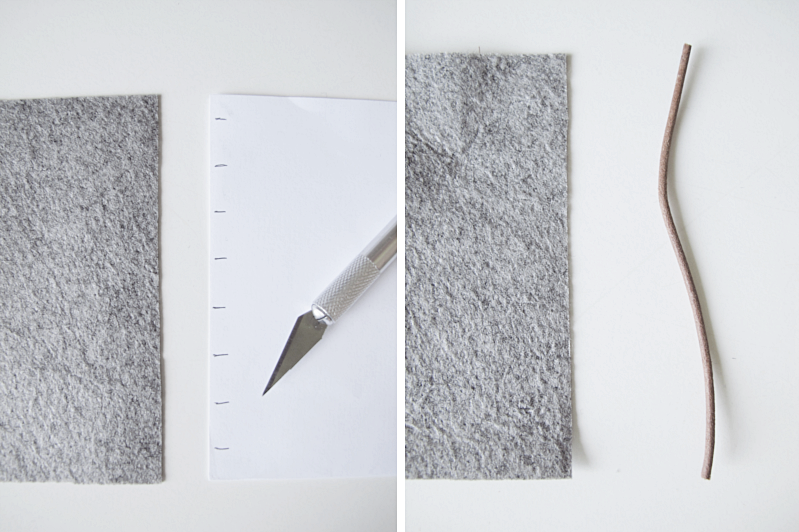
Now you are going to make small cuts on both ends of the felt. How far apart you decide. I wanted the ends of my leather thread to be on the inside (between the tin can and the felt), and I wanted the same amount of felt on both sides of the first and last cut. That made the first cut 1cm from the edge, the next 12mm, the third 12mm and so on. When that is done you cut the leather thread a couple of millimeters longer than the hight of the tin can.
/// Sedan ska du skära små snitt i filten. Hur långt avstånd mellan snitten väljer du själv. Jag ville att mina ändar på lädersnöret skulle vara på insidan filten (mellan filten och konservburken), och så ville jag ha lika mycket filt på båda sidor av första och sista snittet. Vilket gjorde att första snittet blev ca 1 cm in, sedan nästa ca 12mm från det första, den tredje 12mm ifrån den och så fortsatte jag så hela vägen. Huvudsaken är att du gör snitten på samma plats på båda ändarna av filttyget. När det är klart klipper du en bit av lädersnöret som är några mm längre än höjden på konservburken. (I mitt fall några millimeter mer än 10.5cm)
Now it’s time to attach the ends of the felt using the leather thread. Do this without the tin can inside.
/// Sedan är det dags att trä ihop filten. Gör detta utan att ha konservburken inuti.
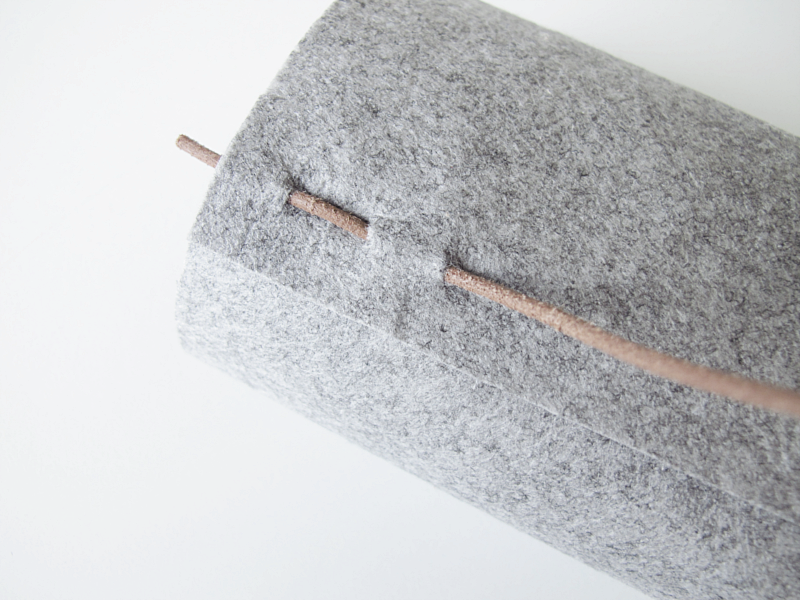
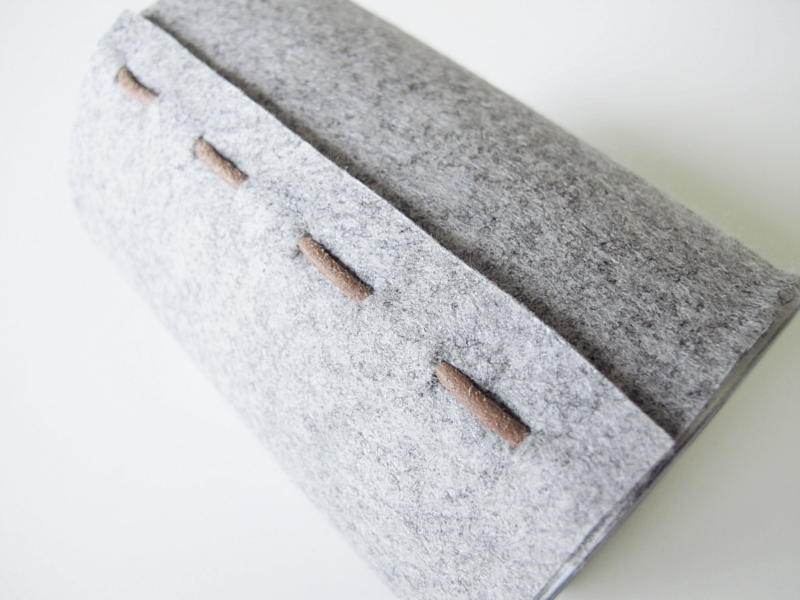
When that is done you pull the felt over the tin can. This can be a bit tricky but you can do it! Here you can see that the ends of the leather threads are on the inside. And you are done!
/// När det är klart så trär du filten över konservburken. Det kan vara lite pilligt men det går! Här ser du också att ändarna på lädersnöret är på insidan. Och du är klar!

These felt flippers
This braided key holder
This combined card and key holder
