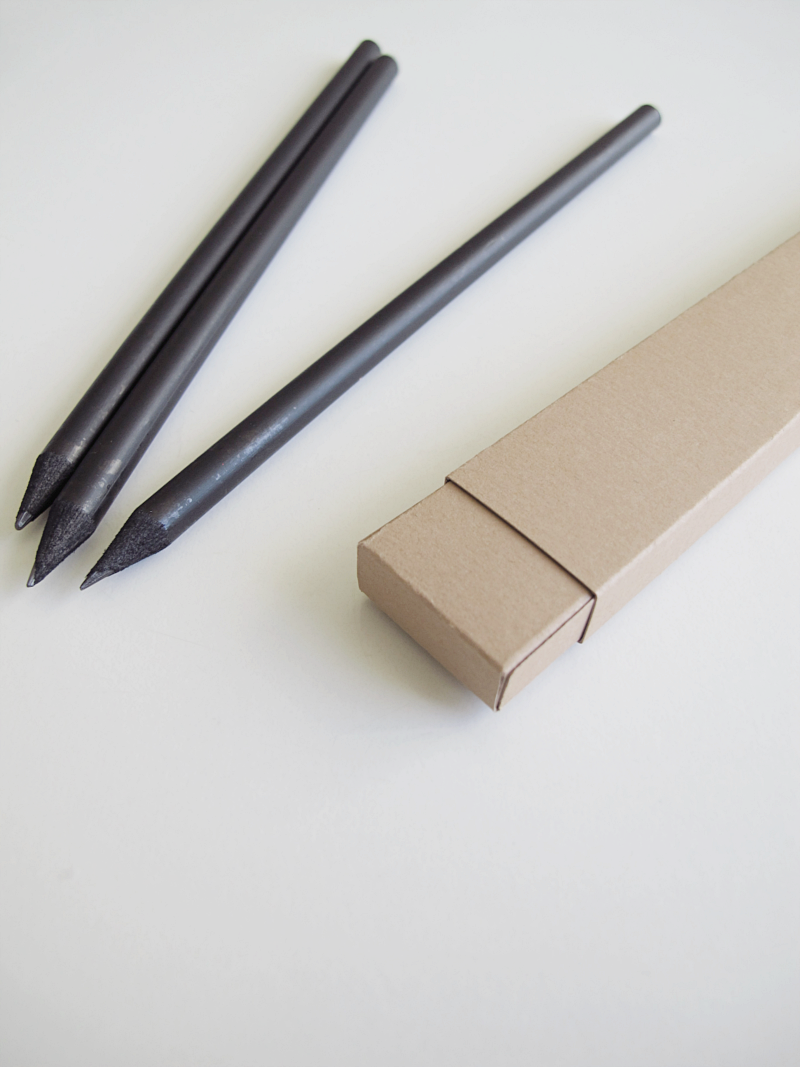
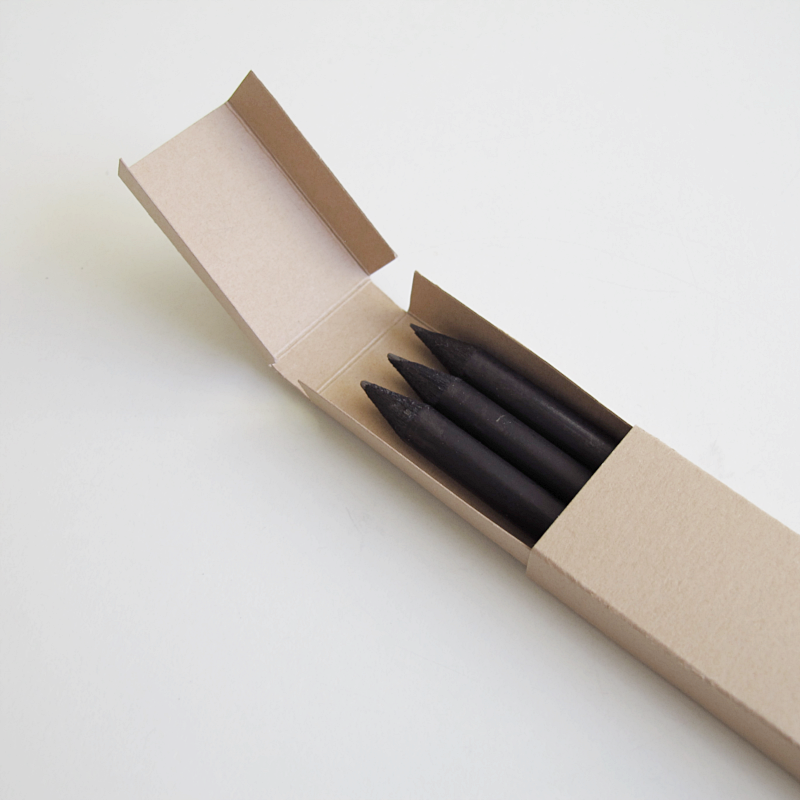
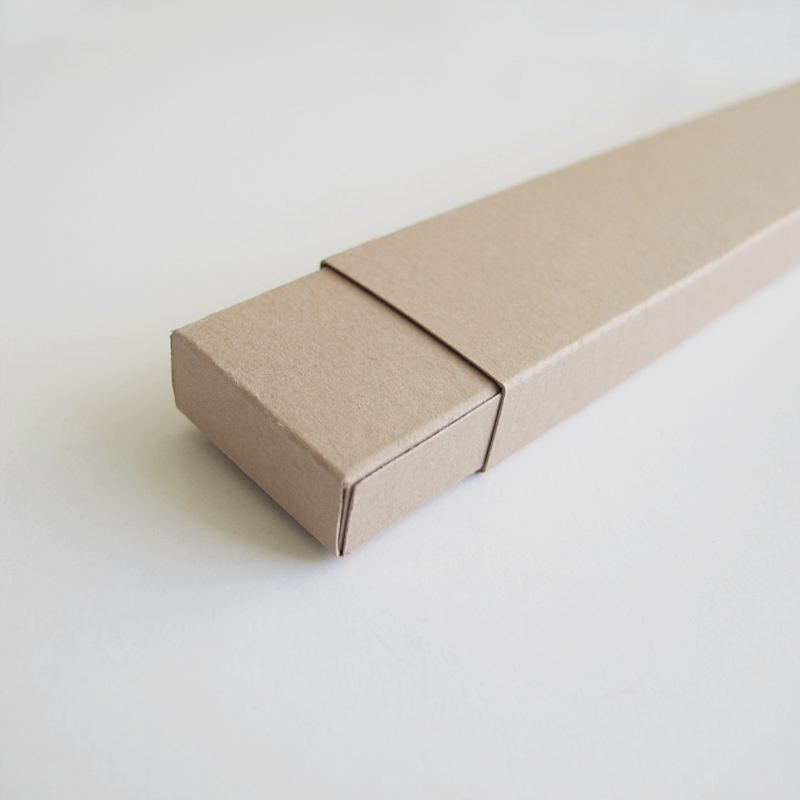
Today I have a really simple, but still pretty, DIY for you. A pencil case made out of paper.
/// Idag har jag ett väldigt enkelt, men fint DIY till er. Ett pennfodral i papper.
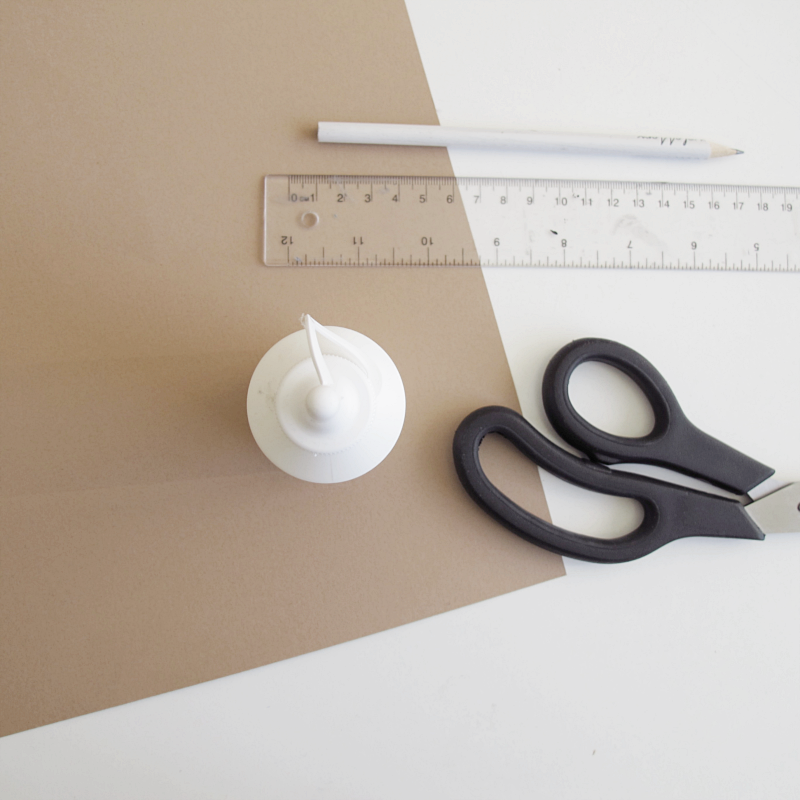
You need:
→ Carton
→ Glue
→ Pencil
→ A ruler
→ A pair of scissors
→ Eraser
/// Du behöver:
→ Hobbykartong
→ Lim
→ En blyertspenna
→ Linjal
→ Sax
Ev:
→ ett sudd
This is how you do it:
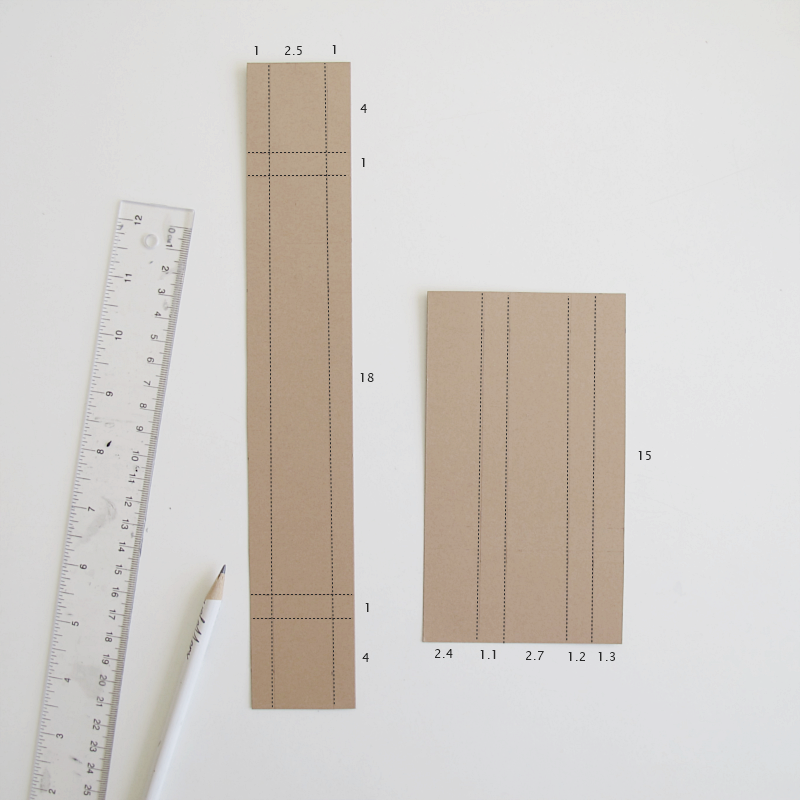
Start by drawing these measurements on the carton. (In centimeters)
/// Börja med att rita upp dessa mått (i cm) på kartongen.
Cut out the small 1x1cm squares.
/// Klipp ut de små fyrkanterna som är 1x1cm.
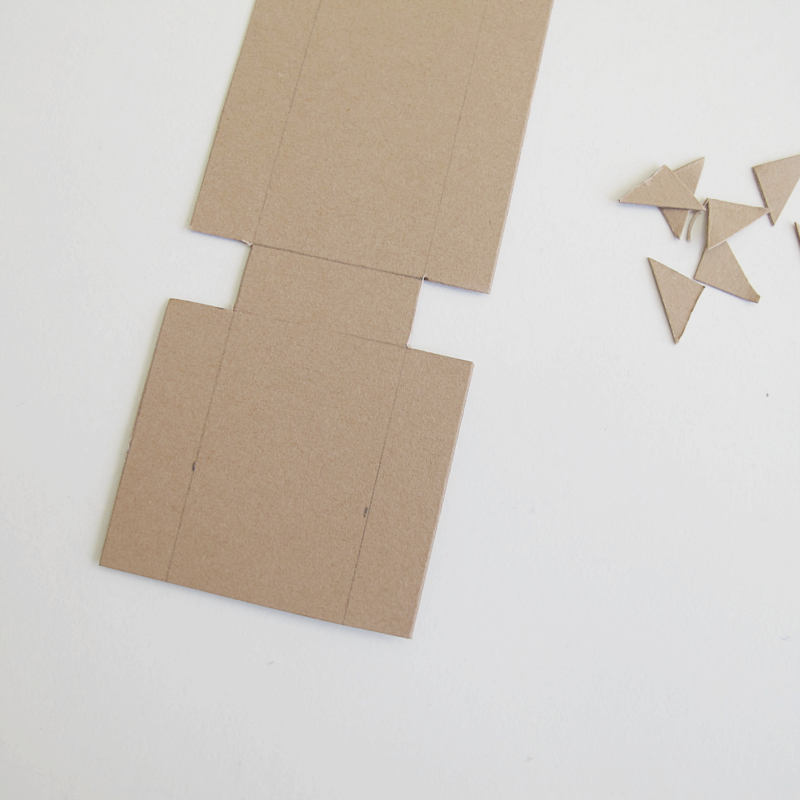
Fold along all lines. If you are using a carton with a lighter color you might want to erase all the pencil lines too.
/// Vik längst med alla linjer. Om du använder ett ljust papper så sudda bort alla blyertsstreck.
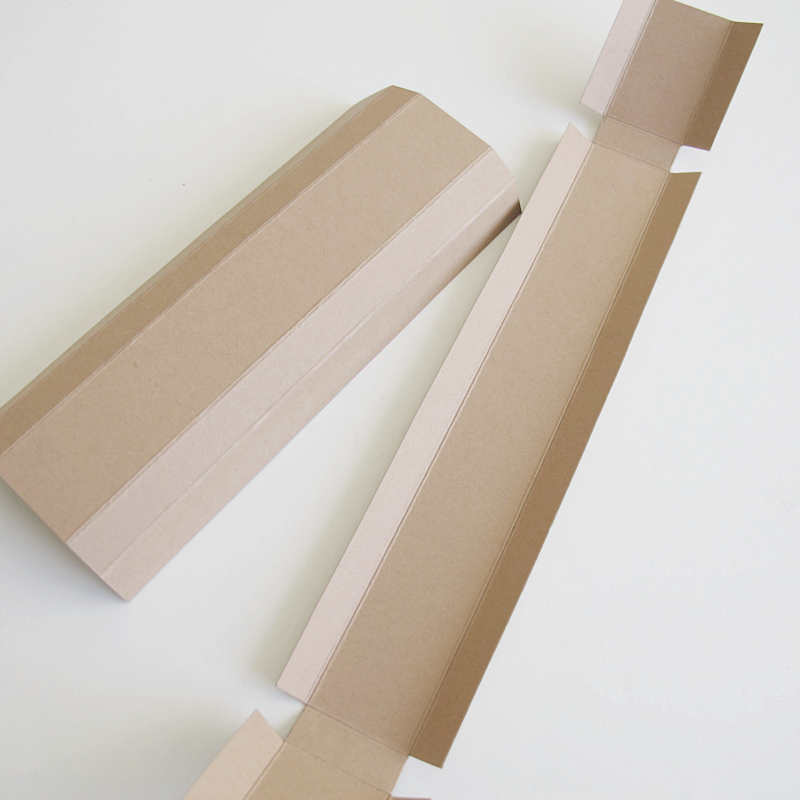
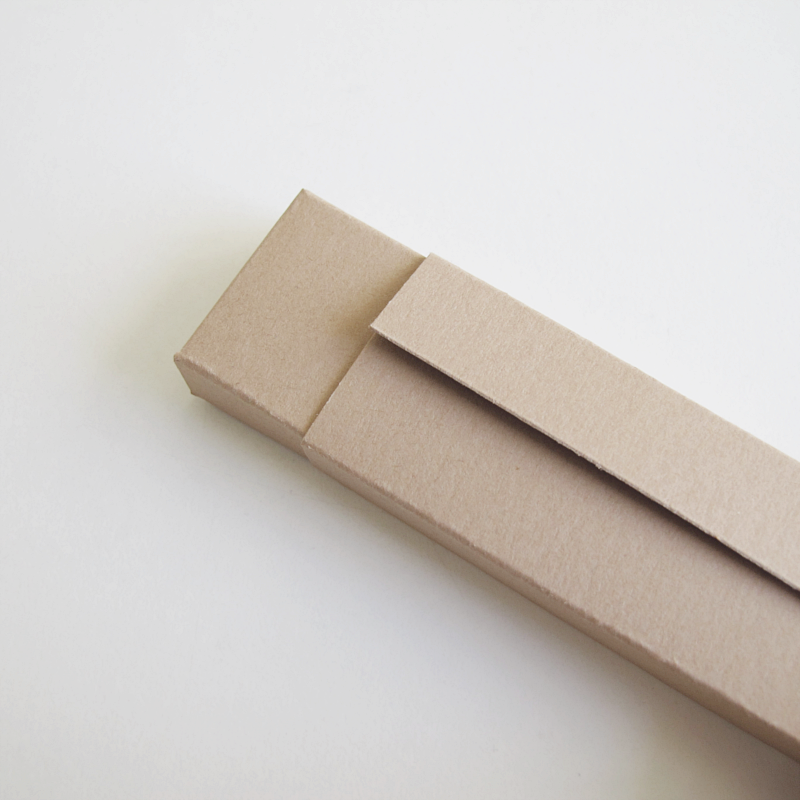
Now it is time to glue one of the pieces together. I found it easier to glue it when it was folded around the other piece, so that I knew how tight to make it.
/// Nu är det dags att limma. Jag tycker det var lättare att limma när den var runt den andra delen, för att se hur tight jag skulle dra åt den.
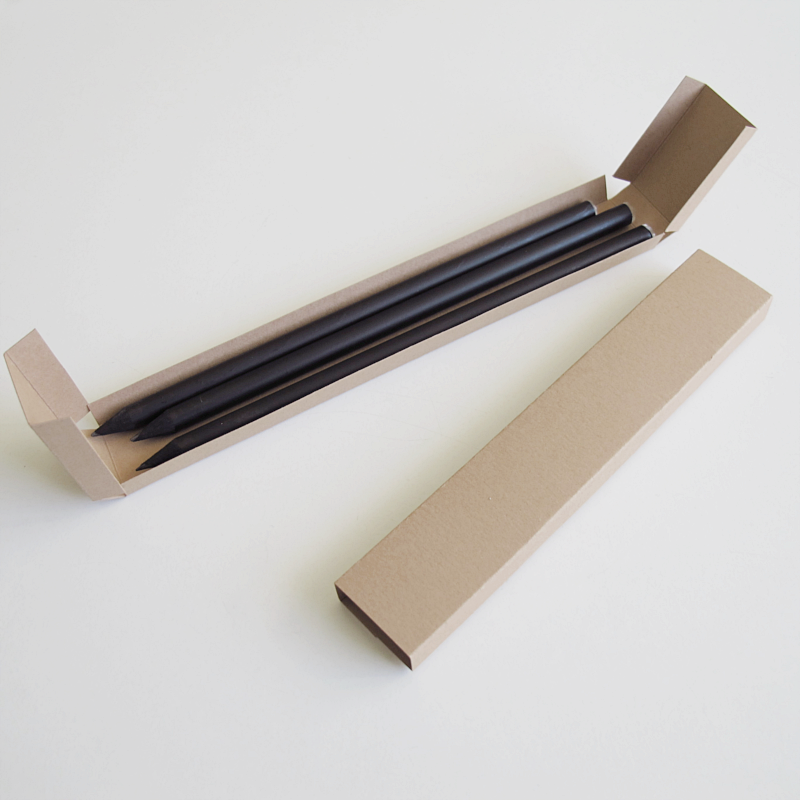
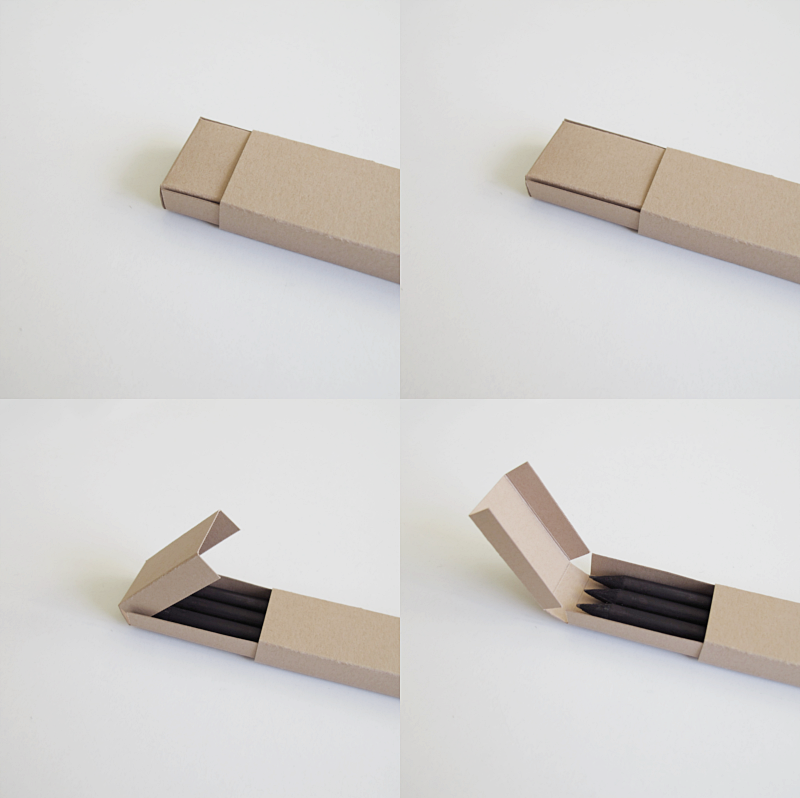
Place the pencils in the case, fold the ends towards the middle and slide it into the other piece. And done!
/// Nu är pennfodralet klart. Lägg pennorna i den längre biten, vik in sidorna mot mitten och stoppa in den i den mindre. Klart!
♦

Andrea Handojo says:
I love the way this pencil case turned out! So simple and minimal!
http://www.thebeautydojo.com
September 7, 2016 — 21:42
designoform says:
Thank you! :)
September 13, 2016 — 18:06