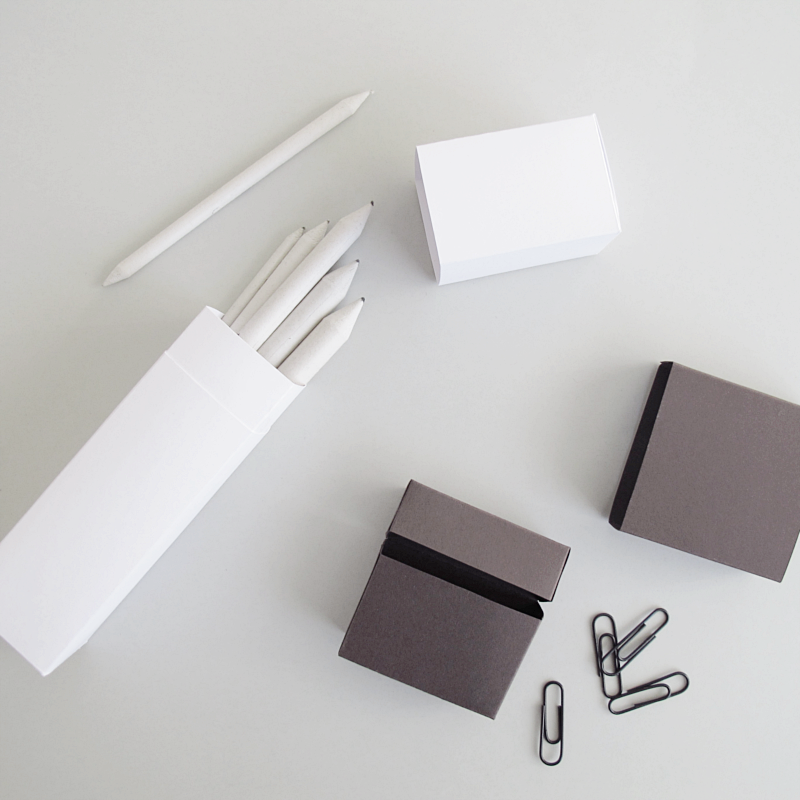
When I made the small boxes a few weeks ago I also got an idea about making a bigger box but with a different look, and today I finally got time to make it. As always here comes the tutorial if you want to make one too.
/// När jag gjorde de små askarna för ett par veckor sedan fick jag även en idé om att göra en större ask, men med ett litet annat utseende, och idag fick jag äntligen tid att pyssla ihop den. Som vanligt kommer här en beskrivning om du också vill göra en.
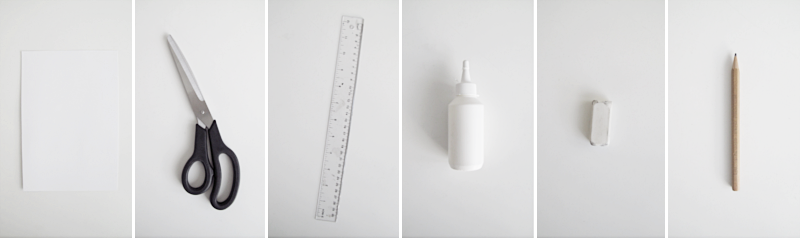
You need:
→ Carton
→ A pair of scissors
→ A ruler
→ Glue
→ Eraser
→ Pencil
/// Du behöver:
→ Hobbykartong
→ Sax
→ Linjal
→ Lim
→ Sudd
→ Penna
This is how you do it:
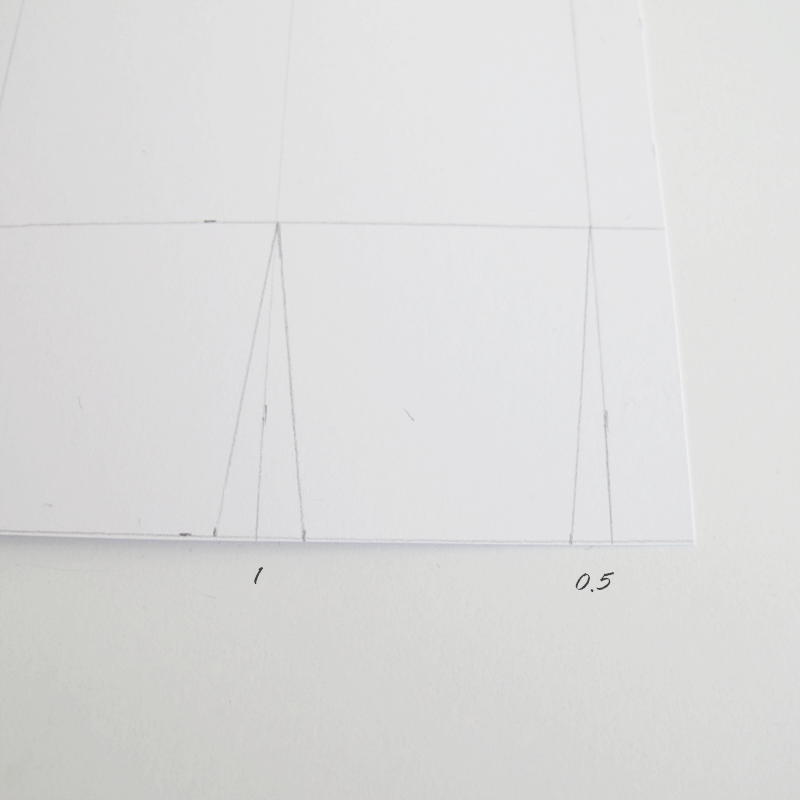
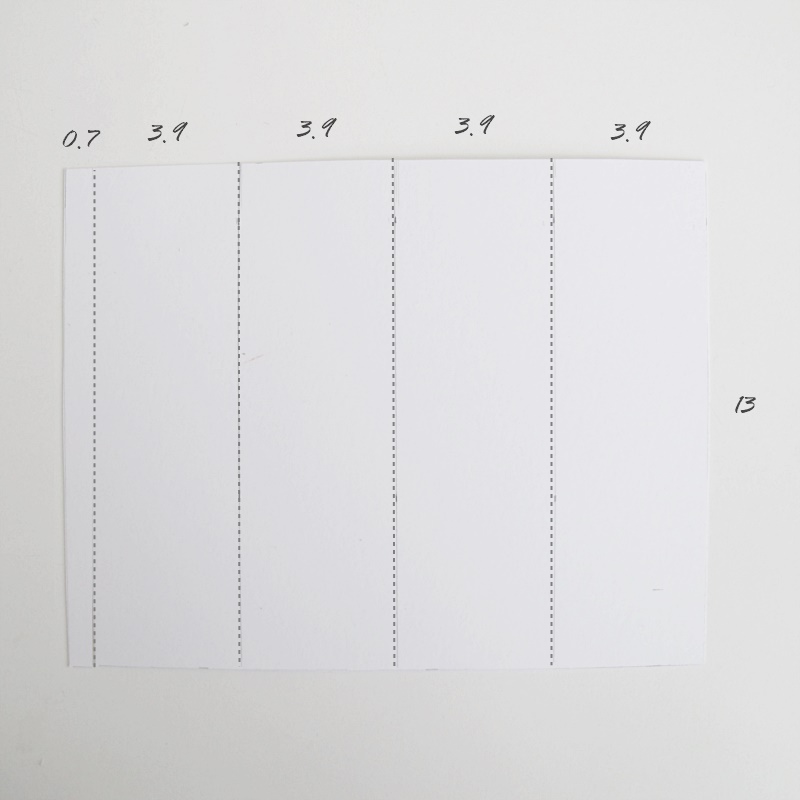
Start by drawing up a figure with these dimensions (in cm).
/// Börja med att rita upp en figur med dessa mått (i cm).

Draw “triangles” on each side of the 4×4 squares at the ends of the paper. But leave the two with the blue dots (see the picture above) as they are.
/// Rita ut “kilar” på varje sida av 4×4 bitarna längst ut på ändarna av papperet. Men lämna de två med blå prick (som syns på bilden ovan) som dom är.
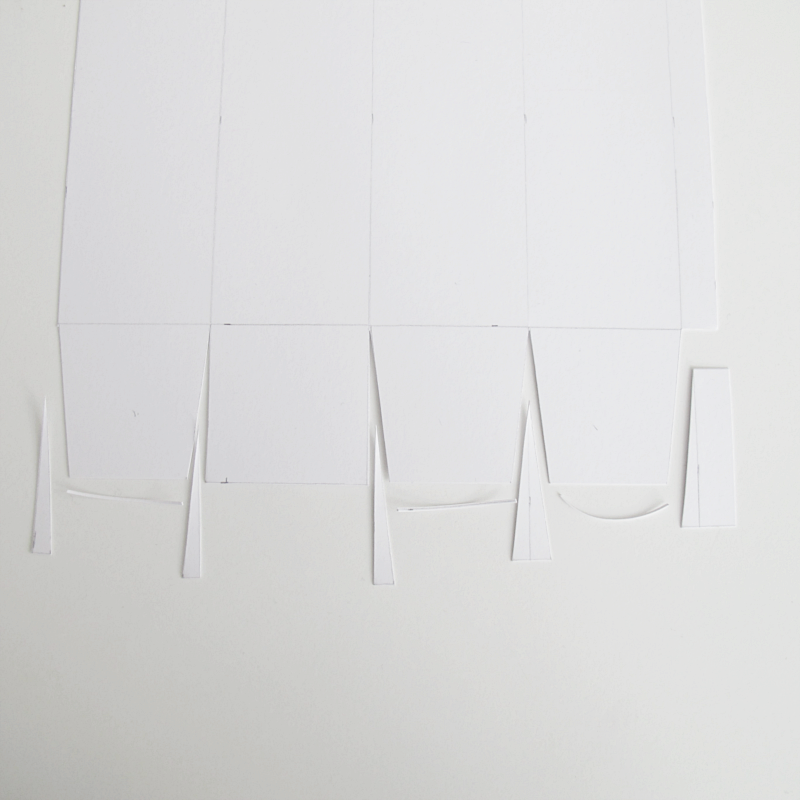
Cut out the “triangles”, and then cut off a few millimeters on the ends.
/// Klipp ut “kilarna”, och sedan klipper du av några millimeter på flikarna.
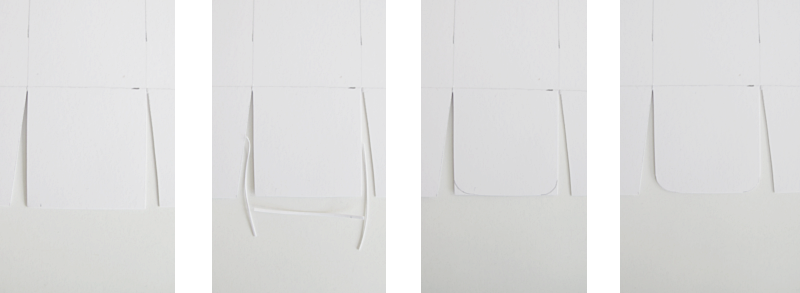
Now it’s time for the 4×4 squares with the blue dots. Cut off a few millimeters on three of the sides. Then round the corners.
/// Nu är det dags för flikarna med blå prickar. Klipp bort några millimeter på tre av sidorna. Runda sedan av hörnen.
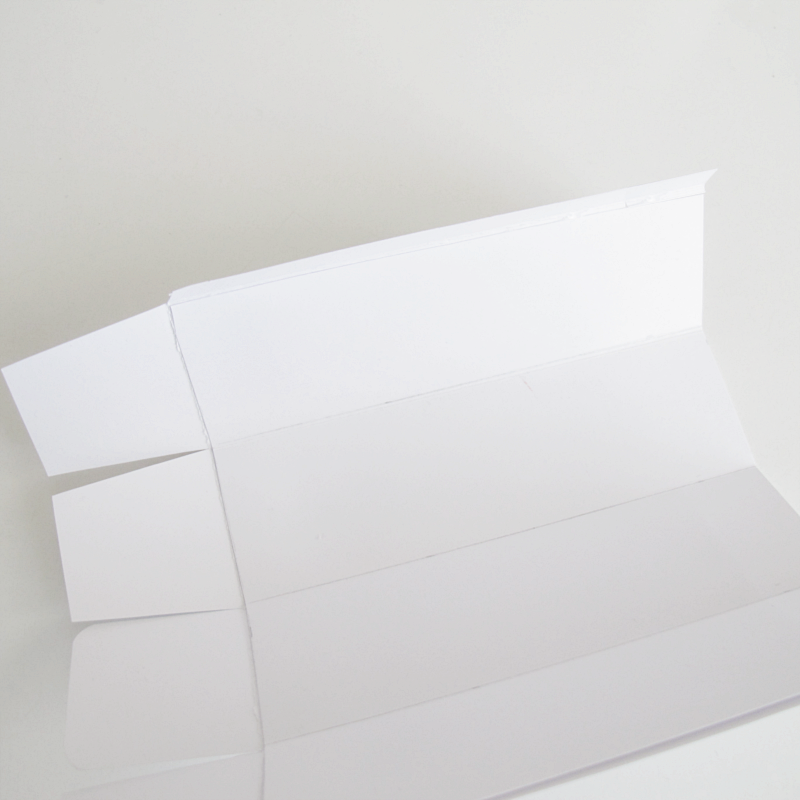
Fold along all lines, except the line in the middle of the paper (see picture below).
/// Vik längst med alla linjer utom den som är på mitten av papperet (som bilden nedan visar)
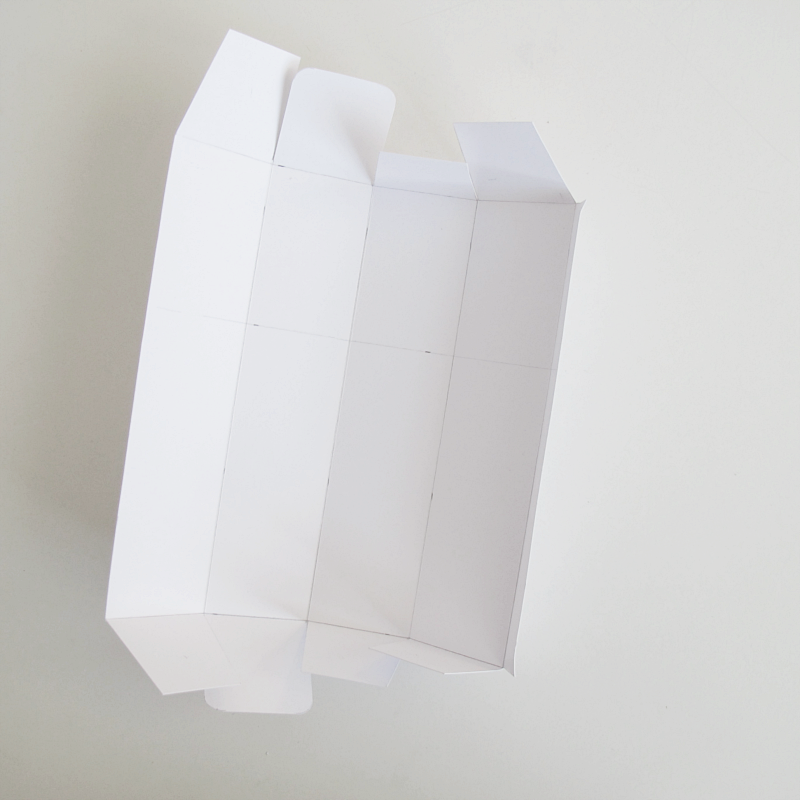
Then cut along the line (the one you didn’t fold in the previous step). And erase all pencil lines.
/// Klipp sedan längst den linjen som du inte vek. Och sudda bort alla blyertsstreck.
Glue the sides together on the smaller piece.
/// Limma ihop sidan på den mindre biten.
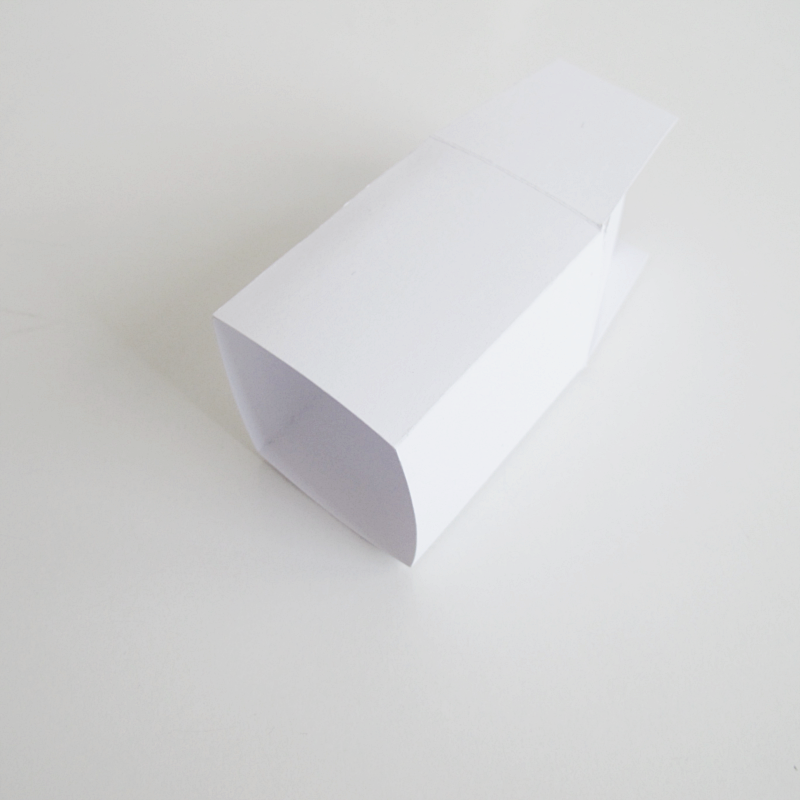
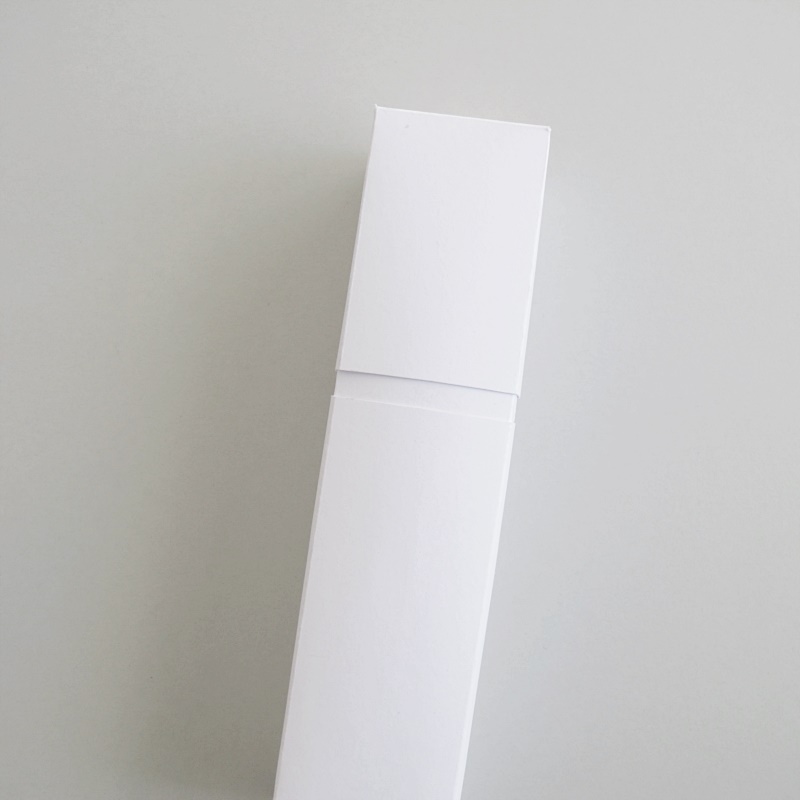
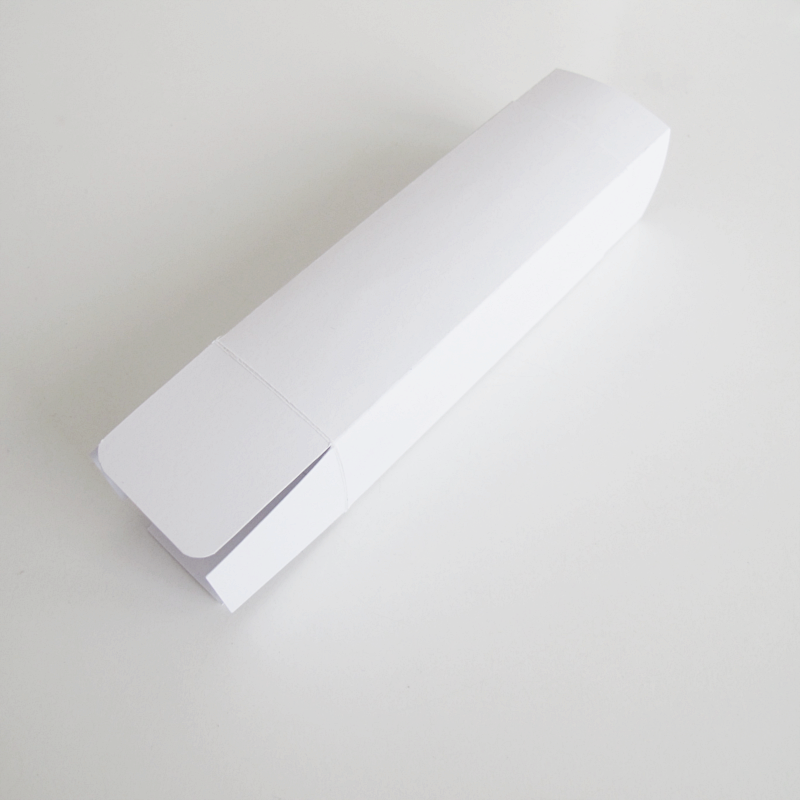
And then the top. Let the flap with the rounded corners be on top.
/// Och sedan toppen. Låt fliken med rundande hörn vara längst upp.
Now it’s time to draw another figure. Depending on how thick the paper is, you might have to alter the dimensions a bit. (see why in the following steps)
/// Dags att rita ut ännu en figur. Beroende på hur tjock kartong du använder kan du behöva ändra på måtten lite. (se varför i stegen som följer)
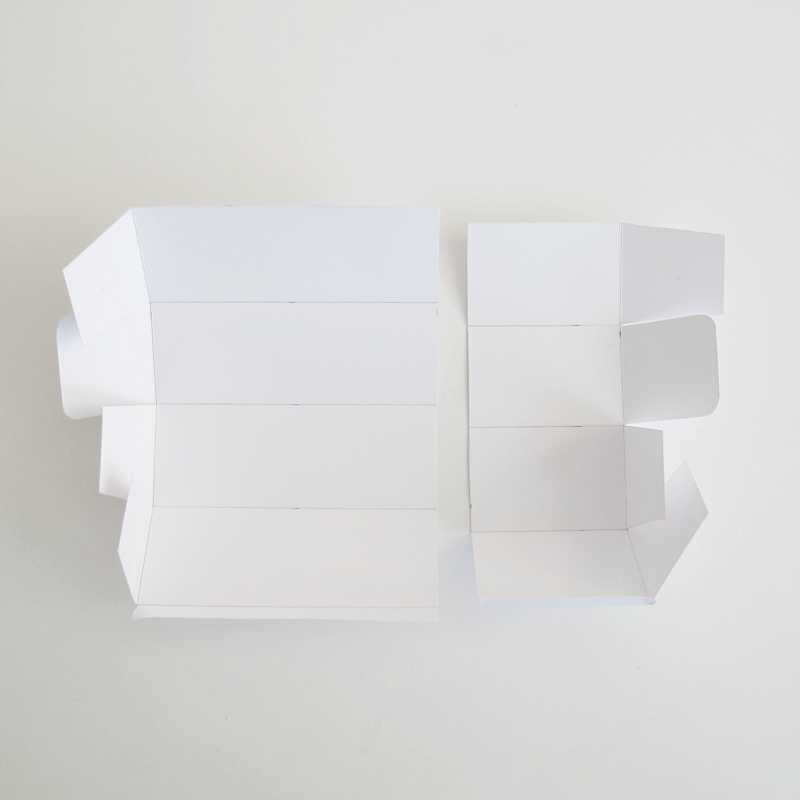
Fold along all lines, erase the pencil lines and then glue the piece you just made on the inside of the bigger piece of paper. Glue it so that you have the end of the paper where the flaps starts…
/// Vik längst med alla linjer, sudda bort blyertsstreck och limma sedan fast biten på insidan av den biten du gjorde tidigare. Sätt den kant i kant där flikarna börjar…
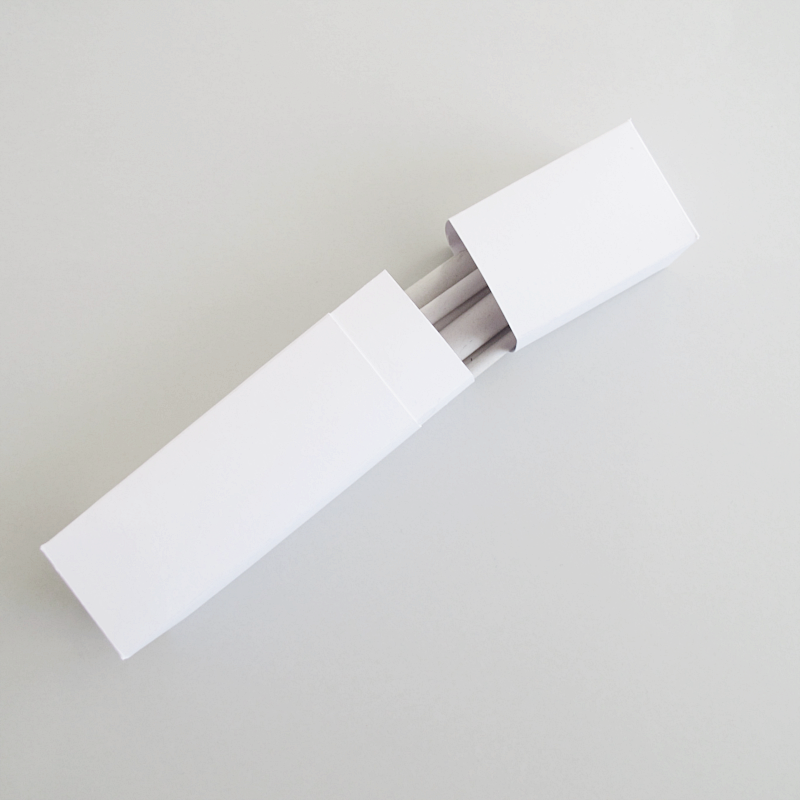
…so that the piece on the inside is sticking out two centimeters.
/// … så att den sticker ut två centimeter.

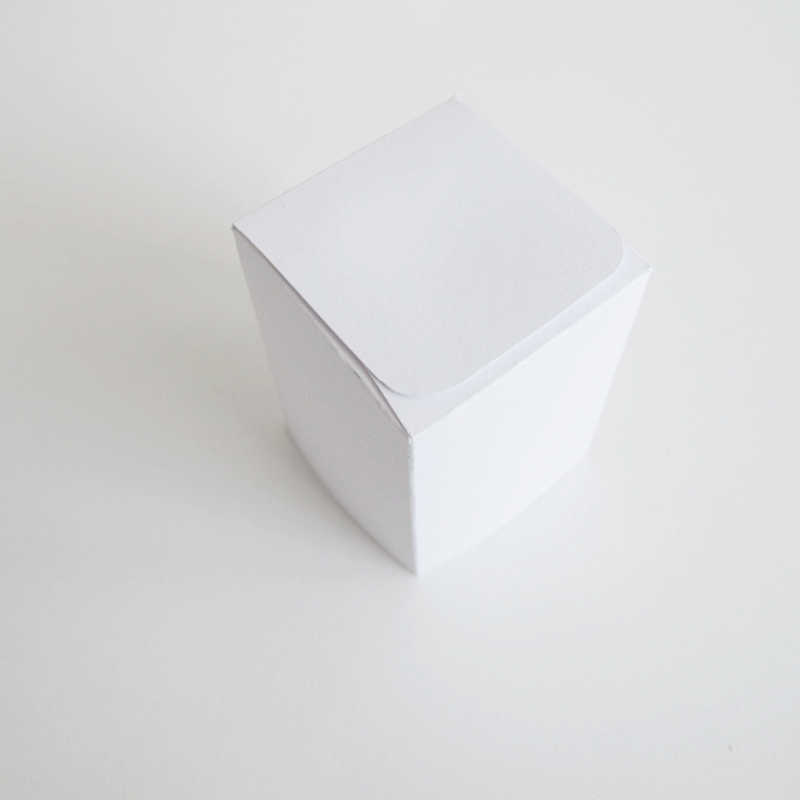
Glue the sides together.
/// Limma ihop sidan.
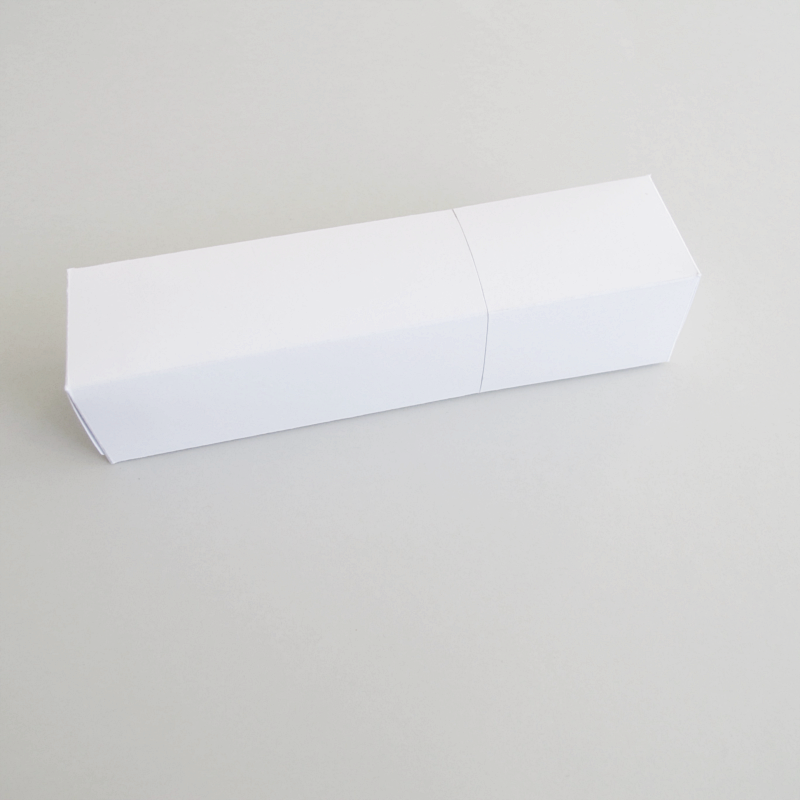
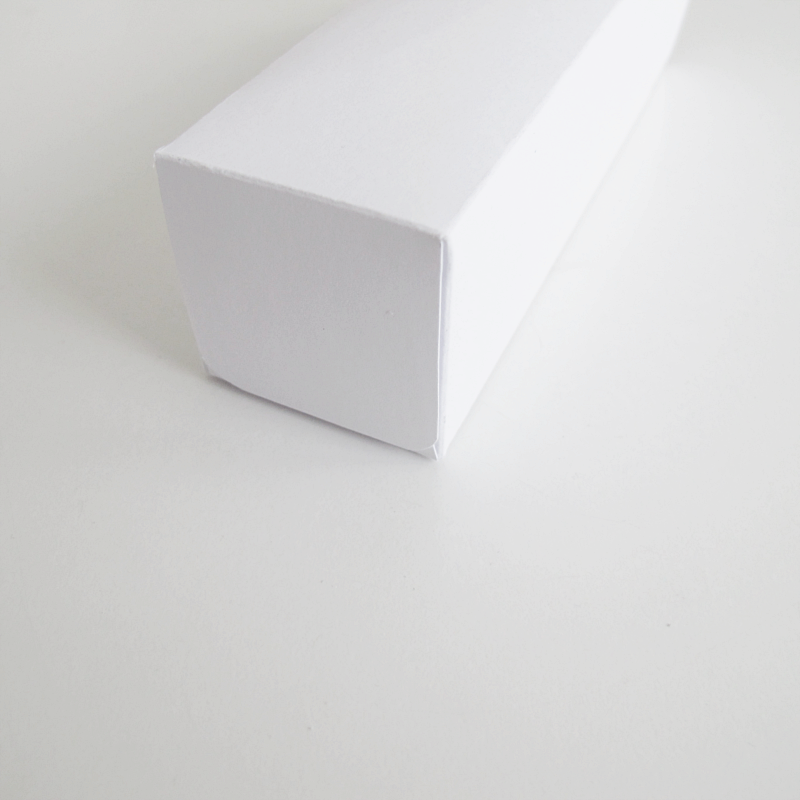
And then the bottom. Let the flap with the rounded corners be on the outside. Let the glue dry and you are done!
/// Och sedan botten. Låt även här den fliken med rundade hörn vara längst ut. Låt limmet torka och du är klar!

This pencil case
These folding boxes
This storage box
Leave a Reply