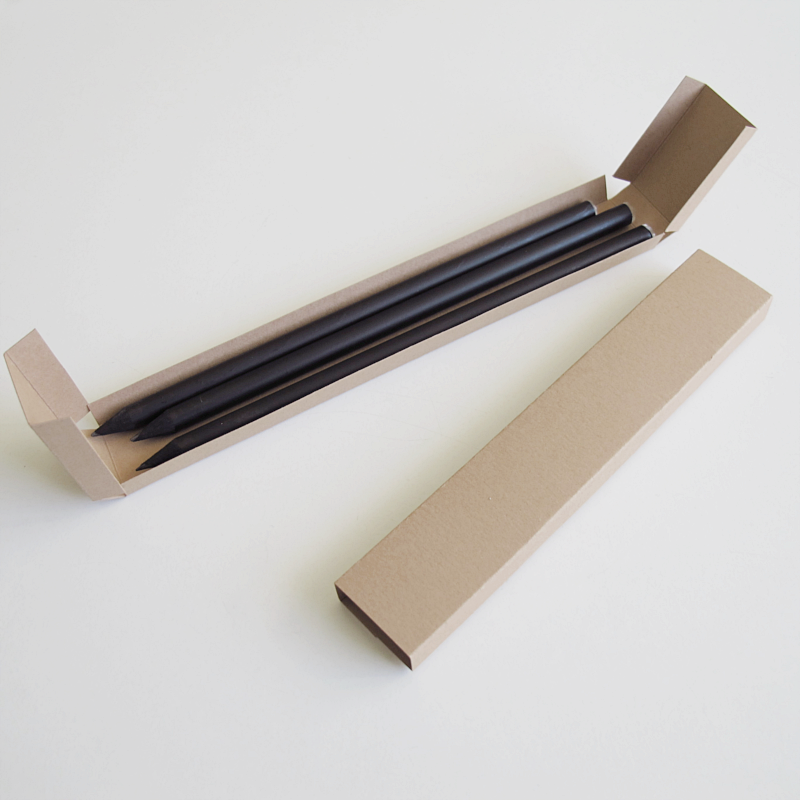
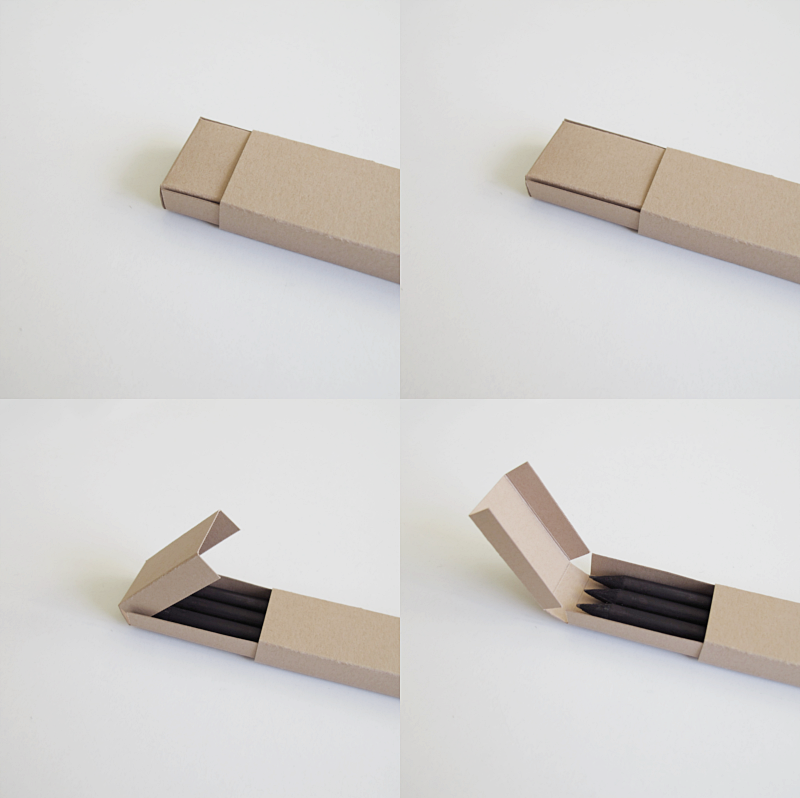
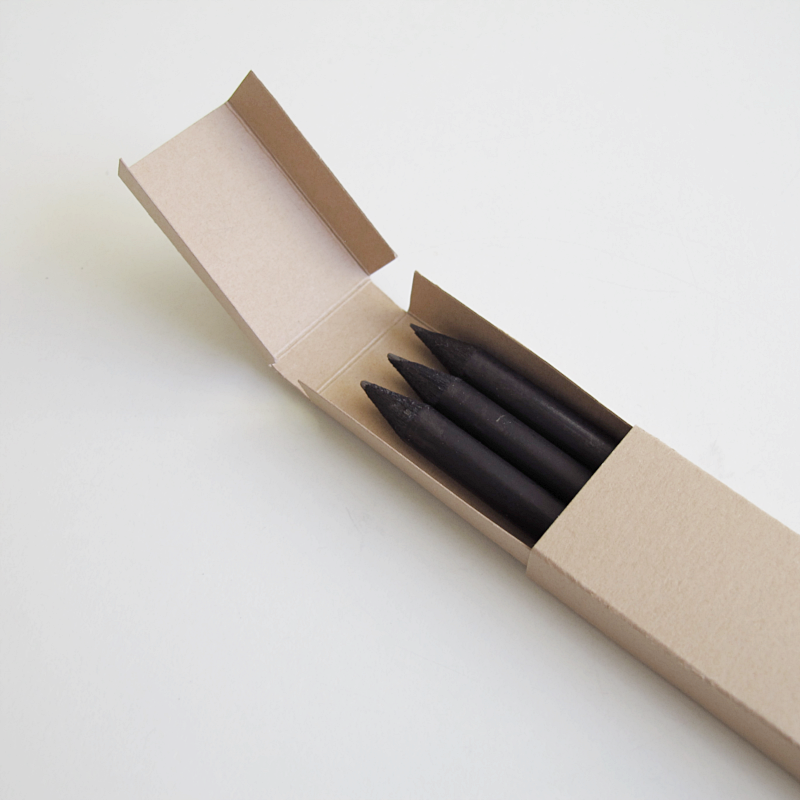
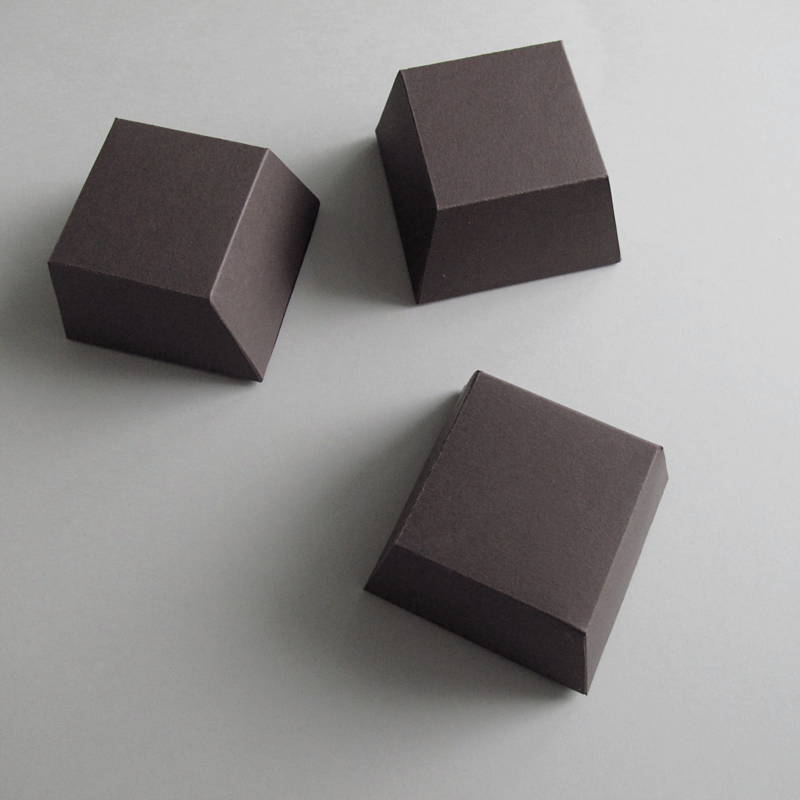
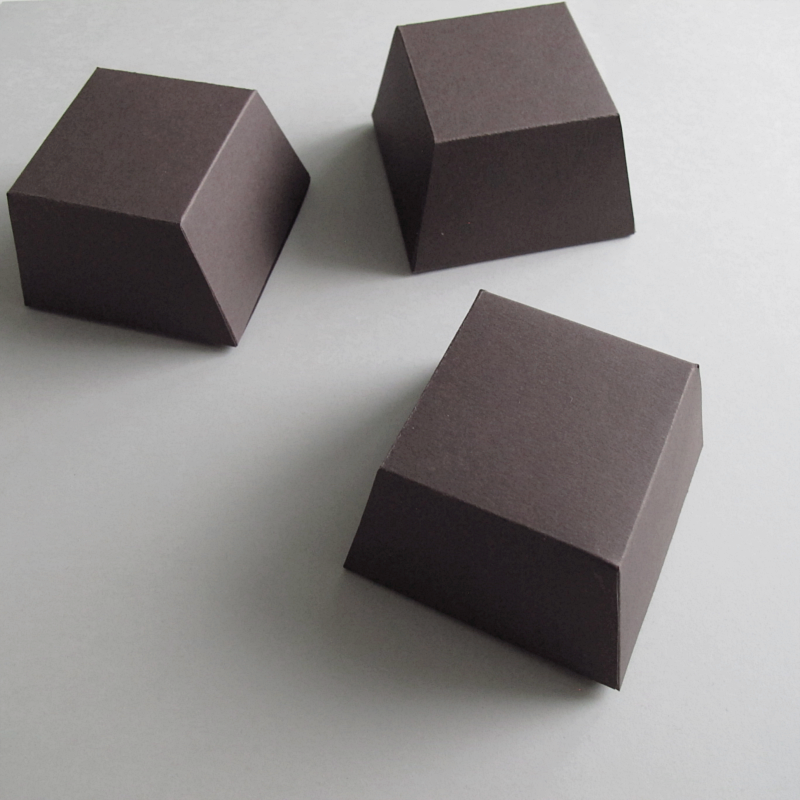
Puh.. This post have taked me days to make. But today I have a box DIY for you. When I made them my thought was to have the lid on the bottom, so that you don’t see the lid at first, but of course you can use them with whatever side you like the most.
/// Puh.. det här inlägget har tagit dagar att skriva.. Men idag har jag iallafall ett ask DIY till er. När jag först gjorde dem så var min tanke att ha locket på asken på undersidan så att man inte ser det på direkten, men du kan ju såklart använda den på vilket sätt du gillar.
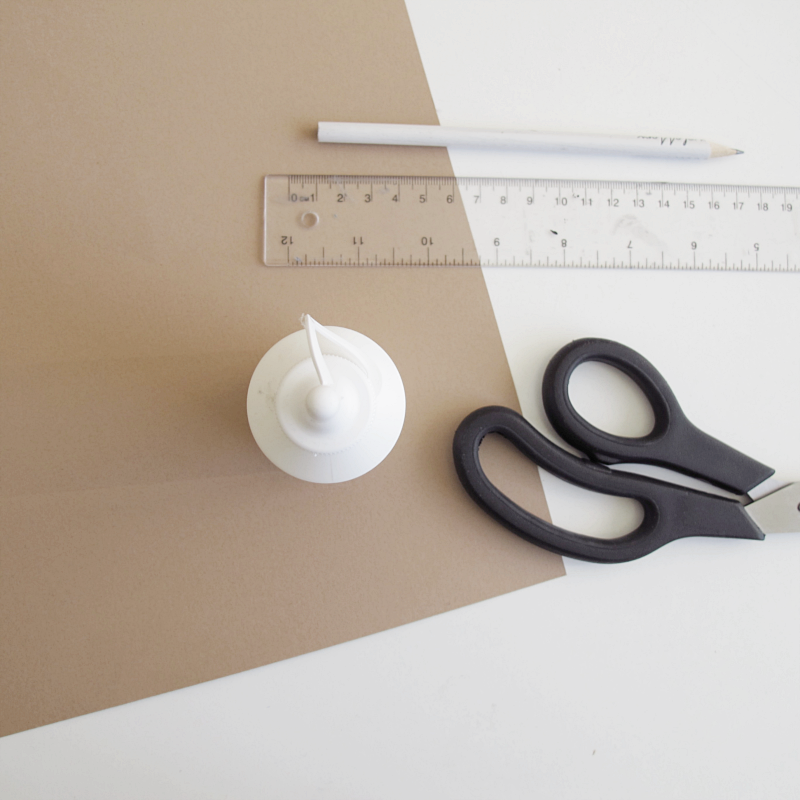
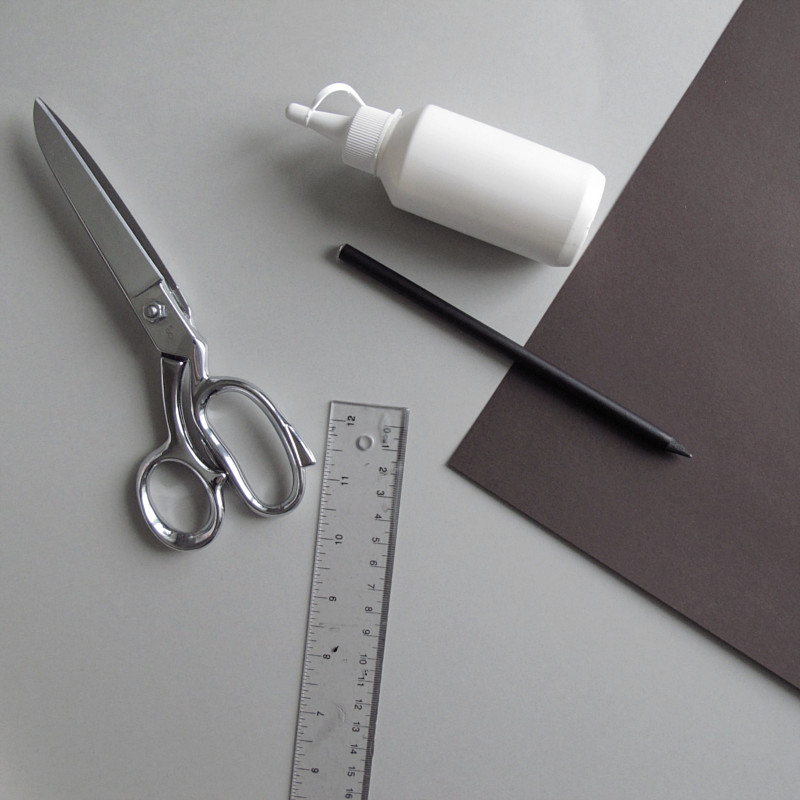
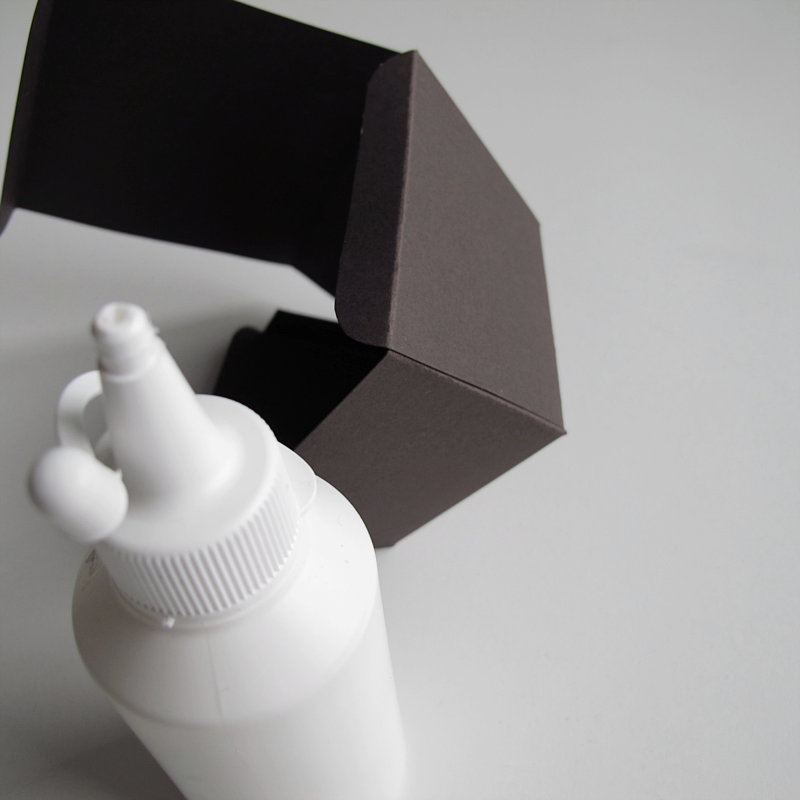
You need:
→ A pair of scissors
→ Glue
→ Carton
→ A pencil
→ Ruler
/// Du behöver:
→ Sax
→ Lim
→ Hobbykartong
→ En penna
→ Linjal
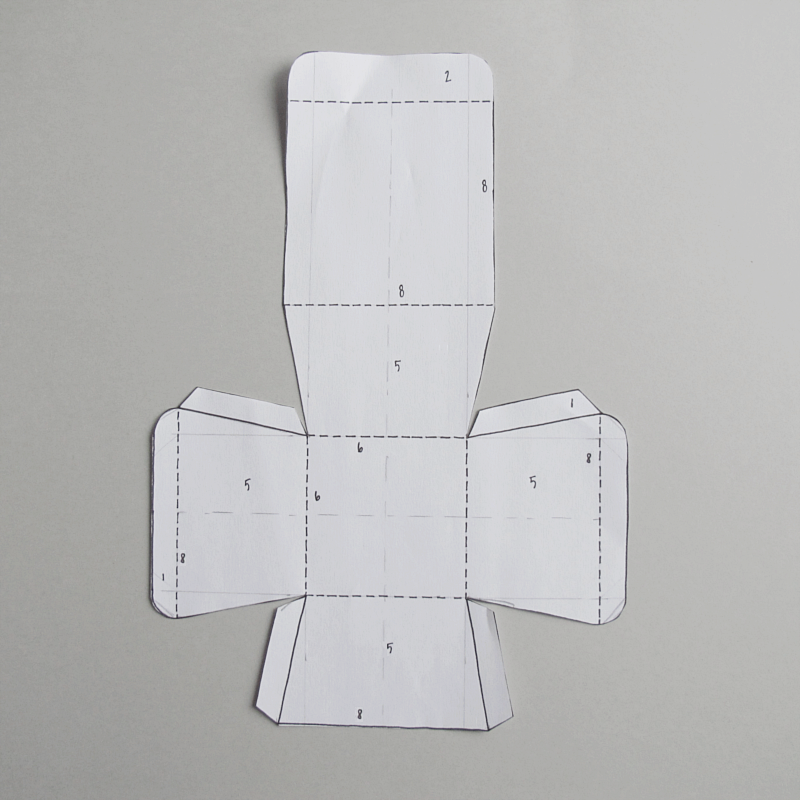
This is how you do it:
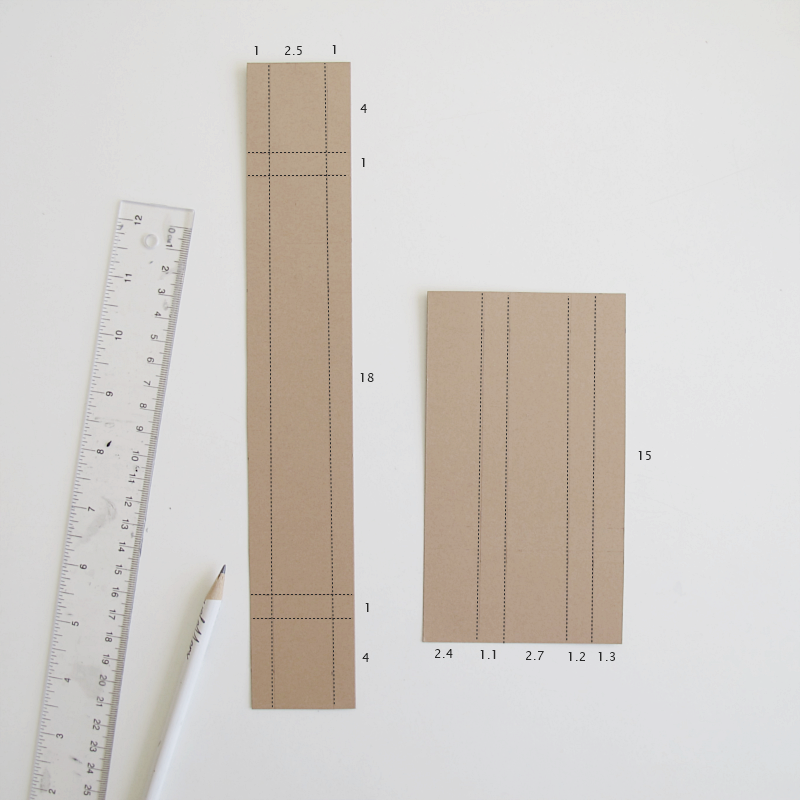
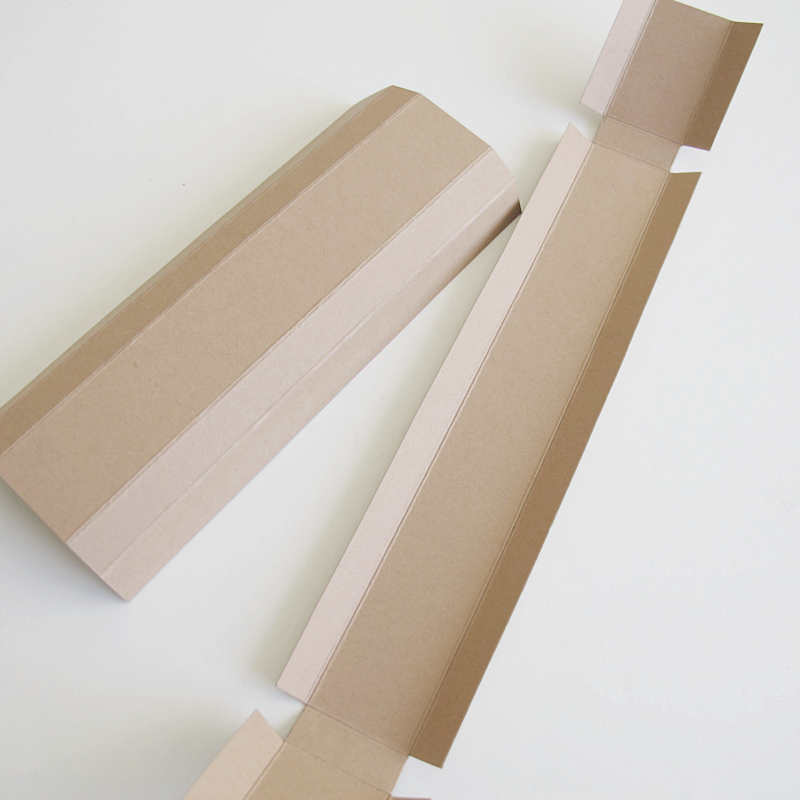
Start by drawing this figure on the carton.
/// Börja med att rita ut en figur som denna på kartongen.
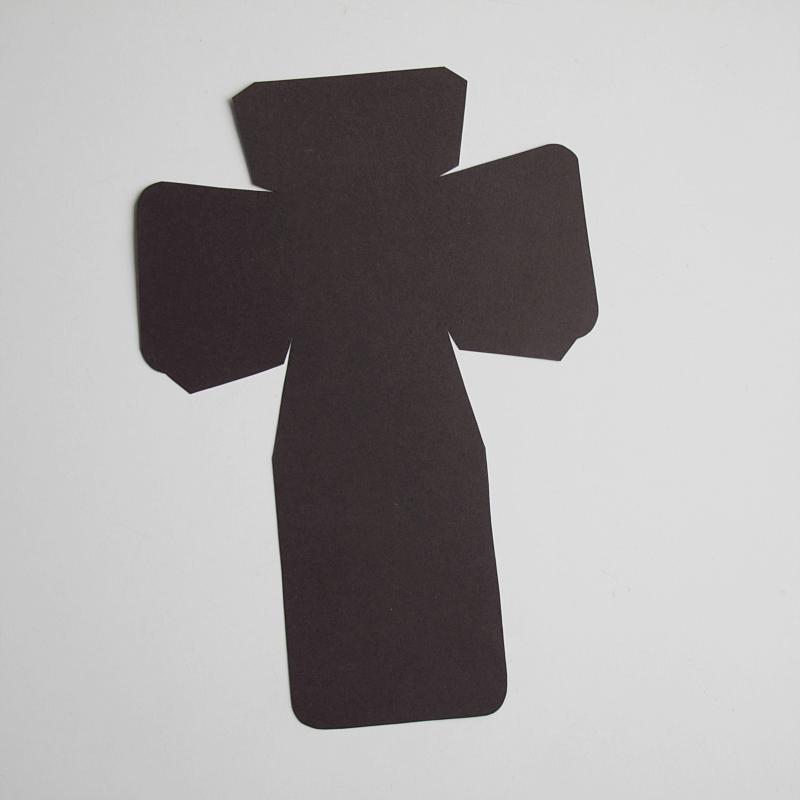
Like this.
/// Såhär.
Fold along the lines. Depending on what paper you are using, you can now try to put the box together ( without the glue ) to see if you have to cut off a few millimeters somewhere.
/// Vik längst med linjerna. Beroende på vilken typ av papper du använder, så kan du nu (innan du limmar) prova att sätta ihop asken för att se om du behöver klippa bort några extra millimeter någonstans.

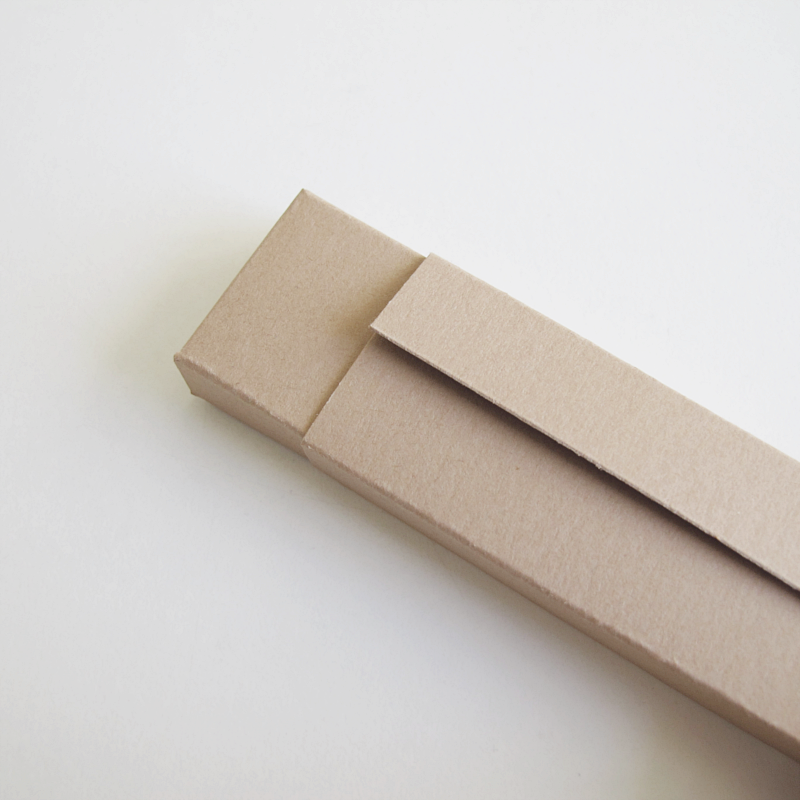
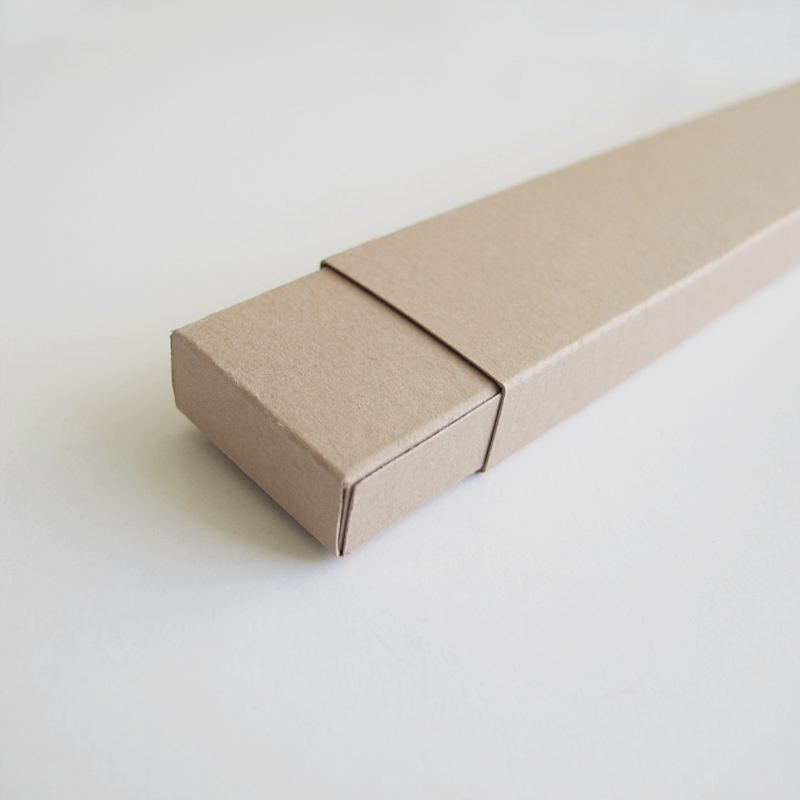
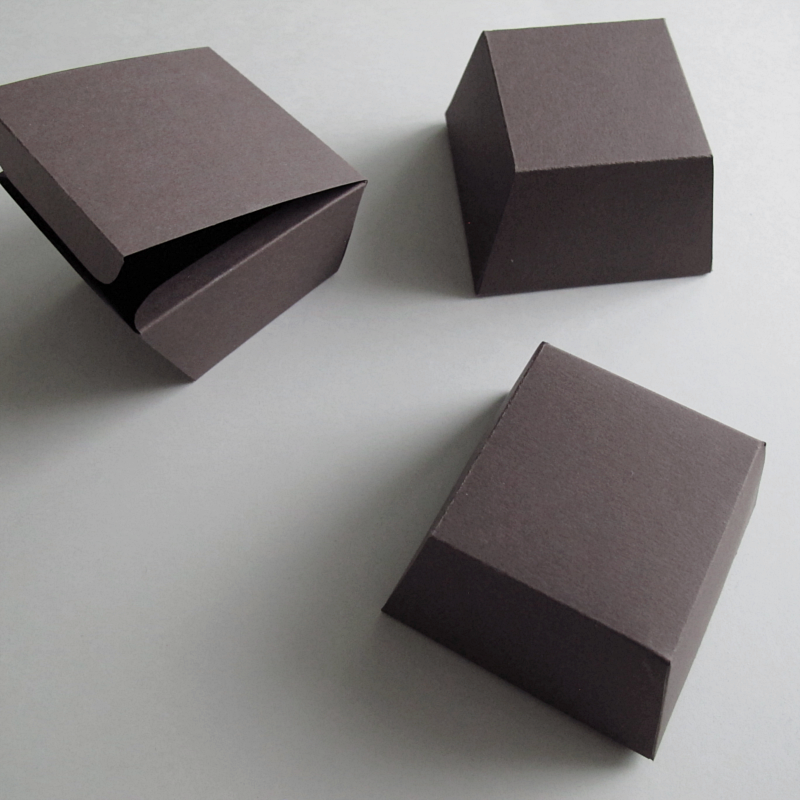
Then you can glue the box together.
/// Sedan kan du limma ihop asken.
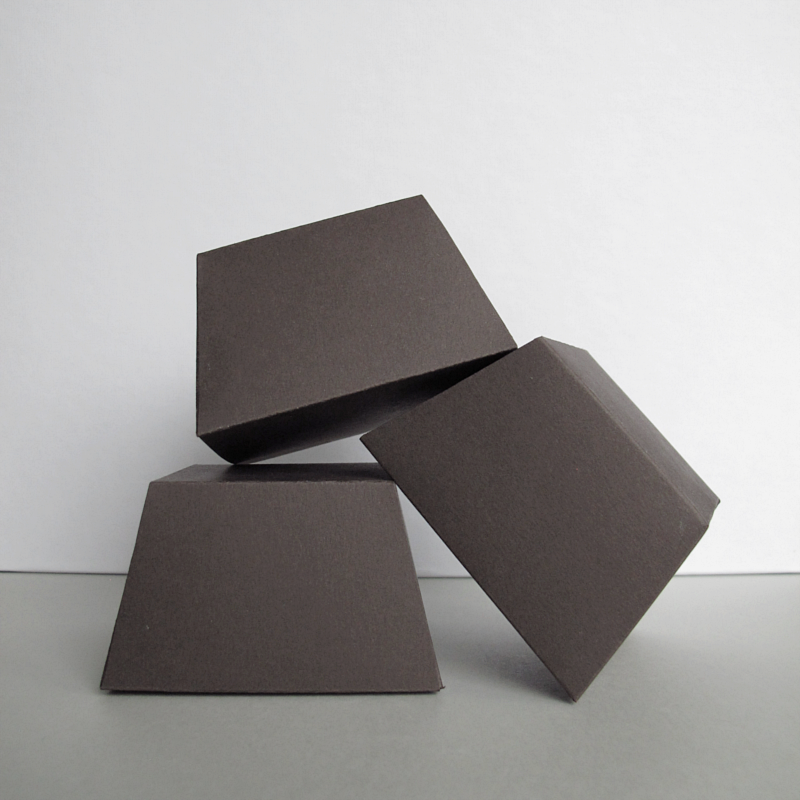
And you are done!
/// Och du är klar!

♦

This DIY folder
These foldable boxes
This organizer