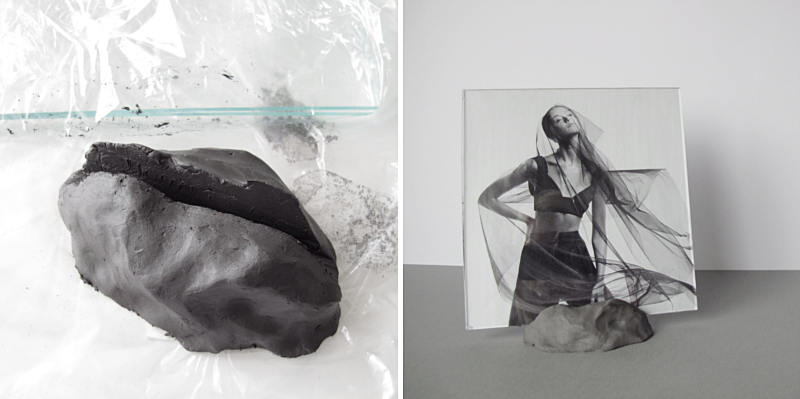
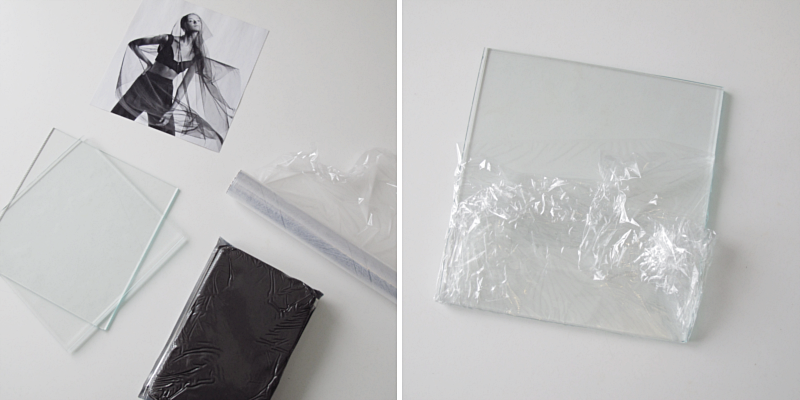
Todays diy is a picture holder. For this you need two pieces of glass, a picture that you like, some plastic (both to protect the glass and the table) and self hardening clay. I used about 0.5 pounds of clay for this. But it depends on how big your glass is. The bigger the glass, the more clay you have to use to prevent it from falling over. Take a piece of the plastic and wrap it around the two pieces of glass. This is for preventing the glass to get clay on it.
/// Dagens diy är en bildhållare. För att göra en sådan här behöver du två bitar glas, en bild som du gillar, plast (både för att skydda glaset och bordet) och självhärdande lera. Jag använde ungefär 1/4 förpackning till denna, (förpackningen var på 1kg). Men det beror helt på hur stora glas du använder. Ju större glas, ju mer lera behövs så att inte hållaren tippar över. Ta glasen och linda in botten i lite plast, så att inte de får lera på sig.
Make a “blob” out of the clay, and gently press the pieces of glass into the “blob”. With a little angle and not all the way through.
/// Forma en “klump” av leran, och tryck försiktigt ner glasen i “klumpen”. Med lite vinkel och inte hela vägen igenom.
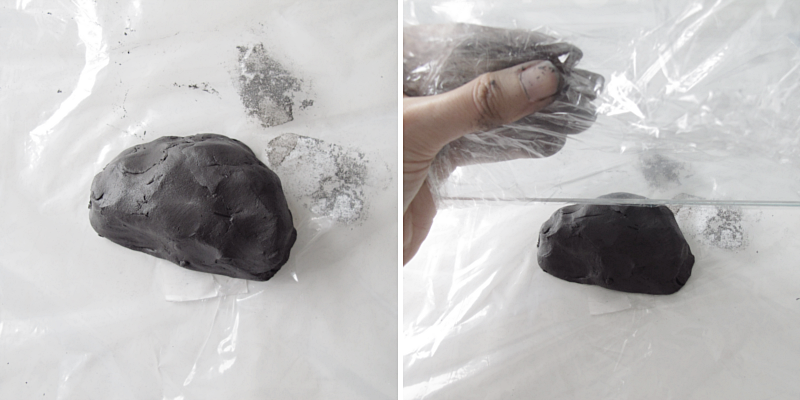
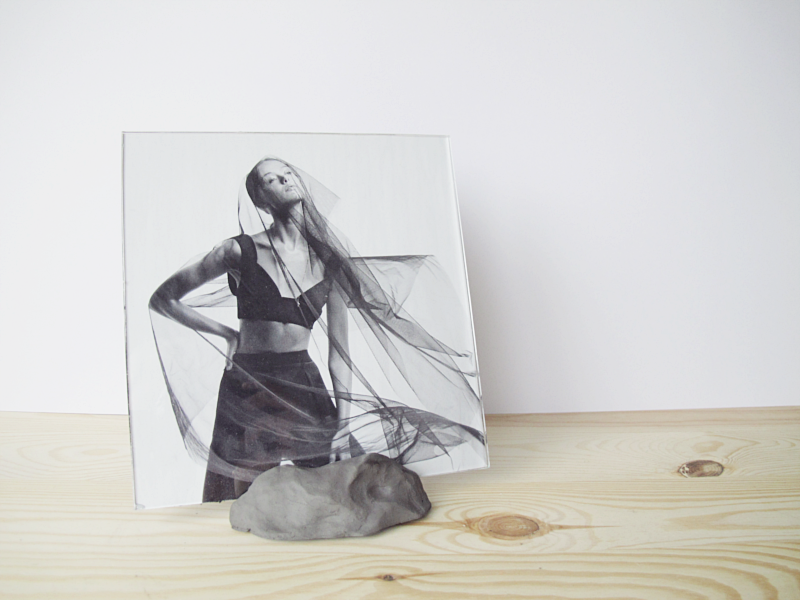
Like this. Make the notch wider than you actually want it, by moving the glass up and down a bit. Why, you might wonder. It’s because clay shrinks when it dries, so if you just make it the right size, the notch will be to narrow when it’s dry.
You can leave the clay as it is for a rougher look or you can smooth it out with your finger. Let it dry and you are done!
/// Så här. Nu ska du göra skåran lite bredare än du egentligen vill ha den. Varför? Jo, för lera krymper när den torkar och gör du den då i rätt storlek så kommer skåran att vara för smal när den är torr.
Nu kan du lämna hållaren som den är eller så jämnar du till ytan med ett finger, för att få den slät. Låt den torka och du är klar!