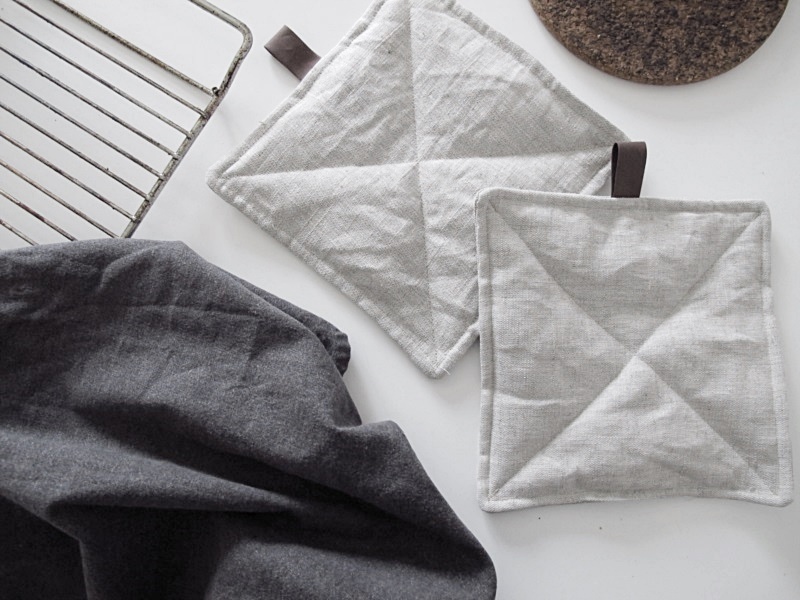
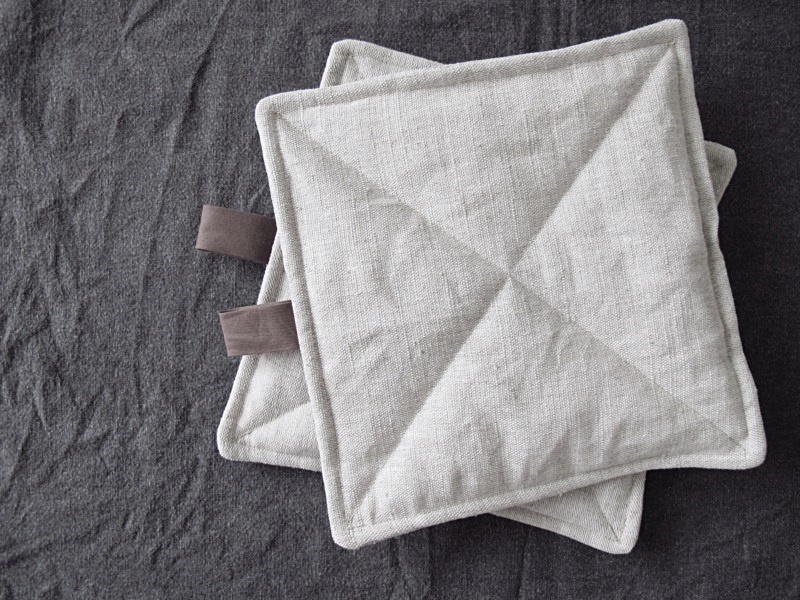
I really like linen, and the combination brown and beige, so that’s what I used when I made these potholders. But I actually used a fabric that was 50% linen and 50% cotton, just because I really like the structure and feel of it.
If you want to make your own you need: fabric, batting fabric (I used 130g/m2), binding (2 cm wide), a measuring tape, thread, a pair of scissors, a needle and a sewing machine.
/// Jag gillar linne, och jag gillar kombinationen brunt och beige, så det var det jag använde när jag gjorde dessa grytlappar. Om sanningen ska fram så är tyget faktiskt 50% linne och 50% bomull, bara för att jag gillade strukturen och känslan på tyget.
Om du vill göra likadana så behöver du: linnetyg, vadd ( jag använde 130g/m2), 2 cm brett kantband, måttband, tråd, en sax, nål och en symaskin.
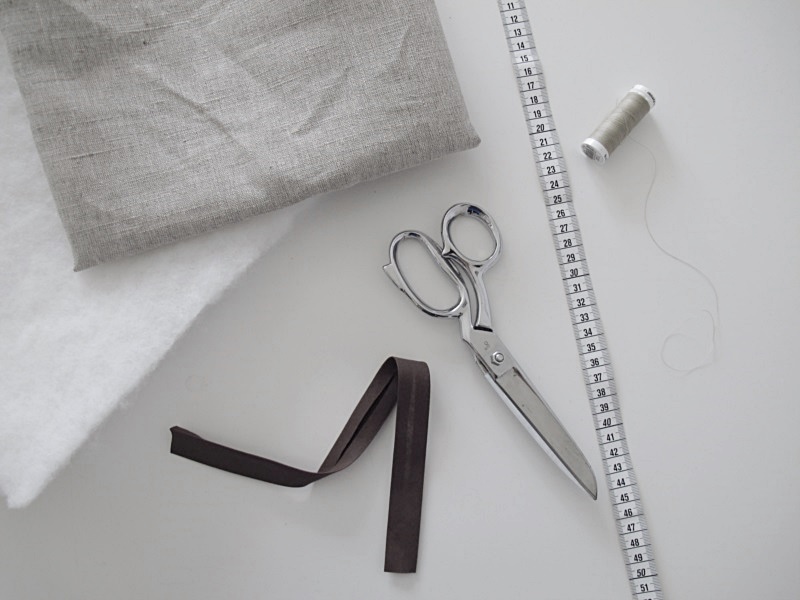
Start by cutting two squares out of the linen fabric, 22x22cm. Then you cut one square from the batting fabric too. Same size.
/// Börja med att klippa ut två fyrkanter av tyget och en fyrkant från vadden. 22x22cm.
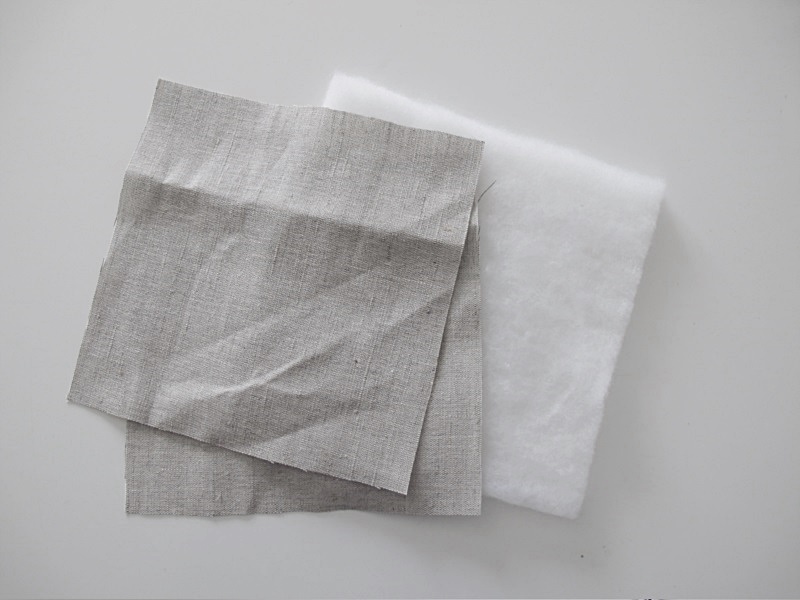
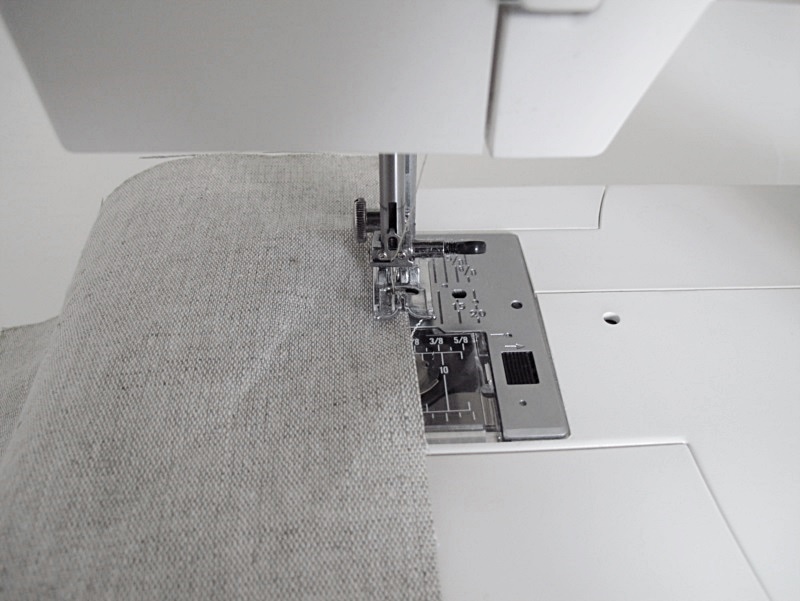
Then you zigzag around the edges of the linen fabric.
/// Sicksacka runt kanterna på de två tygbitarna.
Then you place the batting fabric on a plain surface, and put the two pieces of fabric on top. Fold down the top fabric and place your piece of binding like the picture shows. I used a binding about 12 cm long. Make sure you have 10 cm on each side of the binding.
/// Lägg vadden på en plan yta, och lägg sedan de två tygbitarna ovanpå. Vik sedan ner en bit av det översta tyget och lägg ditt kantband där, som bilden visar. Mitt kantband var ungefär 12cm långt. Se till att du har 10cm på vardera sida av kantbandet.
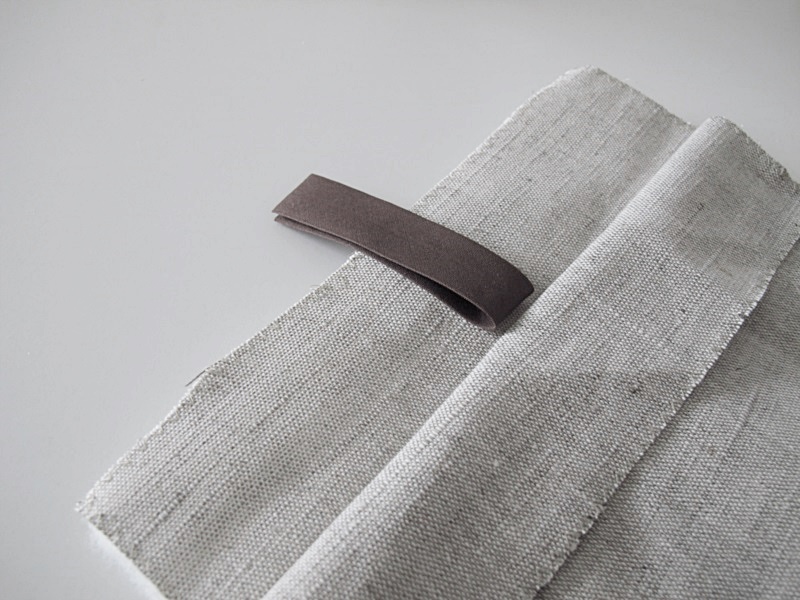
Sew the pieces together using the sewing machine. Put the side with the batting fabric upwards when you sew. Make sure you leave a small opening at the bottom of the potholder.
/// Sy ihop delarna med hjälp av symaskinen. Ha sidan med vadden uppåt när du syr. Kom också ihåg att lämna en liten öppning längst ner på grytlappen.
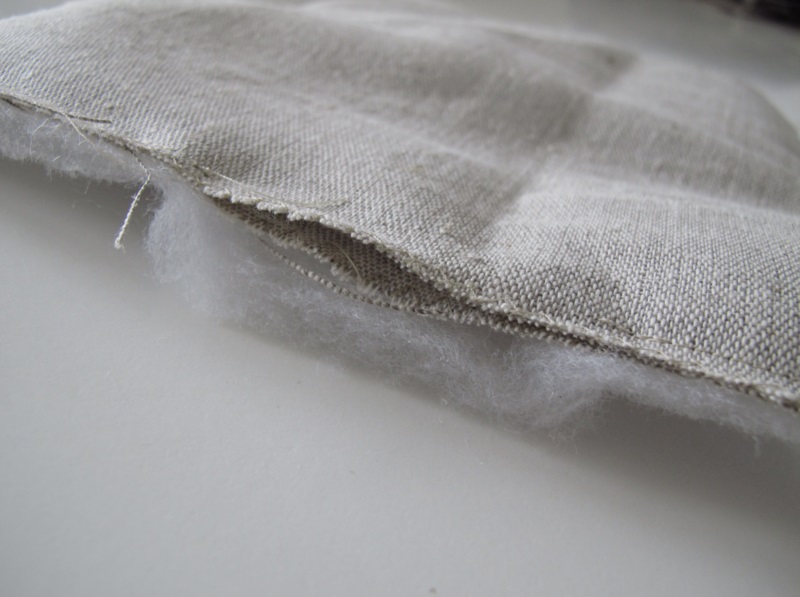
Then you turn the potholder inside out using the opening.
/// Vänd sedan grytlappen ut och med hjälp av hålet.
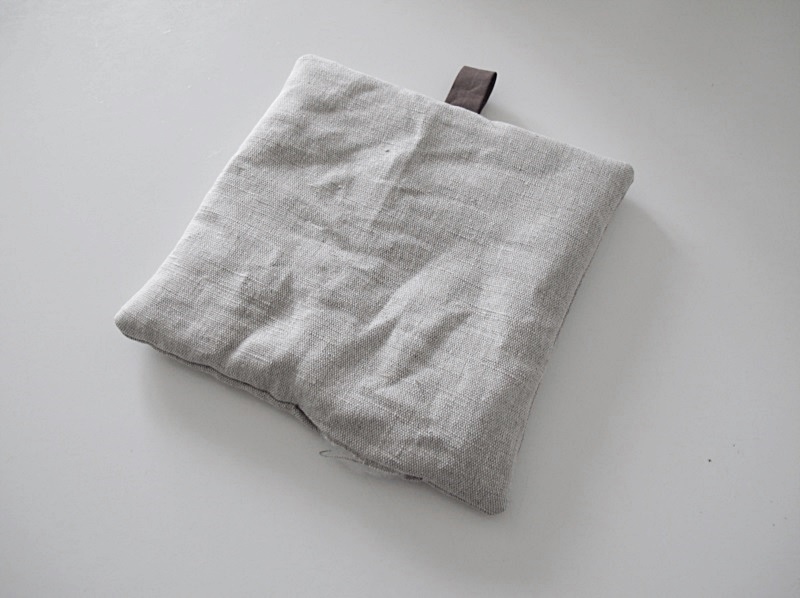
Sew together the opening by hand, and then you sew, using the sewing machine of course ;), a border around the potholder.
/// Sy igen hålet för hand med nål och tråd, sedan syr du ett kant runt grytlappen, med symaskinen såklart ;)
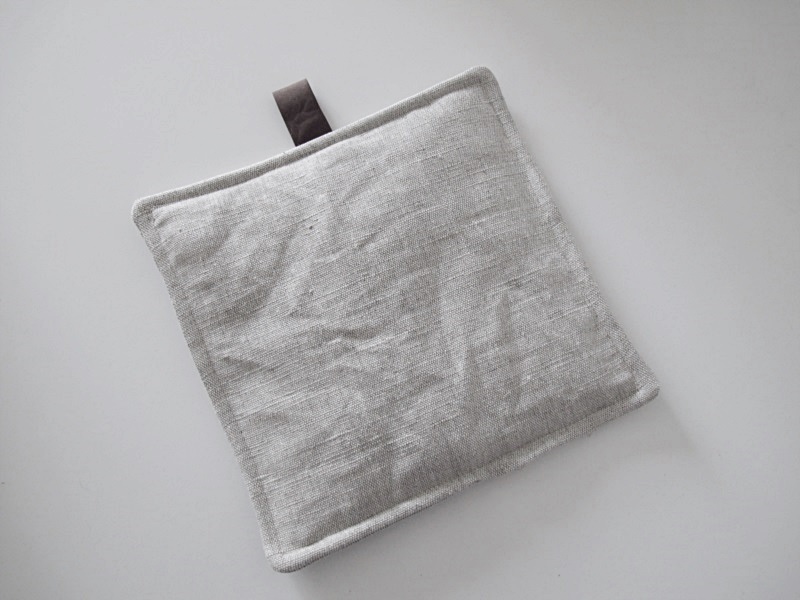
If you want to you can be finish now, or you can sew some pattern on your potholder. I made an X on my. Good luck!
/// Nu kan du vara klar eller så kan du välja att göra ett mönster på din grytlapp. Jag valde att göra ett X. Lycka till!

Amanda says:
Vilka fina! Nu vet jag inte vad för vadd du har använt men vill bara poängtera att det är viktigt att vadden är värmetålig och att grillvadd är att rekommendera.
April 21, 2016 — 11:12
Michelle-Marie says:
Wow de er fine. Har længe ville smide mine gamle grydelapper ud, og købe nogle nye. Måske skulle jeg selv lave dem i stedet for :)
Mvh. michelle-Marie
April 22, 2016 — 17:35
designoform says:
Känns alltid lite bättre när man gjort dem själva ;)
April 29, 2016 — 20:16