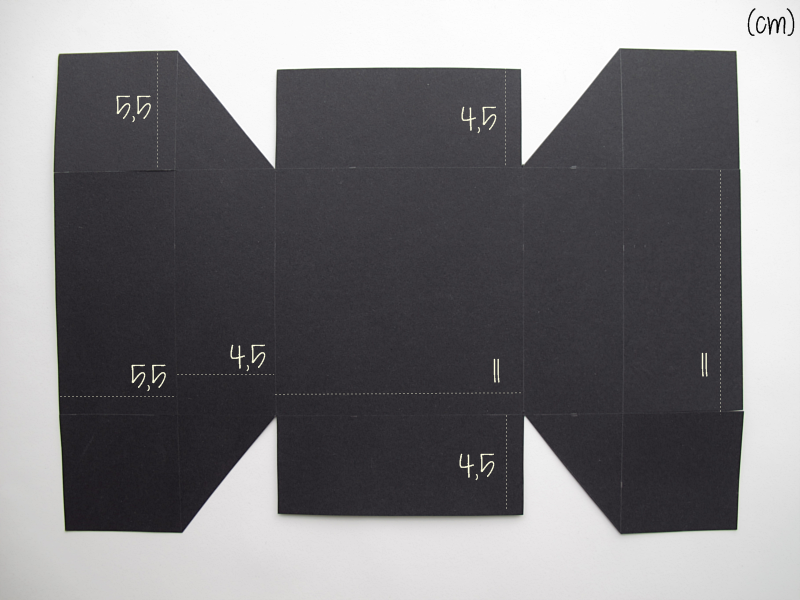
Make a figure like this using these measurements. You can leave the pencil lines for now. It makes it easier to fold later on
/// Gör en figur med dessa mått. Du kan låta blyertsstrecken vara kvar. De gör det enklare att vika senare.
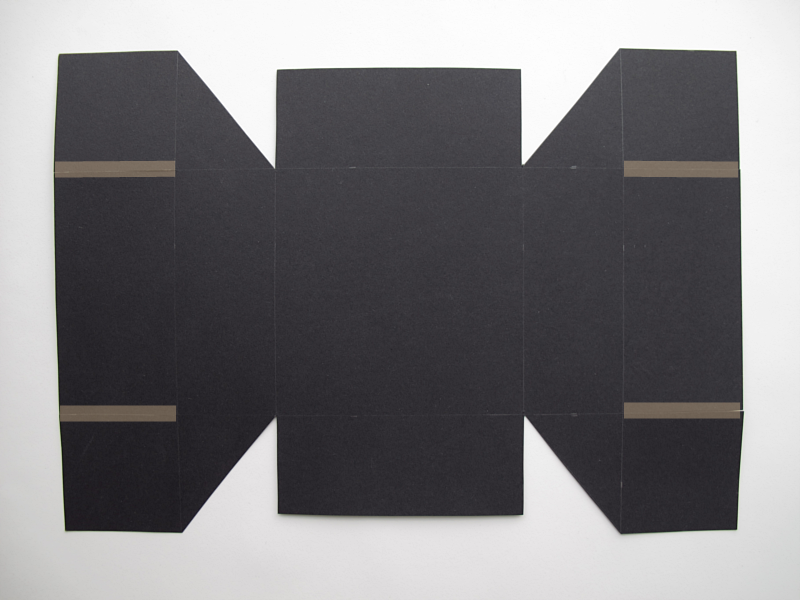
Cut where the brown lines are /// Klipp där de bruna strecken finns.
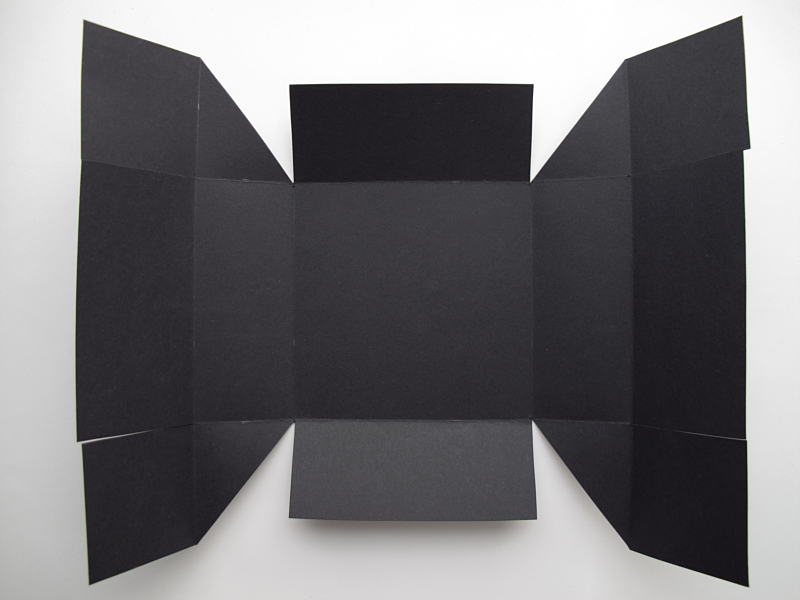
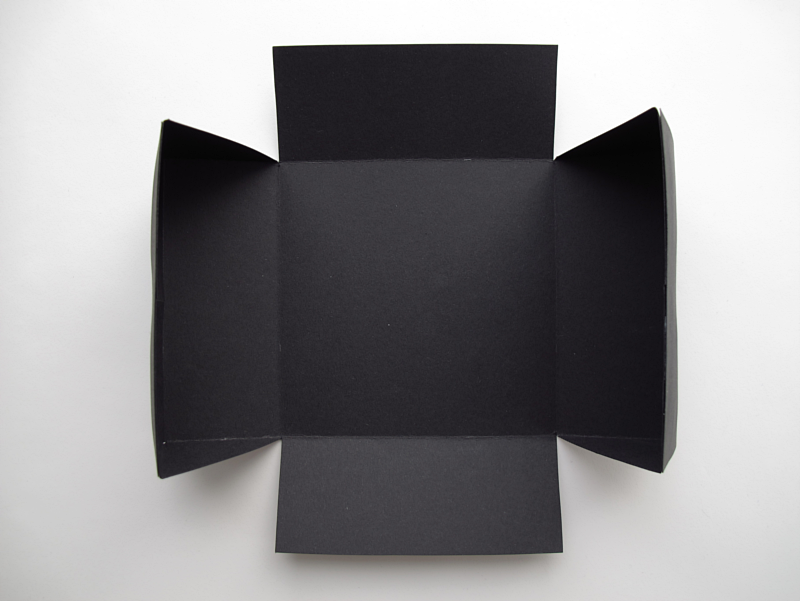
Fold all the remaining lines (the ones you did with the pencil)
/// Vik vid de andra linjerna. (dom du gjorde med blyertspennan)
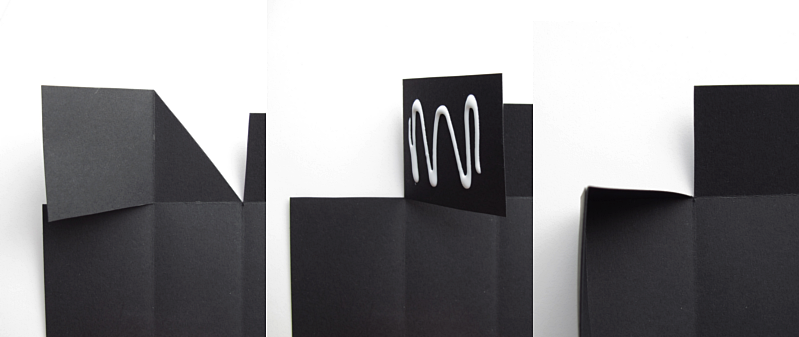
Put some glue on the corner piece and fold it towards you /// Limma hörnbiten och vik in den, mot dig
Glue the remaining corners /// Limma de andra tre hörnen.
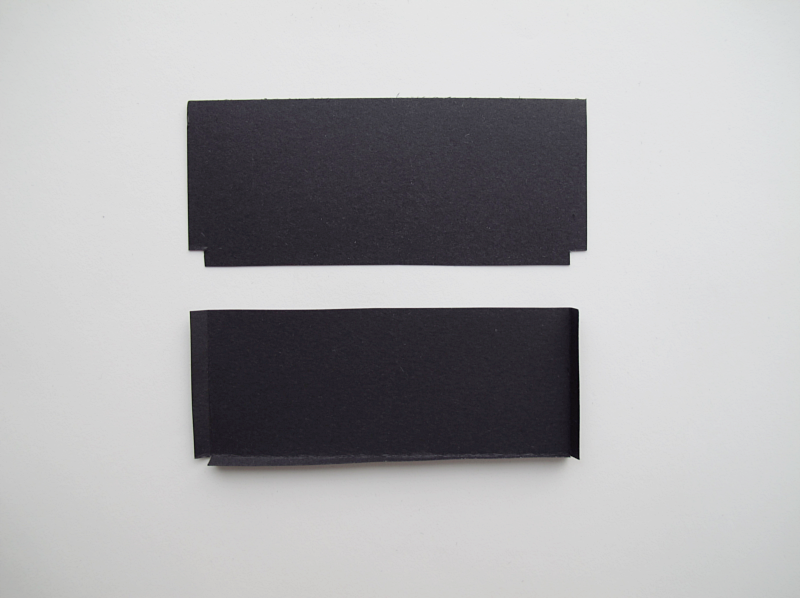
Make two more pieces. 11cmx4,5cm with a fold allowance of about half a cm. Then fold it.
/// Klipp två nya bitar. Med måtten 11×4,5 cm med en vikmån på ungefär en halv cm på tre av sidorna. Vik sedan in vikmånen.
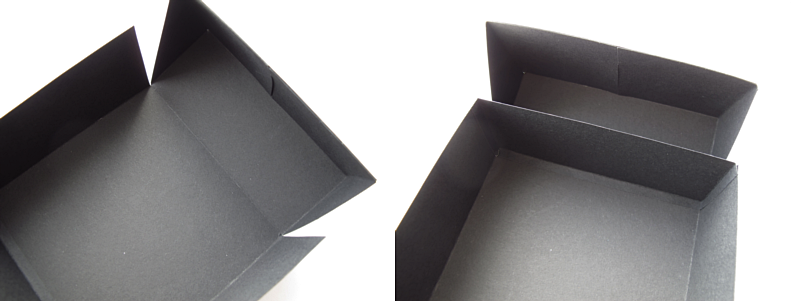
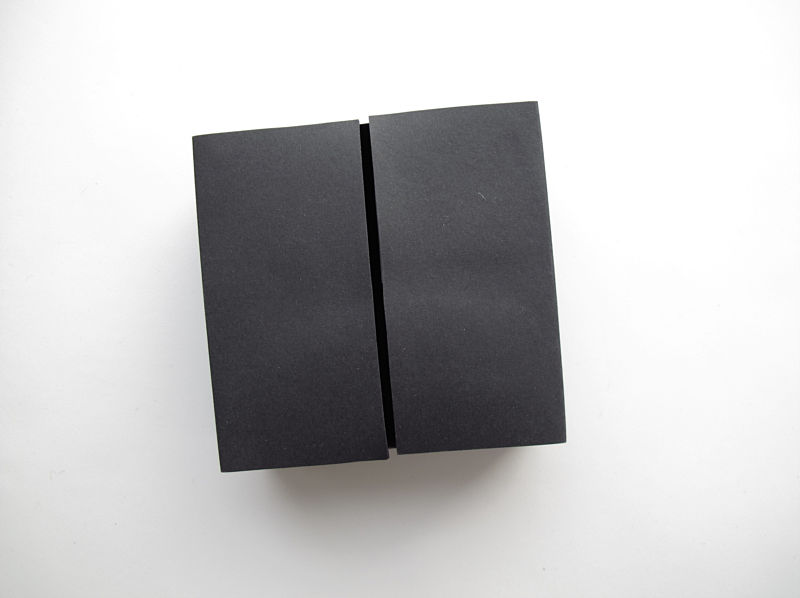
Glue the new pieces onto the box. /// Limma fast de nya bitarna på lådan.
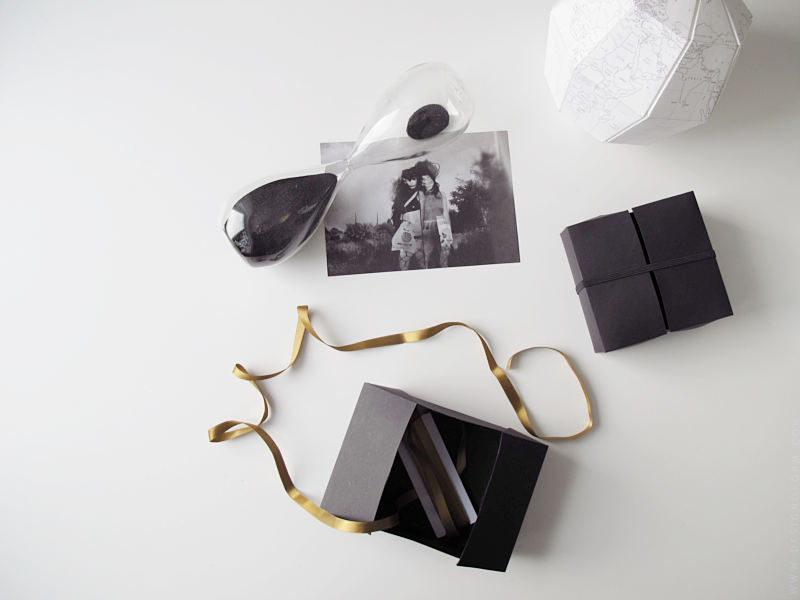
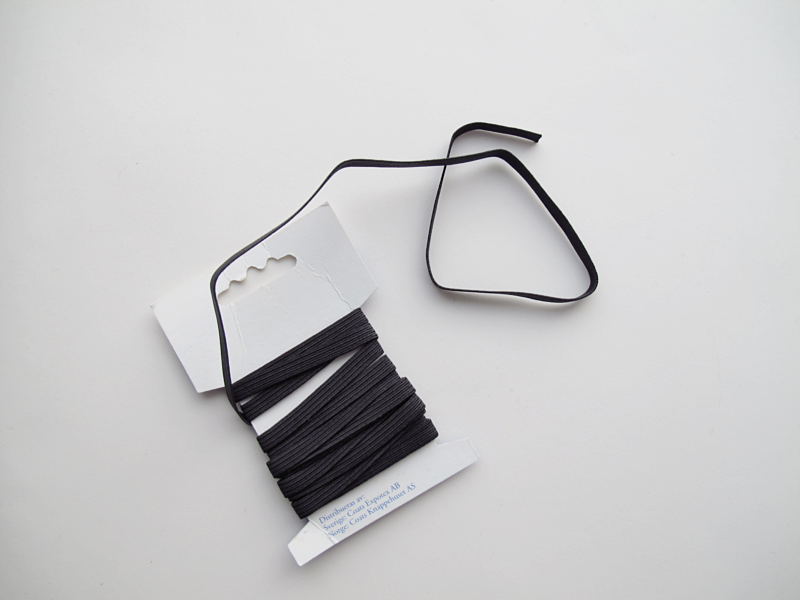
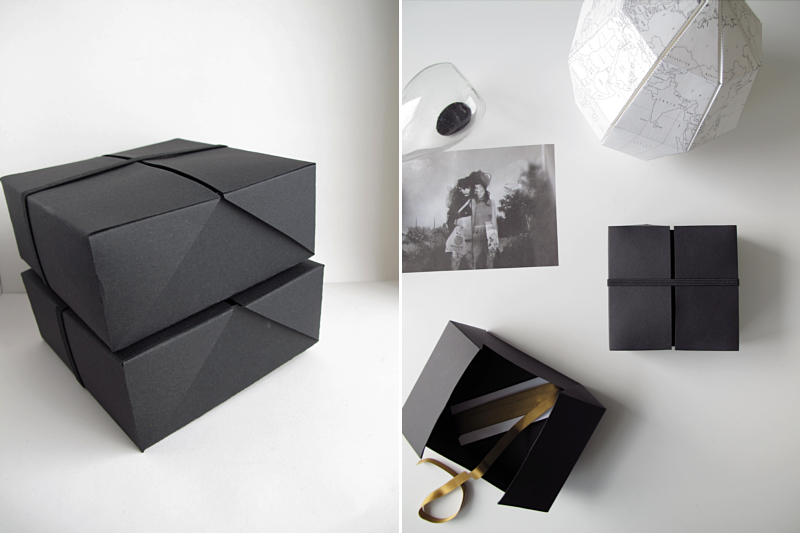
And you are pretty much done. If you want something to keep the box closed, you can use a piece of elastic band. Good luck!
/// Och nu är du färdig. Om du vill ha något som håller lådan stängd kan du använda ett tunt resårband. Lycka till!
( And sorry for the different quality of the pictures in this post. I´m still struggling learning my “new” camera.)

Niki says:
Simple yet beautiful. Thank you for the wonderful DIY tip!
February 10, 2013 — 21:17
tlinder says:
I just discovered your site. And I just made a box for giftwrapping my friends birthday present. Thanks for sharing!
Also, if you haven’t tried it already – ordning&reda’s paper&photo glue is no less than magical. (see http://www.ordning-reda.com/se/en-us/shop/detail/OR1141/?navid=387)
February 19, 2013 — 23:08
A Merry Mishap says:
This is excellent!
March 3, 2013 — 03:57
designoform says:
Thank you. :) I´m glad you like it!
March 4, 2013 — 14:24
Manu says:
the beauty of simple! thank you
June 16, 2014 — 11:38
designoform says:
And thank you for your comment! :)
June 16, 2014 — 13:39