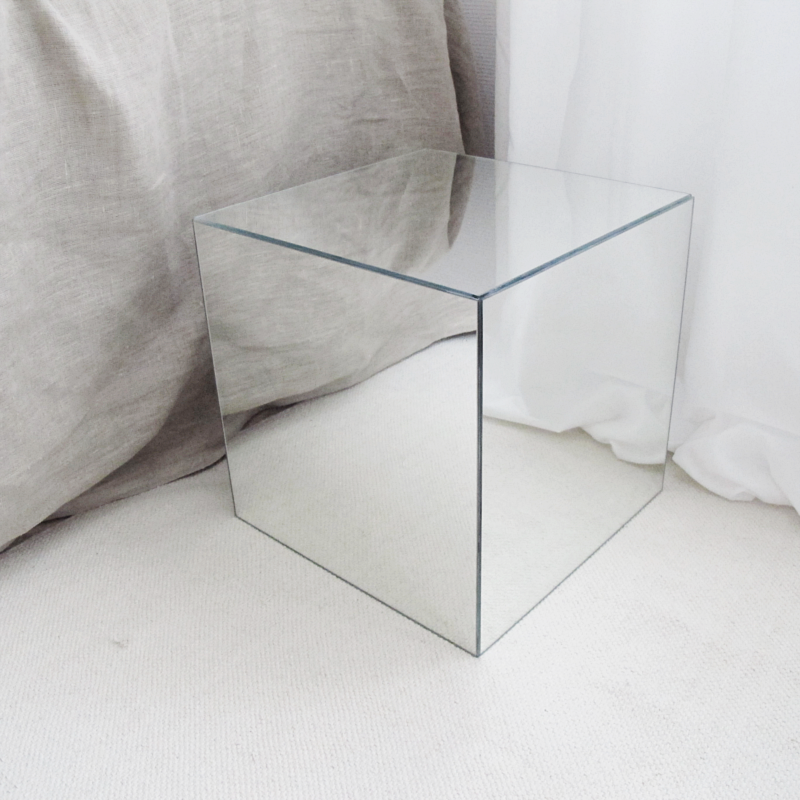
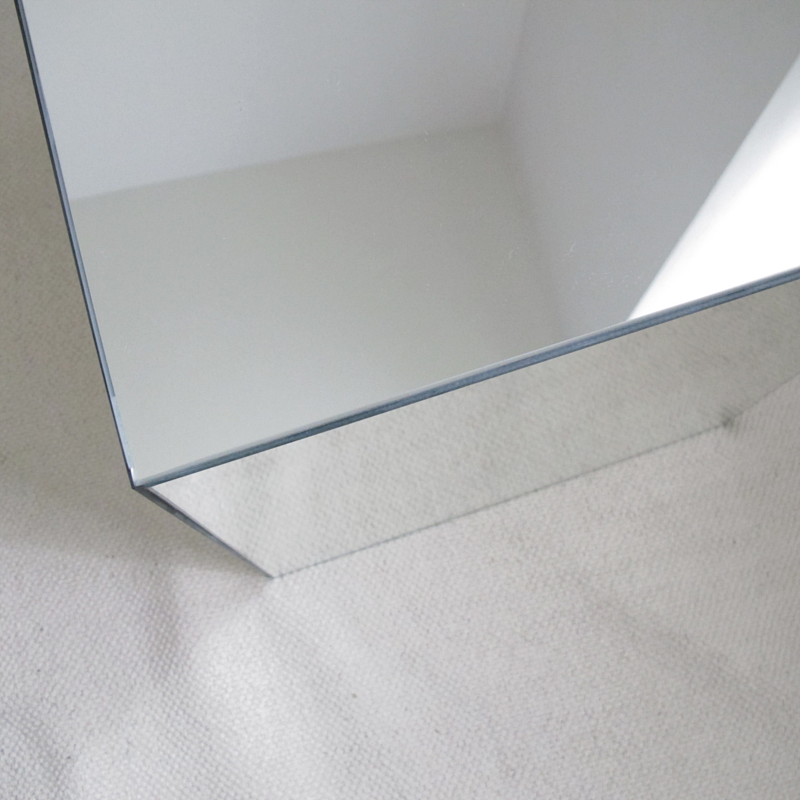
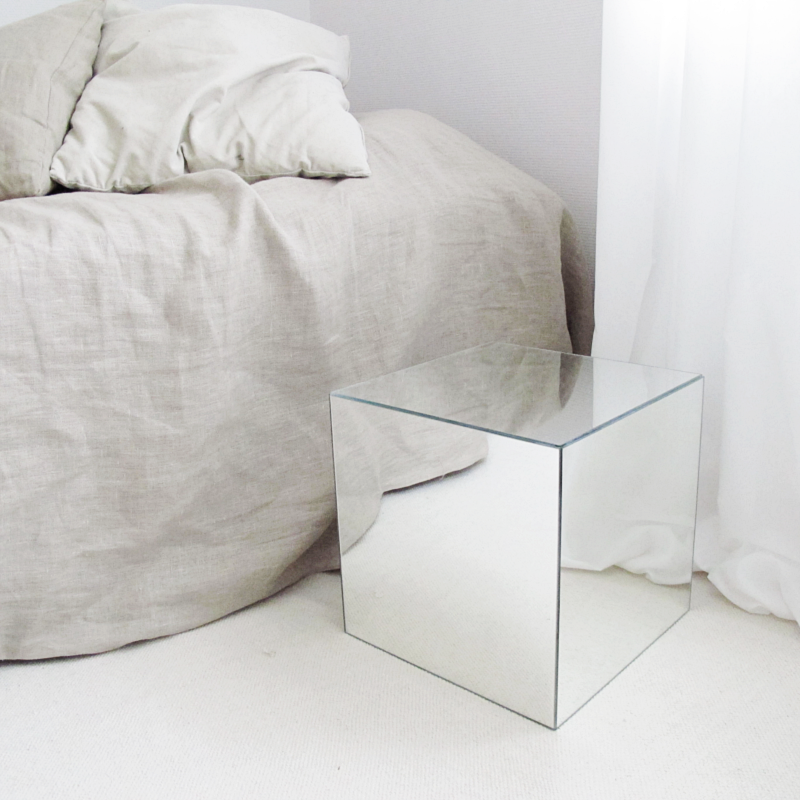
It wasn’t to hard to figure out from the “I spy a DIY”-post what this weeks DIY would be, right? A DIY Mirror cube. I would like to start by sharing some thoughts..
♦ Of course you can build a wood frame inside the cube instead, but I didn’t have the opportunity to do that so I used superglue. And the cube passed my can-I-sit-on-it? test.
♦ Be two when you make this cube. It was not easy to hold, glue (and take photos!) at the same time.
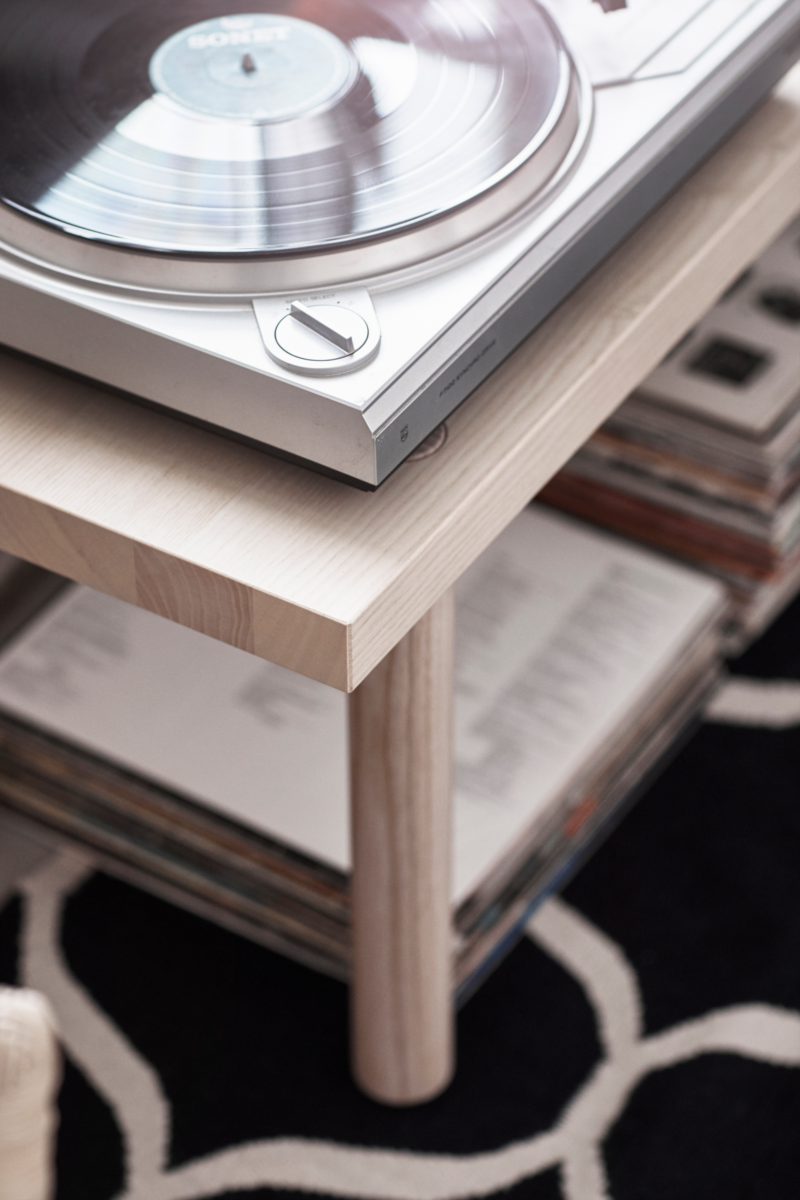
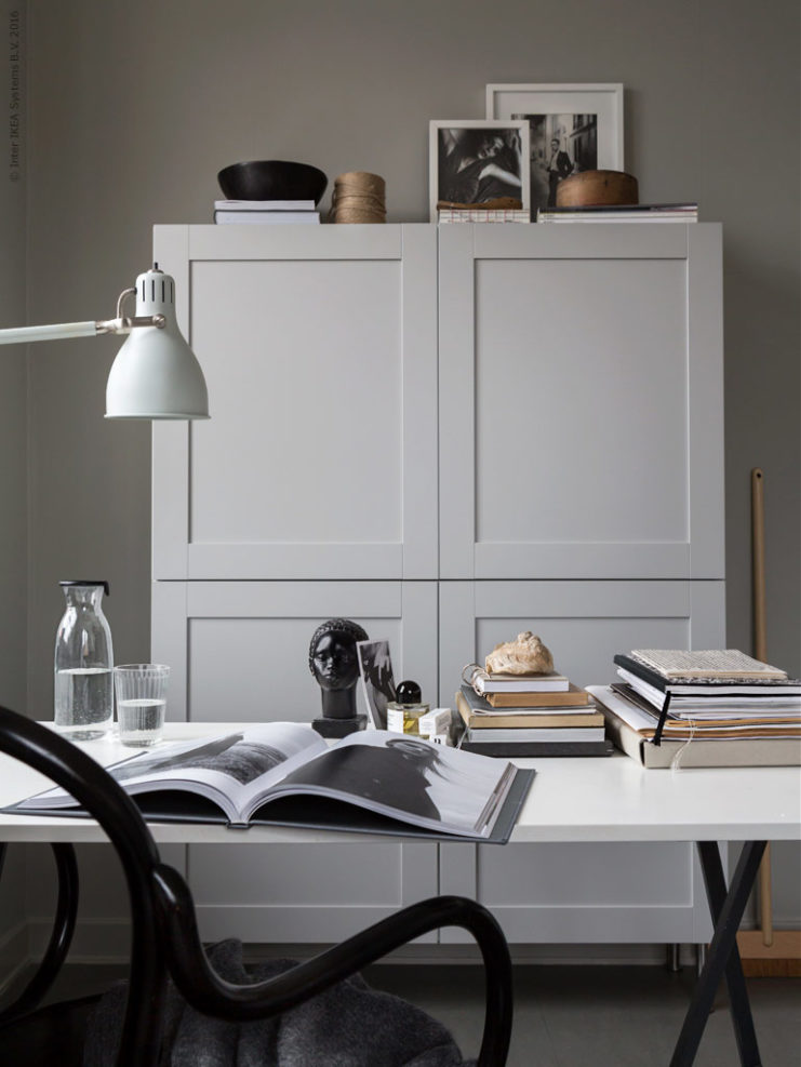
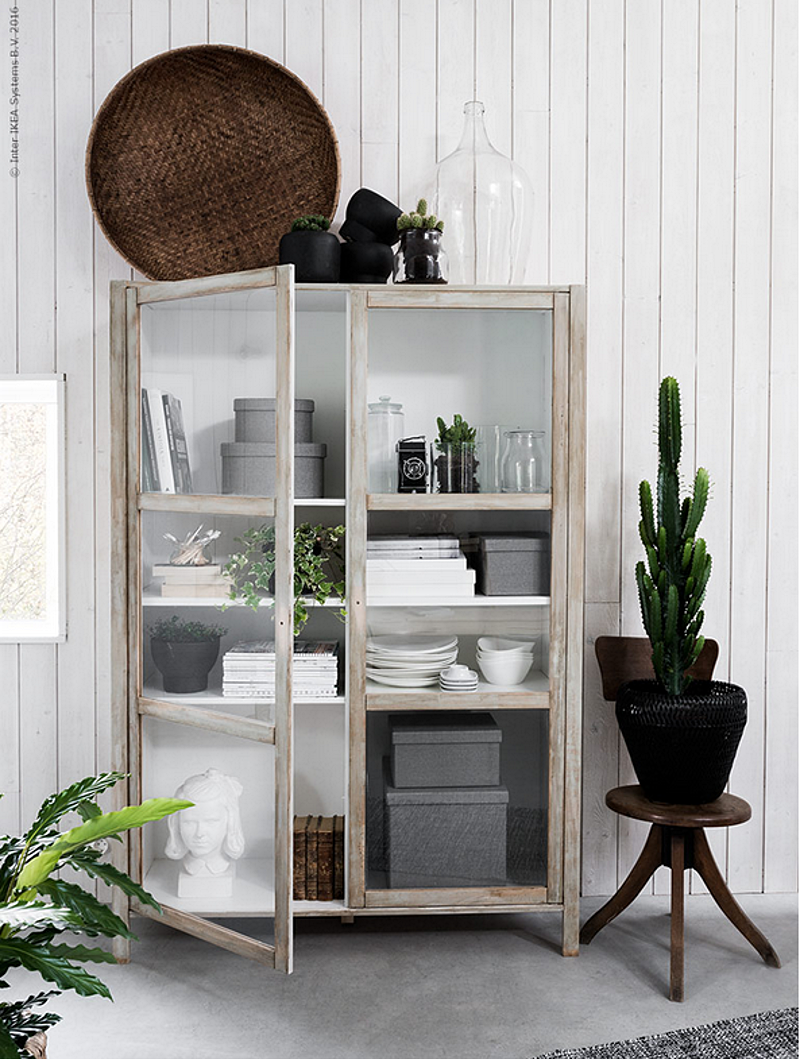
♦ I thought I was so clever when I was at Ikea and came up with this DIY, but look what I found when I was searching for photos for my “I spy a DIY”-post. Ikea!
♦ And last, I’m so sorry that the steps at the end of the tutorial don’t have pictures but I hope you can understand how to do it anyway.
/// Det var kanske inte allt för svårt att gissa från “I spy a DIY”- inlägget tidigare vad som skulle vara veckans DIY, eller hur? En spegel kub. Några tankar innan vi börjar dock:
♦ Såklart kan du göra den här kuben med en träram inuti istället, men då jag inte hade möjlighet till det så använde jag superlim istället. Kuben klarade mitt kan-jag-sitta-på-den? test, så den håller ganska bra.
♦ Försök var två när du gör kuben. Att hålla, limma, (och ta kort!) var inte helt lätt.
♦ Jag trodde jag var så klurig när jag gick på Ikea häromdagen och fick idén till kuben, men titta här vad jag hittade när jag letade bilder till “I spy A diy”-inlägget. Ikea var allt före på den!
♦ Och så slutligen så ber jag så hemskt mycket om ursäkt då de sista stegen inte har några bilder, men jag hoppas ni ska förstå ändå.
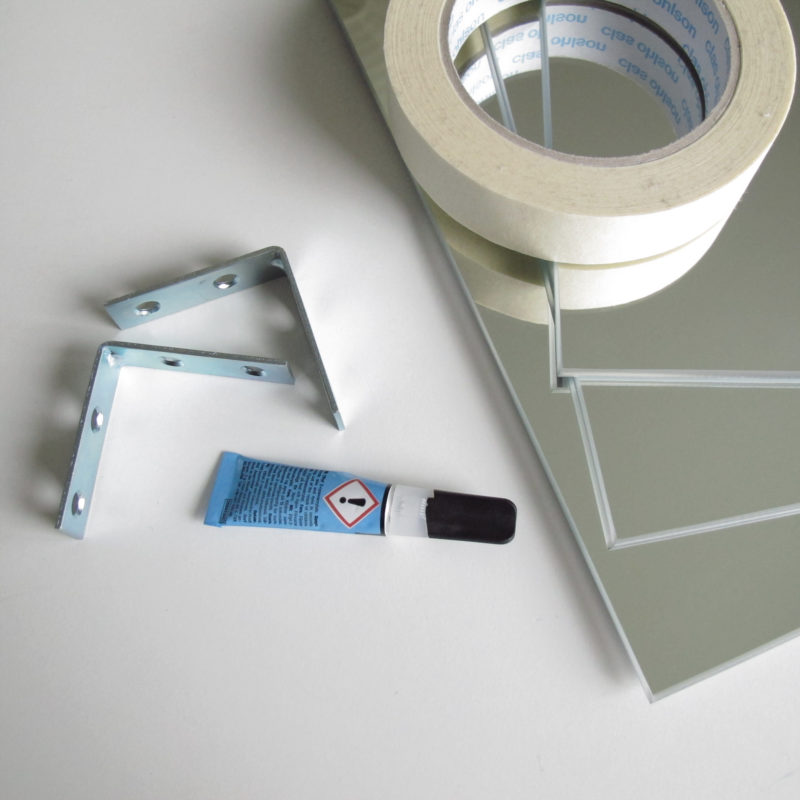
For this you need:
→ Two boxes of LOTS mirrors from Ikea, or 6 mirrors in the same size.
→ 24 corner brace ( is that the right english word?. anyway. I used these. I also used two in every “corner” where the mirrors met)
→ Super glue
→ Freezer tape
/// Till detta behöver du:
→ Två förpackningar LOTS spegel från Ikea, alternativt 6 st lika stora speglar.
→ 24 st vinkeljärn (här kan man möjligen använda färre vinkeljärn men jag ville gardera lite så jag har två vinkeljärn i varje hörn där två speglar möts).
→ Superlim
→ Frystejp
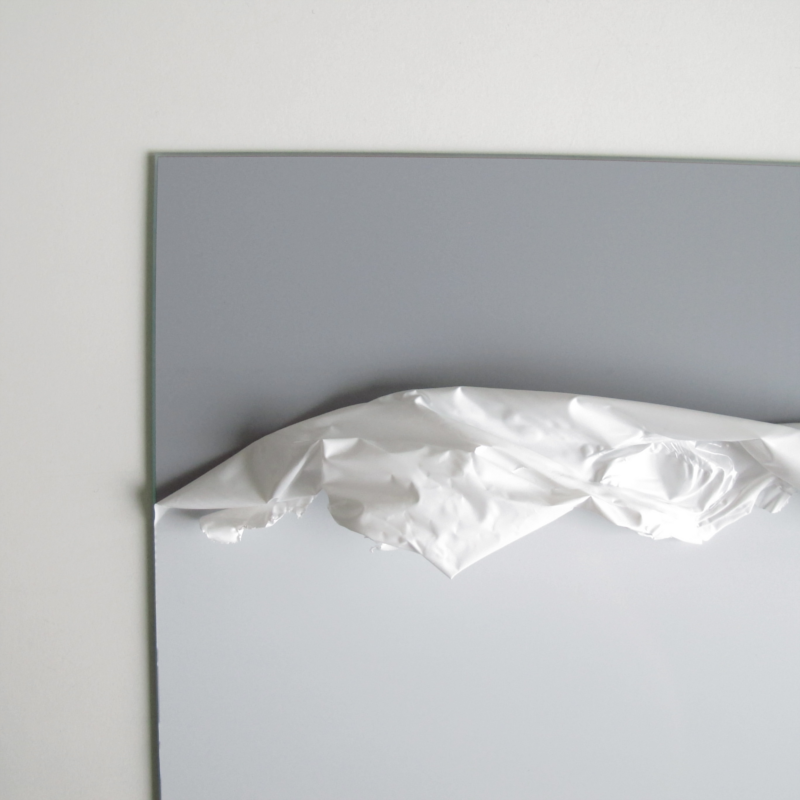
Start by removing the protective plastic (if you have that)
/// Börja med att dra bort skyddsplasten från speglarna (om en sådan finns)
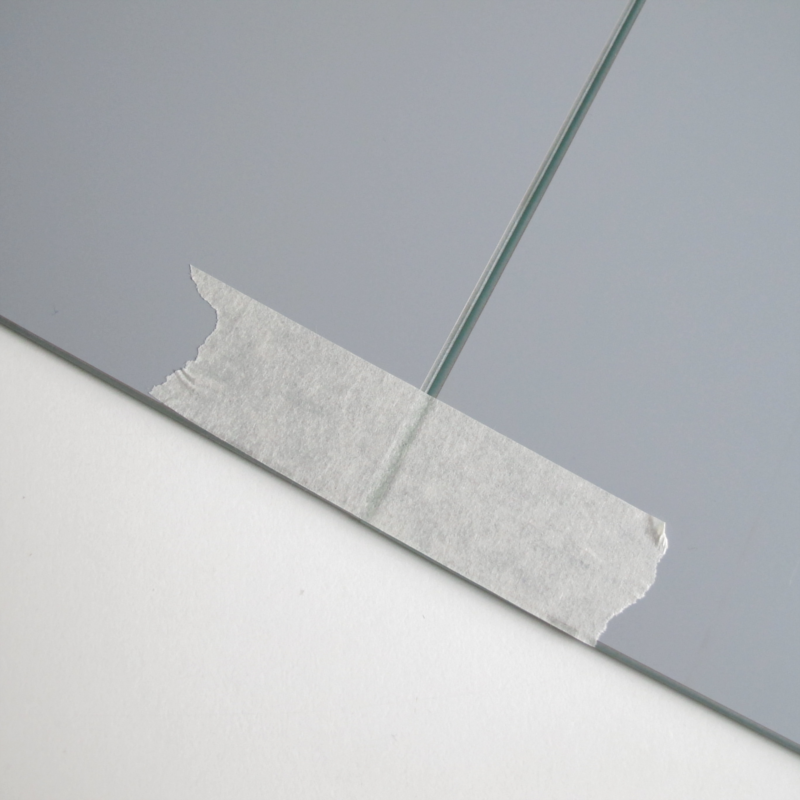
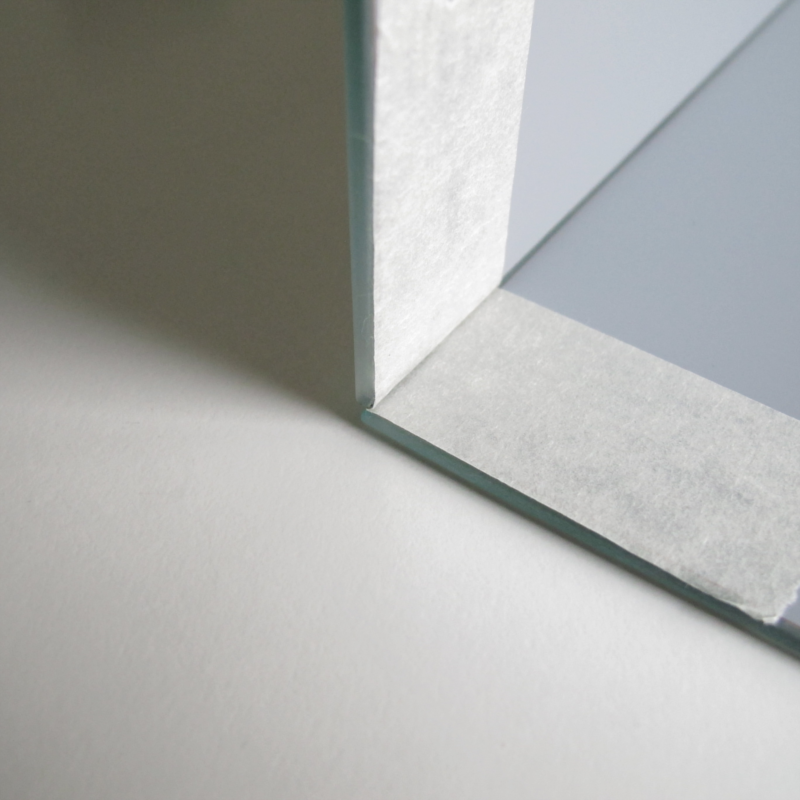
Put a bit of tape on the backside of the mirror to keep them together.
/// Sätt sedan ihop speglarna med en bit frystejp på baksidan så att de hålls på plats.
When you fold the mirror upwards half the mirror, (the one you hold in your hand) should be sticking out.
/// När du viker upp ena spegeln ska den spegeln som du håller i handen sticka ut till hälften.
Time to glue the corner braces to the mirrors. Like this ↓ Then continue all the way around so that you have four “walls”. I forgot to take pictures, and I think that has something to do with the fact that somewhere here I glued my fingers together an became a bit frustrated. But I think you understand, right?
/// Limma fast vinkeljärnen med hjälp av superlim. Såhär ↓ Fortsätt så hela vägen runt, så att du har fyra “väggar”. Här missade jag att ta bilder då jag kämpade med ihoplimmade fingrar och en uns av frustration, men ni förstår hur jag menar va?
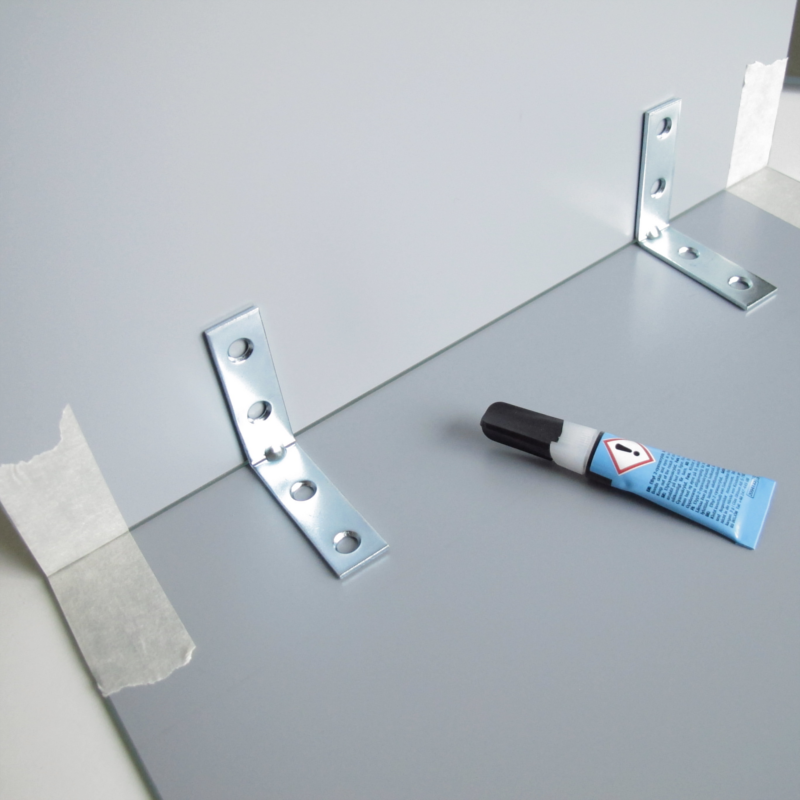
When that is done, let the glue dry a bit more, and then it’s time to glue the bottom mirror (that one is easy, just place it on a plan surface and place the unfinished cube ontop) and then the top mirror. That one is a bit tricky, but you want to glue the corner braces on the “walls” first and then place the last mirror on top. To know how “high” to place the corner brace, try to have the corner brace just at the end of the mirror/”wall” and it it should be ok.
Let the cube dry (mine said 24 hours) and then you can start decorating. If you want to you can place some furniture pads on the bottom, to avoid scratches. And done!
/// När det är klart och limmet fått torka lite så limmar du fast botten spegeln (den går ganska bra, lägg bara spegel på en plan yta och sedan den halvfärdiga kuben ovanpå) och sedan spegeln på toppen. Här är det lite klurigare. Men du vill limma fast vinkeljärnen i “väggarna” först. Att veta hur “högt” vinkeljärnen ska sitta på den halvfärdiga kuben, ser man om man placerar vinkeljärnen precis kant i kant med där “väggarna” tar slut. Sedan limmar du fast sista spegel.
Låt kuben torka (mitt lim skulle torka i 24timmar) och sedan är det bara att använda kuben. Om man vill kan man också lägga små möbeltassar på undersidan så att inte spegeln repas. Klart!
