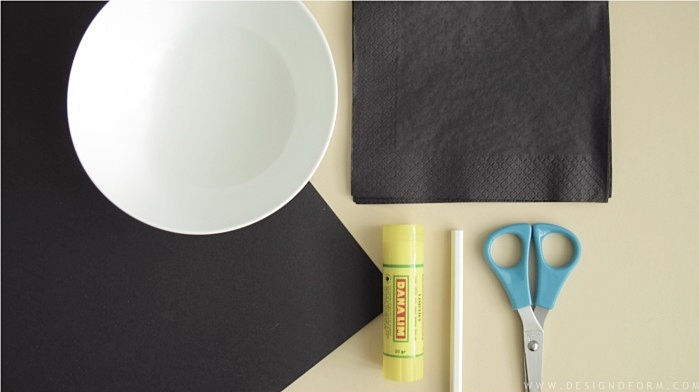
Time for a new DIY. There is surely some easier way to make these. But this is how I did. You need: ↓ /// Dags för en DIY igen. Det finns säkert något enklare sätt att göra dessa, men såhär gjorde jag. Du behöver: ↓
Tissue paper /// Servetter
A bowl /// En skål
Carton. The same color as your tissues /// Kartong i samma färg som servetterna
A pair of scissors /// En sax
Glue. Make sure that the glue doesn´t have to much of a waterish consistence. Then it will bleed true the tissues. /// Lim. Ta ett lim som inte har en allt för vattnig konsistens, då det kommer att blöta igenom servetten.
A pencil /// En penna
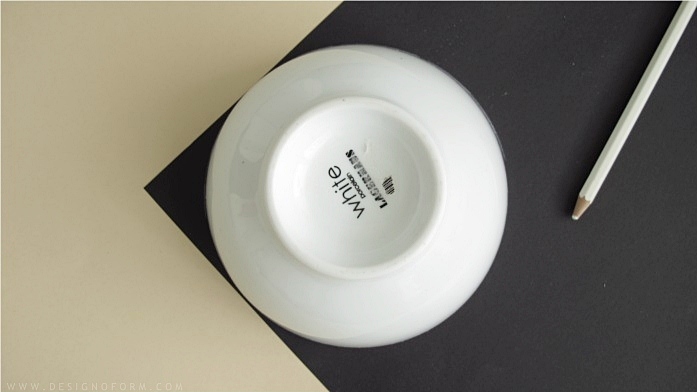
Place the bowl upside down on the carton and make a line around it. ↓ /// Placera skålen upp och ner på kartongen, och rita en linje längst med kanten. ↓
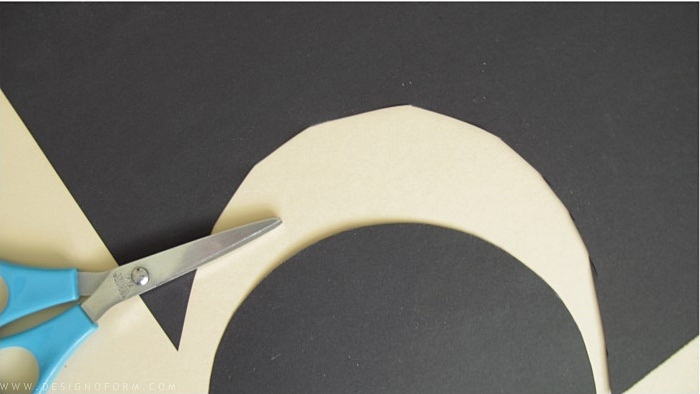
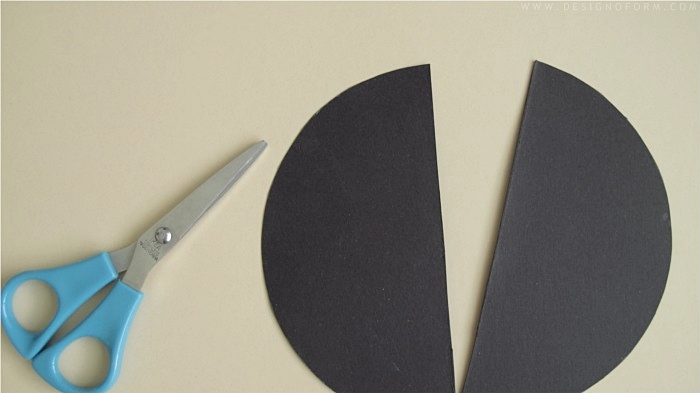
Cut along the line, and then cut the circle in half ↓ /// Klipp ut cirkeln, och klipp den sedan mitt itu. ↓
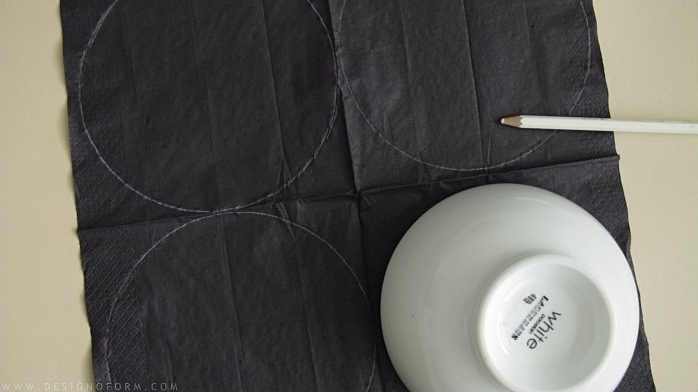
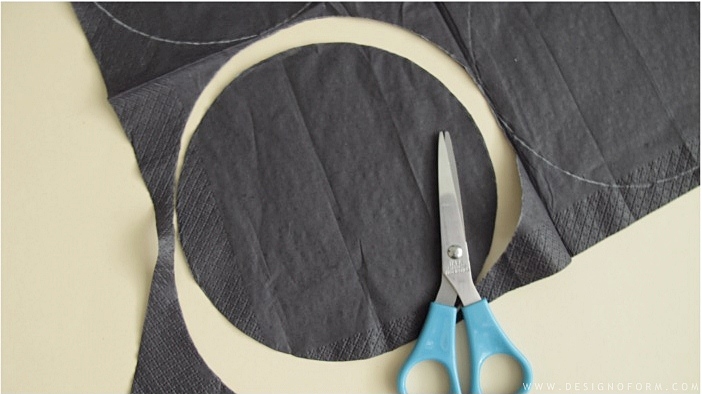
Draw circles on the tissue paper, and then cut along the lines. ↓ /// Rita cirklar på servetterna och klipp sedan ut dem. ↓
How many tissue paper cicles you have to do, depends on how “full” you want the ball. I used about 48. /// Hur många servettcirklar du ska göra beror på hur “fyllig” boll du vill ha. Jag använde 48st.
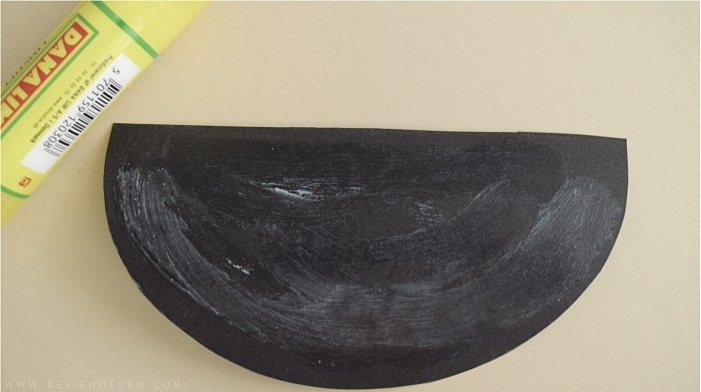
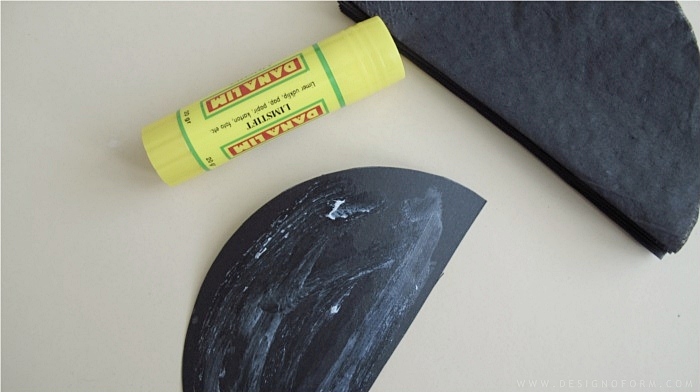
Put some glue on one of the carton pieces. ↓ /// Limma ena halvan av kartongcirkeln ↓
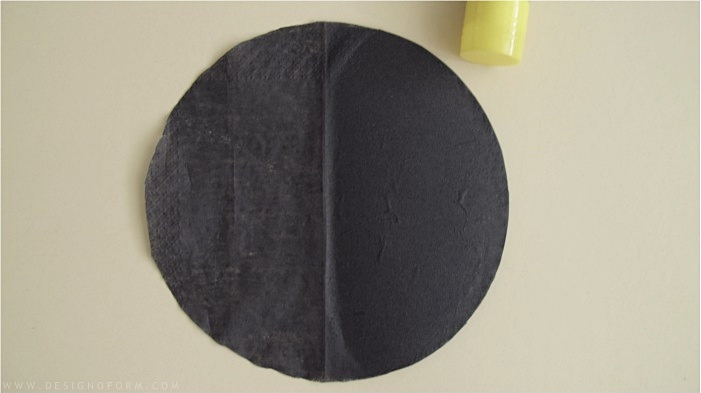
Place one of the tissue paper cicles on top of the glued surface. ↓ /// Placera nu en av servettcirklarna på den limmande ytan. ↓
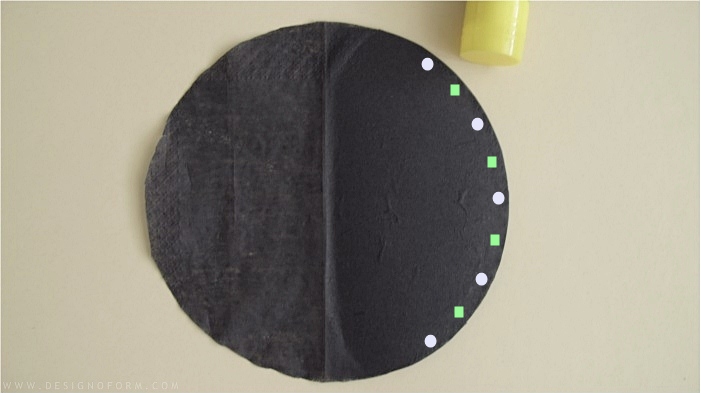
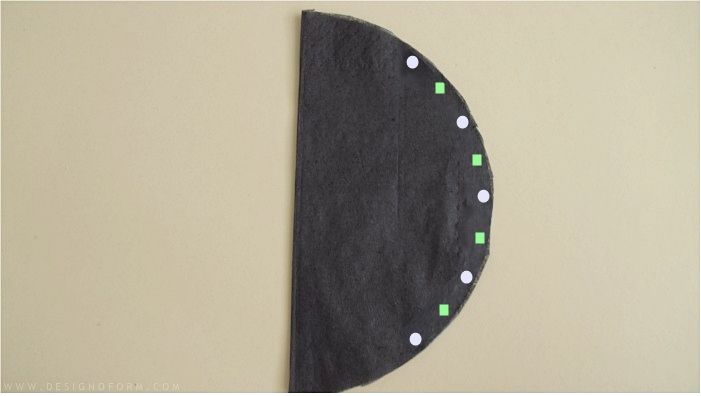
Put a tiny bit of glue on all the white dots. And fold the unglued half of tissue paper over. And gently press. ↓ /// Placera en liten bit lim på alla de vita prickarna och vik den olimmade servettdelen över. Och tryck till försiktigt. ↓
Now it time to put a tiny bit of glue where the green squares are. ↓/// Nu ska du limma en liten bit lim på de gröna fyrkanterna. ↓
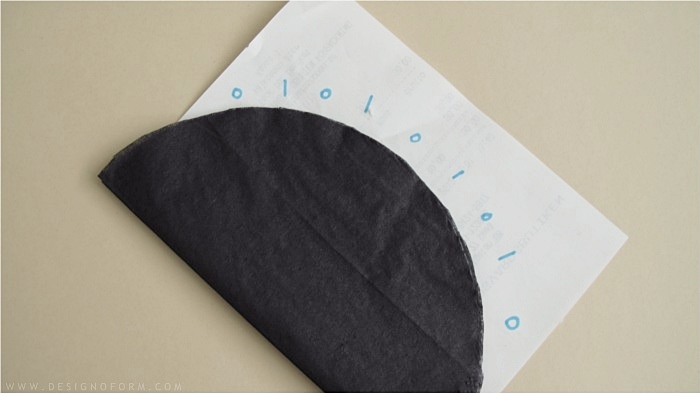
Place a tissue paper over and press. Next round, glue where the white dots are again. Place the other half of the tissuepaper over and press. Glue the green squares.. and so on. Make sure you glue at the white dots one round, and the green squares the other. I made a little template so that I made sure that the dots of glue where placed at the right place. ↓ /// Placera en servettcirkel över och tryck försiktigt. Nästa varv ska du limma där de vita prickarna är igen. Och vika över den olimmade servettdelen. Limma sedan var de gröna fyrkanterna är igen.. osv. Var uppmärksam med att just limma varannan gång. Lätt att glömma på cirkel 35.. Jag gjorde en liten mall bara för att få limmet på rätt ställe. ↓
When you have glued all the paper tissue, take the carton piece and glue it on top of the pile. ↓ /// När du har limmat färdigt alla servetterna så tar du den andra kartongbiten och limmar fast den. ↓
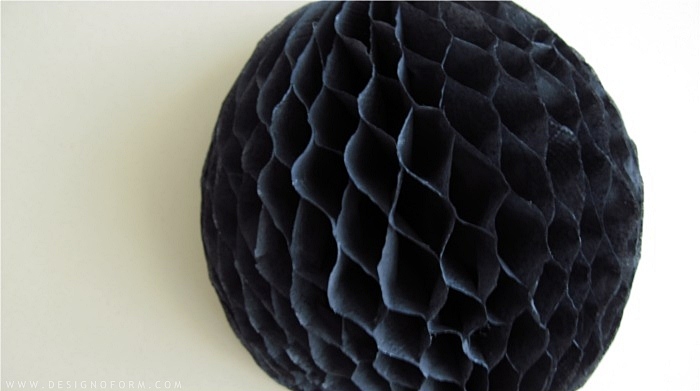
Tada! ↓
Good luck! /// Lycka till!


Katarzyna says:
I have to try it at home :)
Ball looks great. Thanks a lot!
June 7, 2012 — 09:05
designoform says:
Im glad you like it! :)
June 7, 2012 — 12:38
Hannah says:
Thank you for the easy to follow step by step instructions I needed honey comb balls for a wall design I was doing thanks again
February 11, 2013 — 00:47
Hannah says:
This is such a great tutorial, I can’t wait to try it!
July 8, 2013 — 19:23
designoform says:
Thank you!
July 8, 2013 — 20:32
triciarun says:
Thank you for the easy steps..planning on doing honeycomb balls for baby’s first birthday…will have a go at it tonight…have u tried this out in any other material other than tissue..?
October 30, 2013 — 12:30
designoform says:
Yes, I did it with regular copying paper too. But tissue paper is easier :)
October 30, 2013 — 18:53
Eva says:
I will most definitely try this before Christmas. Thanks a lot for the idea and the work you put into this :-)
November 20, 2016 — 17:18
designoform says:
Thank you. Happy I could inspire! :)
November 21, 2016 — 18:39
ashlee says:
nice work
January 10, 2017 — 06:40