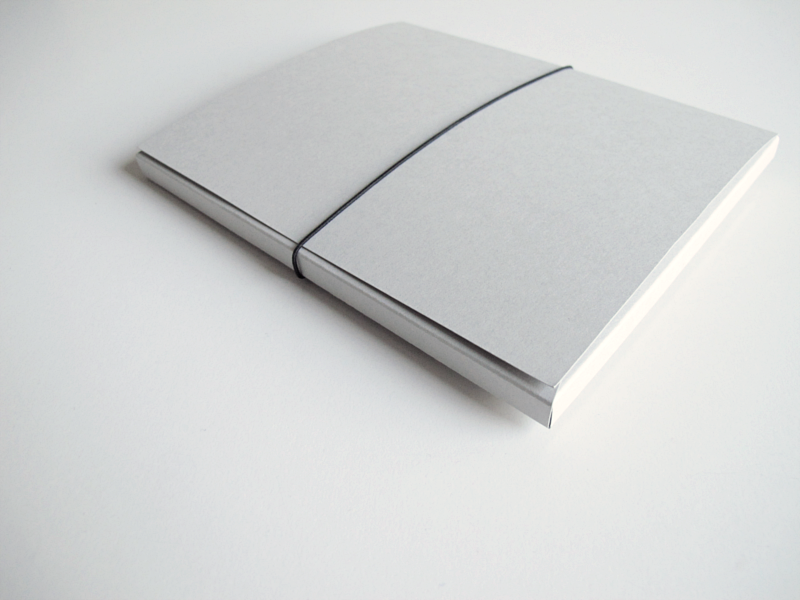
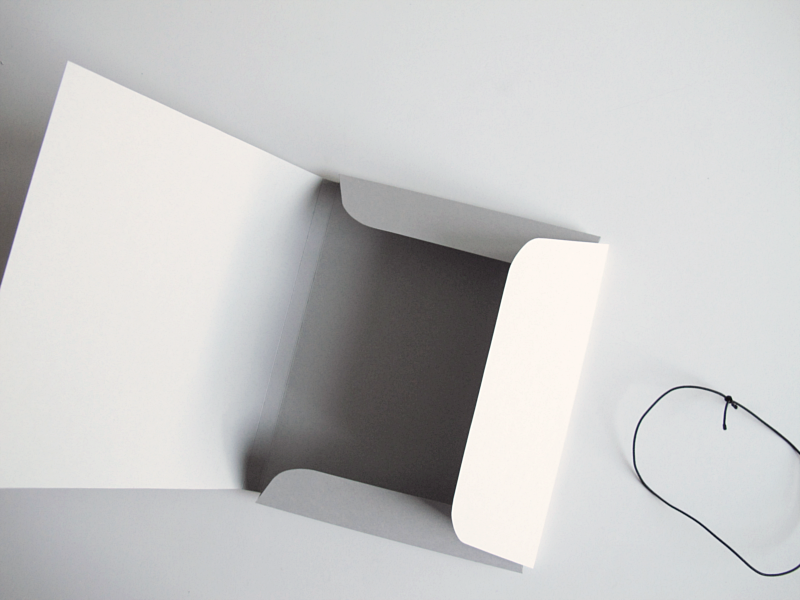
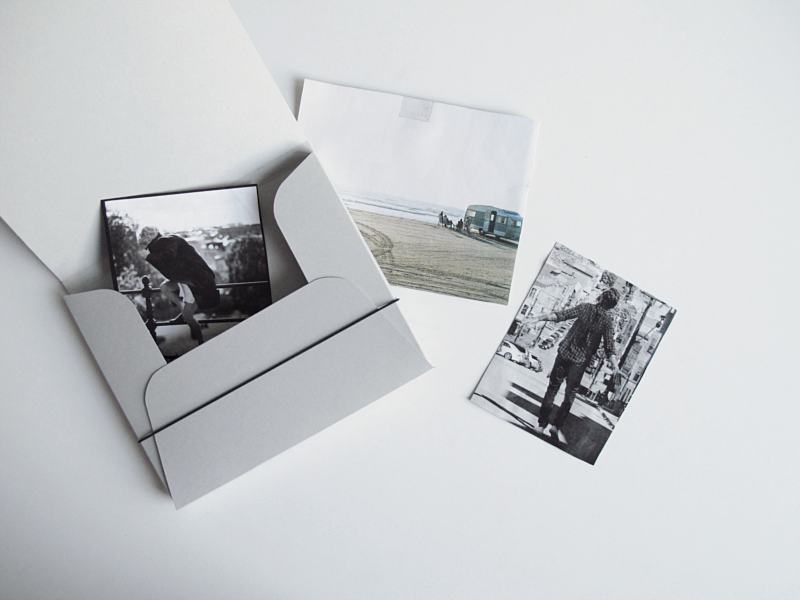
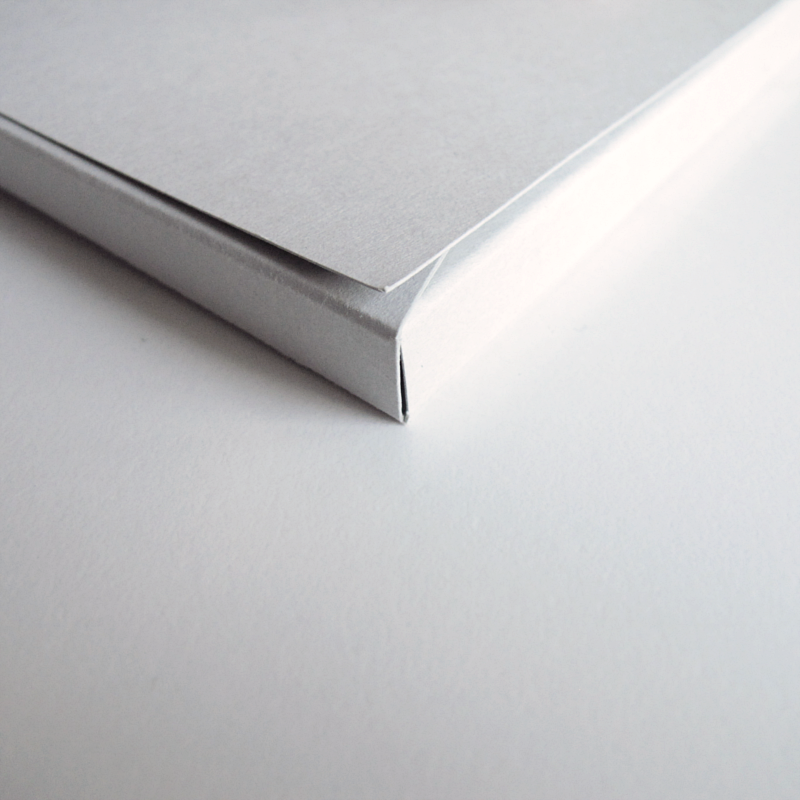
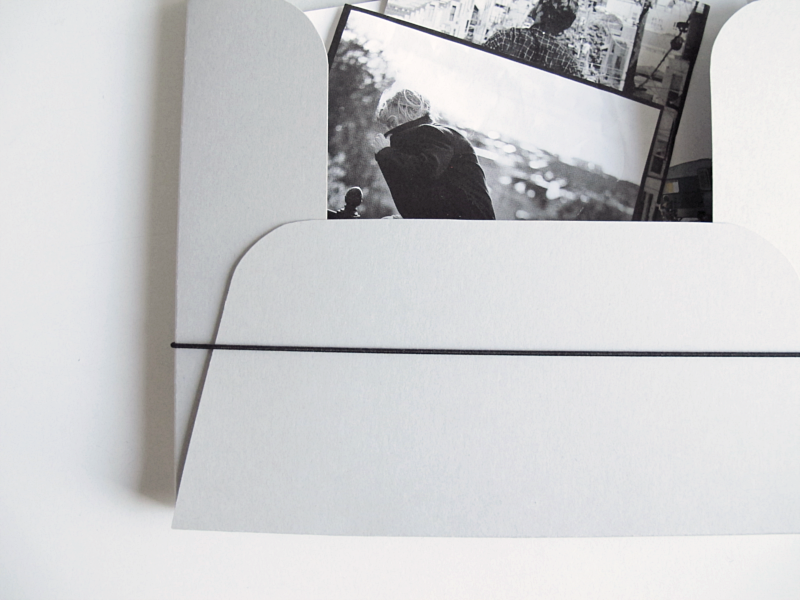
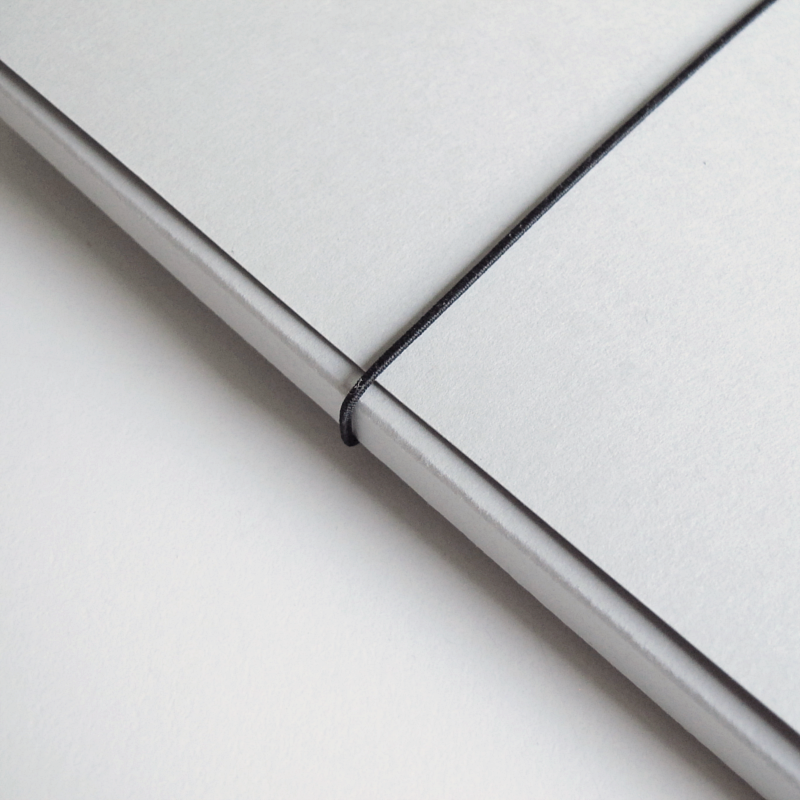
Speaking about simple DIY’s that don’t require a lot of special tools, here comes a super simple and quick one. If you want to you can glue the box together, or use a elastic band as I did, or you can just leave it as it is. Hope you like it!
/// På tal om sådana där DIY som man inte behöver en massa specialverktyg till, så kommer här ett jätteenkelt och snabbgjort DIY. Vill man så kan man limma ihop asken, eller så kan man göra som jag och använda ett litet elastiskt band, eller så låter man den bara vara som den är. Hoppas ni gillar!
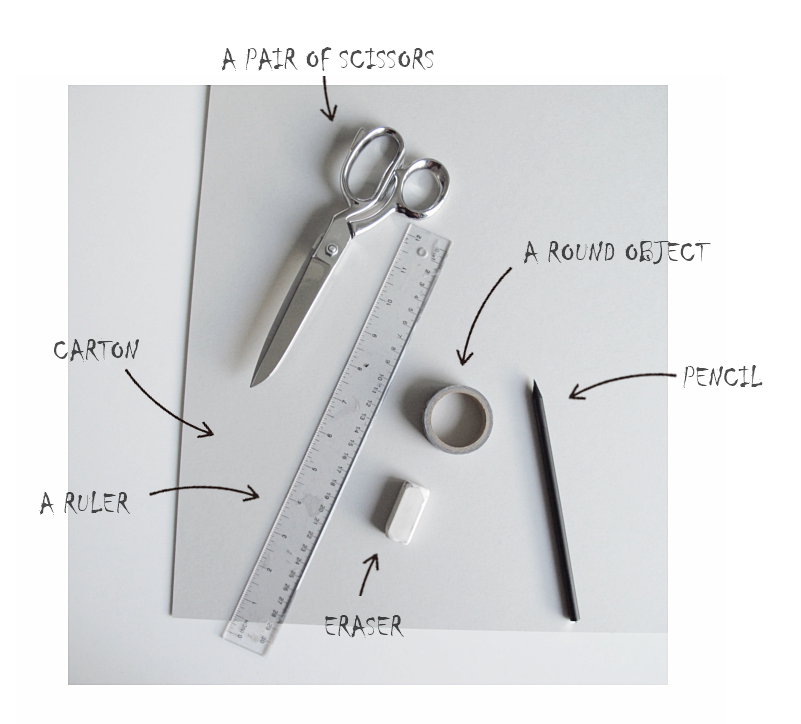
You need:
/// Du behöver: sax, kartong, linjal, sudd, blyertspenna, ett runt föremål
This is how you do it:
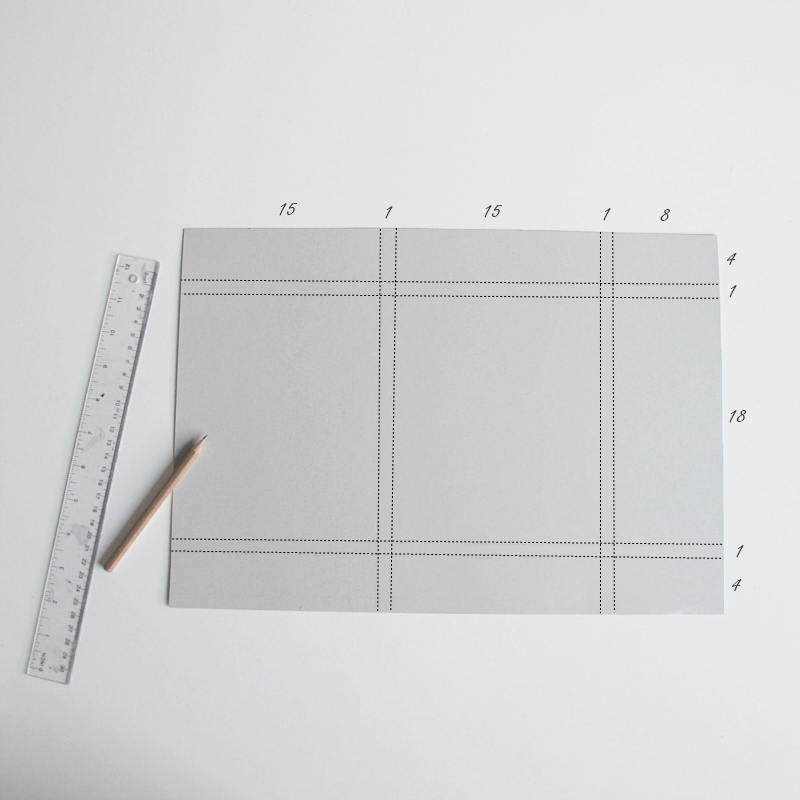
Start by drawing up a figure with these dimensions (in cm). (Whoops, apparently you need two pencils ;))
/// Börja med att rita upp en figur med dessa mått (i cm). (Oj hoppsan, tydligen behöver man två pennor ;))
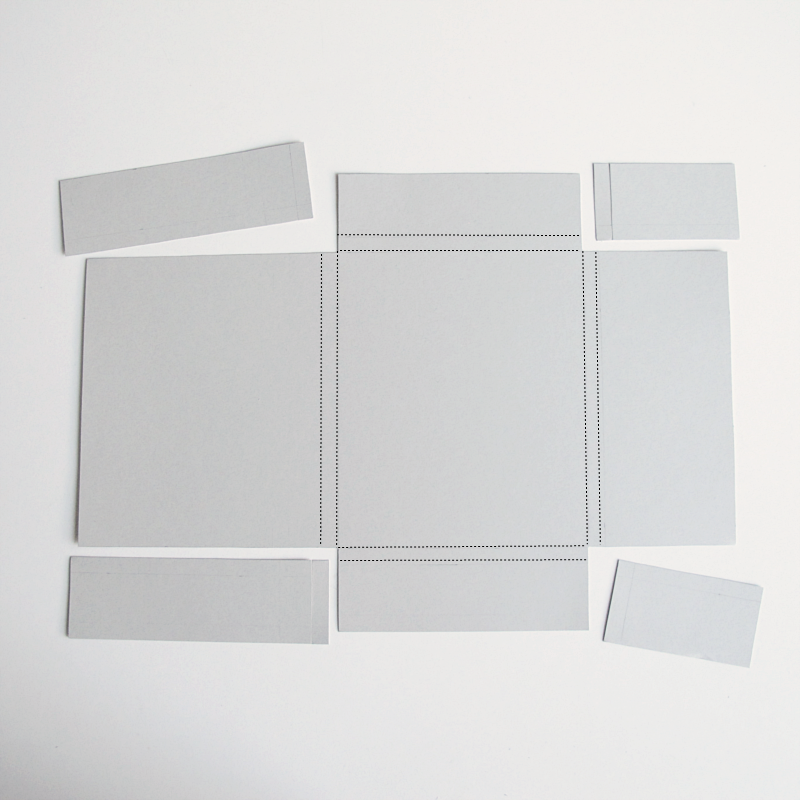
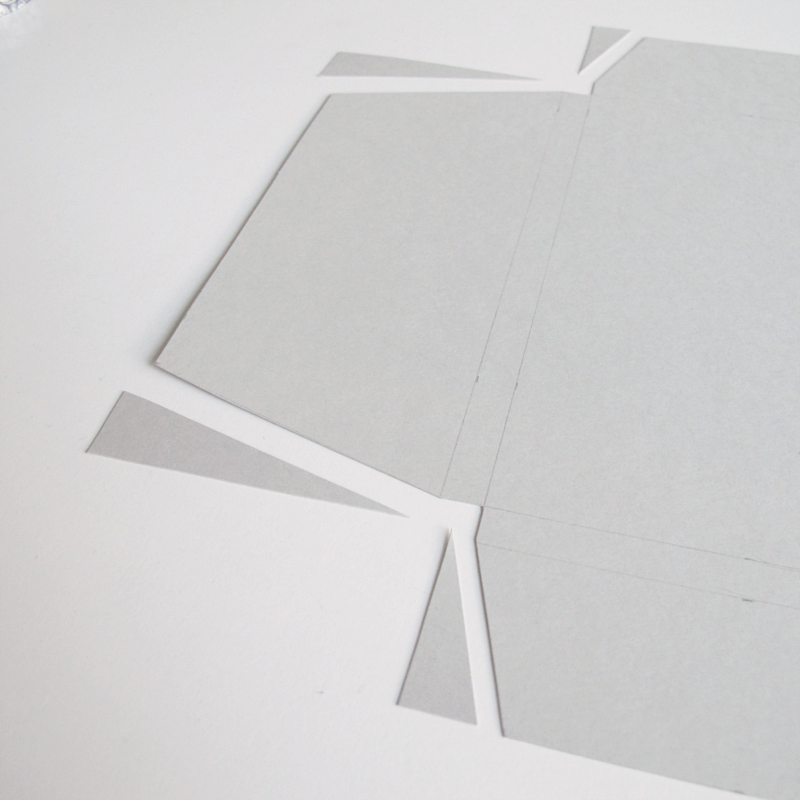
Cut away the corners.
/// Klipp bort hörnen.
Measure and draw a mark 1.5 cm and 2 cm in (on the flaps). See picture below. ↓
/// Mäta och rita ut 1,5 cm respektive 2 cm in på flikarna. Se bilden ↓
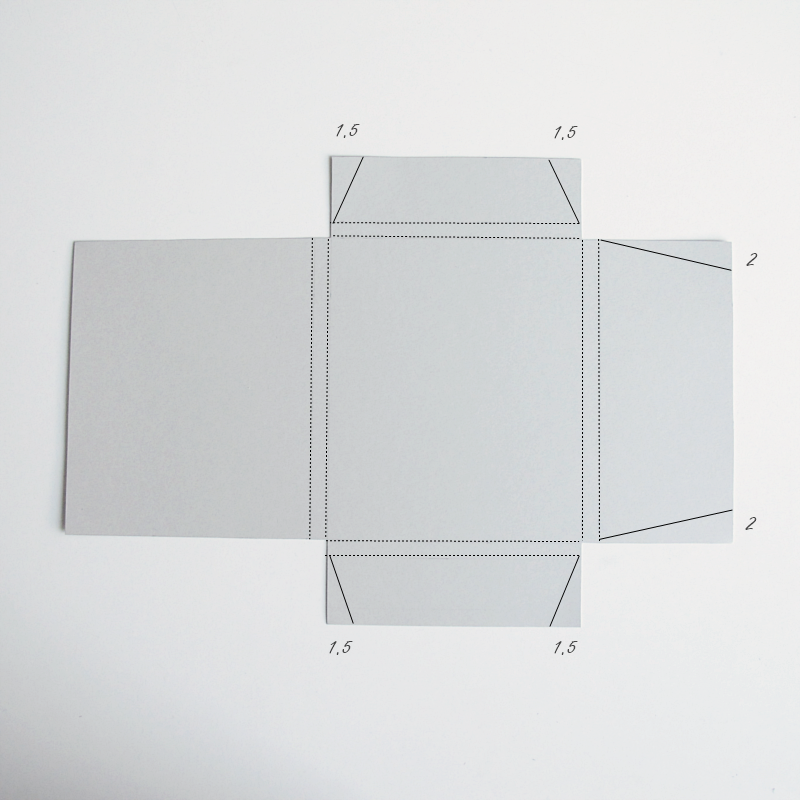
Then cut along the lines you just made.
/// Klipp ut flikarna.
Round of the corners using your round object.
/// Runda sedan av hörnen med hjälp av ditt runda föremål.
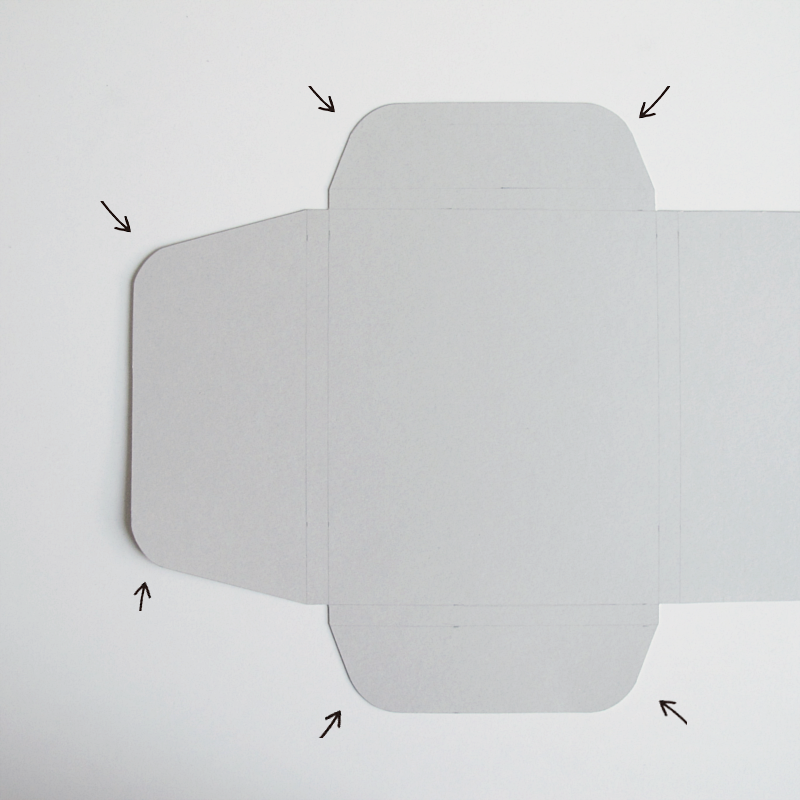
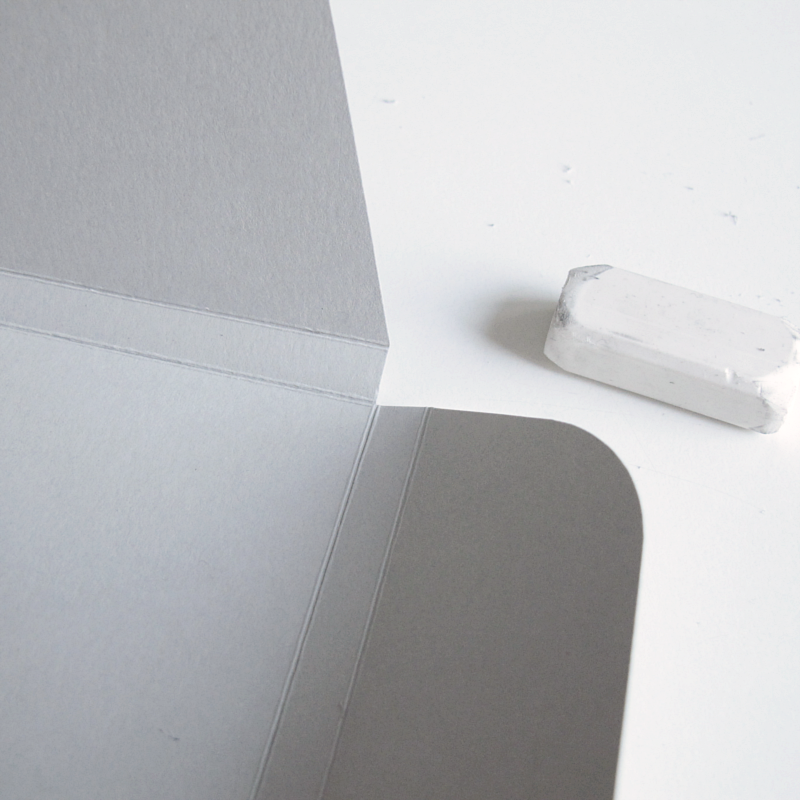
Fold along the lines, and erase all pencil marks. And you are done!
/// Vik längs med linjerna och sudda bort alla blyertsstreck. Och du är klar!
♦
