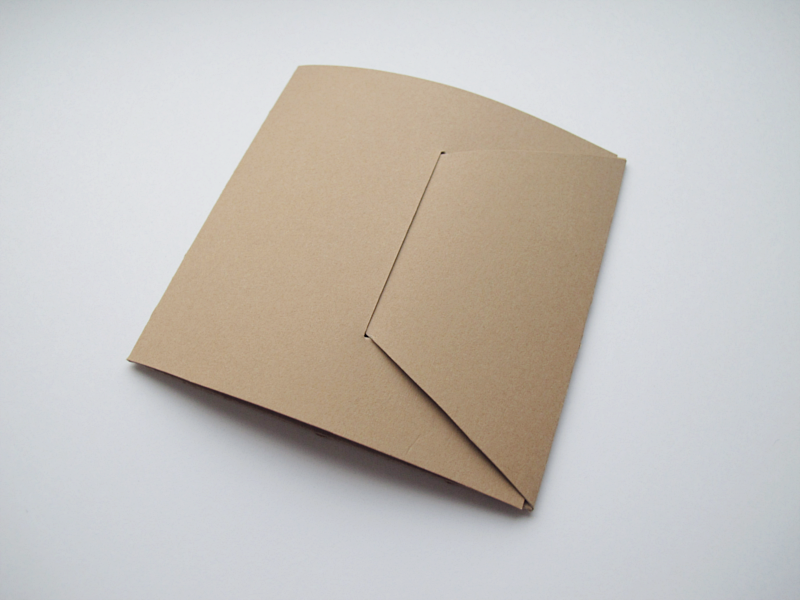
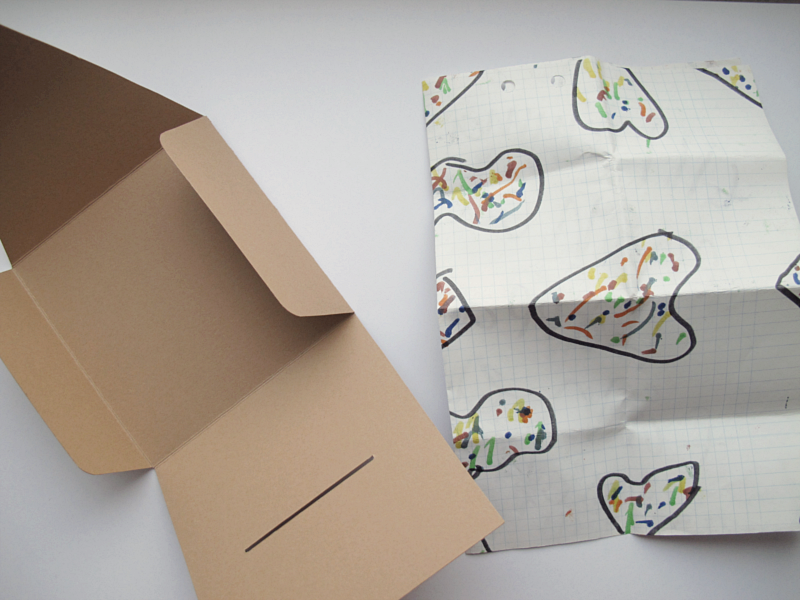
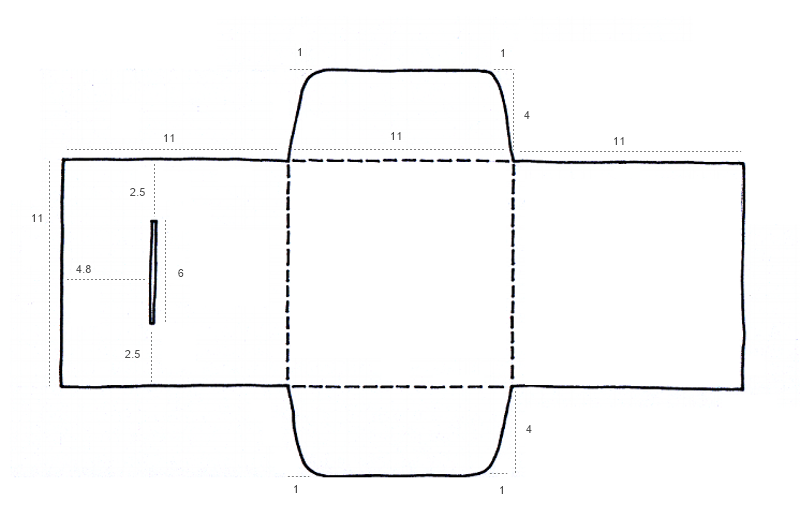
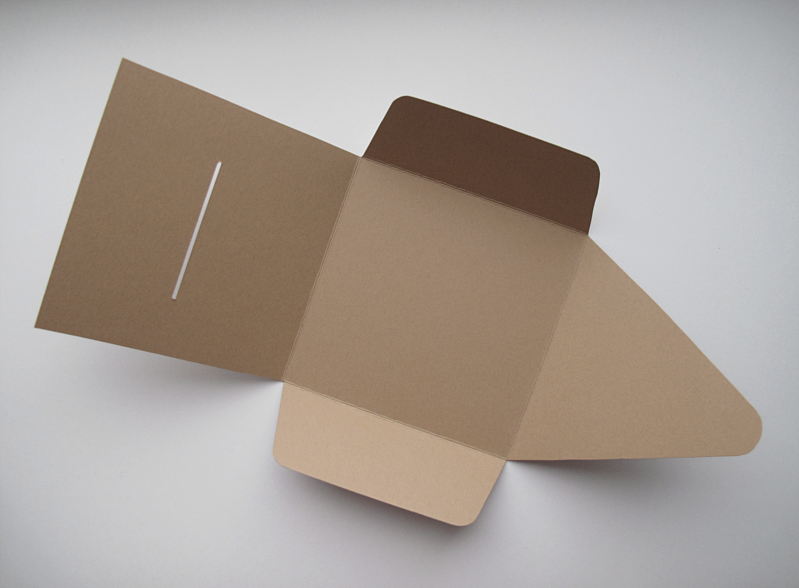
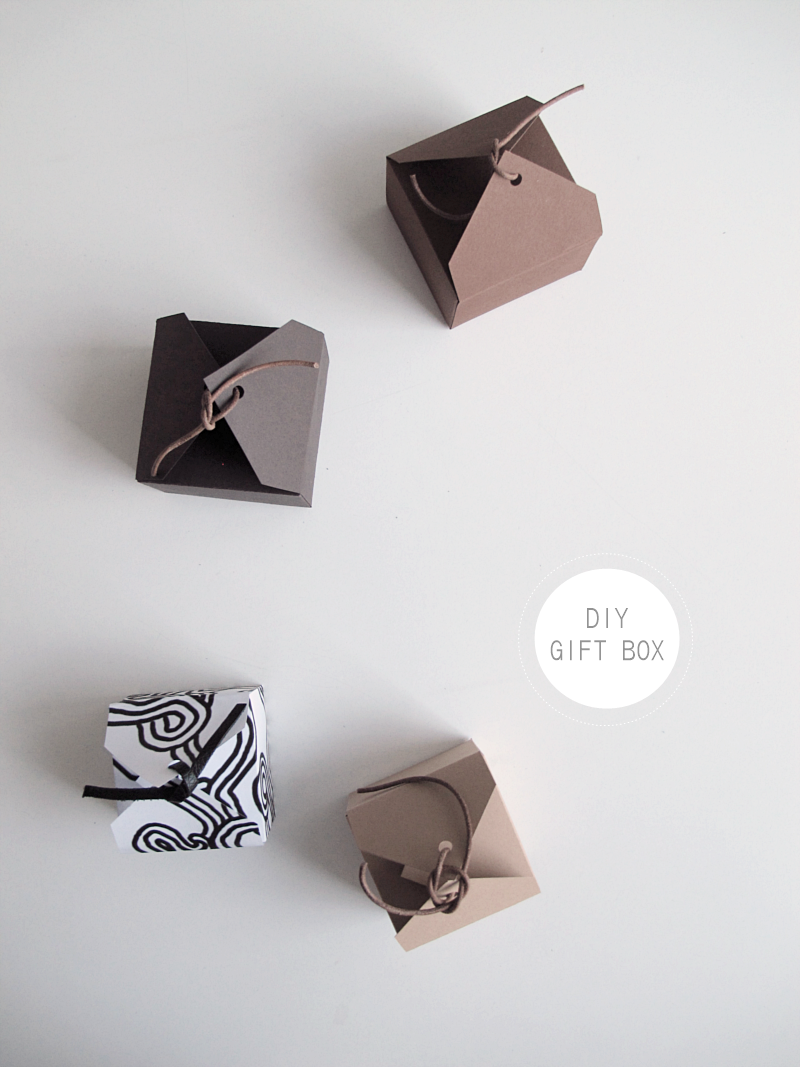
This is in no way a new DIY, but when I found it over at Hus & Hem, I had to try it. It seems I can’t get enough of DIY boxes. :) And I made a tutorial for you if you too want to make one ( or two.. or three).
/// Det här är inte på något vis ett nytt DIY, men när jag hittade det hos Hus & Hem var jag bara tvungen att prova. Det verkar som jag inte kan få nog av små askar. :) Gjorde även en beskrivning till er ifall ni också vill göra en ( eller två.. eller tre).

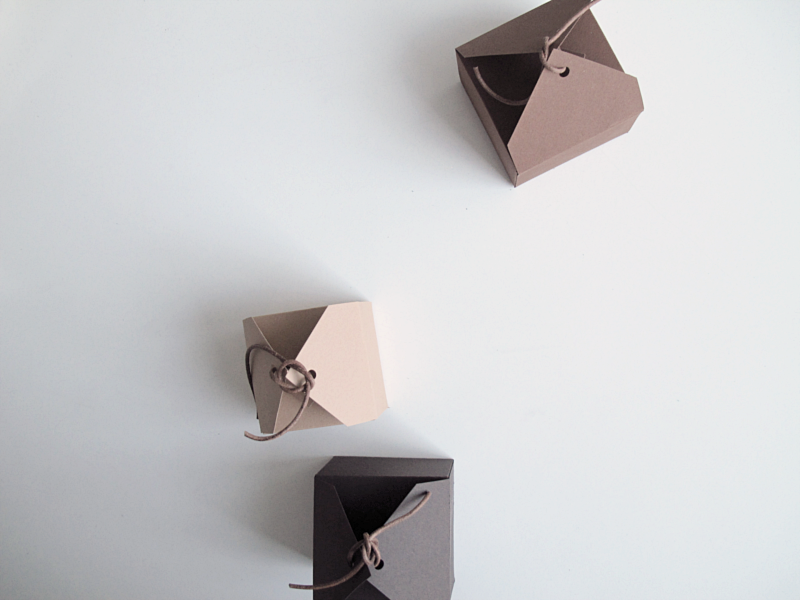
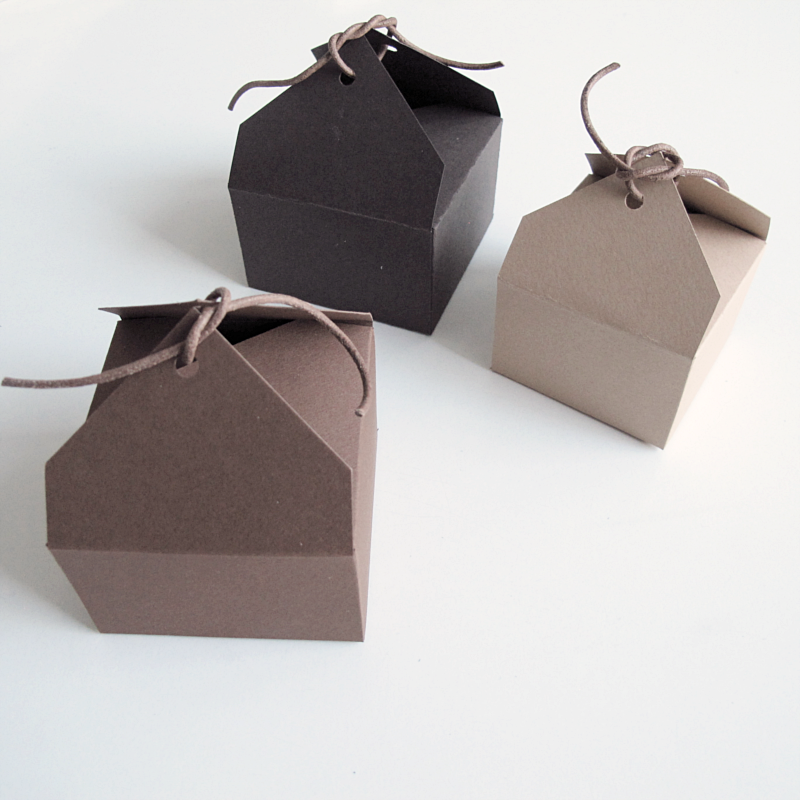
For this you need:
→ A piece of paper (carton) 18x18cm
→ A pair of scissors
→ Glue
→ A leather cord or thread
→ Pencil
→ Ruler
→ Eraser
→ Hole puncher
/// Detta behöver du:
→ En bit hobbykartong 18x18cm
→ Sax
→ Lim
→ Ett lädersnöre eller tråd
→ Blyertspenna
→ Linjal
→ Sudd
→ Hålslagare
And this is how you do it:
Divide the paper into nine squares 6x6cm.
/// Dela in papperet i 9 mindre rutor. 6x6cm.
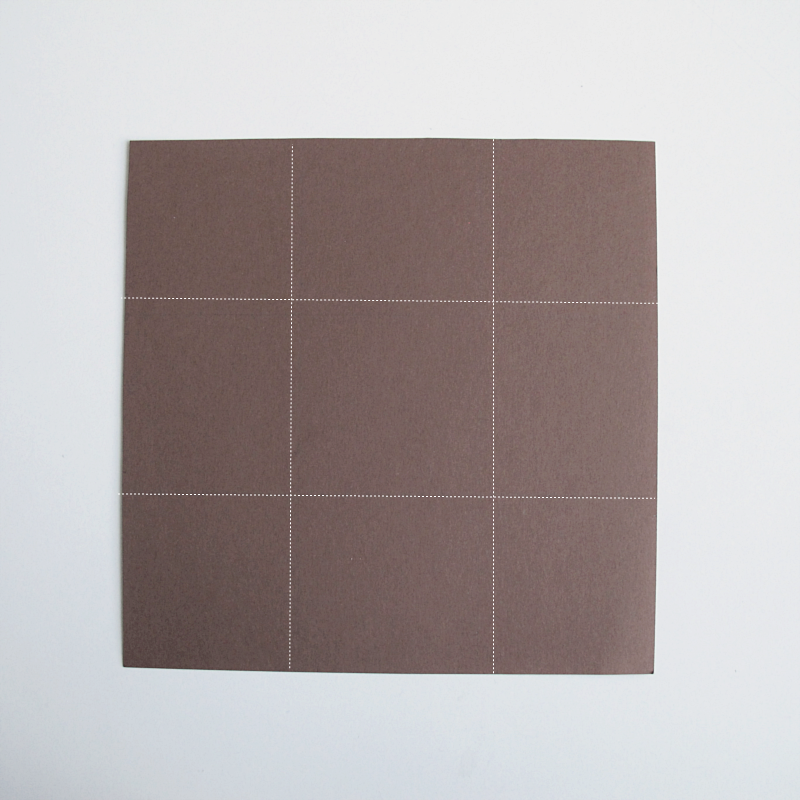
Make a mark 1.5cm from the edge, on every line…
/// Rita ut ett märke 1.5cm in på varje streck…
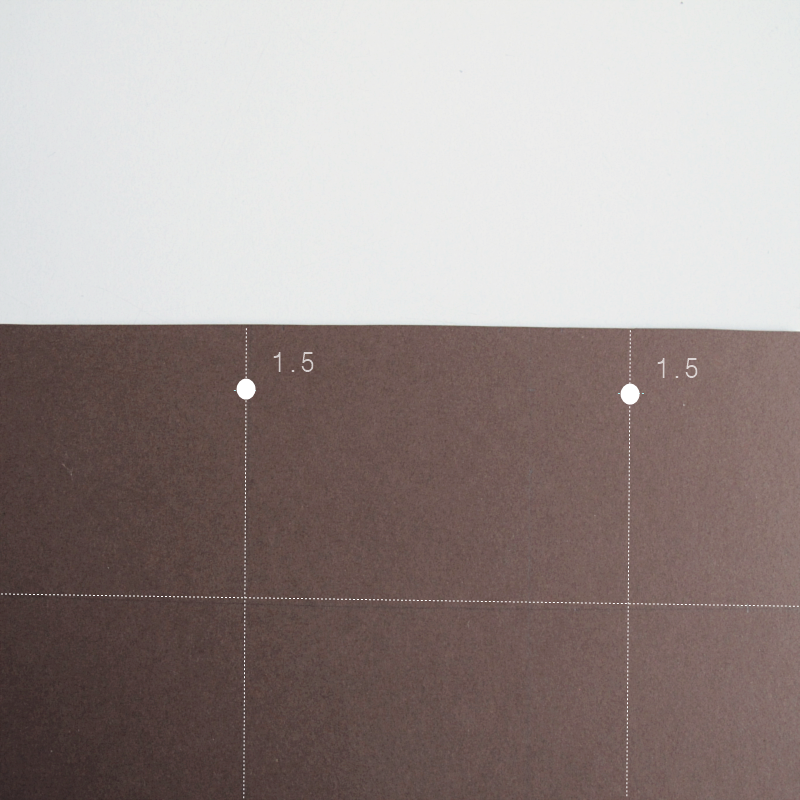
Like this.
/// Såhär.
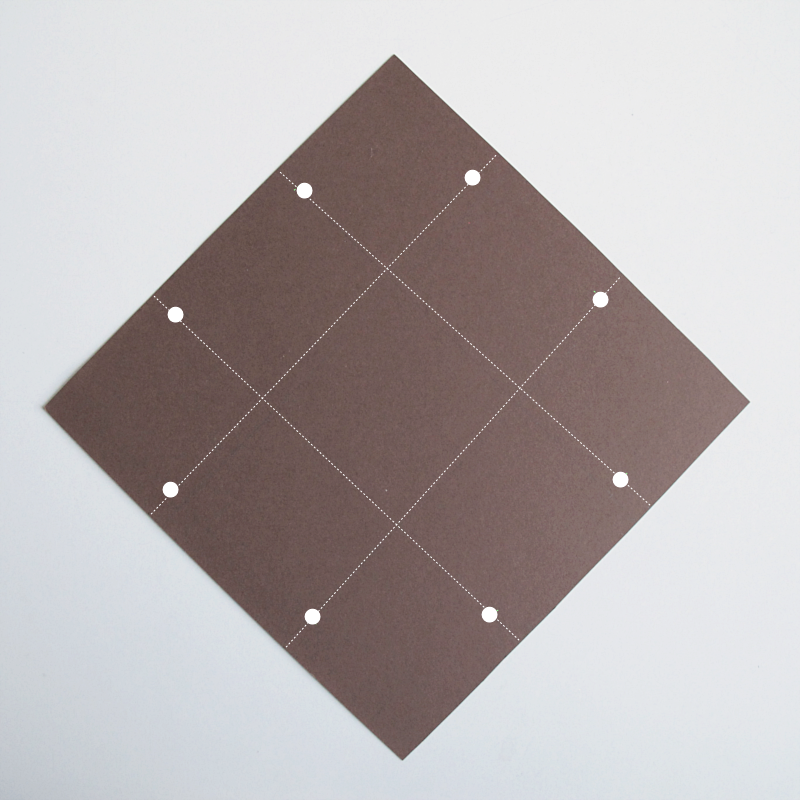
Then draw lines between the marks. Like the picture shows. ↓
/// Dra sedan linjer mellan markeringarna. Som bilden visar. ↓
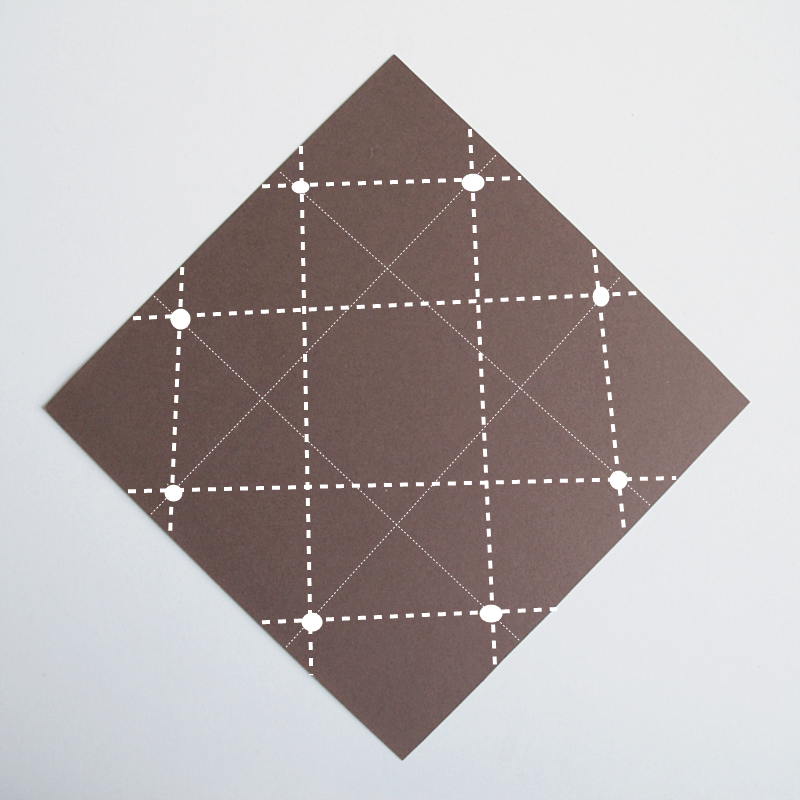
Cut out the triangles at the ends.
/// Klipp bort trekanterna som blivit på ändarna.
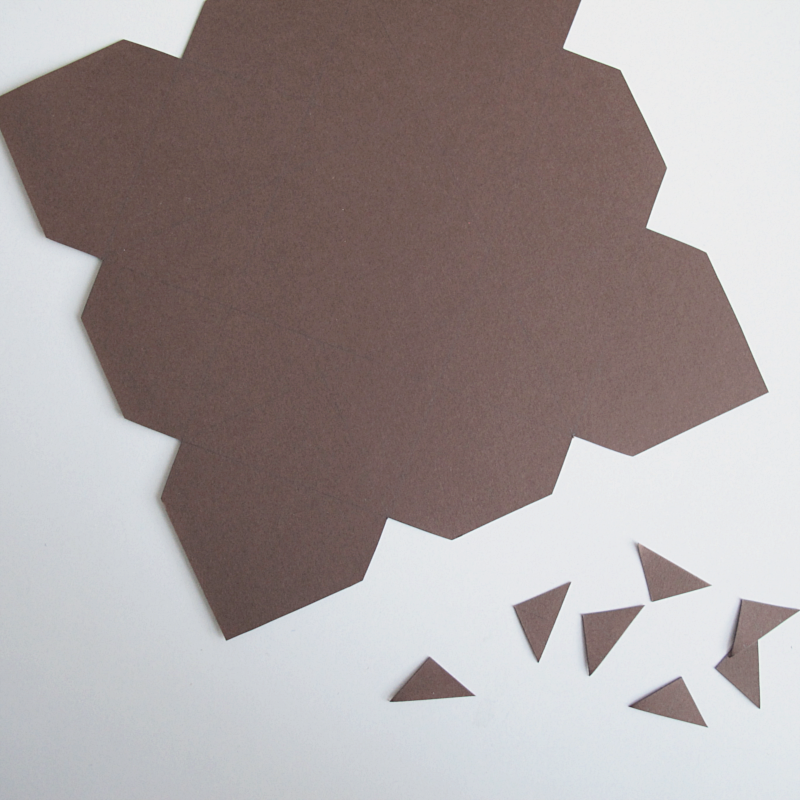
Fold along the lines you just made.
/// Vik längst med linjerna du just gjorde.
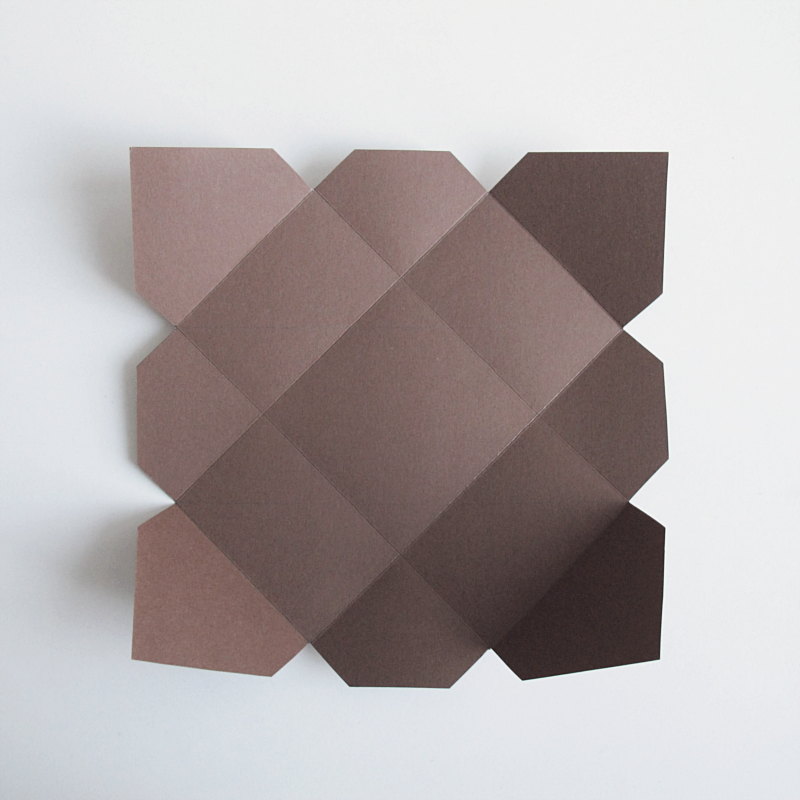
Cut where the arrows shows. And then make holes with the hole puncher where the black dots are.
/// Klipp där pilarna visar, och sedan gör du hål med hålslagaren där de svarta prickarna är.
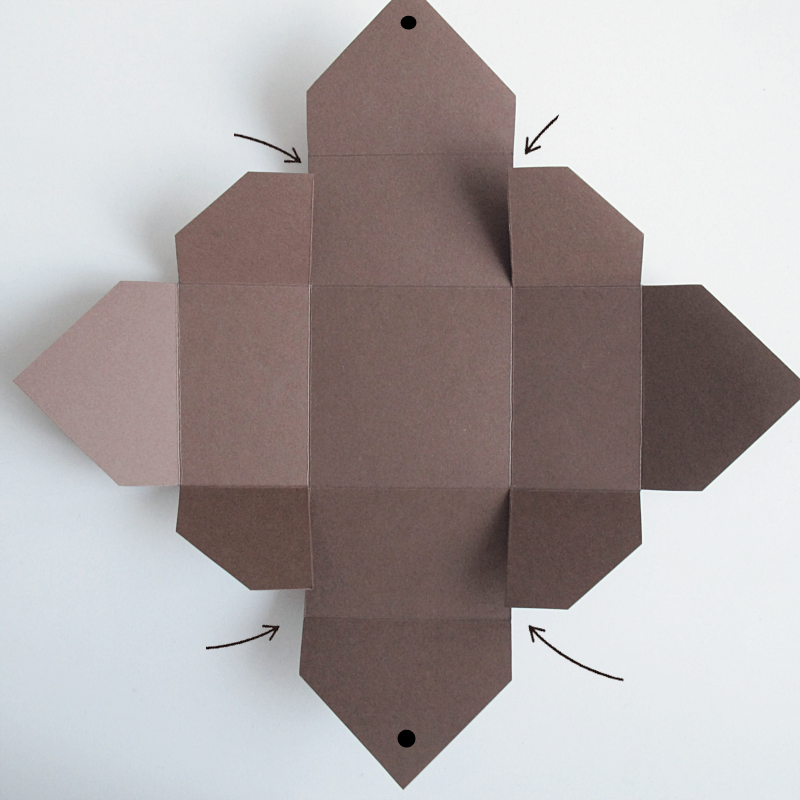
Erase all pencil marks and glue the box together.
/// Sudda bort alla pennstreck och limma sedan ihop asken.
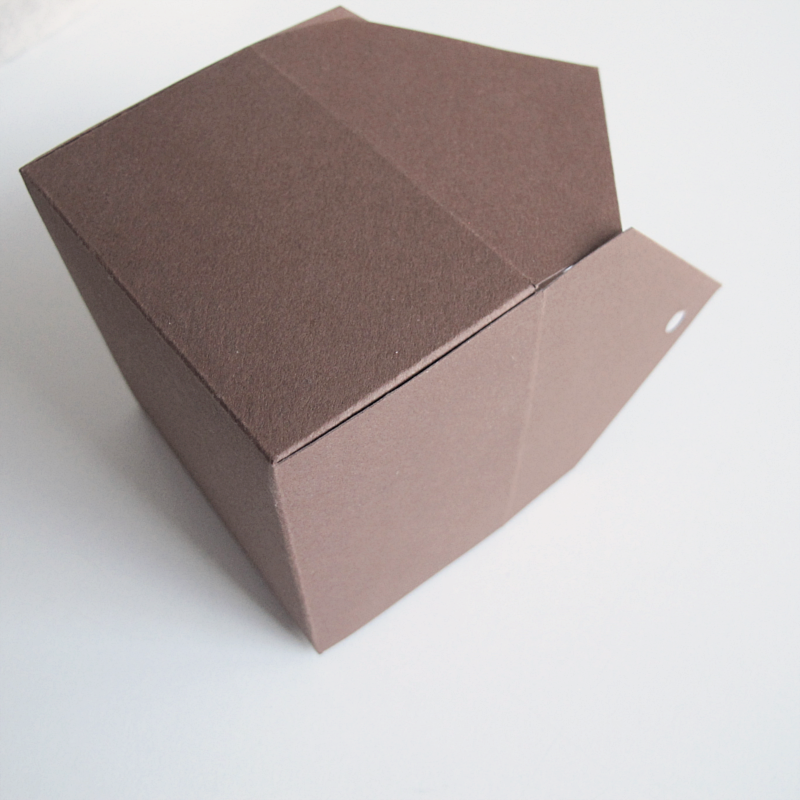
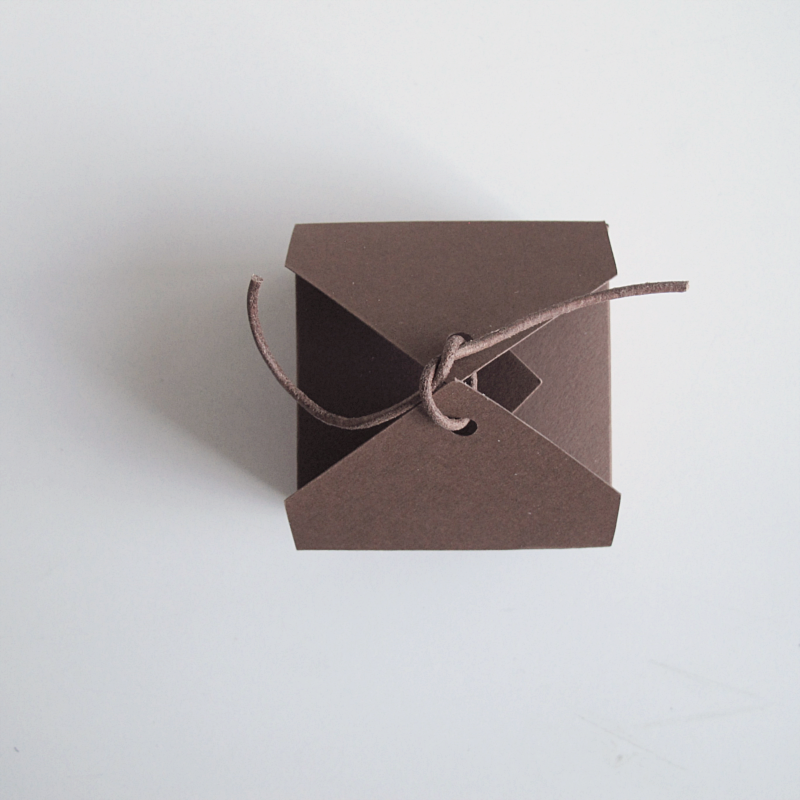
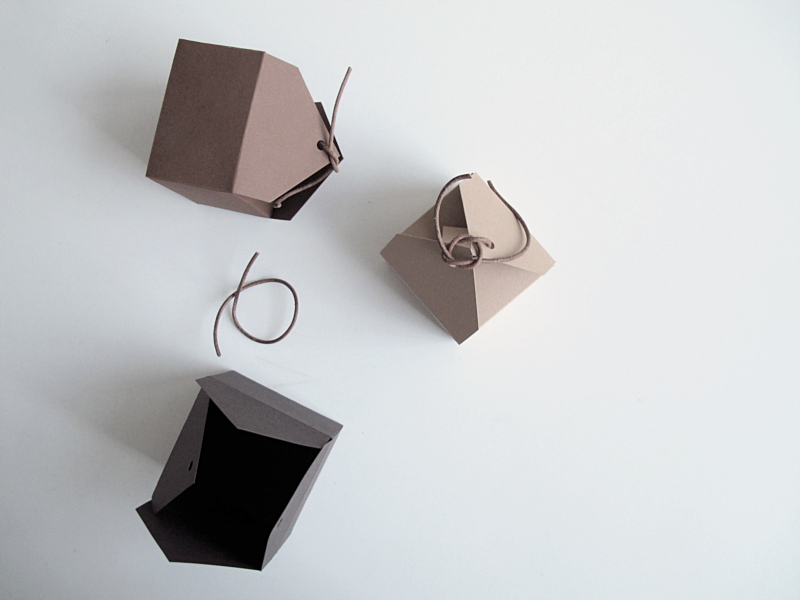
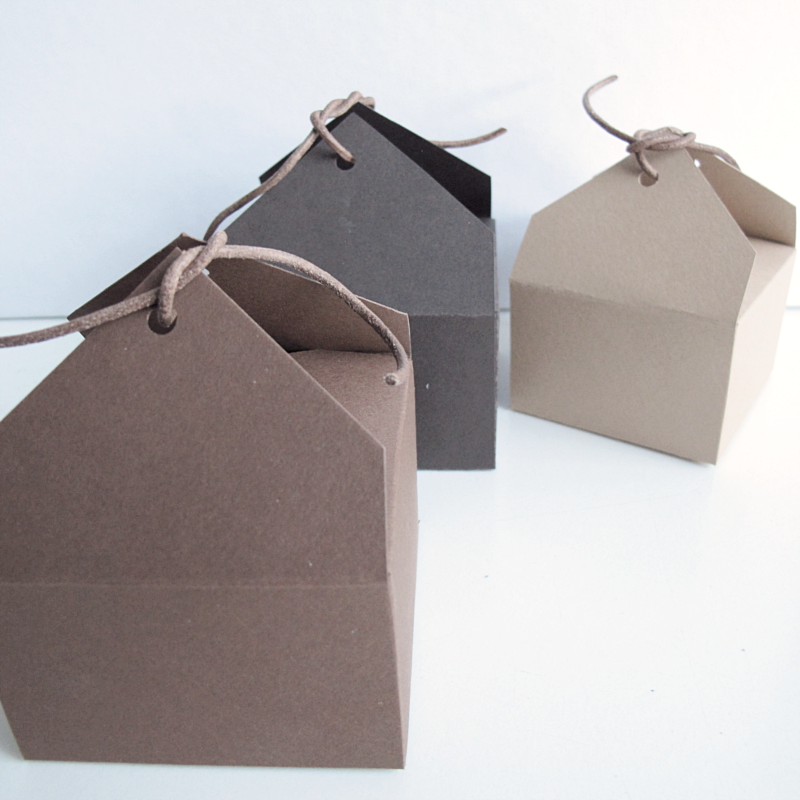
Slide a leather cord through the holes, tie a knot and you’re done!
/// Trä ett lädersnöre igenom hålen, knyt en knut och du är klar!
Spara
