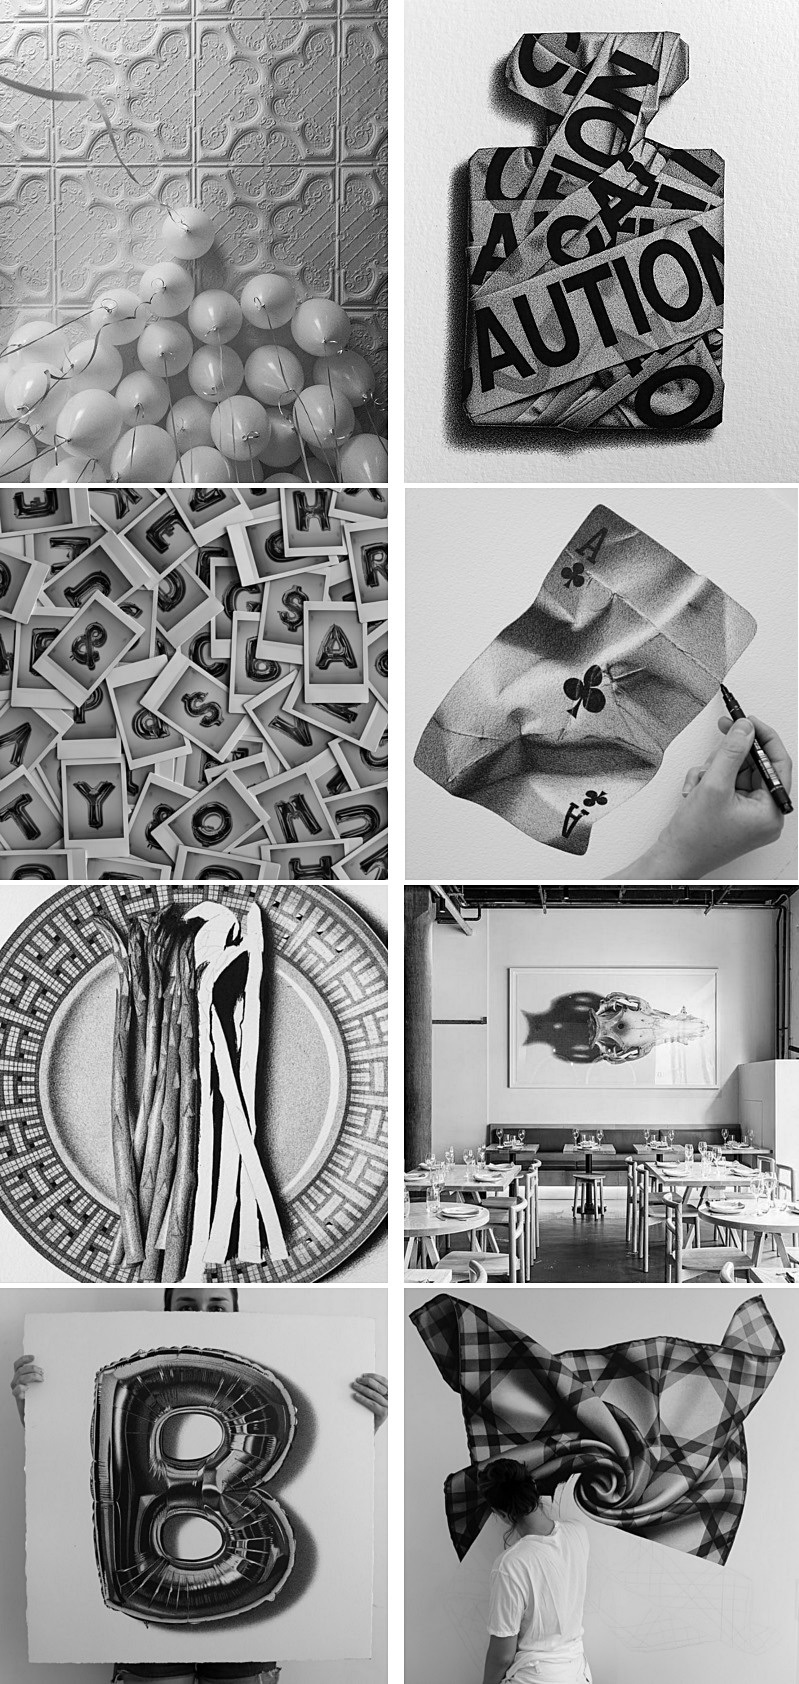
cj_hendry. So much talent! I want to be like her.
/// cj_hendry. Vad hon kan! Min absoluta favorit.
cj_hendry. So much talent! I want to be like her.
/// cj_hendry. Vad hon kan! Min absoluta favorit.
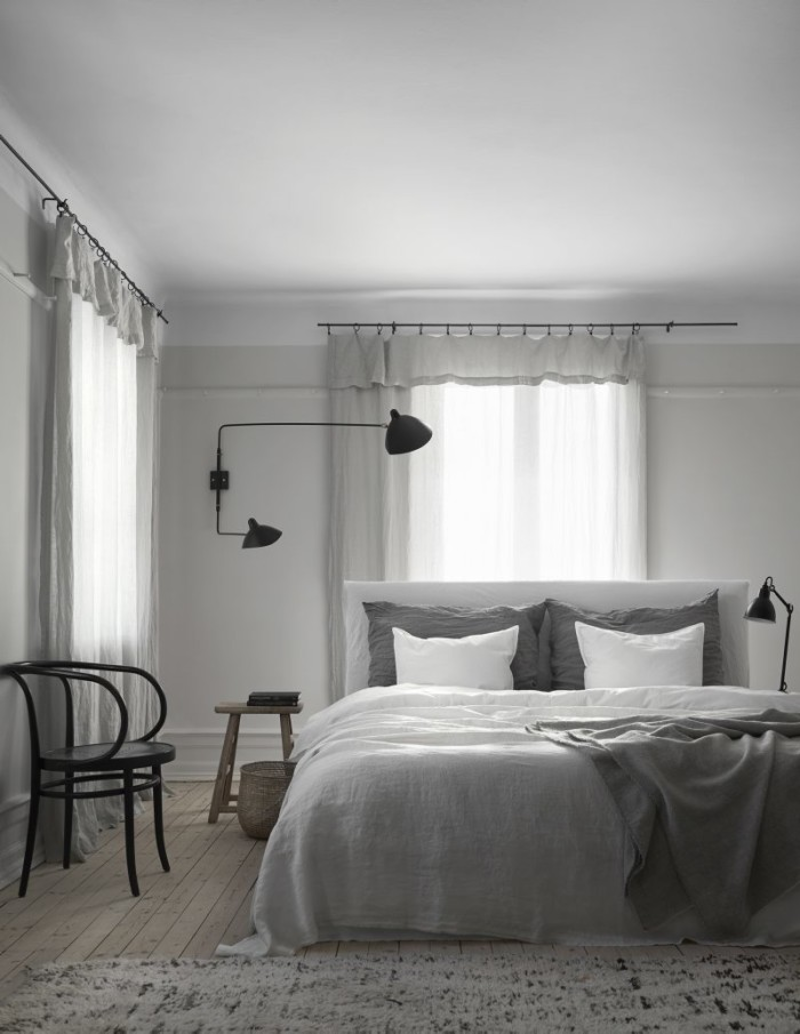
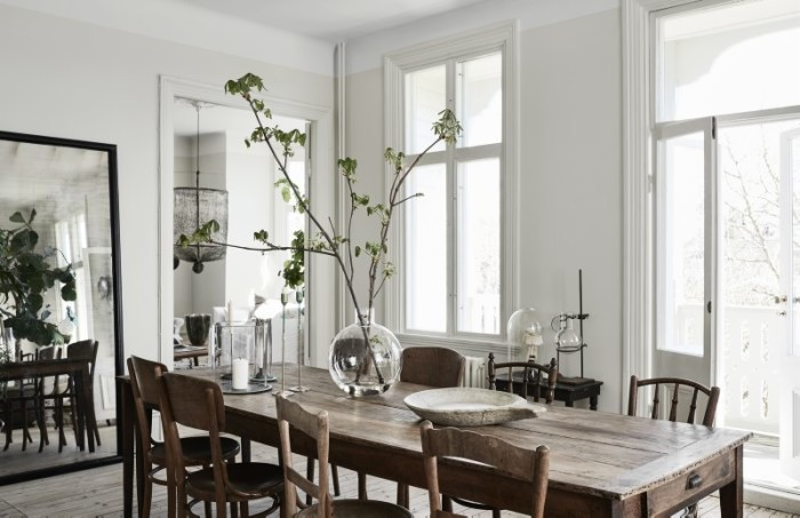
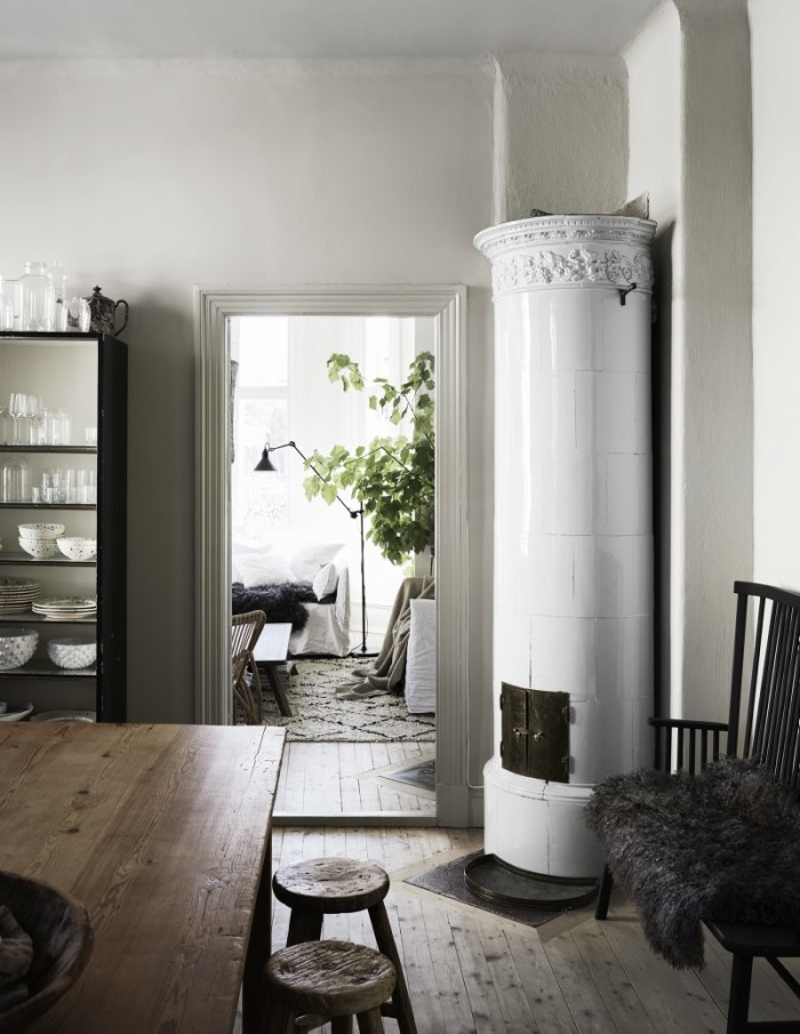
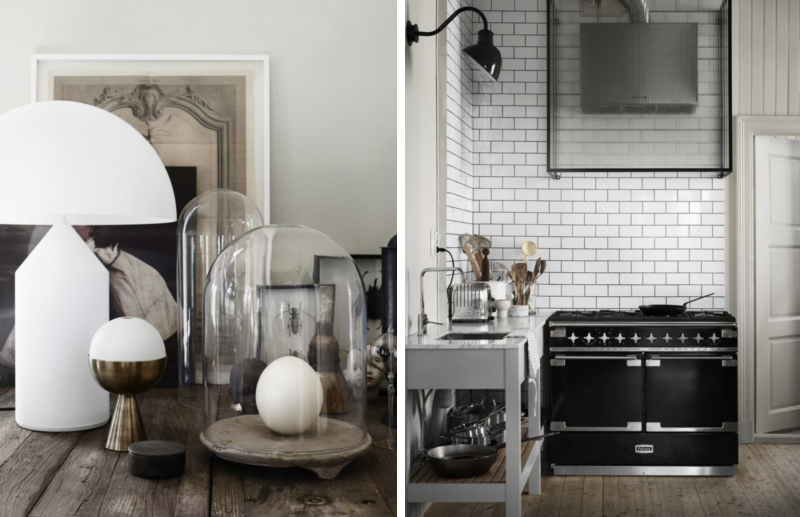
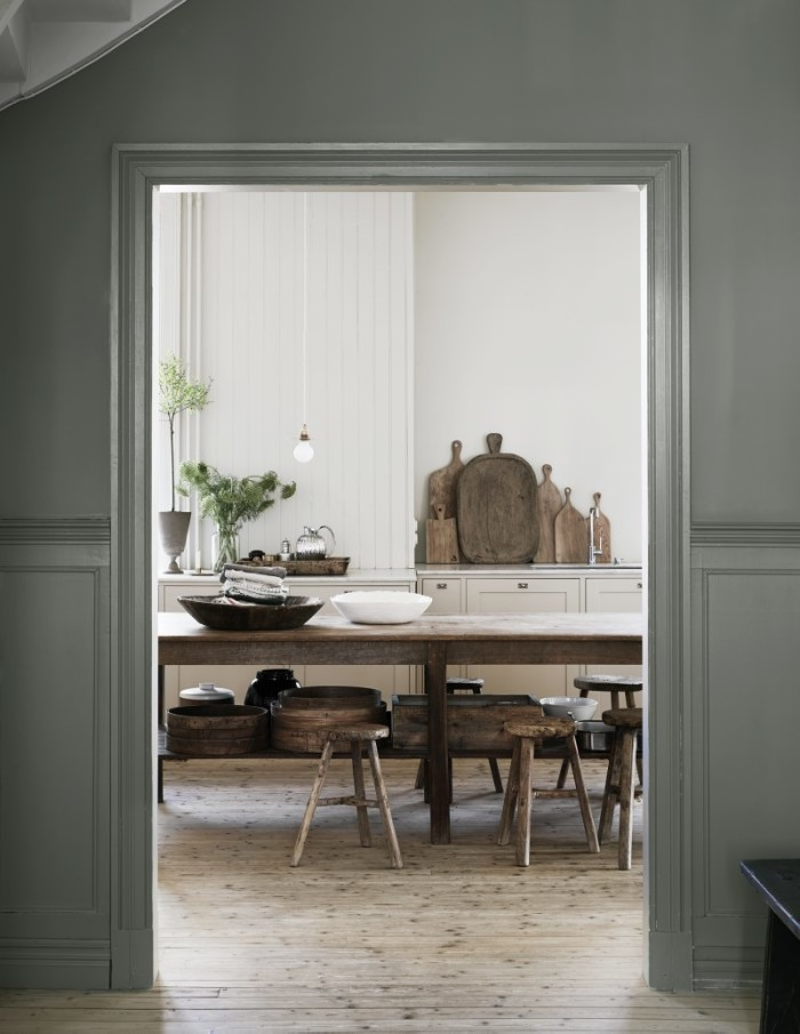
The beautiful home of the founder of Artilleriet, Christian and his husband Björn. More pictures in the latest issue of Residence (#6)
/// Slägg dig i väggen fint hemma hos Artilleriet’s grundare Christian och hans Björn. Mer bilder och historien bakom finns i senaste numret av Residence (#6)
fo: Residence / Kristofer Johnsson / Styling: Lotta Agaton
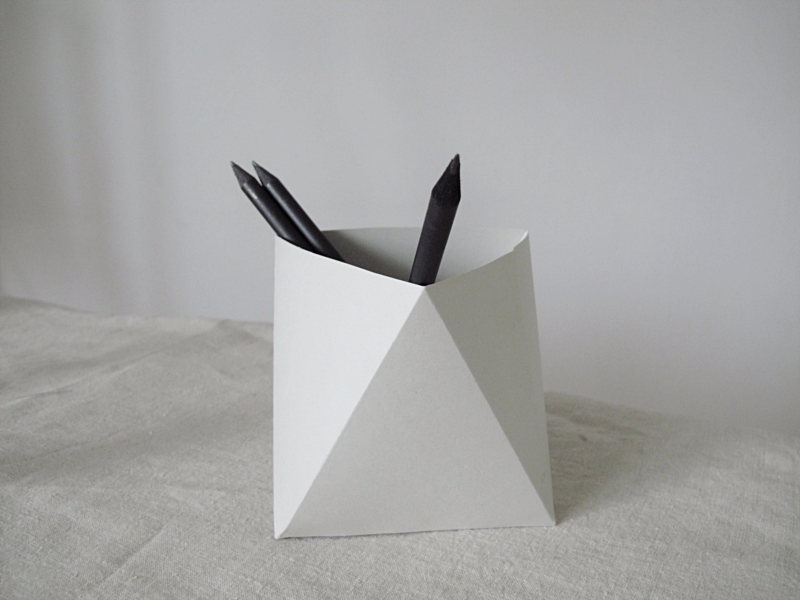
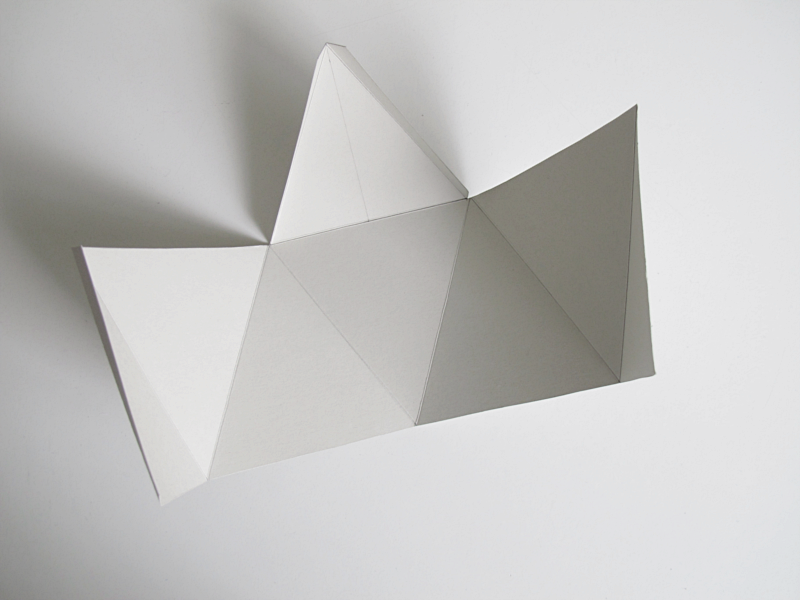
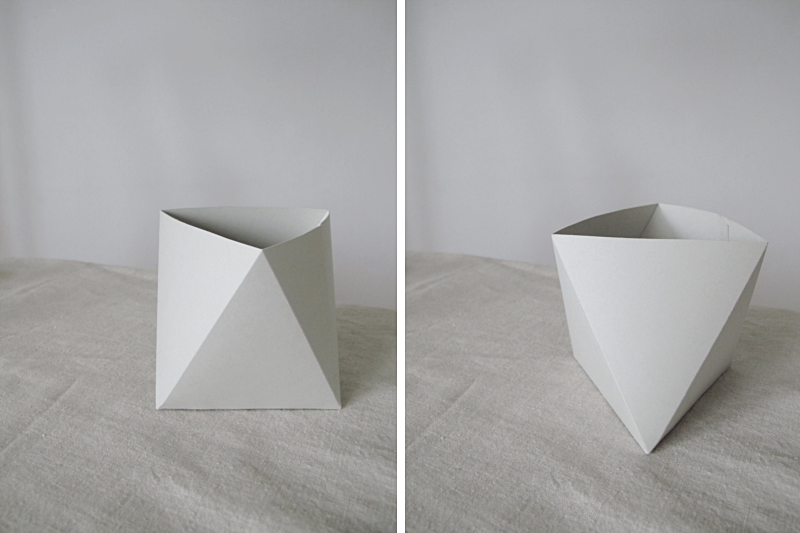
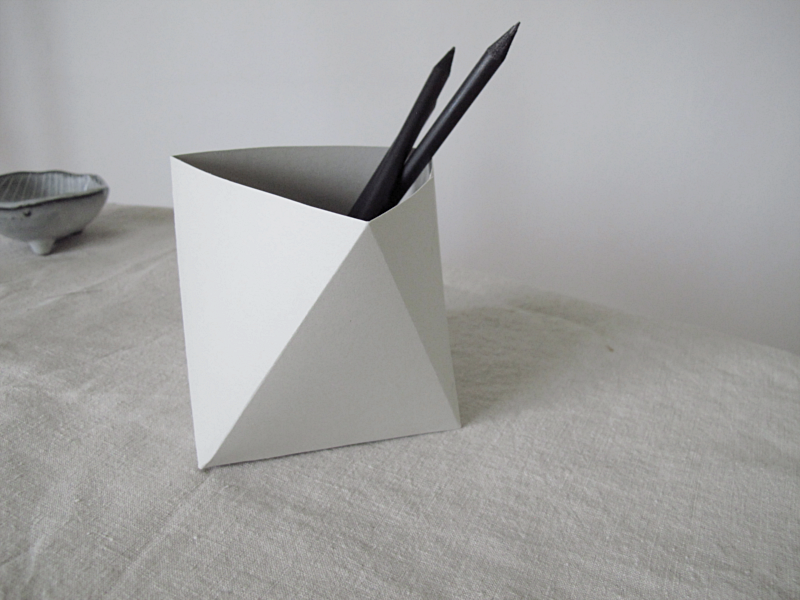
Todays diy is really simple, but I still love the look of the pen holder. Depending on from which angle you’re looking it sometimes feel like it is going to fall over, but it doesn’t.
For this you will need:
→ A piece of thicker paper (carton)
→ A pencil
→ Eraser
→ Ruler
→ Glue
→ A pair of scissors.
/// Dagens diy är verkligen jätteenkelt att göra, men jag gillar verkligen hur penhållaren ser ut. Beroende från vilken vinkel man tittar så känns det ibland som att den ska tippa över, fast den inte gör det.
Till detta behöver du:
→ En bit hobbykartong
→ En blyerts
→ Sudd
→ Linjal
→ Lim
→ Sax
How to:
Start by cutting out a piece of the carton with these measurement.
/// Börja med att rita upp och klippa ut en figur ur kartongen med dessa mått.
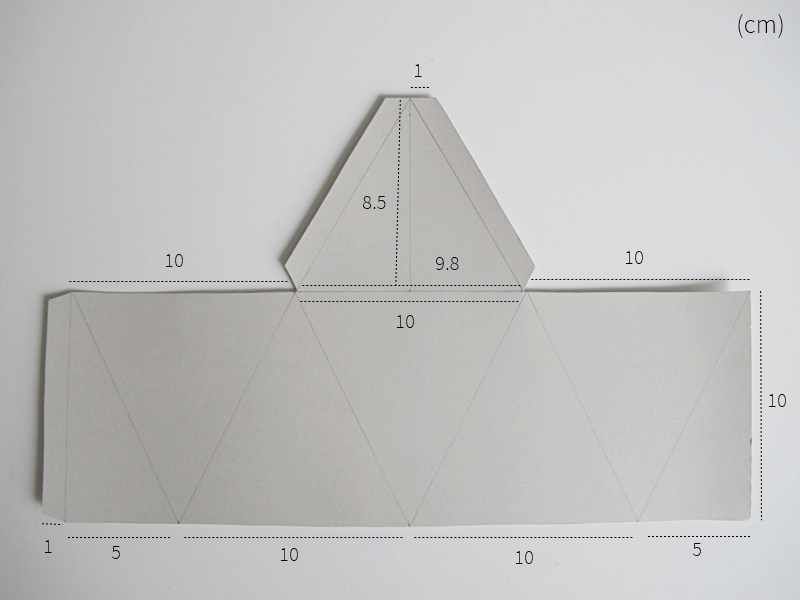
Then you fold along the lines (except the one that is 8.5 cm long).
/// Vik sedan längs med alla linjer (förrutom den som är 8.5 cm)
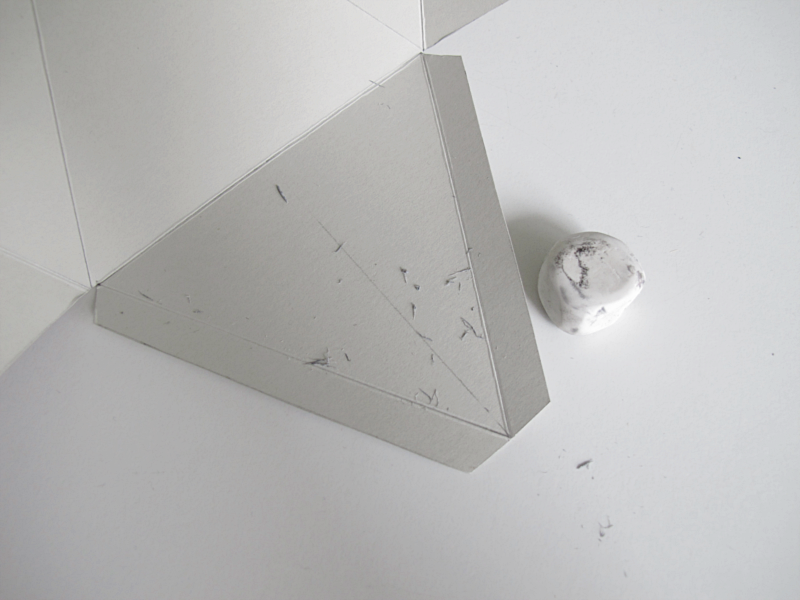
Erase all the pencil marks.
///Sudda bort alla blyertsstreck.
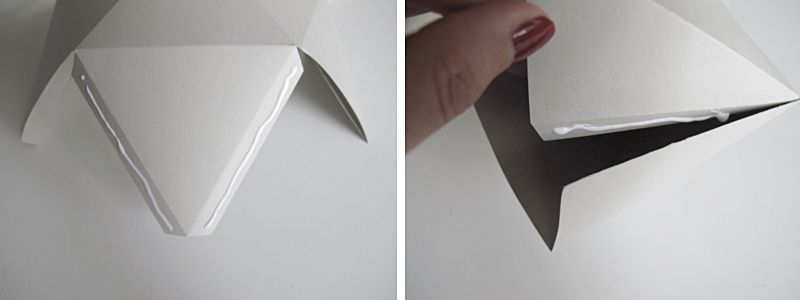
Put some glue on the pieces that are 1 cm wide. Start with the bottom, and then the side. (You might want to cut off some of the carton on the 1 cm piece that are at the side, depending on which kind of paper you are using..)
/// Sätt lim på delarna som är 1 cm breda, och tryck sedan ihop botten först och sedan sidan (Här kanske du också behöver klippa bort lite av 1 cm- fliken som är på sidan beroende på hur tjockt papper du använder..)
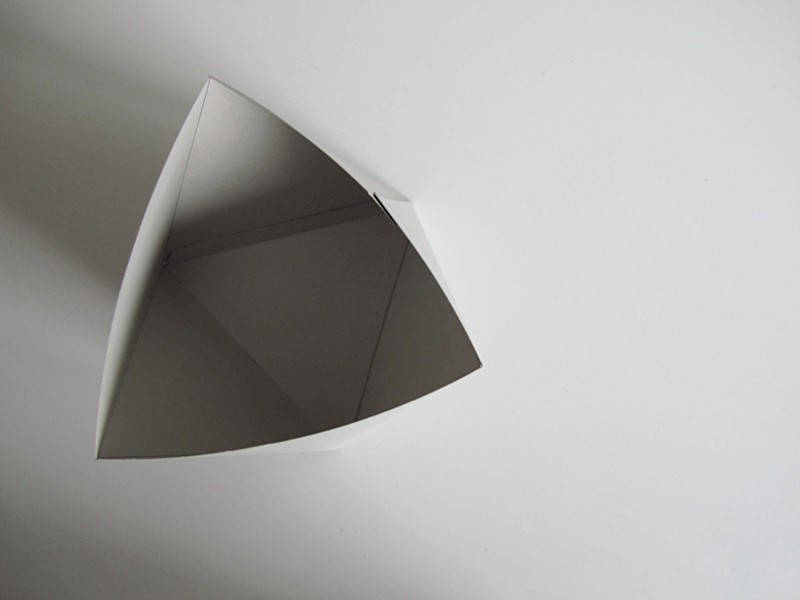
And you are done!
/// Och du är klar!
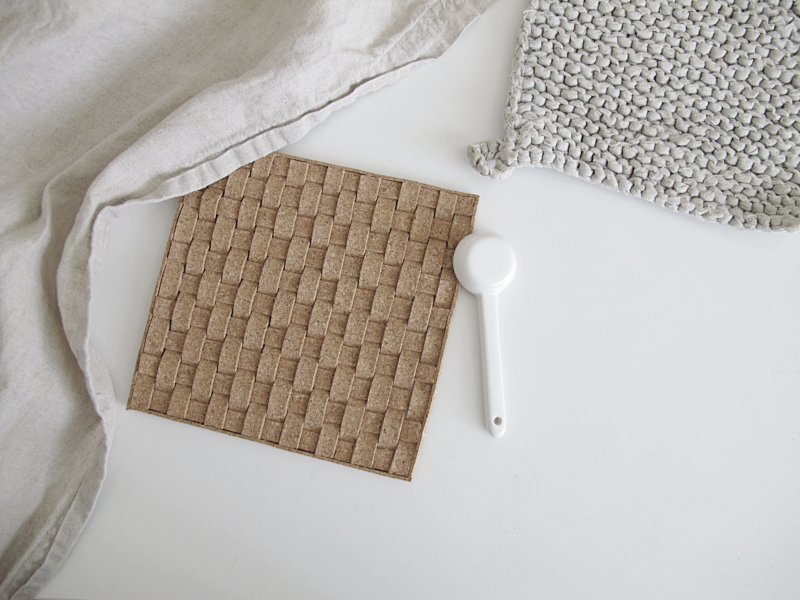
I’ve seen alot of trivet diy’s with this kind of thin cork, but I wanted to make it a bit different, so I decided to make it with a braided pattern.
For this diy you will need cork, a pair of scissors, a ruler and glue.
/// Jag har sett ganska många underläggs-diy’s med denna rullbara kork, men jag ville försöka göra det lite annorlunda så jag bestämde mig för att göra ett flätat mönster på mitt.
För detta diy behöver du: rullbar kork, en sax, en linjal och lim.
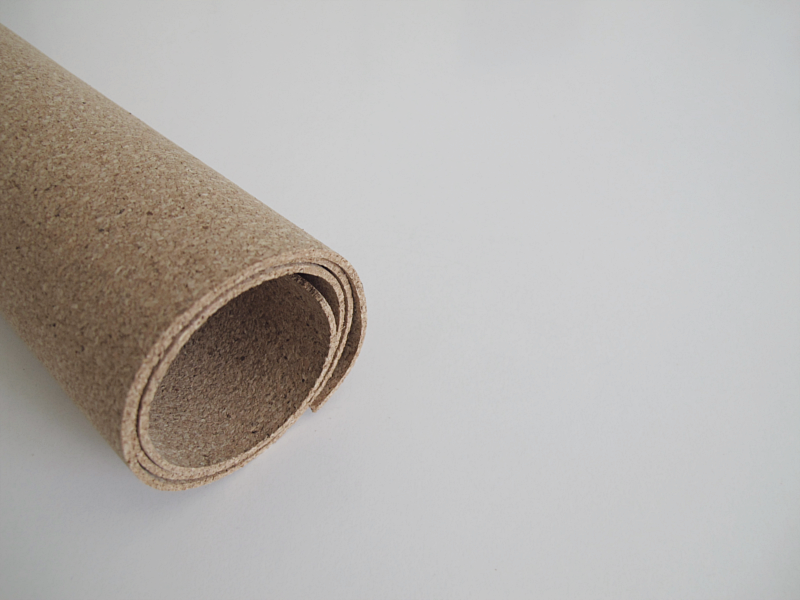
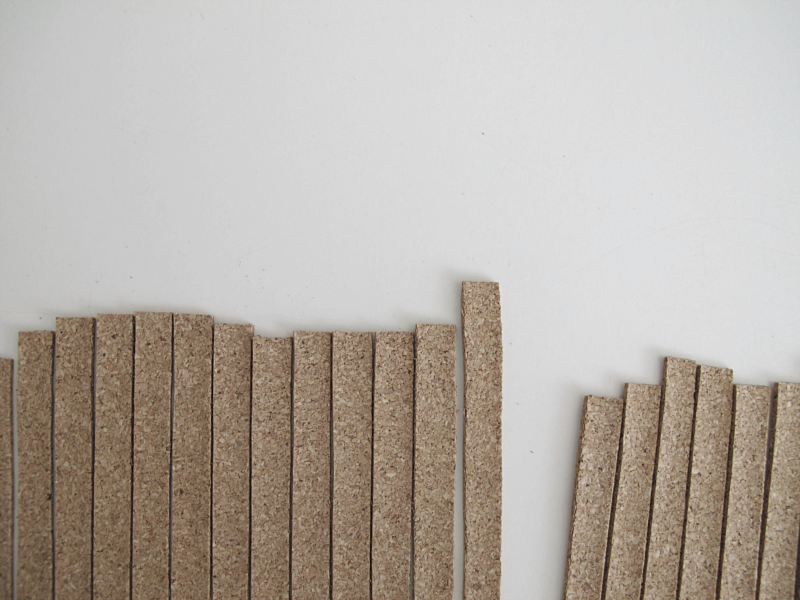
Start by cutting the cork into 1 cm wide strips. I made mine 16cm long and I used 25 pieces, but if you want a bigger trivet just make them longer and more of them.
/// Börja med att klippa korken i 1 cm breda och 16 cm långa bitar. Jag använde mig av 25 stycken allt som allt, men om du vill göra ditt underlägg större så klipper du såklart längre bitar och fler.
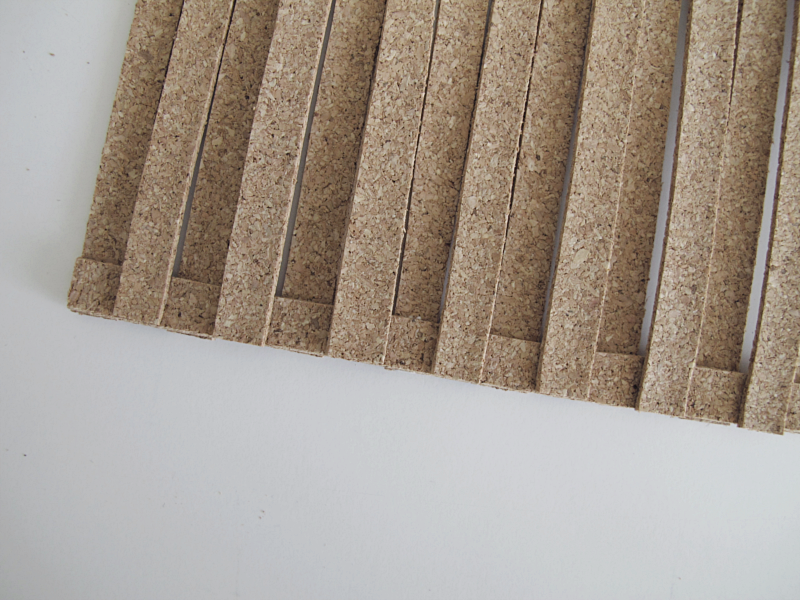
Then you glue the first row like the picture shows.
/// Limma sedan ihop bitarna som bilden visar.
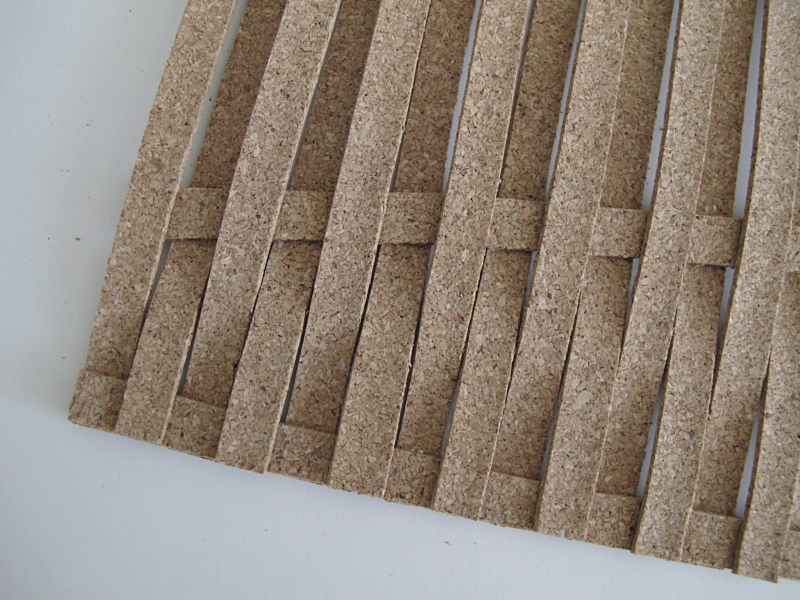
Then you thread another piece of cork again like the picture shows. And another one.. Don’t glue them into place yet, because as you go you can make the braiding tighter and tighter. But be careful with the cork so it doesn’t brake.
/// Sedan tar du en till bit och trär in den, också här som bilden visar. Och så fortsätter du så… Men limma inte dem på plats ännu för ju mer man flätar ju tajtare kan man göra underlägget, men vad försiktig så inte korken går sönder.
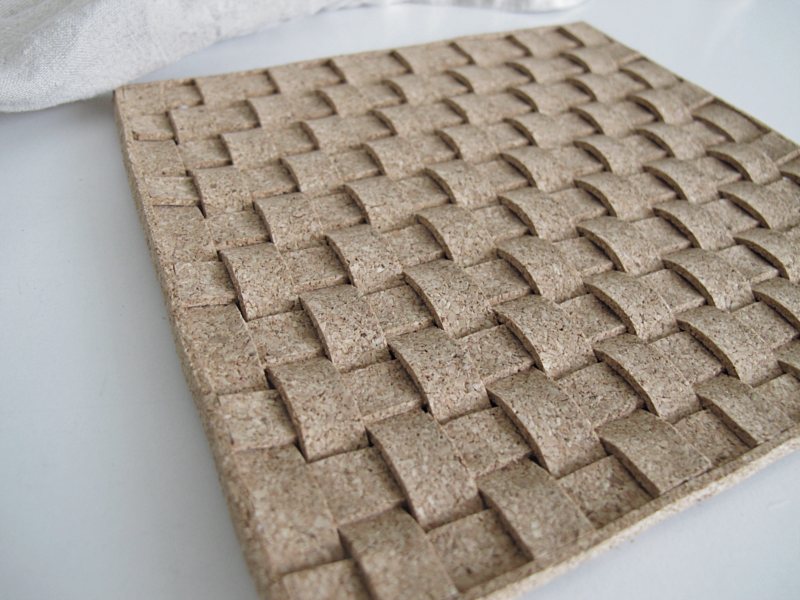
Continue like this until you reach the other end. Here I ended up cutting off a piece of the ends of the cork, because I wanted to finish with a horizontal strip. Then you glue the ends of the strips togehter.
I also cut four thin strips and glue them on all sides of the trivet to get a nicer finish. And you are done!
/// Fortsätt så tills du kommer till anda sidan. Här fick jag klippa bort lite överflödig kork, för jag ville avsluta med en vågrät bit. Nu kan du också limma ihop ändarna på bitarna.
Jag klippte även fyra tunnare bitar och limmade fast dem på kanten rund, för att få ett fint avslut. Och nu är du klar!

Ok, so first I would just like to say, I don’t really know what to call this diy. A ball diy? A clay diy? I just like the look of it so I’m using it as a decoration on my bookshelf. Anyway.. For this you’ll need: fimo clay. (I used three different colors, but you can use just two if you want to), something to protect your table. (I used a bit of plastic), something to cut with and an oven.
Start by rolling a bit of clay , the color of the clay will be the color of the dots. Make it about the same size as your little finger.
/// Jag vet inte riktigt vad jag ska kalla det här diy:et.. Iallafall så gillar jag den och har den som dekoration i min bokhylla. För att göra en likadan så behöver du fimo lera. (jag använde tre färger men du kan använda två om du hellre vill det), nånting som skyddar bordet ( jag använde en bit plast), nått att skära med och en ugn.
Börja med att rulla ut en bit lera, färgen på leran kommer att bli bollens prickar. Gör den ungefär i samma tjocklek som ditt lillfinger.
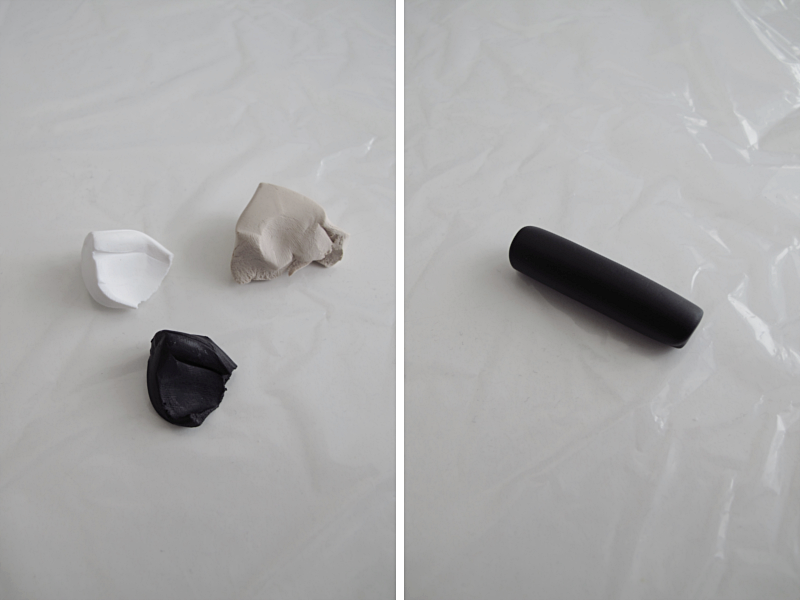
Then you take another piece of clay and roll that on top of the other. This color will be like a “frame” to the dots. After that you take the third piece of clay and roll that around the other two. This will be the main color of the ball.
/// Ta sedan nästa bit med lera, och rulla den över den första. Färgen på denna kommer att bli små “ramar” på prickarna. Sedan tar du den tredje biten med lera. Denna färg kommer att bli “huvudfärgen” på bollen.
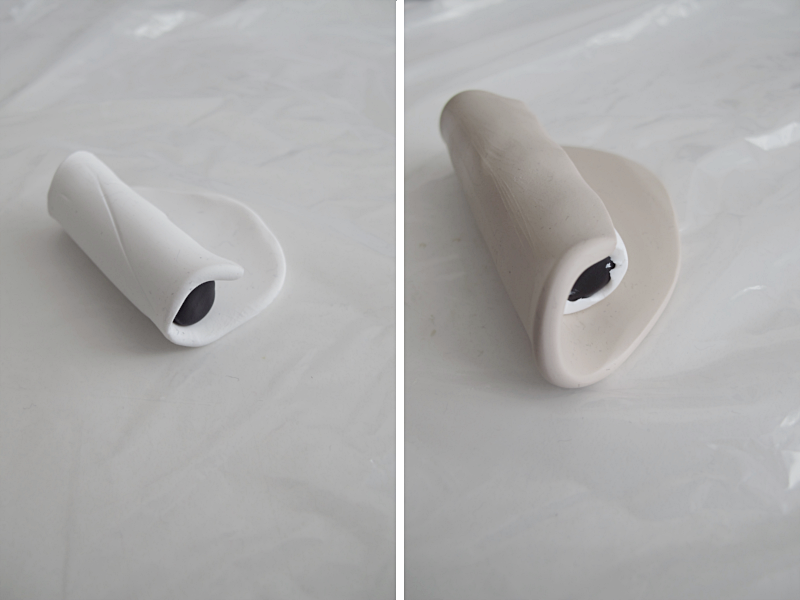
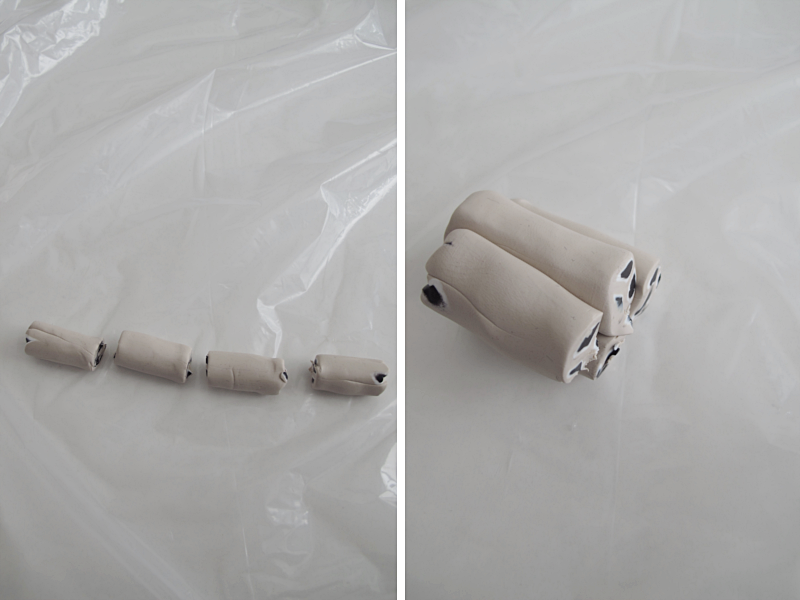
Cut away the excess clay of the ends. Then roll out the clay so that you have a piece about the size of your index finger. Then you cut the clay into smal pieces. As you can see in the image I cut away small pieces at the ends again.
/// Skär bort den överflödiga leran på ändarna. Sedan rullar du ut leran så att den är ungefär samma storlek som ditt pekfinger. Skär sedan leran i bitar. Som ni kan se på bilden så skar jag bort lite av ändarna igen.
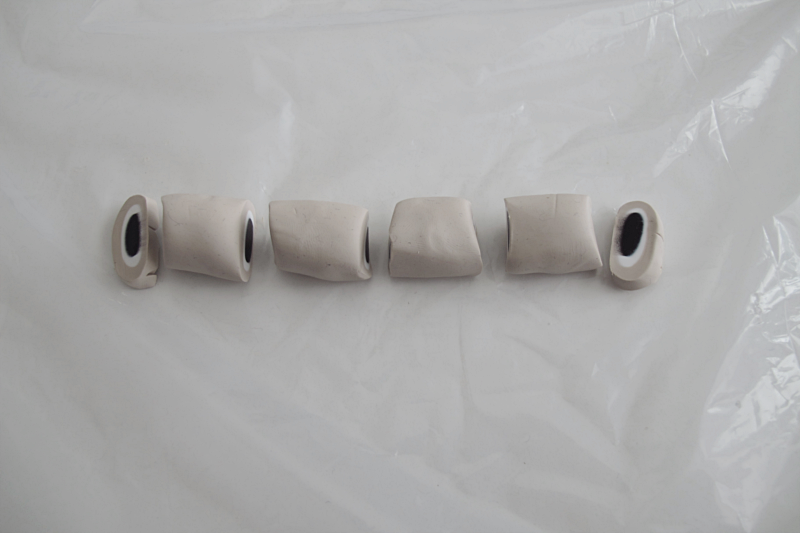
Roll each piece and then put them together and roll them again. This might be a bit tricky but just take it slow when you roll.
/// Rulla ut alla bitarna, för att sedan sätta ihop dem och rulla ut dem igen. Det kan vara lite trixigt, men ta det bara försiktigt när du rullar.
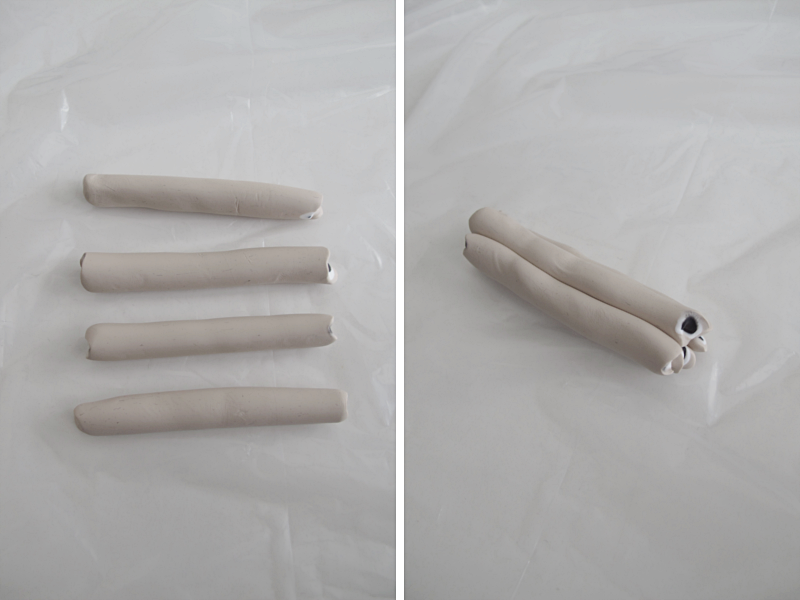
And repeat.. End this step by rolling the clay together.
/// Och upprepa. Avsluta detta steg med att rulla ihop bitarna till en jämn rulle.
Then you cut the clay in thin slices. Roll a ball the same color as the main color of your ball.
/// Sedan skär du leran i tunna skivor. Rulla en boll med lera i samma färg som “huvudfärgen”.

And place the slices around the ball. When that is done, carefully roll the ball so that the slices “melts” with the ball, and each other.
/// Placera skivorna runt bollen. Och rulla sedan försiktigt ihop hela bollen tills skivorna smälter ihop med varandra och bollen.
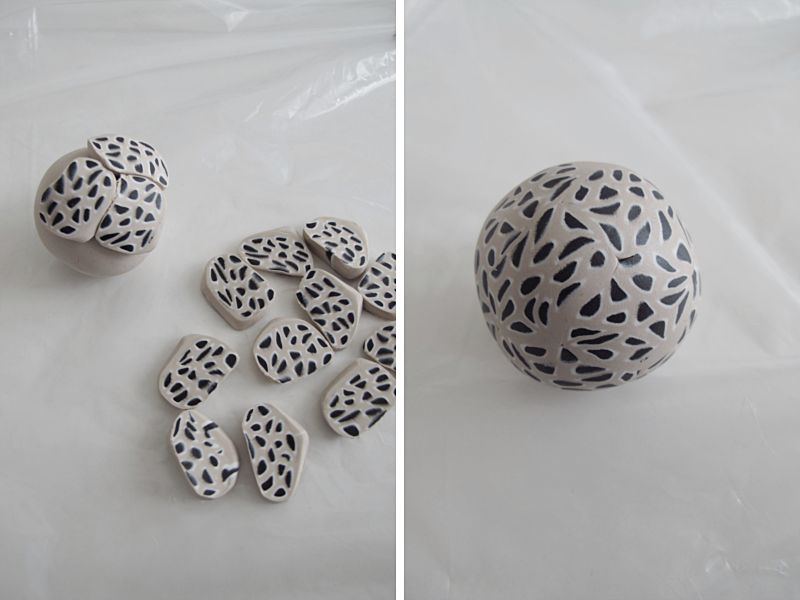
Harden it in the oven, following the instructions on the package. And you are done!
/// Följ sedan instruktionerna på leran för att härda bollen . Och du är klar!
© 2024 DESIGN AND FORM. All rights reserved.
Theme by Anders Norén.