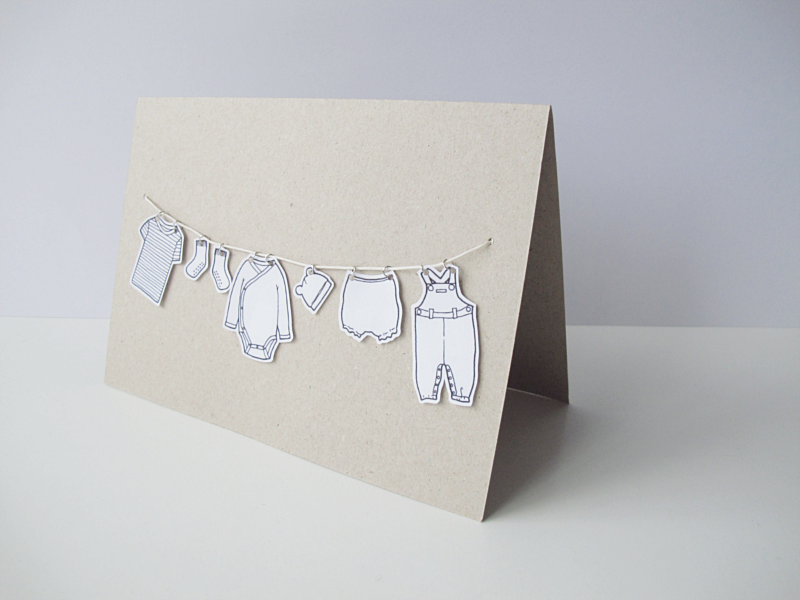
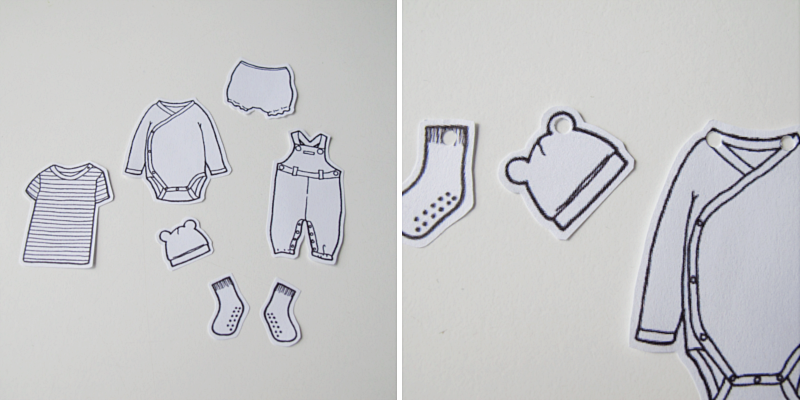
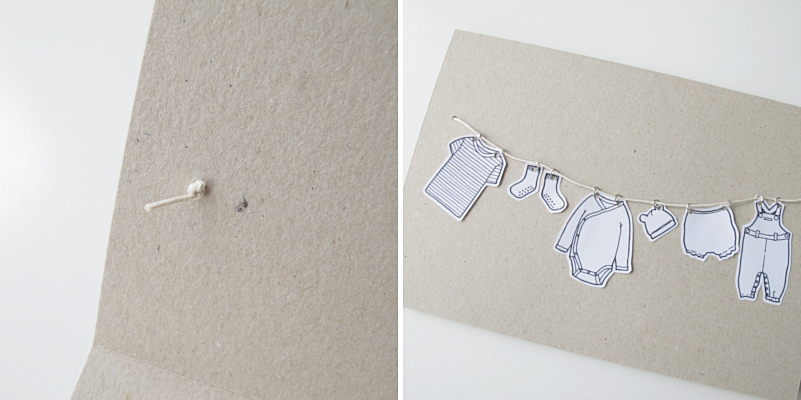
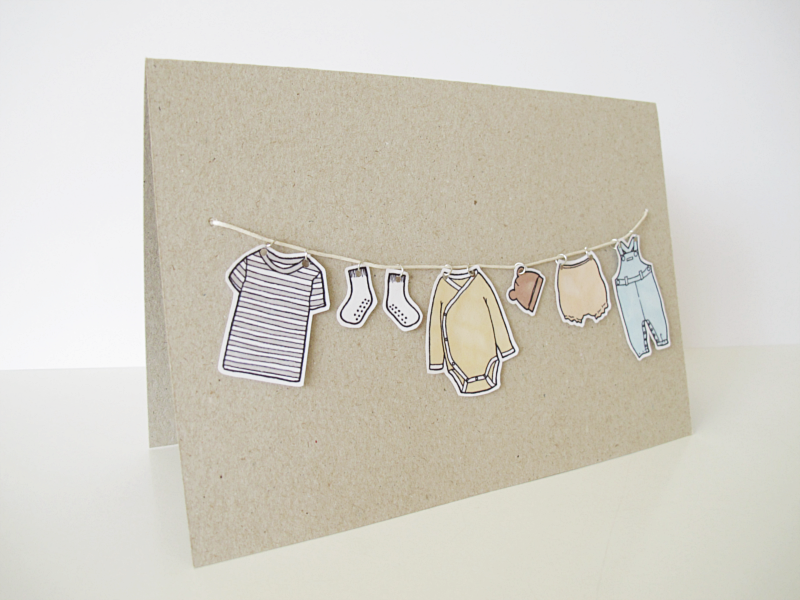
I saw this idea in a book at the library and I just had to share my version of it with you. I made a pdf-file with my drawings of the clothes and you will find that in the bottom of this post. Print it out and cut out the the clothes. Make a small hole on top of the clothes, where you would hang it with a clothespin on a actual drying rack.
/// Jag såg den här idén i en bok på biblioteket och jag ville visa min version av den för er. Jag har gjort en pdf-fil som ni kan skriva ut med bilder på kläderna. Den finns längst ner i inlägget. Skriv ut den och klipp sedan ut varje del för sig. Gör små hål på varje klädesplagg där du, om det skulle ha varit ett riktigt plagg skulle ha använt en klädnypa för att sätta upp den på en torkställning.
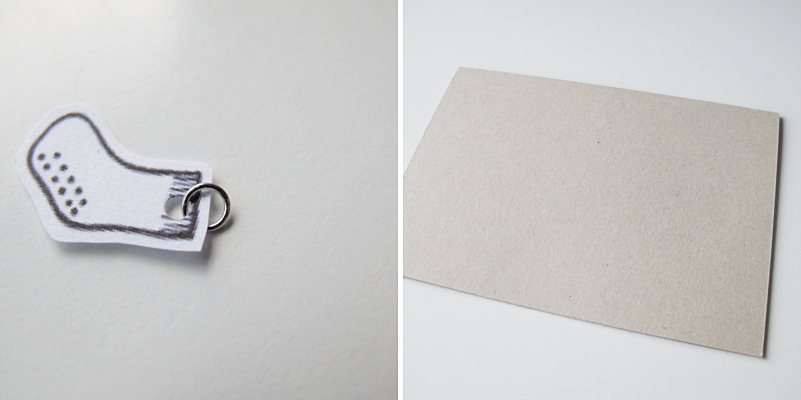
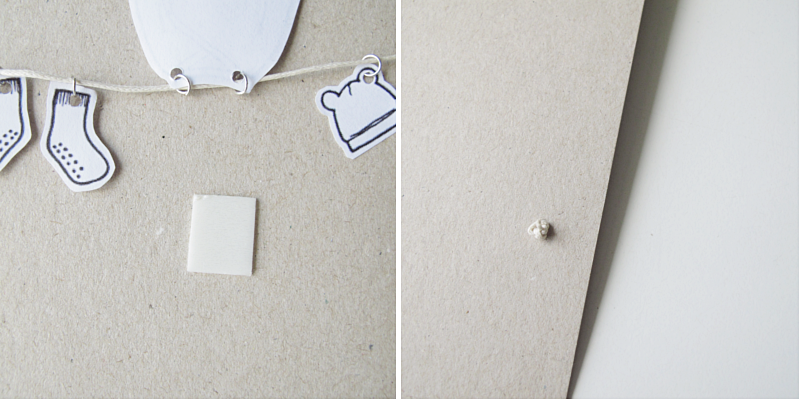
Attach a small ring to the hole (or you can use the same thread that you are using as the drying rack to make small loops). For the card I used a regular piece of carton. A4 size. And I folded it in half.
/// Sätt fast en liten ring i varje hål. Har du inga ringar går det lika bra att knyta små öglor av samma garn som du använder till torklinan. Till själva kortet använde jag ett vanligt a4 hobbykartong papper, som jag vek på mitten.
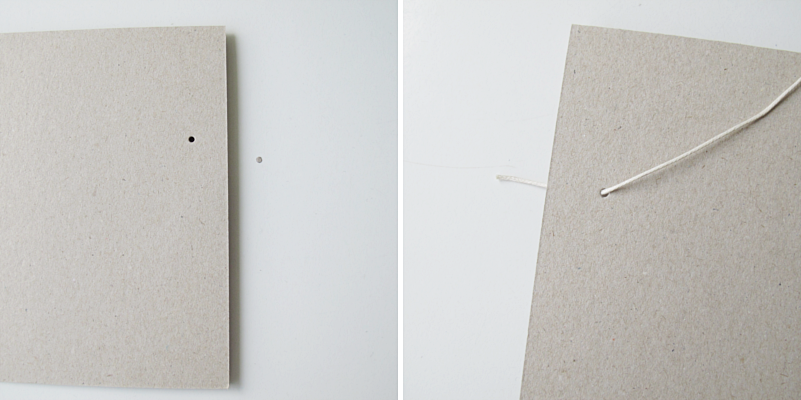
Make a hole on the side. About 1.5cm from the right edge and about 4.5 cm from the top. Then make another on the other side of the paper. Slide a thread thru the hole..
/// Gör ett hål på sidan av papperet. Ungefär 1.5 cm in och ca 4.5 cm från toppen. Gör sedan ett likadant hål på andra sidan av papperet. Trä en tråd igenom hålet..
And tie a knot on the backside. Gently attach all the clothes on the thread in the order that you want them.
/// Och knyt en knut på baksidan. Sedan trär du försiktigt på alla kläderna på snöret i den ordning du vill ha dem.
Attach all the clothes with a small piece of double sided adhesive pads. Thread the other end of the thread through the remaining hole, tie a knot on the other side and you’re done!
/// Sätt fast alla plaggen med en liten bit fästkudde. Trä sedan andra änden av tråden igenom det återstående hålet, knyt en knut på andra sidan och du är klar!
Here I painted all the clothes with promarkers. /// Här har jag målat plaggen med promarkers.
Pdf: BABY CARD

Kati says:
This DIY project comes at the right time. I have so many friends who are currently pregnant and this make a really nice ‘Congratulation’ card for the birth of their babies.
http://blackwhitevivid.com
June 2, 2014 — 12:03
designoform says:
Sounds like perfect timing :) I’m happy you like it!
June 2, 2014 — 17:07
Mareen says:
so adorable.
seriously the cutest baby card i have ever seen.
June 2, 2014 — 16:46
designoform says:
I thought so too!
June 2, 2014 — 17:09
Justine says:
It’s so great ! I can’t wait for my friends to have a baby to make this card :D
June 6, 2014 — 22:42
designoform says:
I’m so glad you like it!
June 7, 2014 — 08:37