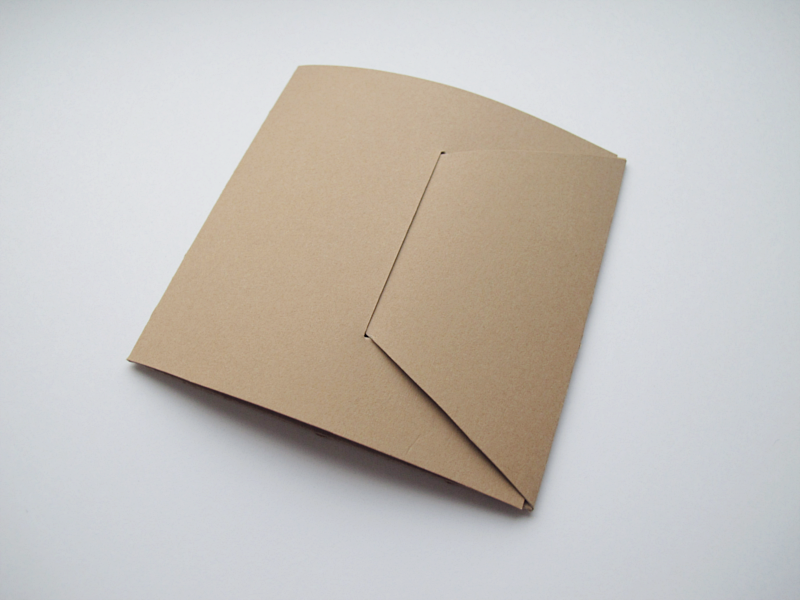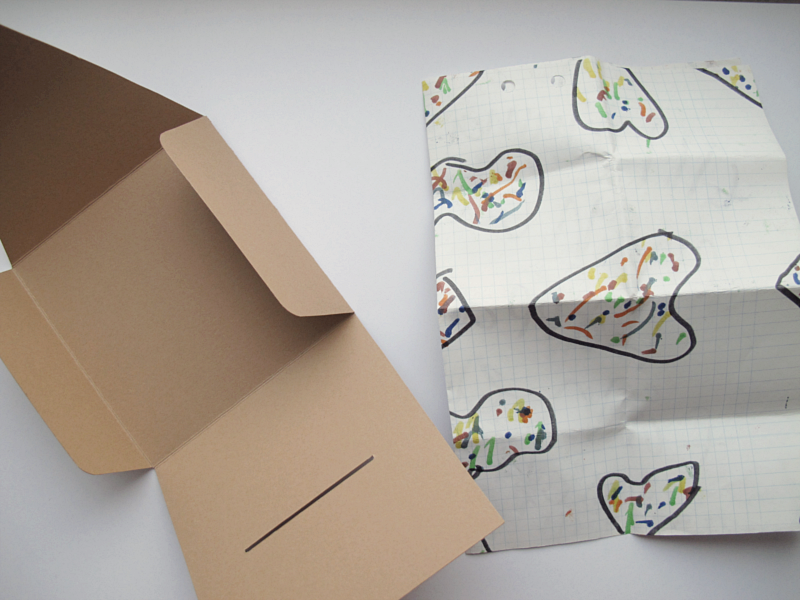
I don’t really know what to call this DIY but it works a bit like an envelope. Pretty easy to make and you can change the look how you want. Change the size or move the notch further to the right if you want.
/// Jag vet inte riktigt vad jag ska kalla detta DIY men det fungerar ju lite som ett kuvert. Ganska enkelt att göra och går att förändra utseendet på hur du vill, du kan exempelvis ändra på storleken eller flytta skåran längre åt höger.

You need:
→ carton
→ pencil
→ eraser
→ ruler
→ a round object ( I used a gluestick)
→ paperknife
→ a pair of scissors
/// Du behöver:
→ kartong
→ penna
→ sudd
→ linjal
→ något runt (jag använde ett limstift)
→ papperskniv
→ sax
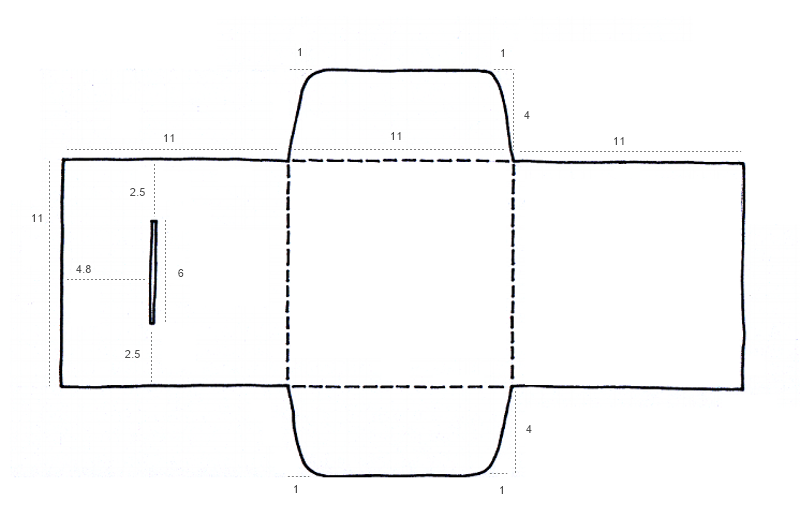
Start by drawing this figure on your paper. Then you cut it out, fold along the dotted lines and cut out the notch with the paperknife. I did my 2 millimeters wide.
/// Börja med att rita ut den här figuren på ditt papper. Klipp ut den, vik längst med de streckade linjerna och skär ut skåran med papperskniven. Jag gjorde min 2 millimeter bred.

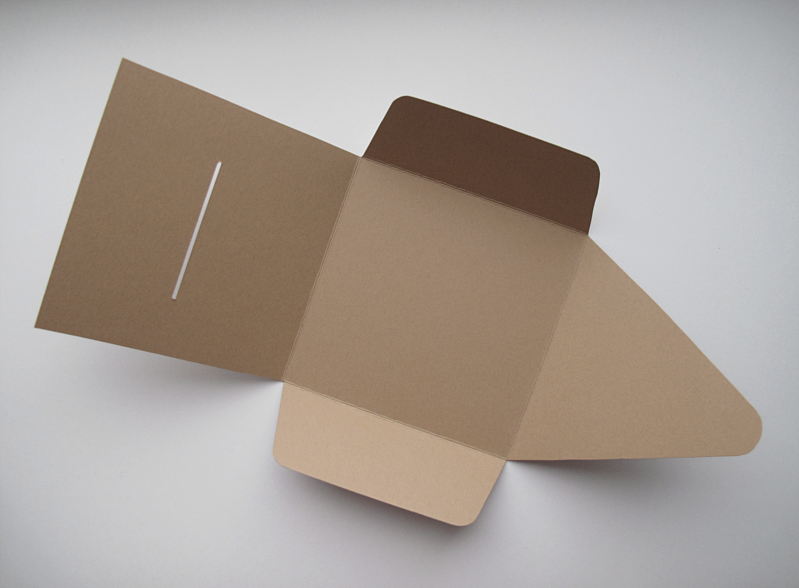
When it’s time to make the flap on the right side of the picture, I first folded that flap inwards, then the flap with the notch. After that I measured out where the notch was by drawing on the inside of it. Then I unfolded the envelope again and drew a V-shape right next to the mark, and to every corner. Cut out the V and round off the top using the round object. Erase all the pencil marks and you are done!
/// När det var dags för att göra fliken på höger sida i bilden, så vek jag först in den sidan, sedan den sidan med med skåran. Därefter mätade jag ut var skåran var genom att rita på insidan av den. Därefter vek jag upp kuvertet igen och så ritade jag ut en V-form alldeles bredvid den utritade skåran, och till varje hörn. Därefter klippte jag ut V-et och rundade av toppen. Sudda bort blyertsstrecken och klart!


ellinor says:
i love this. so simple but so pretty.
January 4, 2017 — 10:10
designoform says:
I’m happy you like it!
January 4, 2017 — 21:31
Ruth | www.hungryheart.se says:
Såååå snyggt!!
January 5, 2017 — 17:18
designoform says:
Tack Ruth!
January 10, 2017 — 22:22