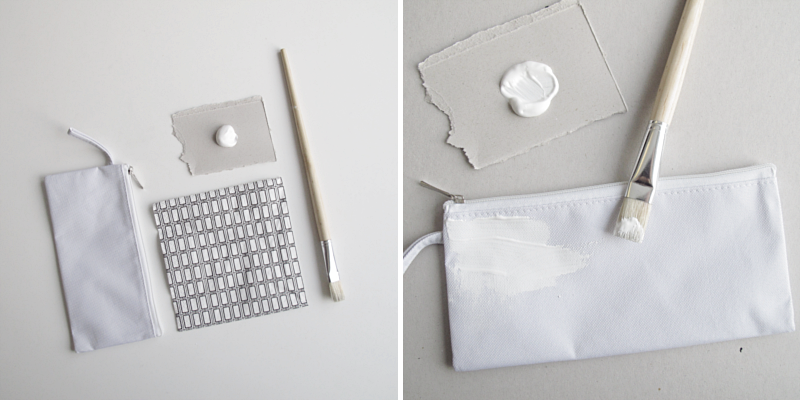
Today’s diy is a decoupage-diy. But in a slightly different way. With white fabric paint instead of a special decoupage lacquer. You need a toilet bag or pencil case (or whatever you might want to decorate) made out of white fabric, a napkin with a pattern that you like, a brush and of course the fabric paint. Start by painting one side of the pencil case with the white color. You may need to put a protective paper on the inside of your pencil case, depending on how thick the fabric is, so that the paint does not flow through.
/// Dagens diy är ett decoupage diy. Men på ett litet annorlunda sätt. Nämligen med vit textilfärg istället för ett speciellt decoupage lack. Du behöver en necessär eller pennfodral (eller vad du nu kan tänkas vilja dekorera) i vitt tyg, en servett med ett mönster som du gillar, en pensel och så textilfärgen förståss. Börja med att måla ena sidan av pennfodralet med den vita färgen. Du kanske behöver lägga in ett skyddande papper på insidan av ditt pennfodral, beroende på hur tjockt tyget är, så att färgen inte rinner igenom.
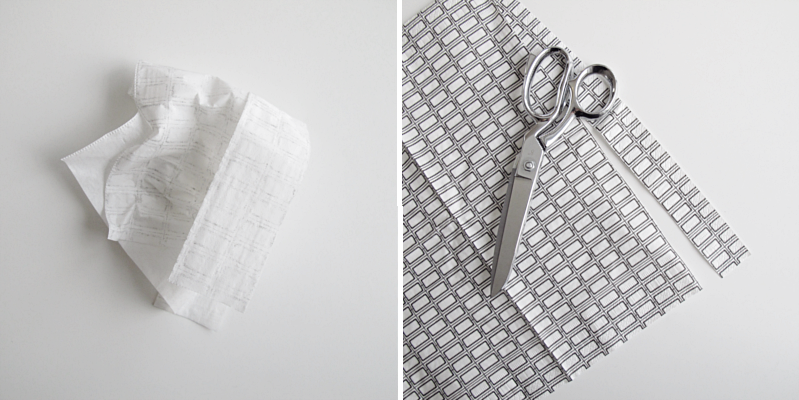
Take one of the napkins and fold it out. Then remove the back of the napkin so that you only get the thinnest piece with the patten left. I also chose to cut off the edges of the napkin. You know the part with the small “bumps”.
/// När det är klart tar du en av servetterna och viker ut den. Ta sedan bort den bakre delen av servetten så att du bara får den tunnaste framsidan kvar. Jag valde också att klippa bort den lite “knottriga” ytterkanten på min servett.
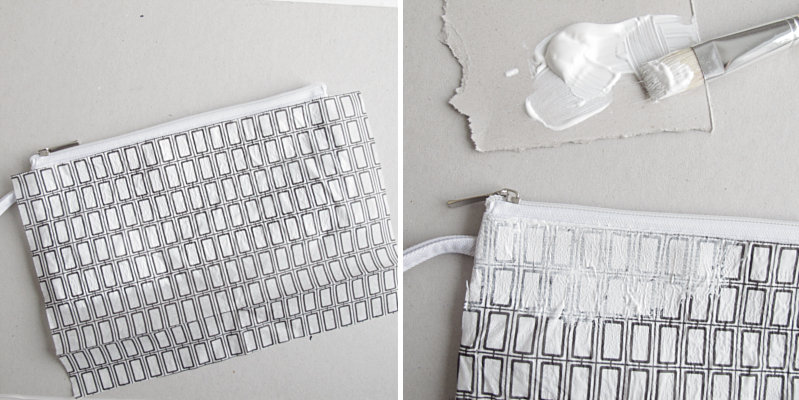
Gently place the napkin on top of the paint. Try to make it as wrinkle-free as you can. Then take the brush and gently paint another layer on top of the napkin. At the same time you can use the brush to straighten any wrinkles in the tissue.
/// Lägg så försiktigt servetten på den målade sidan. Försök att lägga den så slätt du bara kan. Ta sedan pensel och måla försiktigt ett lager till med färg ovanpå servetten. Nu kan du även släta till eventuella rynkor i servetten.
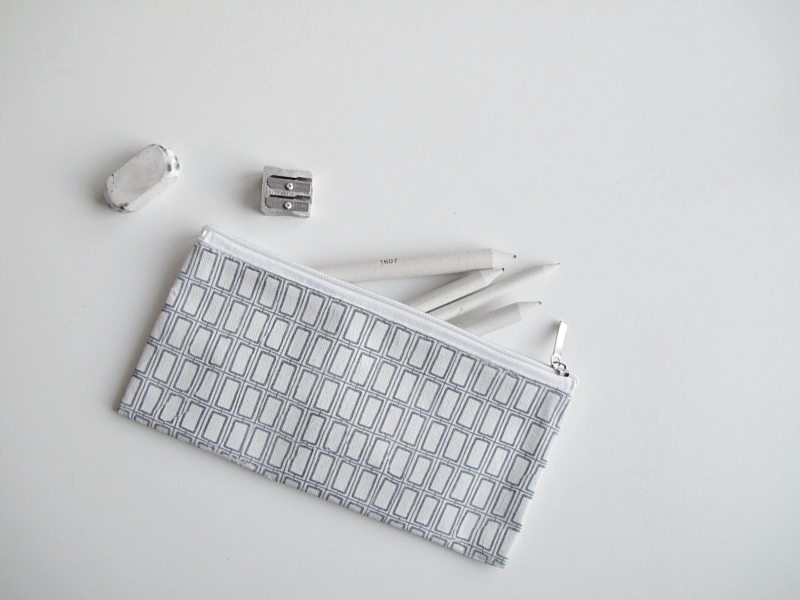
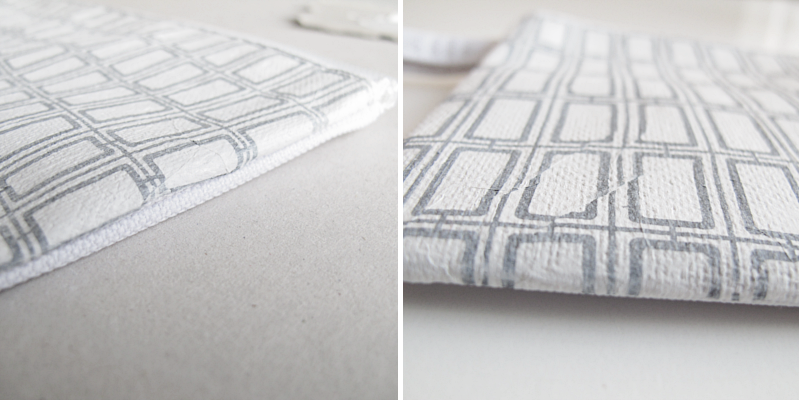
Be sure to really paint the napkin into all the corners and edges. Then let the pen case dry and do the same on the other side. Let it dry again, and you’re done! On the last picture you can see how the case looks when it dry. The wrinkles has become a pattern, but is no longer “standing”.
/// Var noga med att verkligen måla in servetten i alla hörnen och i kanterna. Låt så pennfodralet torka och gör likadant på andra sidan. Låt den torka igen, och du är klar! På den sista bilden ser ni hur fodralet ser ut när det torkat. Rynkorna har blivit ett mönster men “står” inte längre upp.

3 Pingbacks