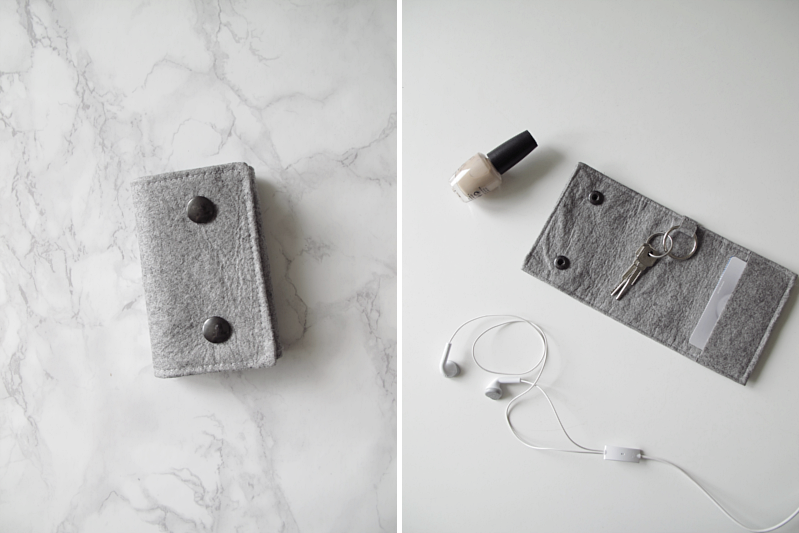
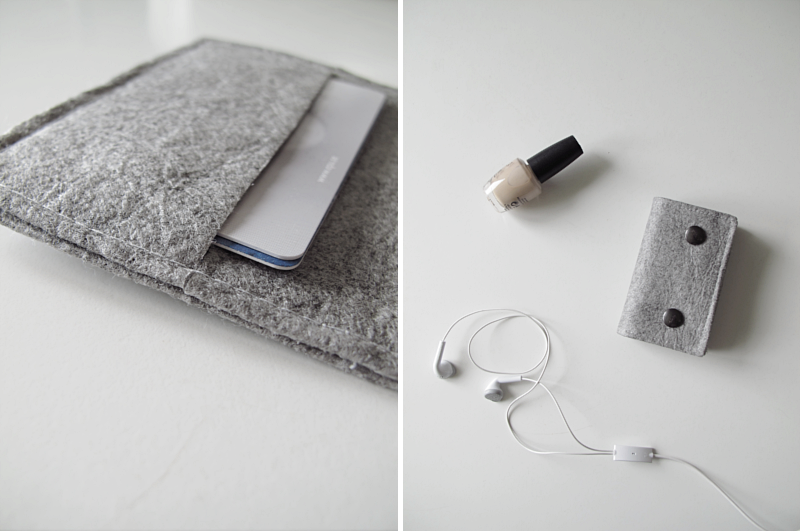
This weeks diy is a combined card and keyholder.
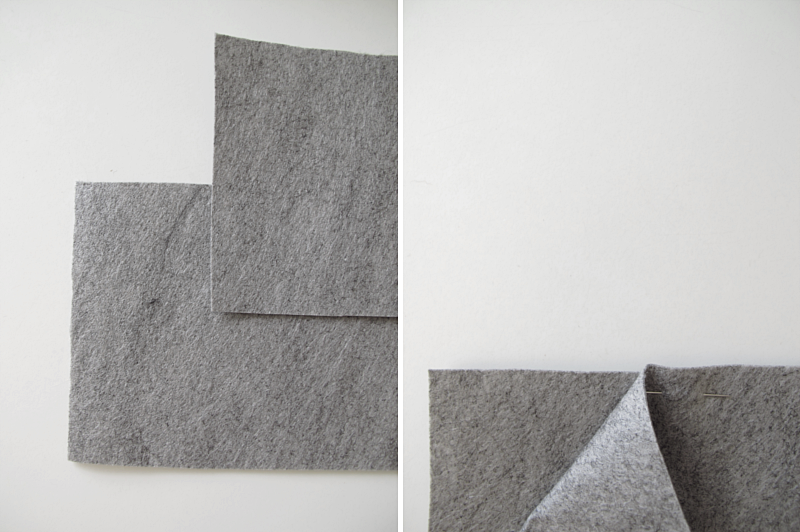
1. Make two rectangles out of a thick fabric that doesn´t thread. One 18,5cm x 13cm, and the other 28cm x 13cm. 2. Place the longer piece on top of the smaller one, make sure that the two short sides are in a line. And pin them together.
/// Denna veckas diy är en kombinerad kort och nyckelhållare.
1. Börja med att göra två rektanglar ur ett tjockt tyg som inte trådar sig. En ska vara 18,5cm x 13cm och den andra 28cm x 13 cm. 2. Lägg den längre rektangeln på den kortare, se till att de vänstra kortsidorna är precis ovanför varandra. Nåla sedan ihop dem.
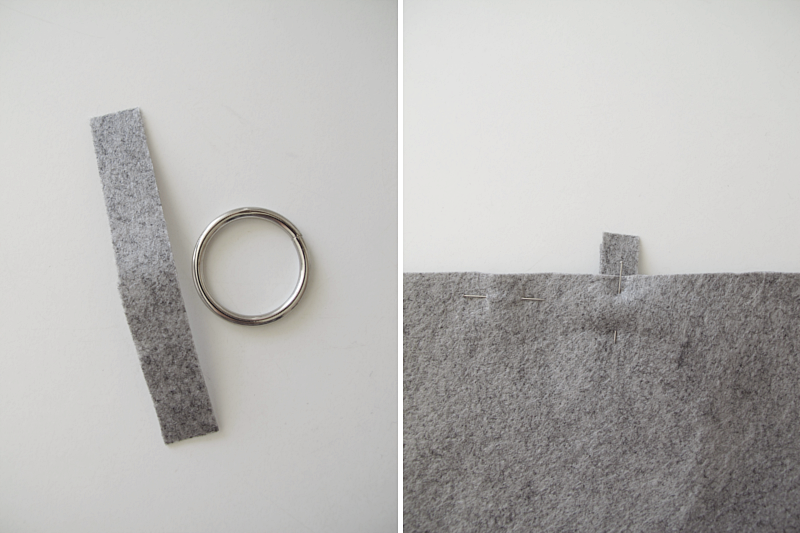
3. Make a strip of the fabric, 1,5 cm wide and 5 cm long. 4. Slide it through a silver ring, and place the ring between the two pieces of fabric. About 11,5 cm from the left side.
/// 3. Klipp en remsa ur tyget. 1,5 cm x 5cm. 4. Trä den igenom en ring och placera ringen mellan de två rektanglarna. Ungefär 11,5 cm från vänstra kanten.
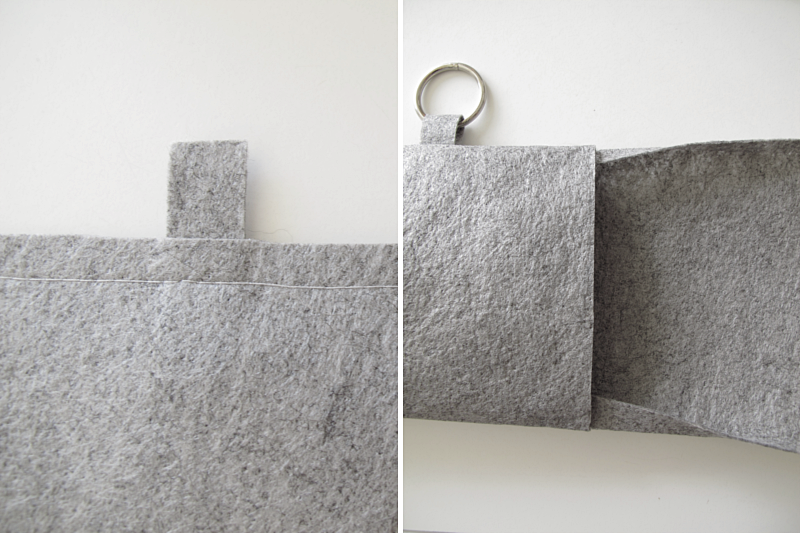
5. Now it´s time to sew. Sew the two longer sides together (with 1cm seam allowance), and leave the short sides. 6. Cut off the excess part from the ring holder strip, and turn the whole thing inside out.
/// 5. Nu är det dags att sy. Sy ihop långsidorna (med en sömsmån på 1cm), men lämna kortsidorna osydda. 6. Klipp av den överflödiga delen av remsan som håller i ringen. Vänd den ut och in.
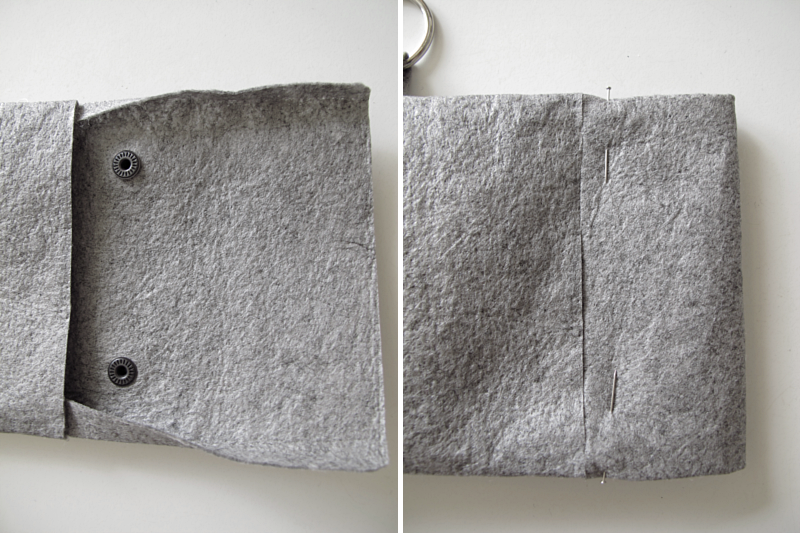
7. Attach the eyelets, 1,5 cm from the edge. (on the upper fabric). How you do that, is written on the back of the box they came in. Make sure to turn them the right way. 8. Then fold the piece of fabric like the picture shows, and pin it.
/// 7. Sätt fast tryckknapparna 1,5 cm från kanten (på de övre tyget). Hur du gör det står på baksidan av förpackningen. Kom ihåg att sätta dem rätt väg. 8. Vik sedan in tyget, precis som bilden visar, och nåla.
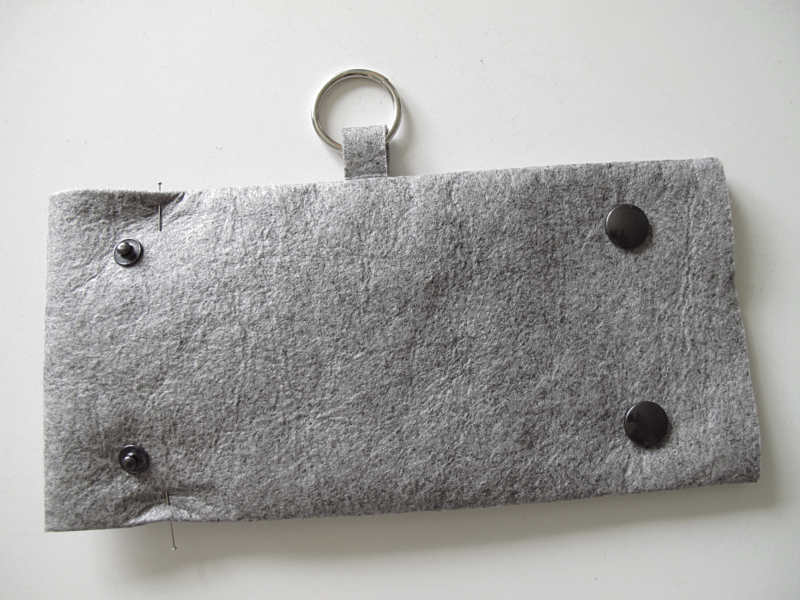
9. Attach the buttons. About 4cm from the left. Now your keyholder should look like this.
/// 9. Sätt fast den andra delen av trycknapparna. 4cm från kanten. Nu ska din korthållare se ut såhär.
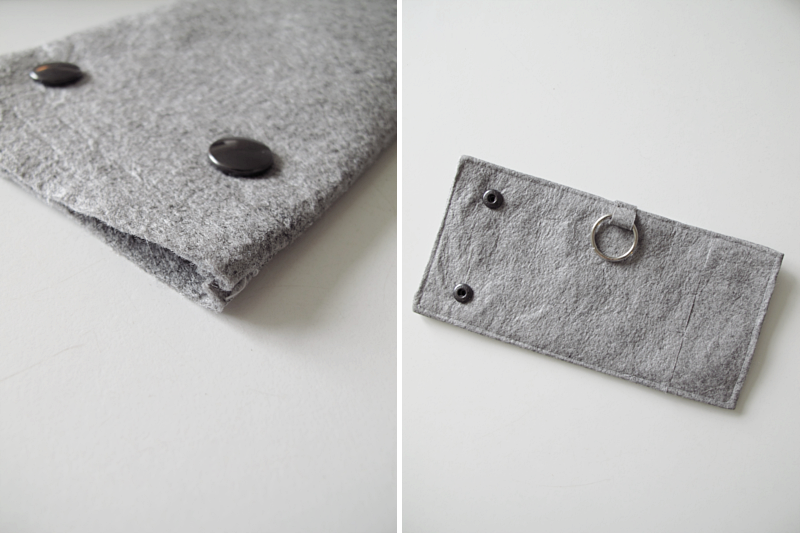
10. Fold this end of the fabric inwards. 11. And sew a seam around the whole thing.
/// 10. Vik in kanten. 11. Och sy en söm runt hela.
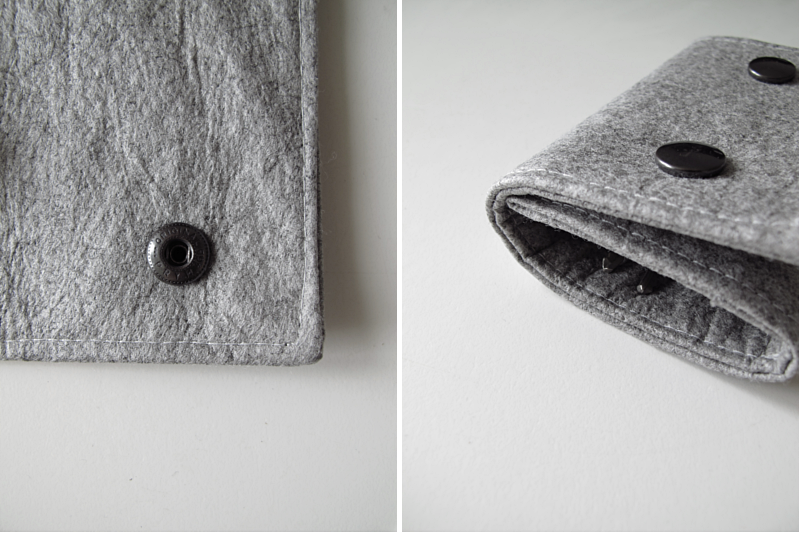
12. And you are done!
/// 12. Och du är klar!


Katja says:
A really practical and well done DIY idea. Looks good, thanks for sharing!
June 18, 2013 — 14:24
designoform says:
Thank you!
June 18, 2013 — 21:22
Karina says:
It looks really cute. The two big buttons are like eyes. It gives the keyholder a look of a small animal.
June 18, 2013 — 16:53
designoform says:
:)
June 18, 2013 — 21:23
Tess S says:
Häftig =)
June 19, 2013 — 16:14
A Merry Mishap says:
Bravo! You have the best DIY’s!
June 19, 2013 — 19:12
designoform says:
Thank you Jennifer! I´m glad you like them :)
June 20, 2013 — 18:02
fiona dean says:
i absolutely love it but i’m horrific at sewing and fabric in general. would there be a chance you could make them to purchase? i’ve been looking for a card holder for so long, and at the moment i have a simple one from muji but yours just hits the spot perfectly!
July 1, 2013 — 13:17
designoform says:
Oh.. I´m not that good at sewing either, I think I would get a lot of refunds if I were to sell them ;)
July 1, 2013 — 18:45