Menu Close

Category: DIY – OTHER (page 5 of 11)

DIY – PICTURE HOLDER

diy

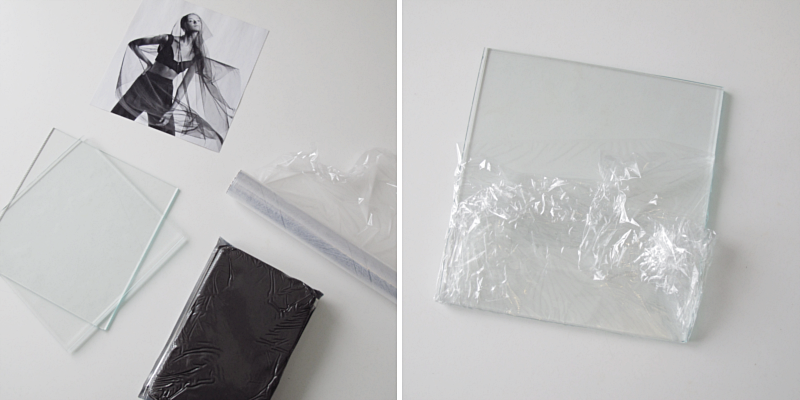
Todays diy is a picture holder. For this you need two pieces of glass, a picture that you like,  some plastic (both to protect the glass and the table) and self hardening clay. I used about 0.5  pounds of clay for this. But it depends on how big your glass is. The bigger the glass, the more clay you have to use to prevent it from falling over. Take a piece of the plastic and wrap it around the two pieces of glass. This is for preventing the glass to get clay on it.

/// Dagens diy är en bildhållare. För att göra en sådan här behöver du två bitar glas, en bild som du gillar, plast (både för att skydda glaset och bordet) och självhärdande lera. Jag använde ungefär 1/4 förpackning till denna, (förpackningen var på 1kg). Men det beror helt på hur stora glas du använder. Ju större glas, ju mer lera behövs så att inte hållaren tippar över. Ta glasen och linda in botten i lite plast, så att inte de får lera på sig.

diy

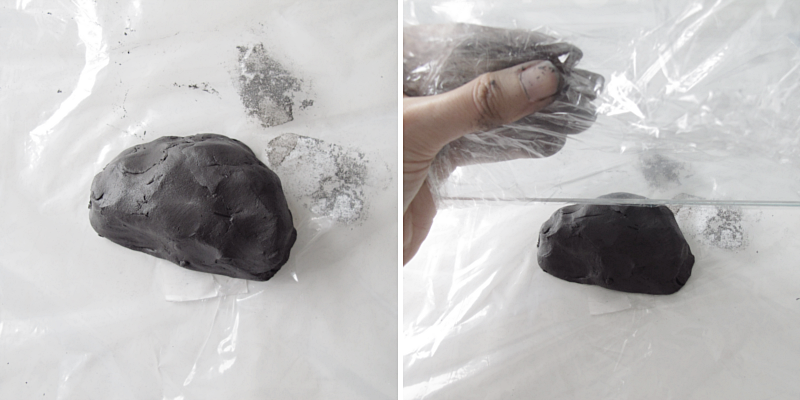
Make a “blob” out of the clay, and gently press the pieces of glass into the “blob”. With a little angle and not all the way through.

/// Forma en “klump” av leran, och tryck försiktigt ner glasen i “klumpen”. Med lite vinkel och inte hela vägen igenom.

diy

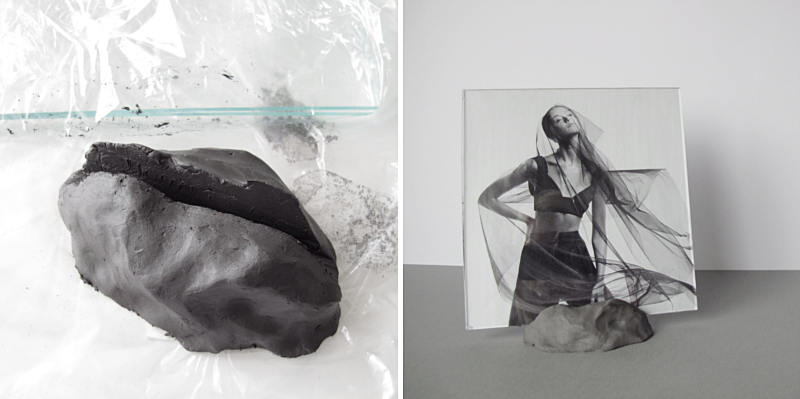
Like this. Make the notch wider than you actually want it, by moving the glass up and down a bit. Why, you might wonder. It’s because clay shrinks when it dries, so if you just make it the right size, the notch will be to narrow when it’s dry.

You can leave the clay as it is for a rougher look or you can smooth it out with your finger. Let it dry and you are done!

/// Så här. Nu ska du göra skåran lite bredare än du egentligen vill ha den. Varför? Jo, för lera krymper när den torkar och gör du den då i rätt storlek så kommer skåran att vara för smal när den är torr. 

Nu kan du lämna hållaren som den är eller så jämnar du till ytan med ett finger, för att få den slät. Låt den torka och du är klar!

diy

WHAT ABOUT THE LEFTOVER SHELF?

tavla

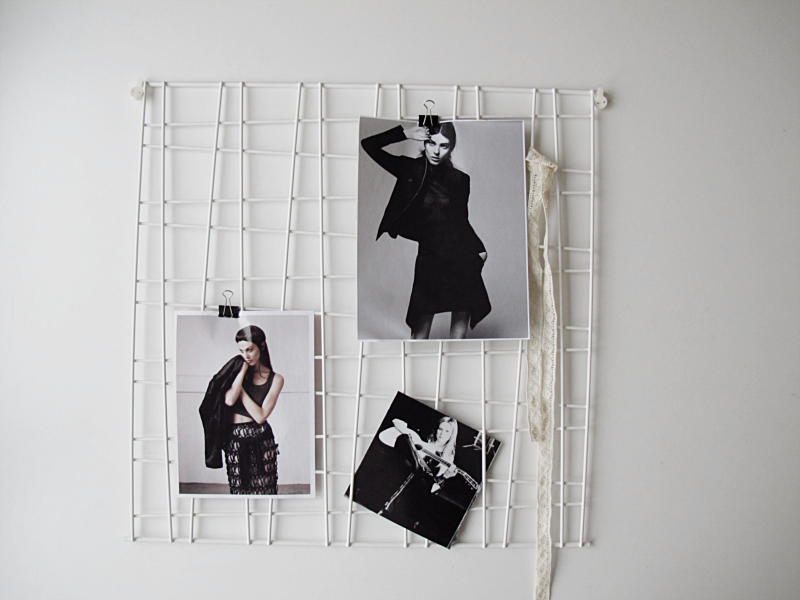
I promised to show you what I did with the leftover shelf from the Ikea table, and here it is. A bulletin board!

/// Jag lovade ju att visa vad jag gjorde av hyllan på ikea bordet. Och här är den. En anslagstavla!

TABLE MAKEOVER

bordet

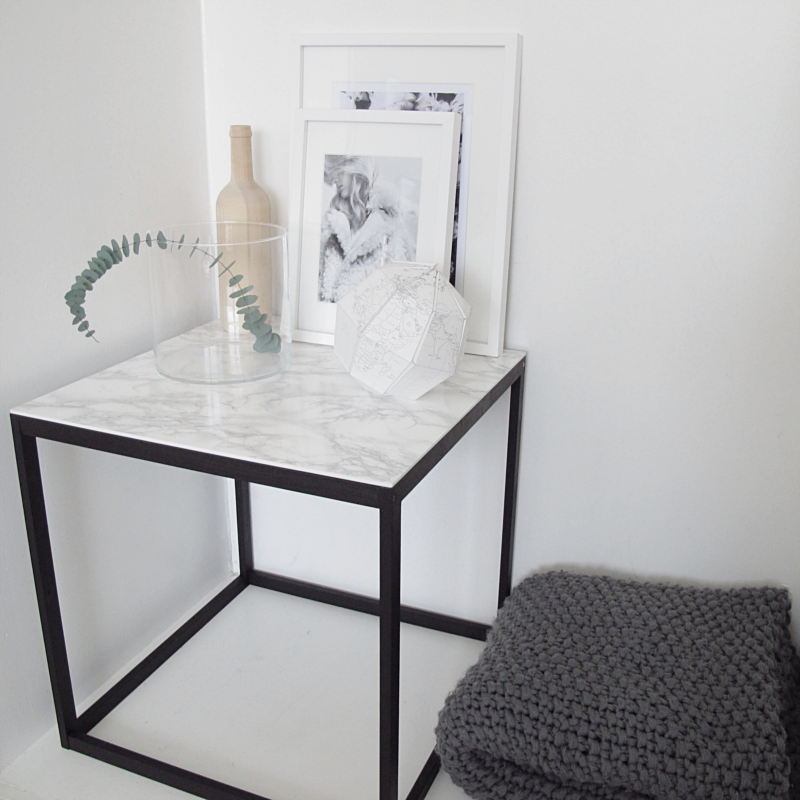
Do you remember the table inspo I showed the other day? Here you have the actual makeover. The table is an Ikea PS 2012 Side table and I used some black paint and adhesive marble plastic to make it look just the way I wanted it to.

/// Kommer ni ihåg bordsinspirationen som jag visade häromdagen? Här har ni den riktiga makeovern. Bordet är ett Ikea PS 2012 sidobord som jag har målat med svart färg och lagt en självhäftande plast på, för att få det att se ut precis som jag vill. 

bordet

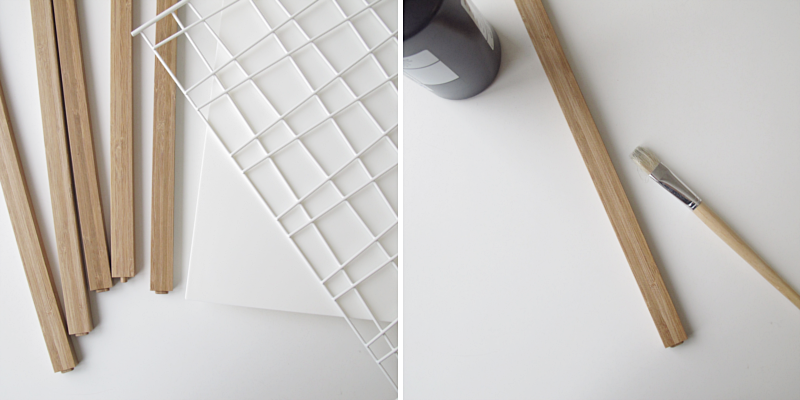
The middle shelf with the bars, I just put aside, because I didn’t want it. I will show you later what you can do with that. I painted all the wooden parts black with acrylic paint.

/// Hyllan med gallret har jag tagit bort, för den ville jag inte använda. Men vad man kan göra av den kommer jag att visa senare. Jag målade alla trädelarna svarta med akrylfärg.  Bara ett lager behövdes.

bordet

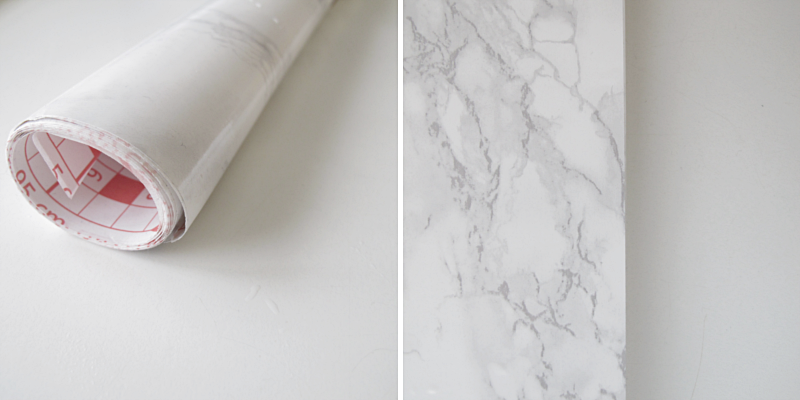
And then I used the plastic on the top part. And that’s about it. Hope you like it!

/// Och så satte jag fast plasten på toppskivan och sedan var det klart. Hoppas ni gillar!

DIY DECOUPAGE WITH A TWIST

diy

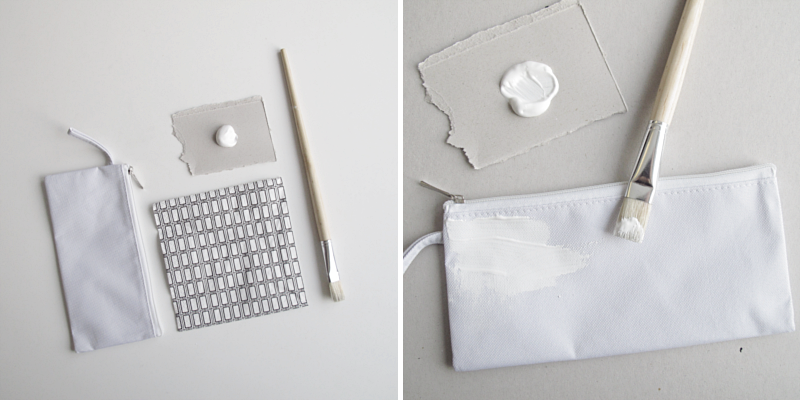
Today’s diy is a decoupage-diy. But in a slightly different way. With white fabric paint instead of a special decoupage lacquer. You need a toilet bag or pencil case (or whatever you might want to decorate) made out of white fabric, a napkin with a pattern that you like, a brush and of course the fabric paint. Start by painting one side of the pencil case with the white color. You may need to put a protective paper on the inside of your pencil case, depending on how thick the fabric is, so that the paint does not flow through.

/// Dagens diy är ett decoupage diy. Men på ett litet annorlunda sätt.  Nämligen med vit textilfärg istället för ett speciellt decoupage lack. Du behöver en necessär eller pennfodral (eller vad du nu kan tänkas vilja dekorera) i vitt tyg, en servett med ett mönster som du gillar, en pensel och så textilfärgen förståss. Börja med att måla ena sidan av pennfodralet med den vita färgen. Du kanske behöver lägga in ett skyddande papper på insidan av ditt pennfodral, beroende på hur tjockt tyget är, så att färgen inte rinner igenom.

diy

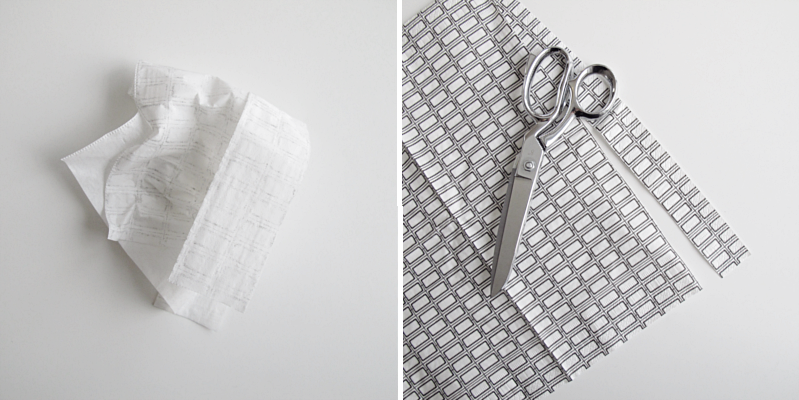
Take one of the napkins and fold it out. Then remove the back of the napkin so that you only get the thinnest piece with the patten left. I also chose to cut off the edges of the napkin. You know the part with the small “bumps”.

/// När det är klart tar du en av servetterna och viker ut den. Ta sedan bort den bakre delen av servetten så att du bara får den tunnaste framsidan kvar. Jag valde också att klippa bort den lite “knottriga” ytterkanten på min servett.

diy

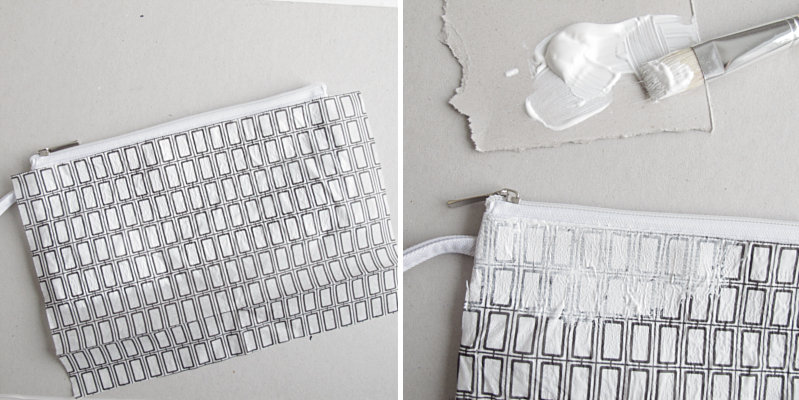
Gently place the napkin on top of the paint. Try to make it as wrinkle-free as you can. Then take the brush and gently paint another layer on top of the napkin. At the same time you can use the brush to straighten any wrinkles in the tissue.

/// Lägg så försiktigt servetten på den målade sidan. Försök att lägga den så slätt du bara kan. Ta sedan pensel och måla försiktigt ett lager till med färg ovanpå servetten. Nu kan du även släta till eventuella rynkor i servetten.

diy

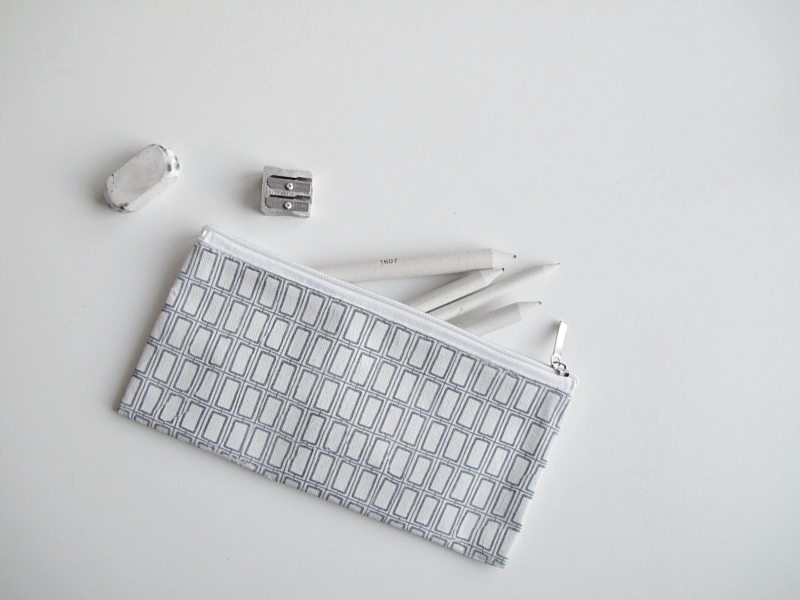
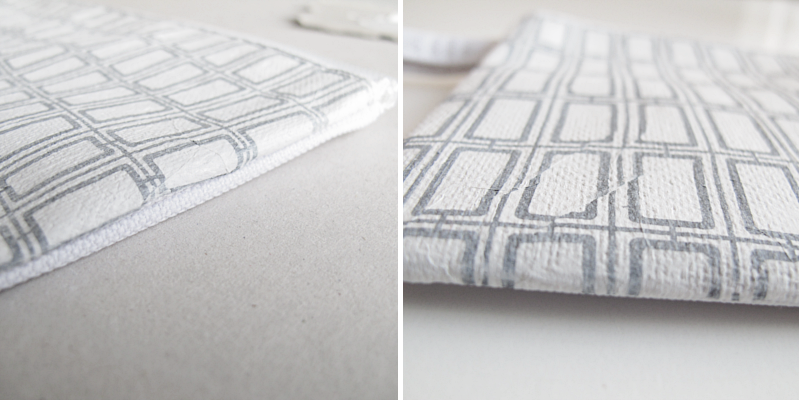
Be sure to really paint the napkin into all the corners and edges. Then let the pen case dry and do the same on the other side. Let it dry again, and you’re done! On the last picture you can see how the case looks when it dry. The wrinkles has become a pattern, but is  no longer “standing”.

/// Var noga med att verkligen måla in servetten i alla hörnen och i kanterna. Låt så pennfodralet torka och gör likadant på andra sidan. Låt den torka igen, och du är klar! På den sista bilden ser ni hur fodralet ser ut när det torkat. Rynkorna har blivit ett mönster men “står” inte längre upp.

diy

DIY – GARLAND

fiskar

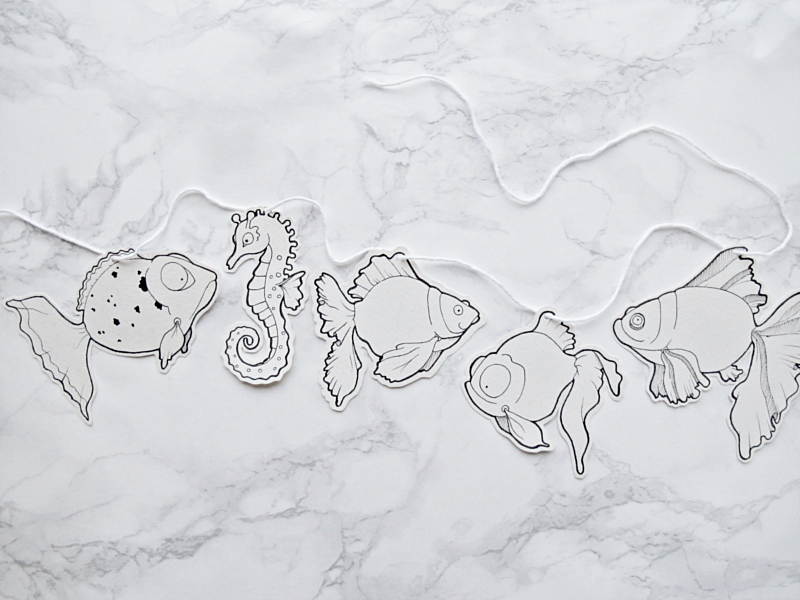
Yesterday I did kind of a sea theme garland. If you can draw, you can make this too. Make a few drawings, on a thick paper. I used watercolor paper. Cut a few mm from the outer lines of the drawings. Make a hole on the top, slide a thread through and you are pretty much done. If you want to hang your garland against anything but a wall, you can draw on the backside of the paper aswell, so it looks good from any direction.

/// Igår gjorde jag denna girlang med havstema. Och om du kan rita, så kan du också göra en sån här. Gör några små figurer på ett ganska tjockt papper. Jag använde akvarellpapper. När du ritat klart, klipper du några mm från den yttersta linjen på din figur. Gör ett hål, och trä en tråd igenom, och du är klar. Om du vill hänga din girlang någon annanstans än mot en vägg, så kan du göra en likadan figur på baksidan av ditt papper, så att girlangen blir fin från alla håll.