Menu Close

Category: DIY – LAMPS (page 1 of 2)

DIY – CLAY LAMP HOLDER

diy clay lamp holder

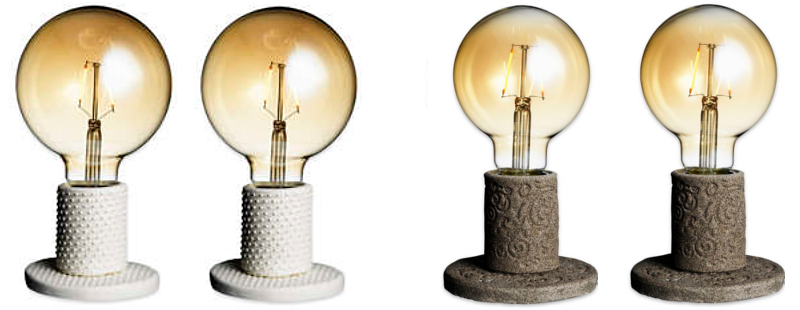
Oh how I wish I had come up with this idea… but I didn’t. Just genius with a lamp holder made out of clay. I must try it immediately! For instructions click here.( in swedish, but you know what to do..)

/// Åh vad jag önskar att jag kommit på det här DIY:et.. men det gjorde jag inte. Riktigt smart idé att göra en lamphållare i lera. Måste provas genast! För instruktioner klicka här.

fo: Panduro hobby

Spara

DIY – DOTS

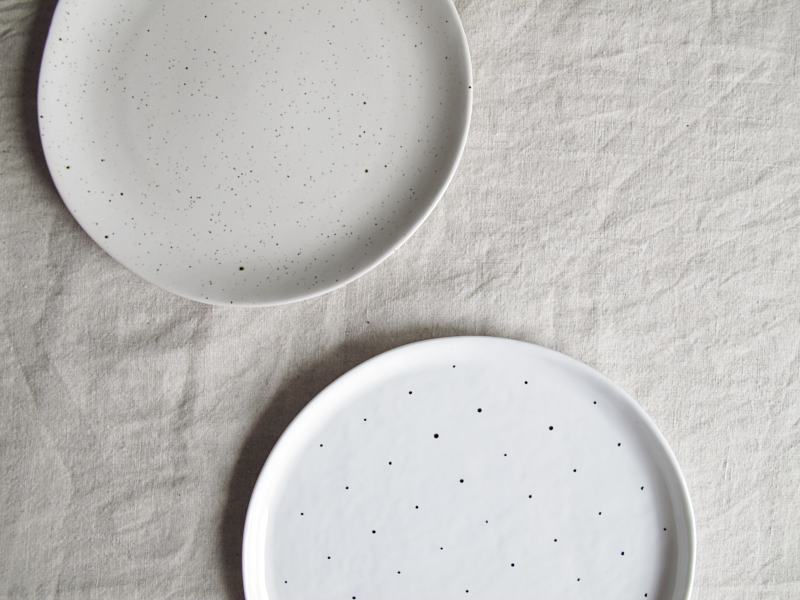
Hi you! New week, new DIY. I was inspired by the small plates I talked about in this post, (and that you can see in the picture below) and wanted to make something similar, except I wanted it to have a smaller number of dots and to be a little more structured..

/// Hallå på er! Ny vecka och ett nytt DIY. Jag blev så inspirerad av assietterna som jag nämnde för er i det här inlägget, (och som ni ser i bilden här nedanför) och ville göra nått liknande själv. Men med mindre antal prickar och lite mer strukturerat.
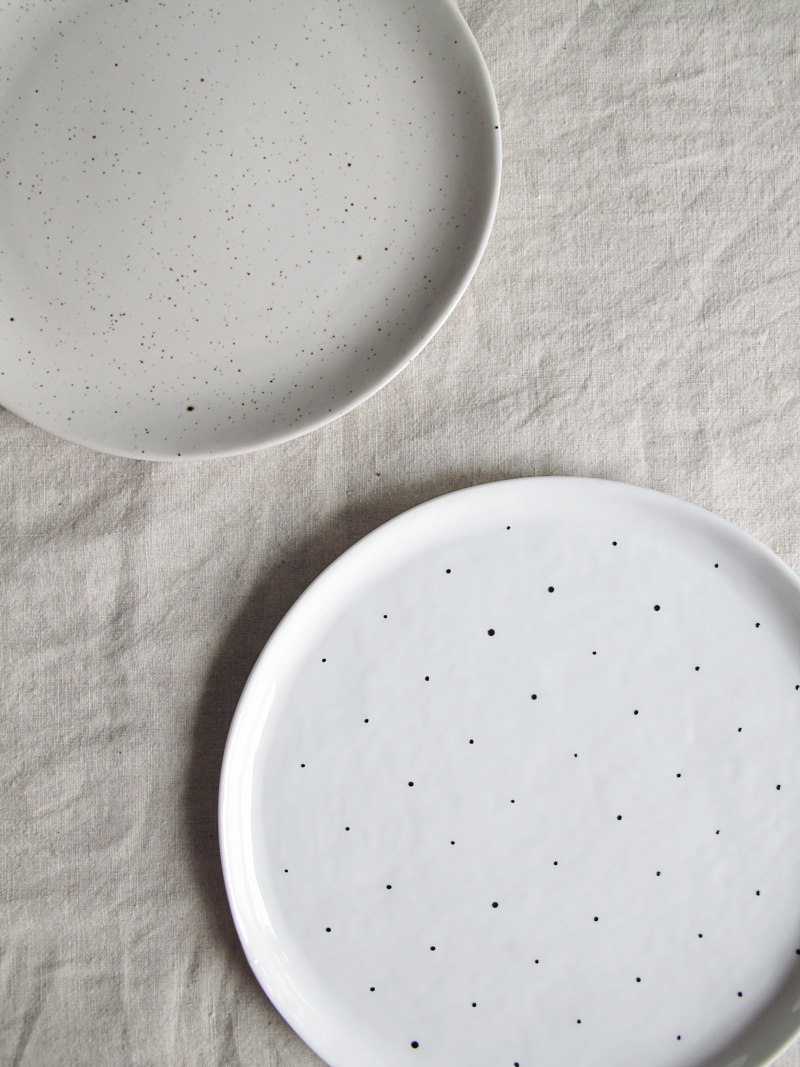
diy dotty plate | via design and form

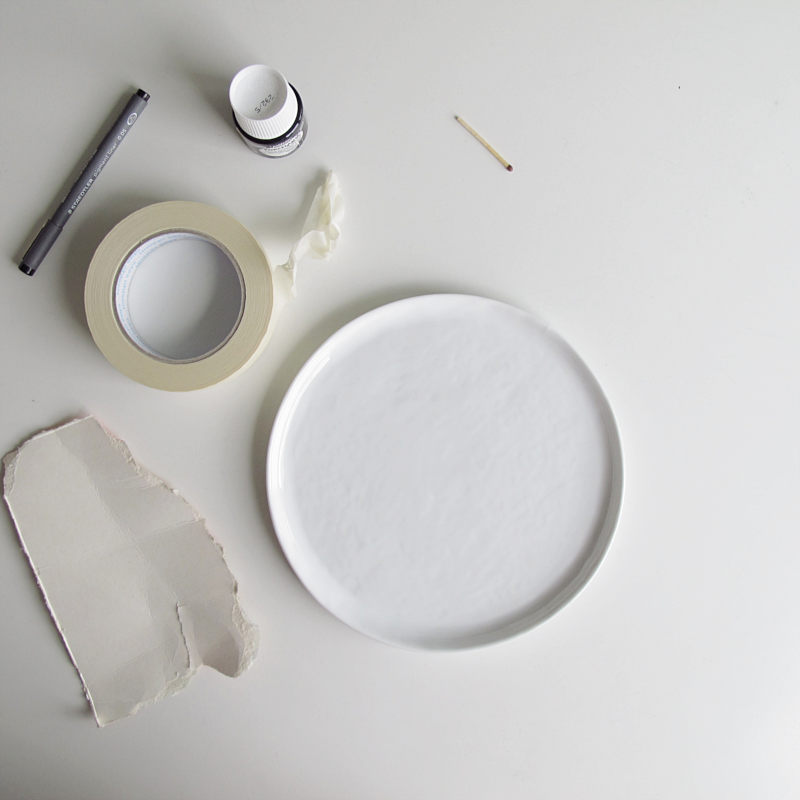
You need:

→ A plate
→ Porcelain paint
→ Masking tape
→ Permanent marker
→ A matchstick
→ A piece of cardboard

/// Till detta behöver du:

→ En tallrik
→ Porslinsfärg
→ Maskeringstejp
→ En (permanent) penna
→ En tändsticka
→ En bit kartong
diy dotty plate

And this is how you do it:

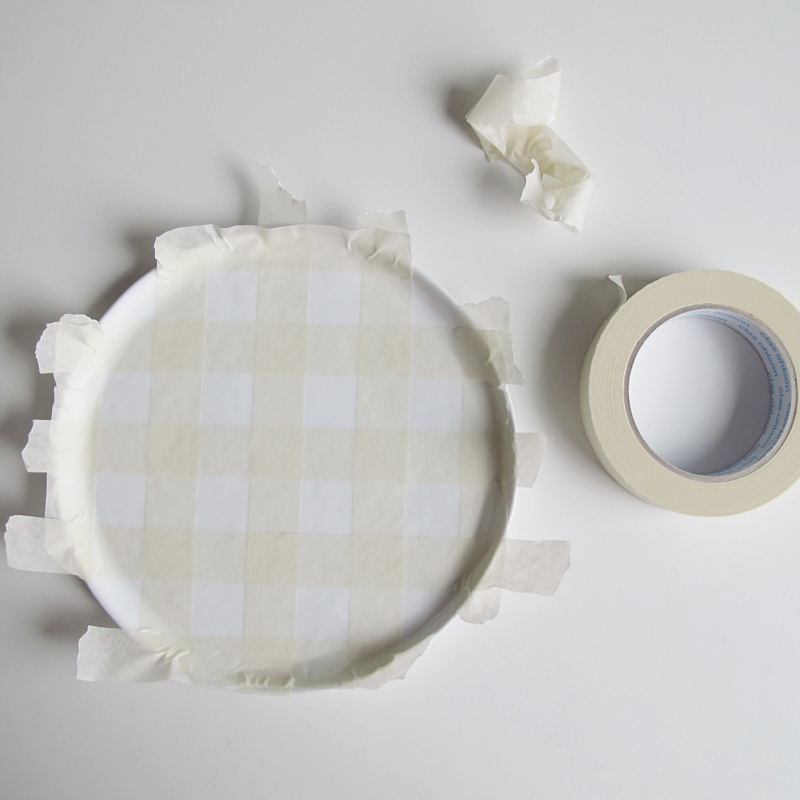
Make a check pattern on the plate using the masking tape. I choosed to make the space between the tape as wide as the tape itself (I used a piece of tape as a template that I removed and reused).

/// Tejpa maskeringstejpen i ett rutmönster på tallriken. Jag valde att göra mellanrummen lika breda som tejpen och använde därför en bit tejp som mall (som jag återanvände).
diy dotty plate

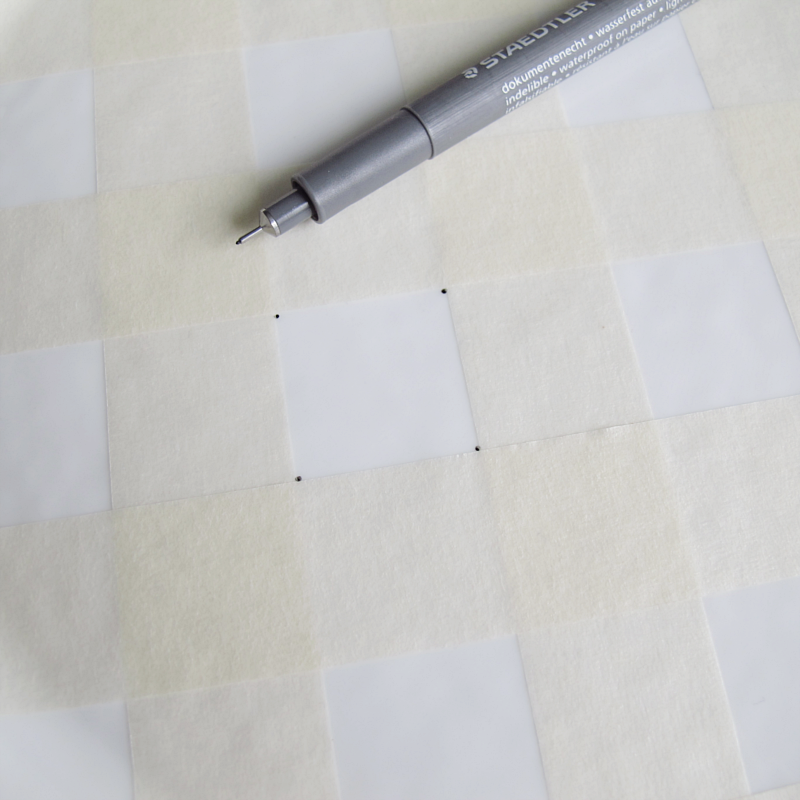
Make small marks with the permanent marker in every corner.

/// Rita små prickar i hörnen på fyrkanterna.
diy dotty plate

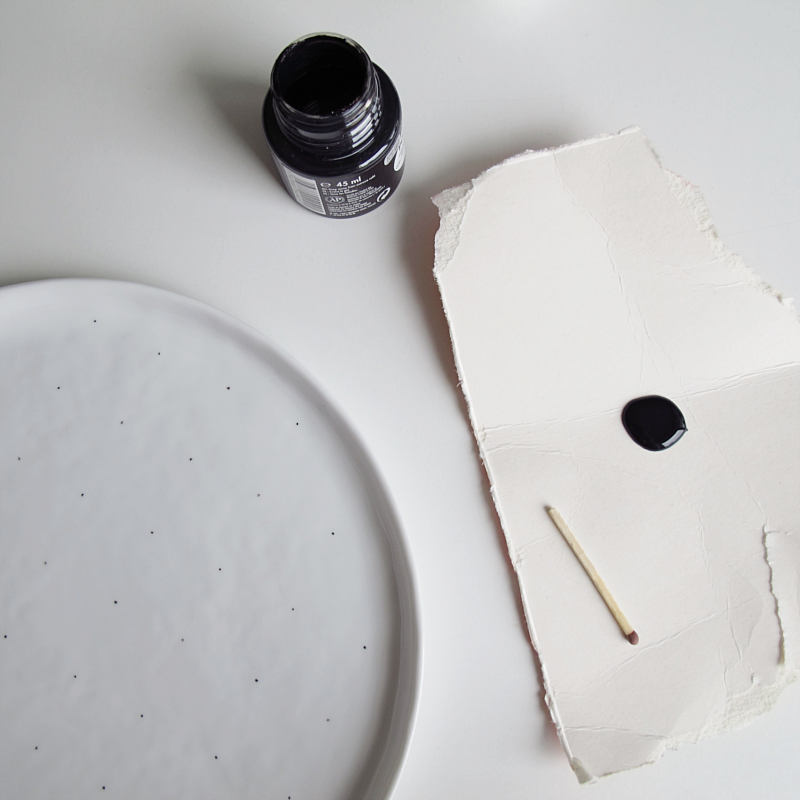
Remove the masking tape. Then pour a small amount of porcelain paint on the piece of cardboard that you then dip the matchstick into (I found it easier to see what I was doing this way).

/// Ta bort tejpen. Sedan häller du ut en liten klick med porslinsfärg på kartongbiten som du sedan doppar tändstickan i (jag tyckte det var enklare att se hur mycket jag doppade tändstickan då).
diy dotty plate

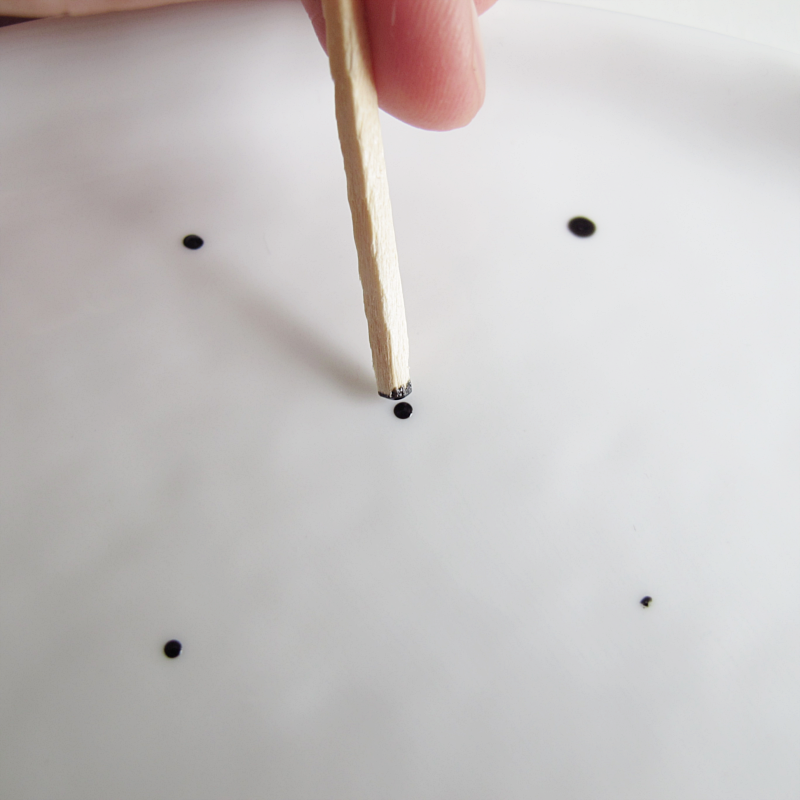
Carefully make a dot on the plate. I didn’t press the actual matchstick to the plate, just the drop of paint. You decide if you want all the dots to have the same size, or if you do like me and let them have different sizes.

/// Tryck försiktigt en liten prick på tallriken. Jag tryckte inte själva tändstickan mot tallriken utan “droppen” mot tallriken. Du väljer själv om du vill göra prickarna exakt lika stora eller om du gör som jag och varierar dem lite.
diy dotty plate

When you are finished with the dots, follow the instructions on the package of the porcelain paint to harden the color and you are done!

/// När du har gjort alla prickarna så följ instruktionen på porslinsfärgsförpackningen för att härda färgen och du är klar!
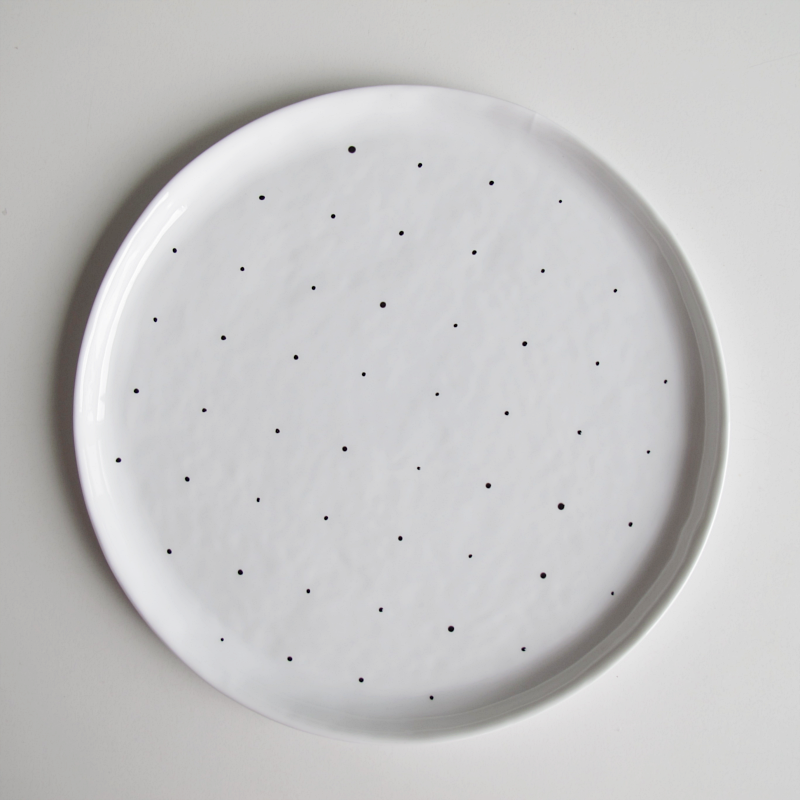
diy dotty plate | designoform.com

diy dotty plate | designoform.com


like

This spotted plate
This 2 minutes DIY
DIY – LAMP

diylampa

diylampa

But before I turn off my computer for the weekend I just wanted to show you this diy lamp. All you need is a lamp, (this one from Ikea you can find here) some wooden balls, a drill and some paint. Drill bigger holes in the wooden balls and then thread them on the lamp cord. Paint or spray them and you are done!

/// Men innan jag stänger av datorn helt för helgen så vill jag bara visa denna enkla gör det själv-lampa. Allt du behöver är en lampa, (denna är från ikea, och du hittar den här), träkulor, en borrmaskin och vit färg. Borra större hål i träkulorna och trä dem på lampsladden, måla hela lampan och du är klar.

fo: alvhem

MINIMALISTIC MARBLE LAMP

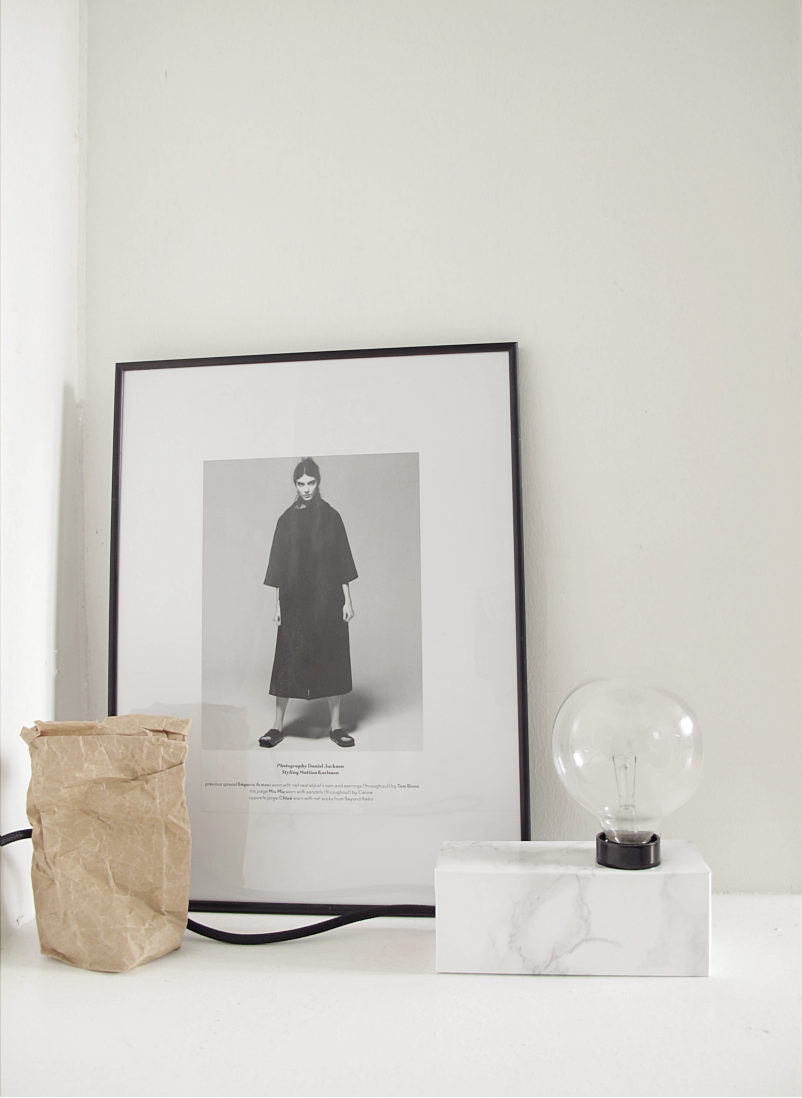
lampan lampanI did this marble looking lamp the other day, and I wasn´t sure if I was going to keep it. But after I posted a picture of it on instagram (designoform), and so many of you liked it, I thought I make a sort of tutorial on how I did it. It´s really simple.
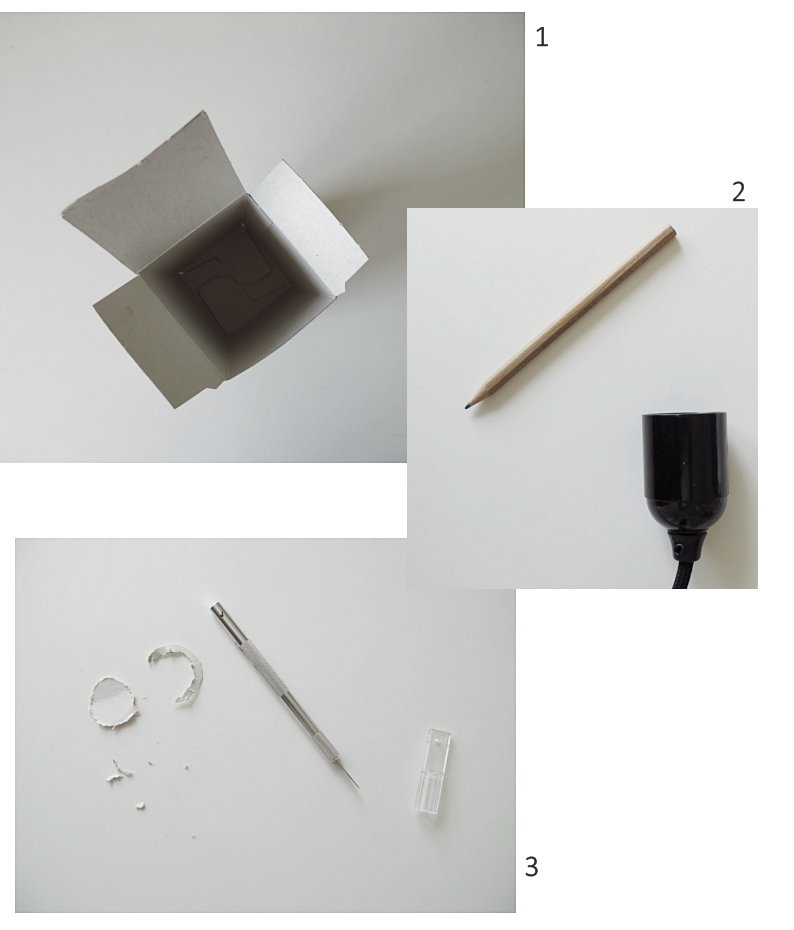
1. First you need an empty box. I used one I had in my pantry. Or if you can´t found one you like, you can make one out of hard carton.

2. Take the lamp cord and draw a line around the base where you want the lamp to be. As you can see, I did mine a bit to the right. When you have done that, make another circle a few millimeters smaller then the first. You also want to make a small circle on the backside of the box, as big as your lamp cord is.

3. Take a paper knife and cut out the smaller circle, and the circle on the back. Then just use some adhesive plastic and cover the whole box. Thread the lamp cord trough the box and you are pretty much done.

I also did another one, all in black and like a square, but that you get to see another day.

/// Jag gjorde denna marmorliknande lampa häromdagen, men var inte säker på om jag gillade den eller inte. Men så visade jag upp den på instagram (designoform) och då så många av er gillade den, så tänkte jag visa hur jag gjort. Det är jätteenkelt.

1. Börja med en tom låda. Jag använde en som jag hade i skafferiet. Om du inte har någon som du gillar formen på, så kan du alltid göra en egen låda av tjock kartong.

2. Ta så lampsockeln och rita en cirkel runt den, där du vill ha din lampa. Som ni ser på bilden så gjorde jag min lite till höger. När du gjort det gör du en till cirkel, inuti den andra. Men några millimeter mindre. Gör också en liten cirkel på baksidan lådan, där lampsladden ska “komma ut”.

3. Ta en papperskniv och skär ut den mindre cirkeln och cirkeln på lådans baksida. Sedan täcker du hela lådan med självhäftande plast, trär igenom lampsladden och du är klar. 

Jag har också gjort en helsvart lampa, som en fyrkant, men den får ni se en annan gång.

MARBLE LIGHT

lampa

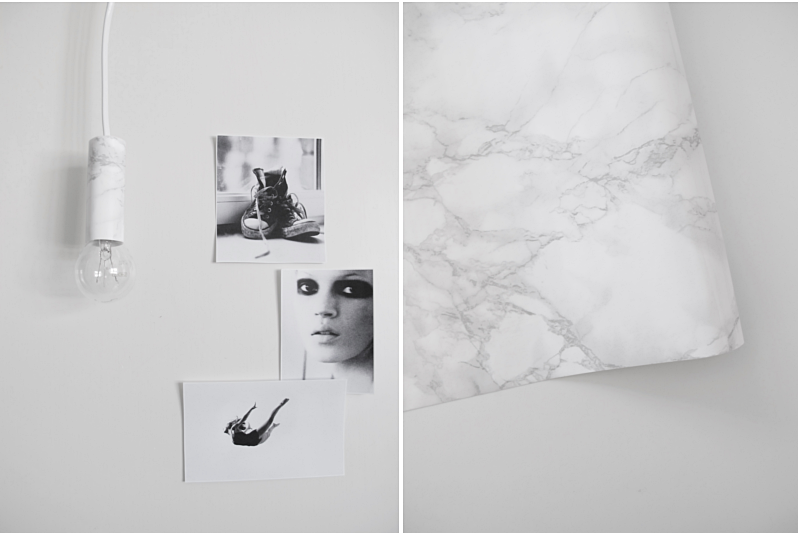
I wanted to show you another version of the golden lamp and the tiny white lamp I did a while ago. I found this marble looking contact vinyl over at panduro hobby and did it pretty much the same way as the others.

/// Jag tänkte visa er en annan variant på guldlampan och den lilla vita lampan som jag gjort i tidigare inlägg. Jag hittade en marmorliknande kontaktplast på panduro hobby, och gjorde denna lampa på precis samma sätt som de andra.