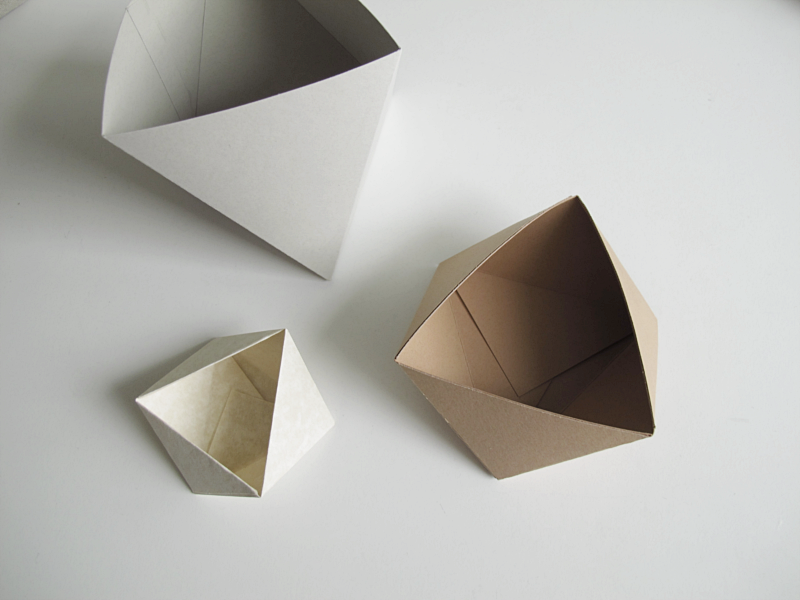
As I promised last week here you have the tutorial for the paper bowl made with carton instead. It’ s not that much different from the paper bowl tutorial, the biggest difference is that here you don’t fold the paper in half. If you want to make this bowl I suggest that you first take a peak at the first tutorial I did.
For this you need:
→ 2 squared shaped pieces of carton. Mine where 13 x 13cm.
→ A piece of regular copying paper
→ A crochet hook and a ruler (Or foldingbones. Use whatever you use to make a nice folding)
→ A pair of scissors
→ Glue
/// Som lovat förra veckan kommer här en beskrivning på hur du gör skålen i hobbykartong istället. Det är inte så stor skillnad mot den andra beskrivningen, den största är att man inte viker fyrkanten på mitten. Om du vill göra denna skål så är mitt förslag att du först tittar på hur skålen görs i vanligt papper.
Till detta behöver du:
→ 2 fyrkantiga bitar med kartong. Jag använde bitar som är 13x 13cm
→ En bit vanligt kopieringspapper
→ En virknål och linjal (Eller vikben. Använd vad du brukar använda för att göra fina viklinjer)
→ Sax
→ Lim
And this is how you do it:
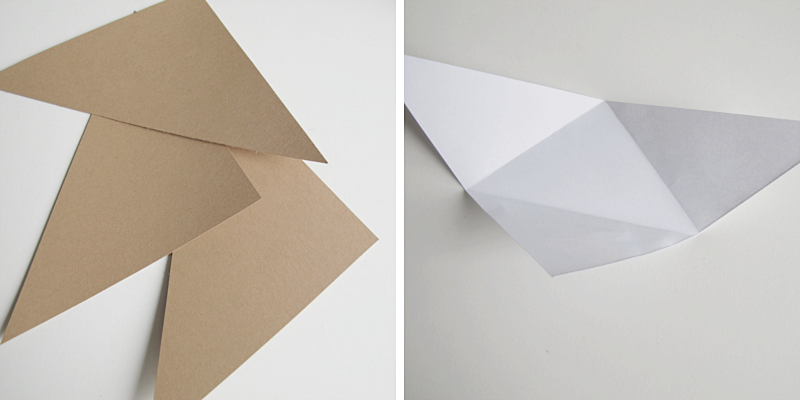
Start by cutting the pieces of carton in half so that you get 4 triangles. But we are only using three of them for this. Then cut the copying paper in the same size as the triangles, and fold it like I did here (Step 2-5).
/// Börja med att klippa kartongbitarna på mitten så att du får fyra trekanter. Men vi ska bara använda tre till detta DIY. Klipp sedan kopieringspapperet i samma storlek som trianglarna, och vik det som jag gjorde här (Steg 2-5).

Place the copying paper on top of the carton and draw with the crochet hook along the folded lines (use the ruler as a help). This leaves marks so that you know where to fold later on. Repeat on all pieces of carton.
/// Placera biten med kopieringspapper på en av kartongbitarna och dra med virknålen längst efter de vikta linjerna (använd linjalen som hjälp). Detta lämnar märken på kartongen så att du vet var du ska vika den senare. Gör likadant på alla tre kartongbitarna.

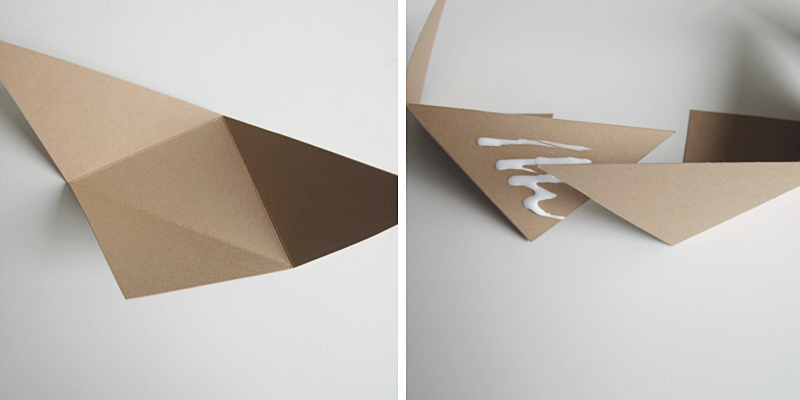
Fold the carton along the lines. Then (instead of attaching the pieces together by sliding one corner into the other, as I did with the thinner paper) you glue the pieces together.
/// Vik kartongen längs med linjerna. Sedan (istället för att trä en spets in i en annan, som jag gjorde med den av tunnare papper) limmar du ihop delarna.

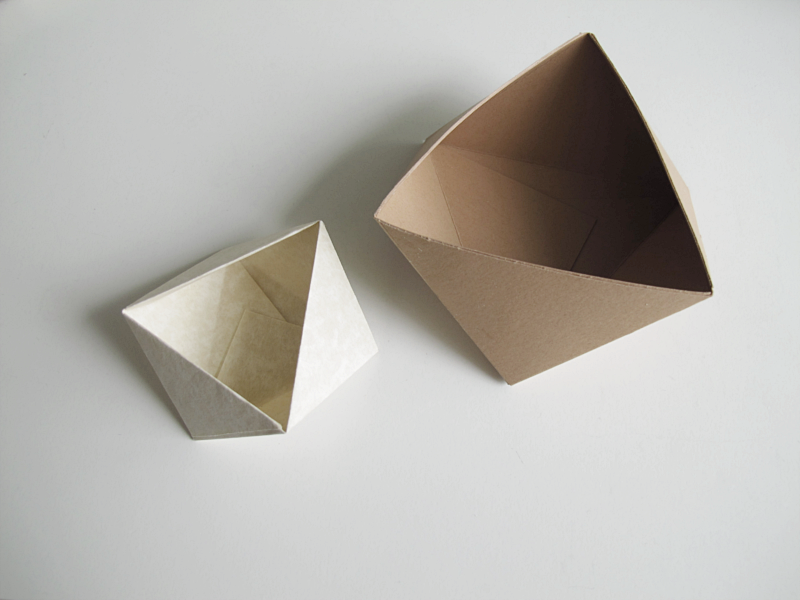
Then glue the bottom pieces together and you are done!
/// Limma sedan ihop bottenflikarna och du är klar!


This storage box
This gift box
These mini plastic bags
