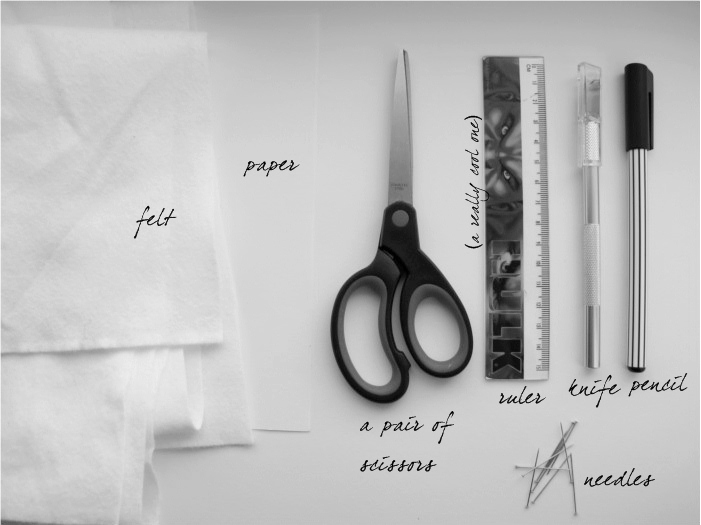
You need: ↓ /// Du behöver: En bit filt, papper, sax, linjal, papperskniv, penna och några nålar. ↓
1. Make a square on the paper with these dimensions. Notice that I´ve used centimeters. ↓ /// Gör en ruta på papperet med dessa mått. ↓
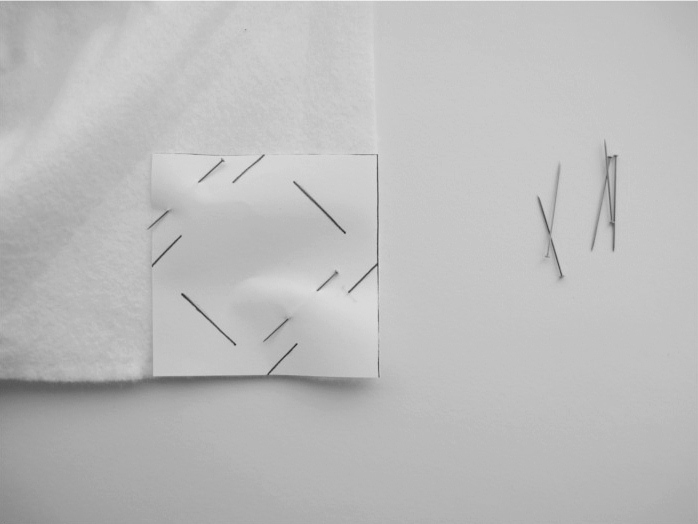
2. Cut along the outerlines of the square and pin it to the felt. ↓ /// Klipp ut den lilla rutan och nåla fast den på filttyget. ↓
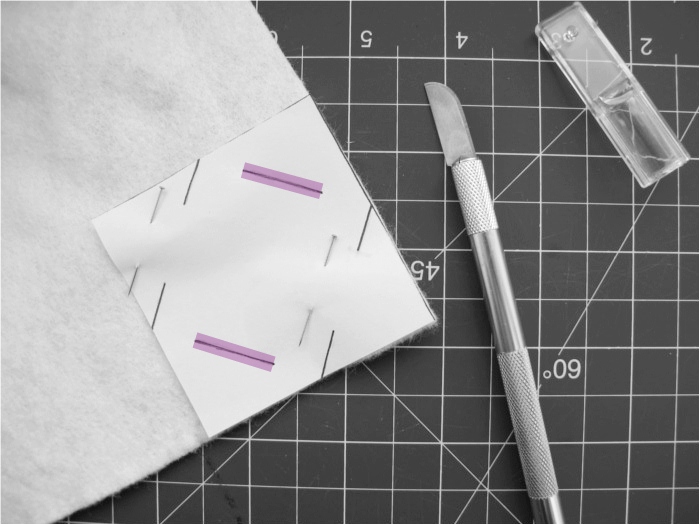
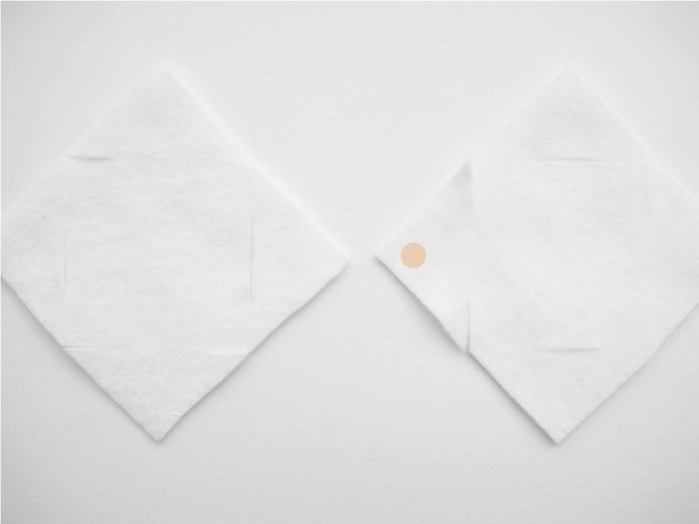
3. Use the paper knife and cut along the purple lines. Make sure you cut both through the paper and the felt. ↓ ///Använd papperskniven och skär längst de lila linjerna. Var säker på att du skär både genom papperet och filten. ↓
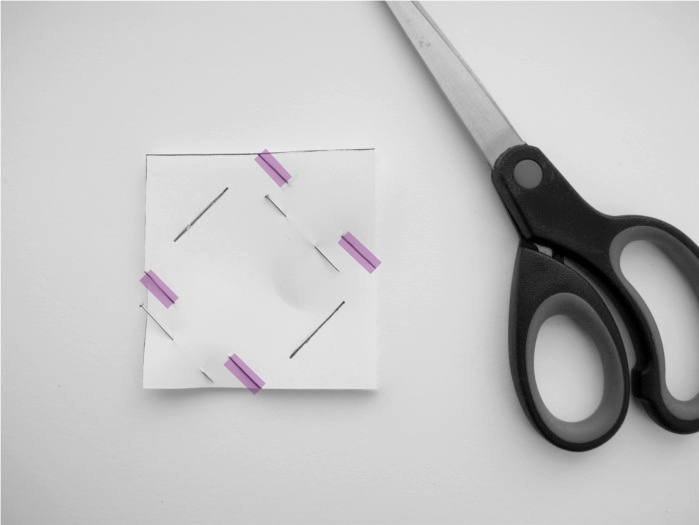
4. Use the par of scissors and once again cut the square out. Cut along the purle lines too. ↓ /// Klipp återigen ut rutan. Klipp även efter de lila linjerna. ↓
Repet step 2-4 depending on how many squares you want. I used 15 for this. /// Upprepa steg 2-4 beroende på hur många rutor du vill ha. Jag använde 15 stycken för denna.
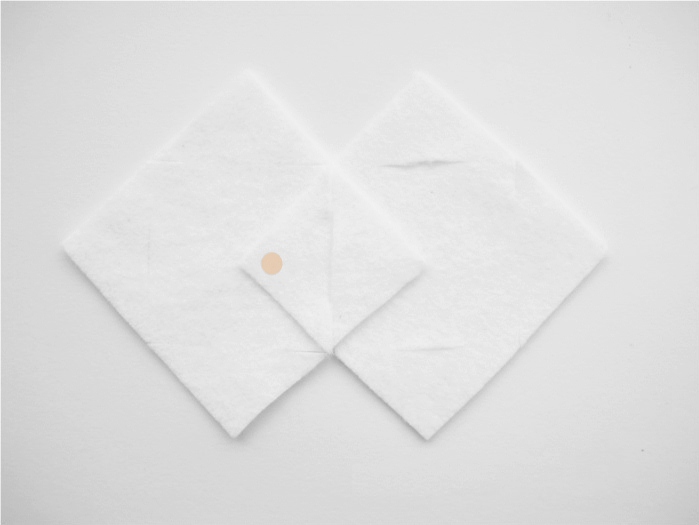
5. Now you´re going to attach the squares to each other. The corner of the right square (with the little apricot dot) is going throught the opening on the corner of the left square. ↓ /// Nu ska vi fästa rutorna med varandra. Hörnet på den högra rutan (den med den aprikosa pricken) ska in i öppningen på den vänstra rutans hörn. ↓
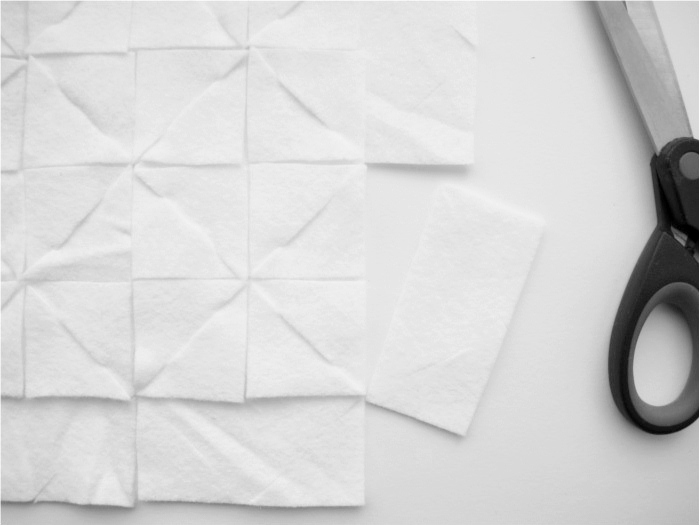
6. Attach the rest of the squares just like you did in step 5. ↓ /// Fäst resterande rutor med varandra. Precis som i steg 5. ↓
7. Cut off the excess felt along the sides. ↓ /// Klipp bort det överblivna tyget på sidorna. ↓
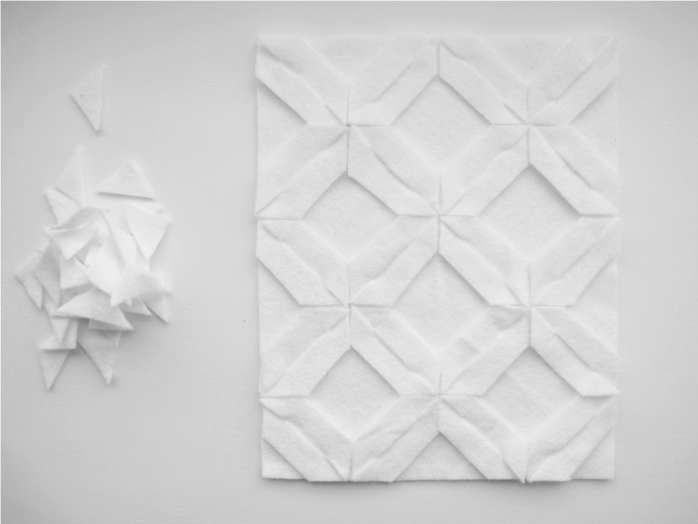
8. Then cut off the tip of every triangle. ↓ /// Klipp sedan av toppen på varje triangel. ↓
9. Tada! ↓
Good luck! /// Lycka till!





Annie says:
Men vad du är duktig och påhittig, allt är ju superfint! ha en fortsatt fin söndag!
//Annie
March 18, 2012 — 16:30
designoform says:
Men tack snälla du! :) Fin söndag på dig också
March 18, 2012 — 20:51