Menu Close

Month: November 2012 (page 2 of 2)

diy wall clock

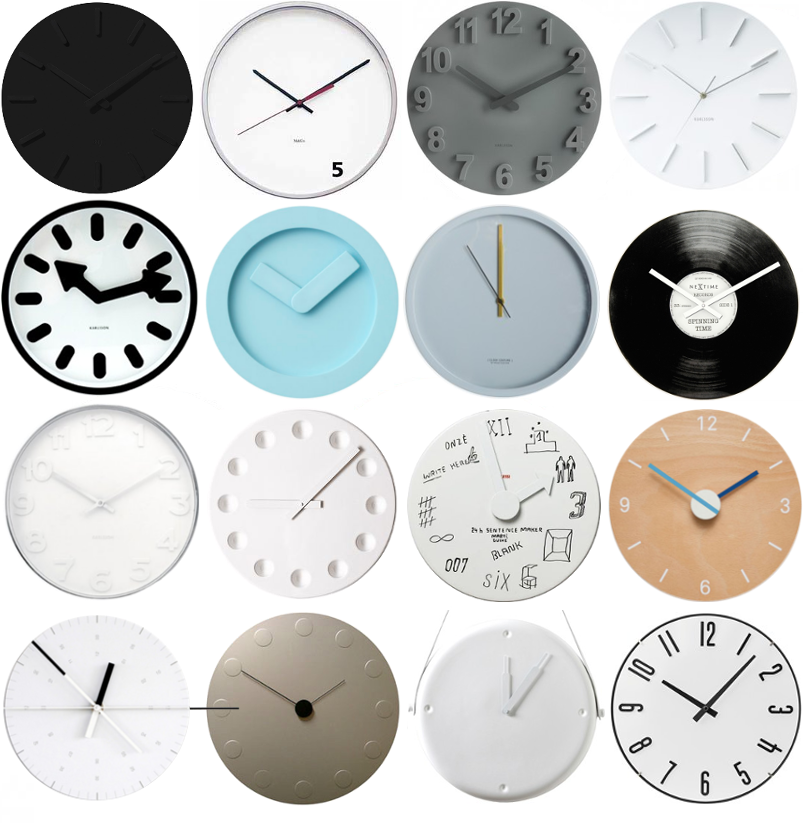
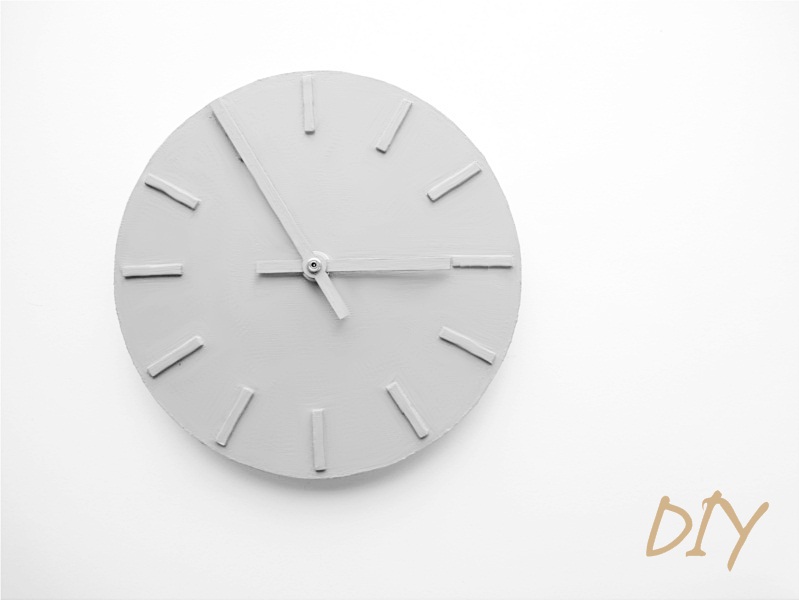
Today I have another really simple diy for you. First you cut a circle in an old shoebox, and divide it into 12 pieces. Instead of using numbers, I used all the I:s from my foam letters pad. Then you attach the hands and the clockwork, as the instructions says, and paint the whole thing gray. (if you want it to look the same as the one I did). All for the cost of 11 euros, or 15 dollars.

/// Här kommer ännu ett superenkelt diy tips till er. Börja med att klippa ut en cirkel ur en gammal skokartong, och dela in den tolv delar. Istället för siffror använde jag alla I:n från mitt block av foam letters. Sedan sätter du fast visarna och urverket som instruktionerna visar på förpackningen. Och slutligen måla hela klockan grå (om du vill ha en lika dan som jag gjorde). Allt för en kostnad av ung 100kr.

i spy a great diy

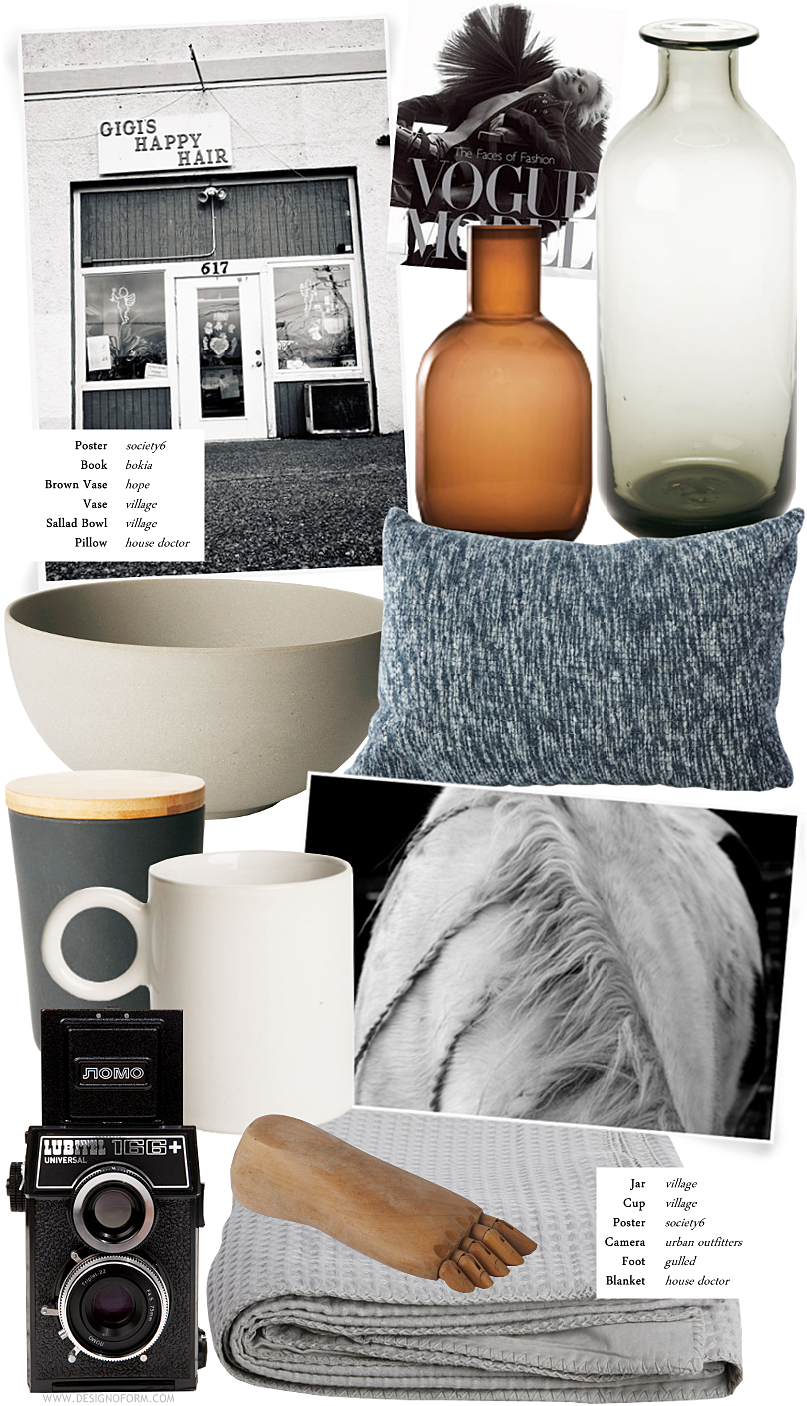
Inspiration for a diy, that is coming up later.

/// Inspiration till ett diy, som kommer upp senare idag.

it´s getting cold outside


one good looking t-shirt

I just had to share this with you. Emma at Emmas designblog has designed a t-shirt in collaboration with Kellogg´s special K to raise money for breast cancer research. You can read more about her thoughts behind the design on her blog. And if you want to buy it you can do so here. Or at NK in Stockholm. Yay Emma!

/// Jag är ju bara tvingen att dela detta med er. Emma med bloggen Emmas designblogg har tillsammans med Kellogg´s special K designat en t-shirt för Cancerfonden. Om du vill köpa tröjan och därigenom stödja forskning för bröstcancer kan du göra det här, eller på NK i Stockholm. Heja Emma!

diy leather bag

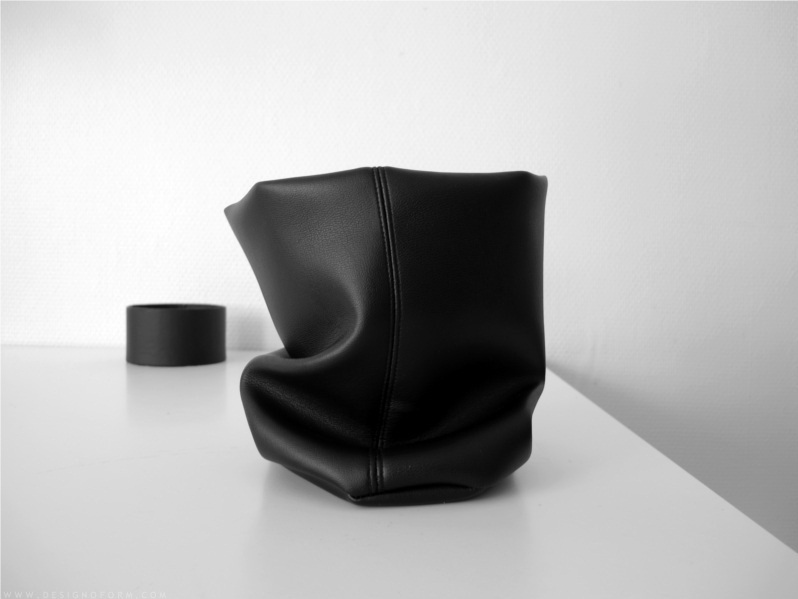
I wanted to show you how I made my (fake) leather bag. I have it on my desk, and I use it to store all the small things like paperclips, rubberbands and tape rolls that otherwise ends up everywhere.

/// Jag ville visa er hur jag gjort min lilla påse där jag förvarar alla småsaker som gem, tejprullar och gummiband som annars lätt hamnar lite varstans.

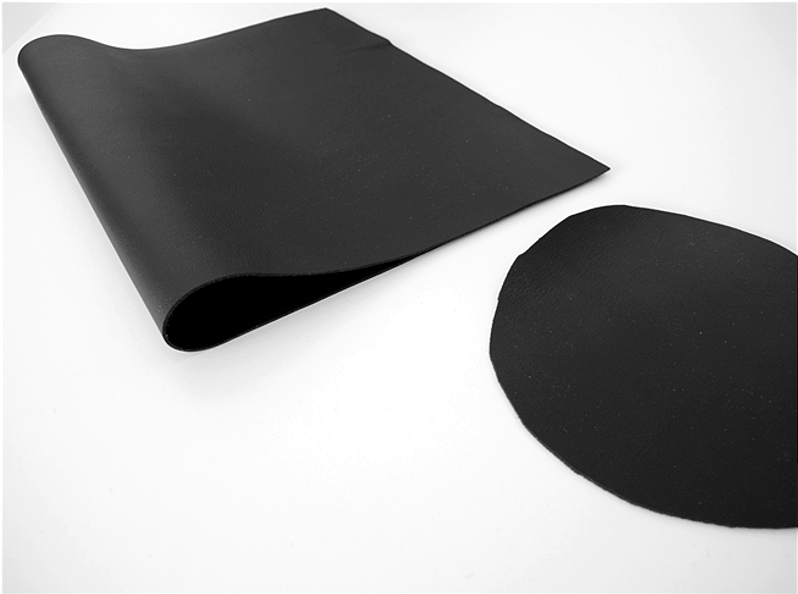
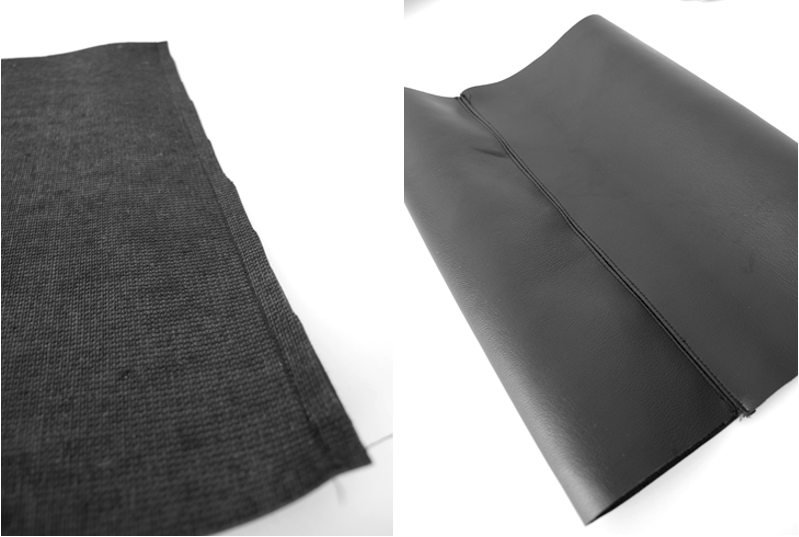
First you cut a circle and a rectangle. The measurements I used for the circle was about 13cm (diameter) and for the rectangle about 41cmx24cm. ↓

/// Först klipper du ut en cirkel, (ung 13cm i diameter) och en rektangel (ca 41cmx24cm).

Then you attach the two shorter sides of the rectangle together. I also sewed two extra seams on each side of the first seam, just to make it look nicer. ↓

/// Sy ihop kortsidorna på rektangeln, och om du vill kan du även sy två sömmar på vardera sidan om den första sömmen. Bara för att göra en extra liten detalj.

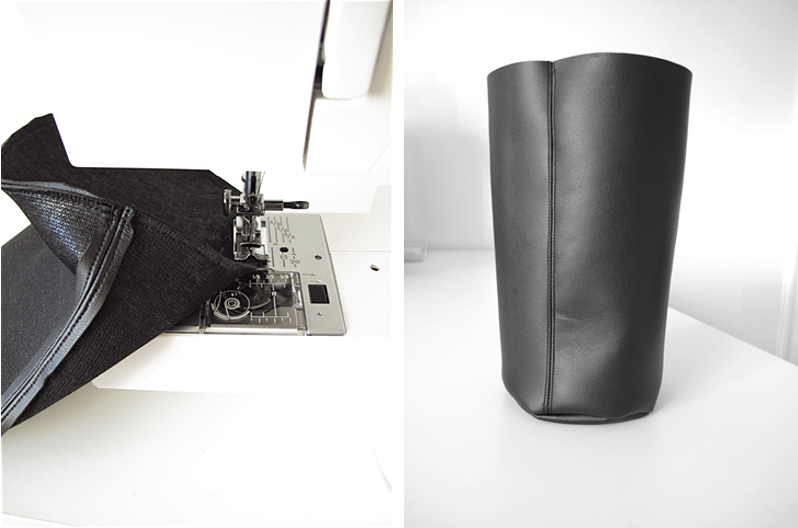
Now it´s time to sew the circle to the tube. Make sure you have the tube inside out and the backside of the circle facing up. When you have finished sewing, turn the hole thing inside out. ↓

/// Nu är det dags för att sy fast botten. Vänt tuben ut och in, så att avigsidan kommer fram, och vänd också cirkelns avigsida uppåt. När du har sytt färdigt, vänd hela påsen ut och in.

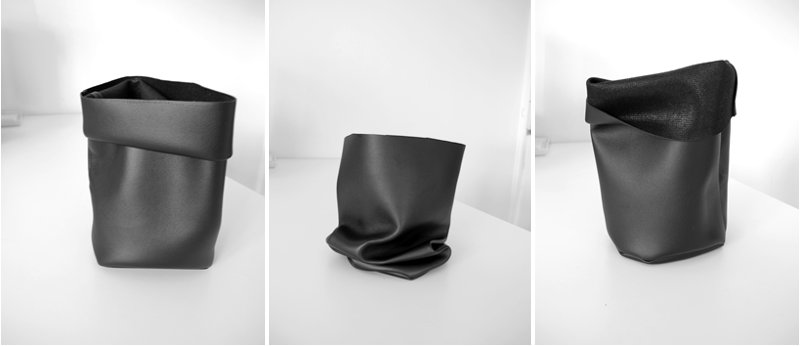
And you´re done! Now you can fold the top which way you prefer, or you can even cut a part of it off, if you rather like that. Good luck!

/// Och du är klar! Lycka till!