I showed a picture of my tiny origami balls on instagram, and I´m so happy you like them! Here is the tutorial on how you can make them yourself. First I would like to say that this is not a super easy diy (nor for me to explain). You have to have a little patience while folding and be accurate with the folding. But practice makes perfect, right? /// Jag visade en av mina origami bollar på instagram, och oj vad ni verkar gilla dem. Kul! Här kommer en tutorial på hur ni också kan göra dessa bollar. Innan ni börjar skulle jag bara vilja säga att detta är inte ett superenkelt diy (inte heller för mig att förklara). Man måste ha lite tålamod när man viker, och vara noggrann. Men det fixar ju ni!
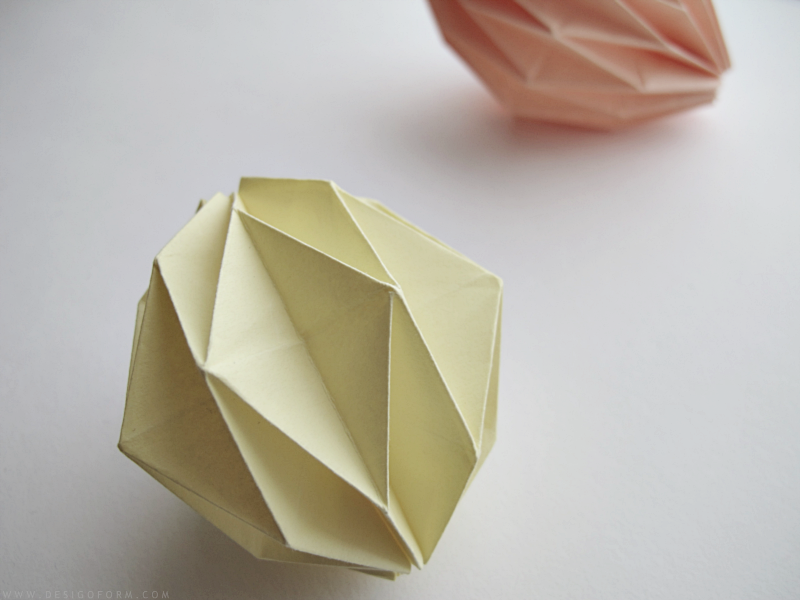
Take a piece of paper. When I do these balls I use regular copy paper. For the yellow ball I used a paper 8cmx28,5cm and for the oval ball in the back, I used a paper 10,5×28,5cm. ↓ /// Ta en bit papper. Vanligt koperingspapper fungerar alldeles utmärkt. För den gula bollen använde jag ett papper med måtten 8cmx28,5 och för den ovala i bakgrunden använde jag ett med måtten 10,5x28cm. ↓
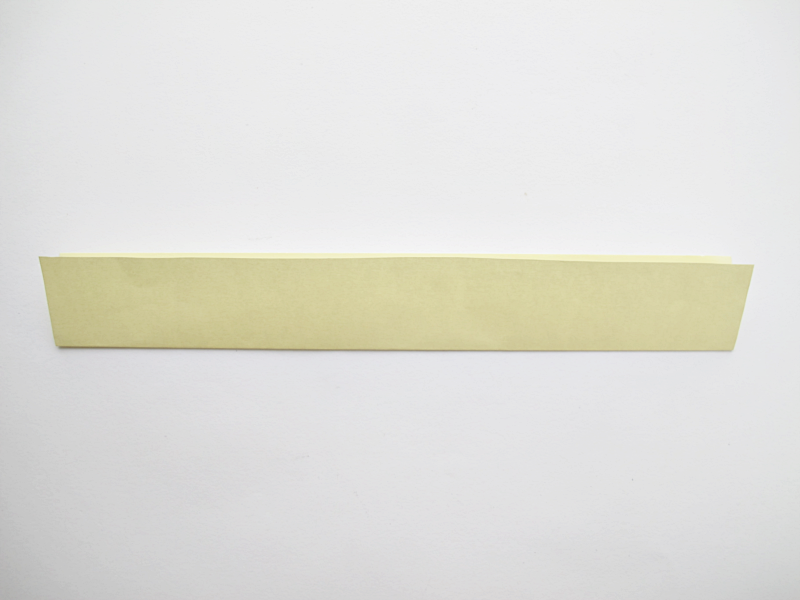
Fold the paper in half. ↓ /// Vik papperet på mitten. ↓
Unfold ↓ /// Vik upp den igen. ↓

Fold the two sides to the center fold. ↓ /// Vik in de båda sidorna mot mitten. ↓
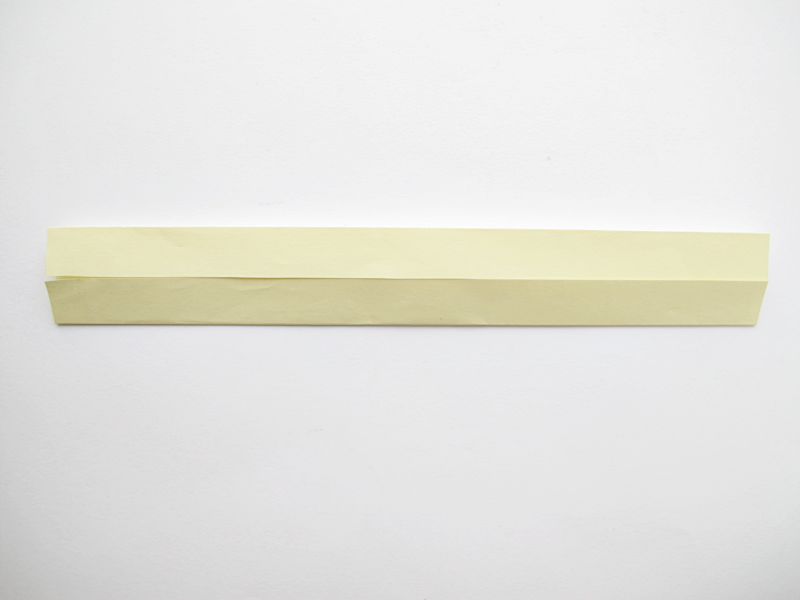
Unfold and place the paper as the picture shows. ↓ /// Vik upp och placera papperet samma väg som bilden visar. ↓
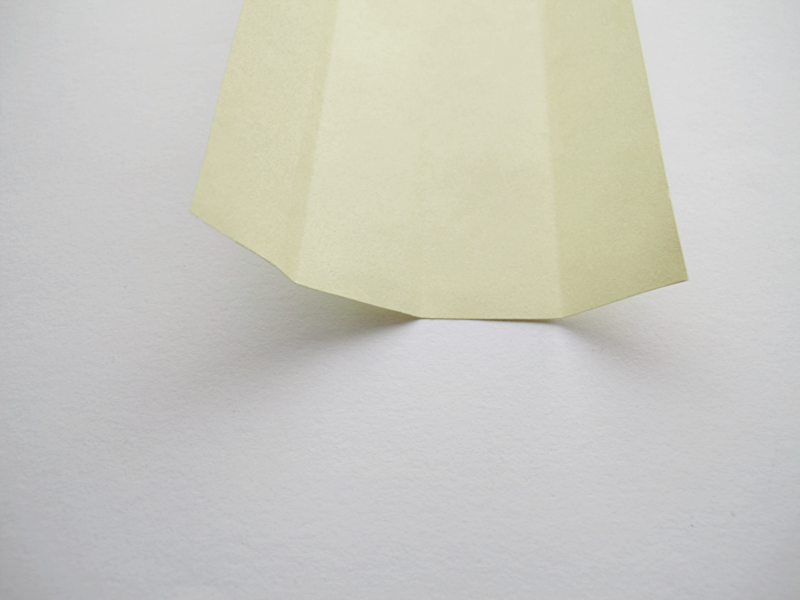
Fold the end of the paper upward. Here you can decide how “full” you want your ball to be. If you chose a smaller distance between the folds you get a fuller ball, but it is a bit harder to fold it in the next step. If you make the folds with a bigger distance you get a more airy ball and it is easier to fold it in the next step. I folded them 1,5cm wide. ↓ /// Vik papperet uppåt. Nu har du också möjlighet att välja hur “full” du vill att din boll ska vara. Om du har mindre utrymme mellan vikningarna, får du en fullare boll, men det blir svårare att vika den i nästa steg. Om du istället väljer större utrymme mellan vikningarna så får du en “luftigare” boll, men lättare att vika den i nästa steg. Jag vek med ett avstånd på 1,5cm. ↓
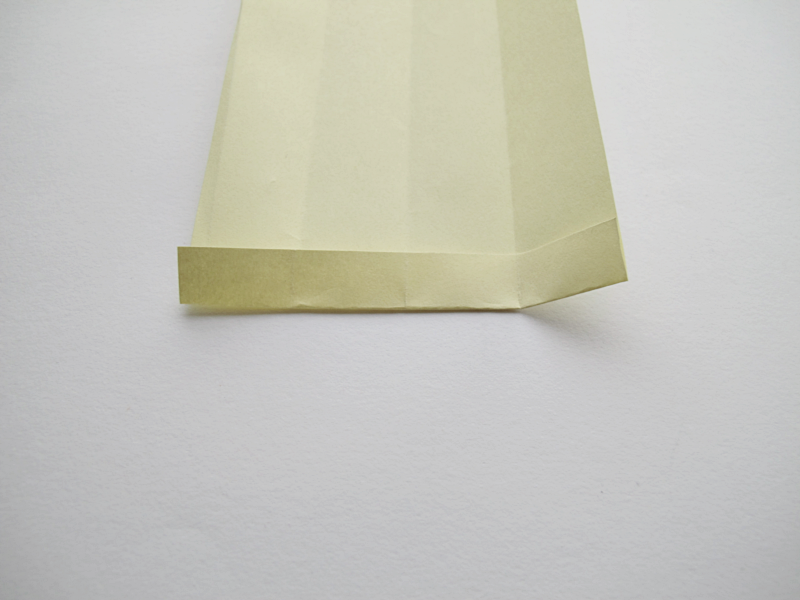
Turn the paper upside down and fold again. ↓ /// Vänd papperet upp och ned och vik igen. ↓
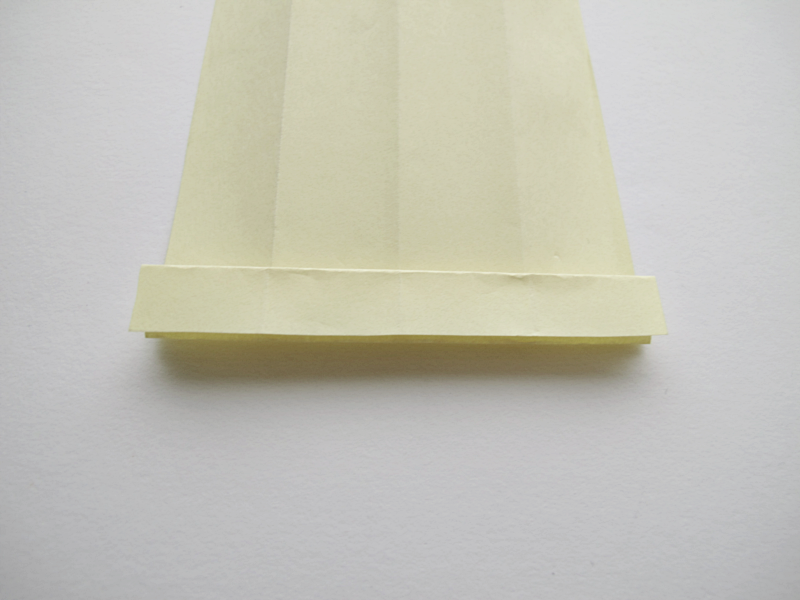
Like this. ↓ /// Så här. ↓
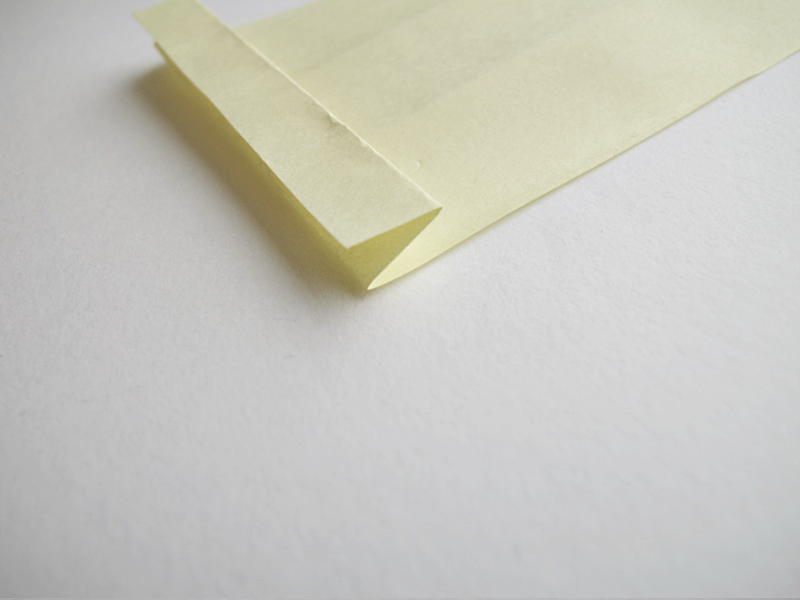
Continue to fold until your paper looks like this. ↓ /// Fortsätt att vika tills papperet ser ut så här. ↓
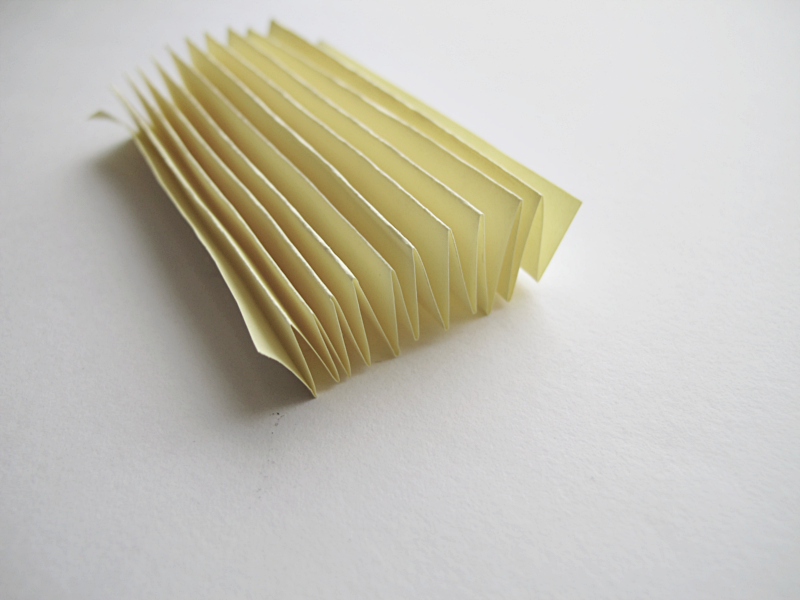
Unfold ↓ /// Vik upp papperet. ↓
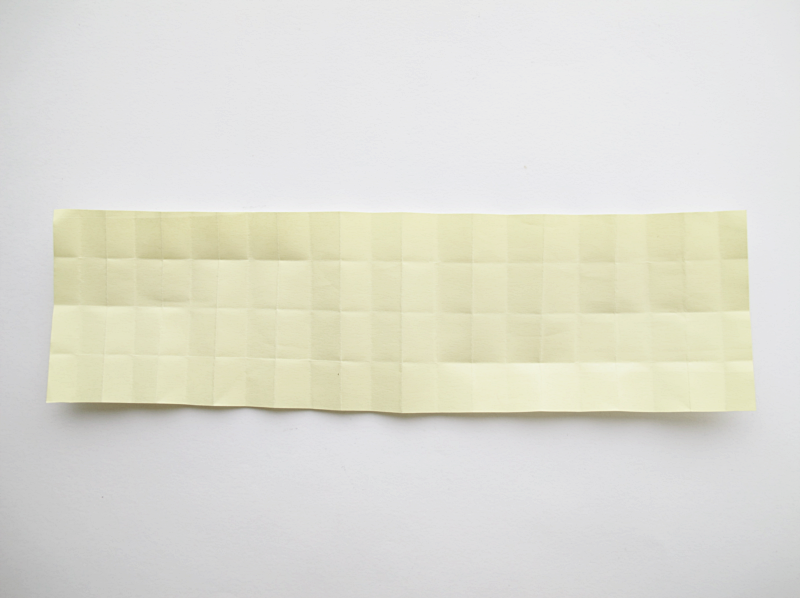
Place the paper like in the picture below. It is really important that you have the right side up. ↓ /// Lägg papperet precis som bilden nedan visar. Det är viktigt att rätt sida är uppåt. ↓
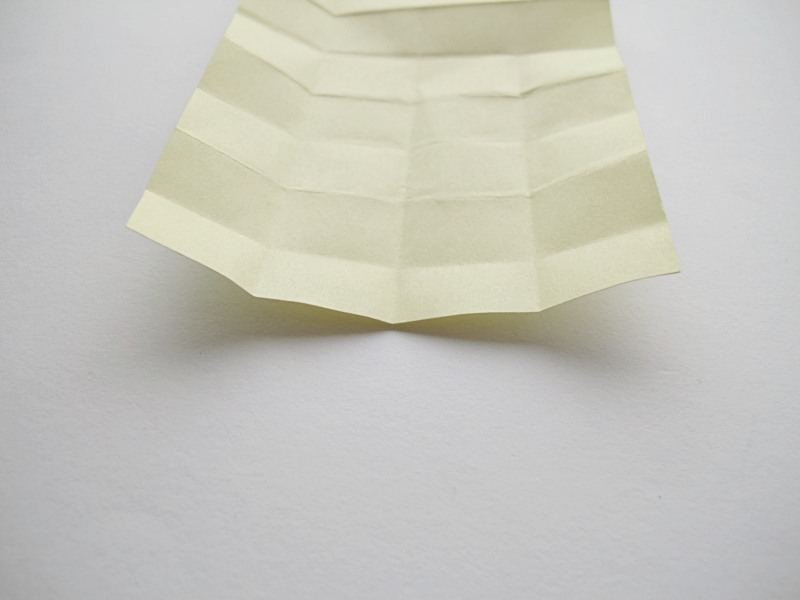
Now it´s time to fold again. Fold between the two light brown dots that I made in the picture. Try to only fold inside the square. And you have to be sure that you fold from one corner to the other corner. If you dont, the next step will be more difficult. ↓ /// Nu ska det vikas lite till. Vik mellan de två bruna punkterna som finns på bilden. Men försök att bara vika innanför rutan. Och var noga med att verkligen vika från ett hörn till det andra. Om man inte är noga här, blir nästa steg svårare. ↓
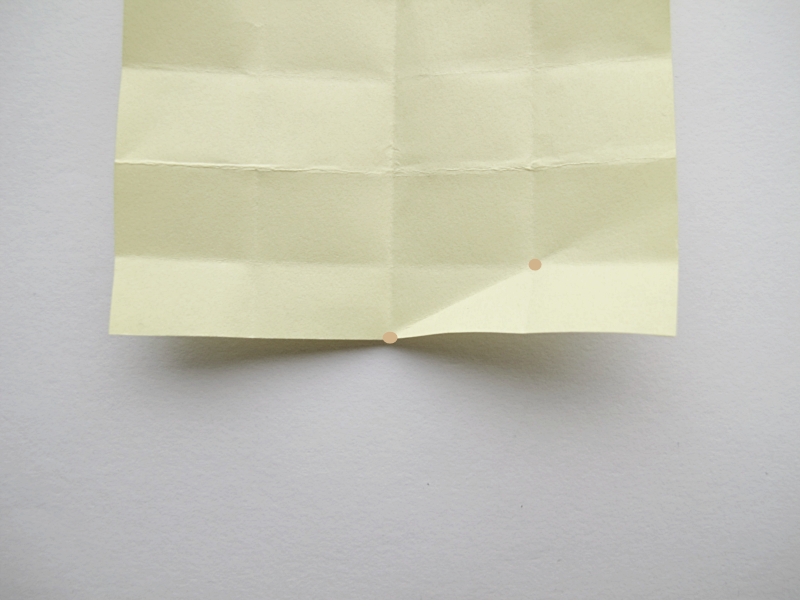
Do the same on the other side ↓ /// Gör nu likadant på andra sidan. ↓
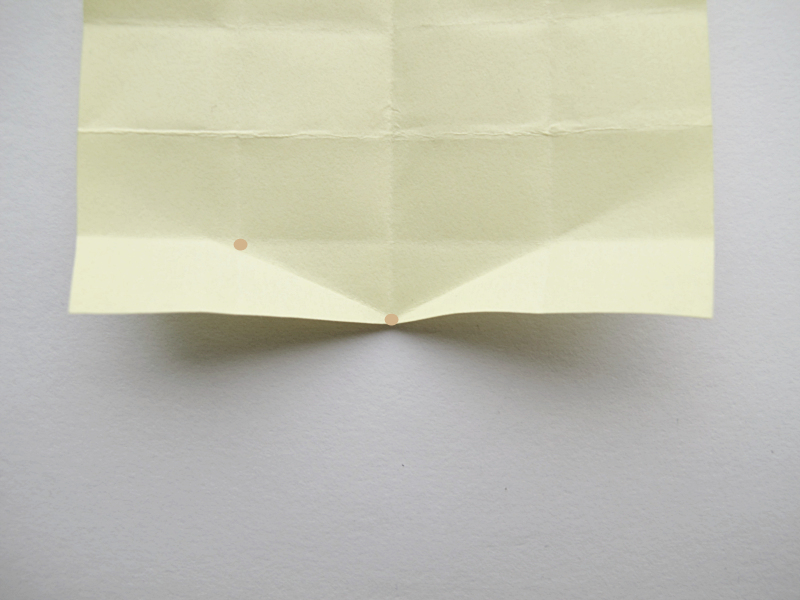
Repeat the fold again. And remember. From one corner to the other. ↓ /// Vik likadant igen. Kom ihåg. Från ett hörn till det andra. ↓
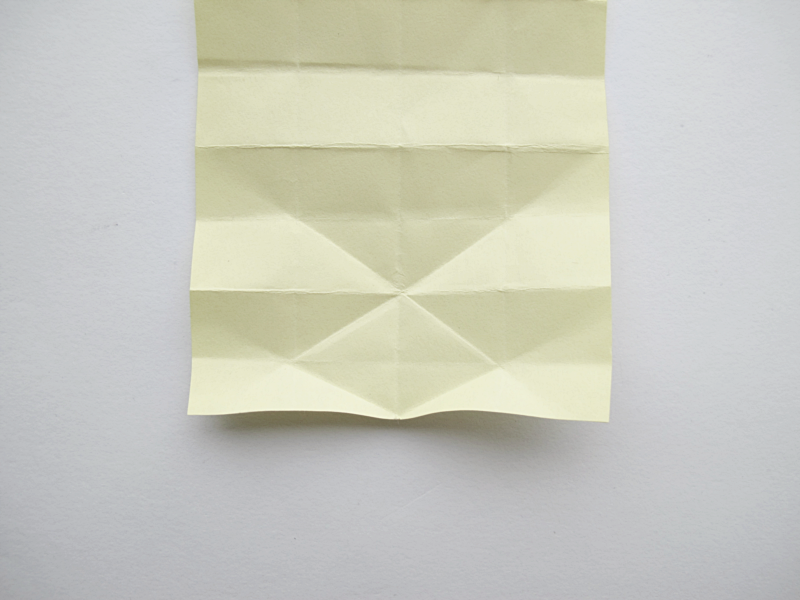
When you are finished, your paper should look like this. ↓ /// När du vikt klart ska ditt papper se ut såhär. ↓
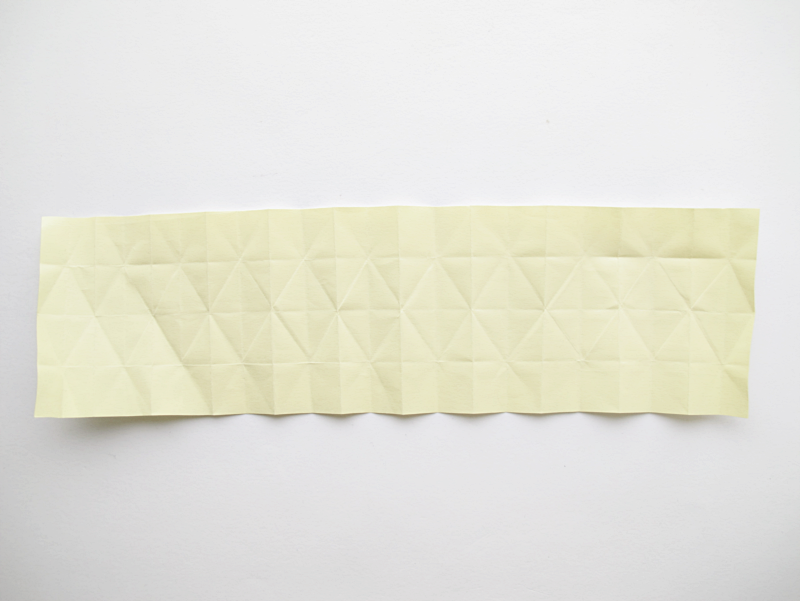
Turn the paper, so it looks like this. ↓ /// Vänd ditt papper så att det ser ut så här. ↓
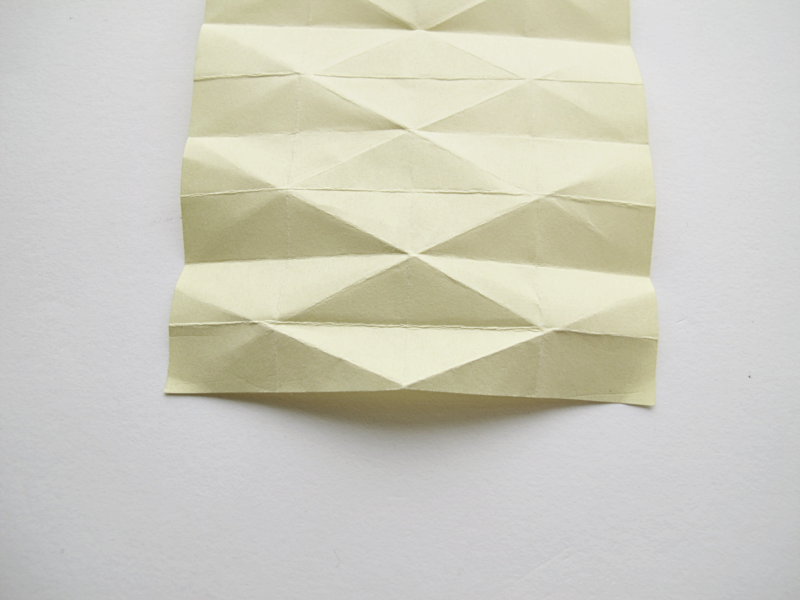
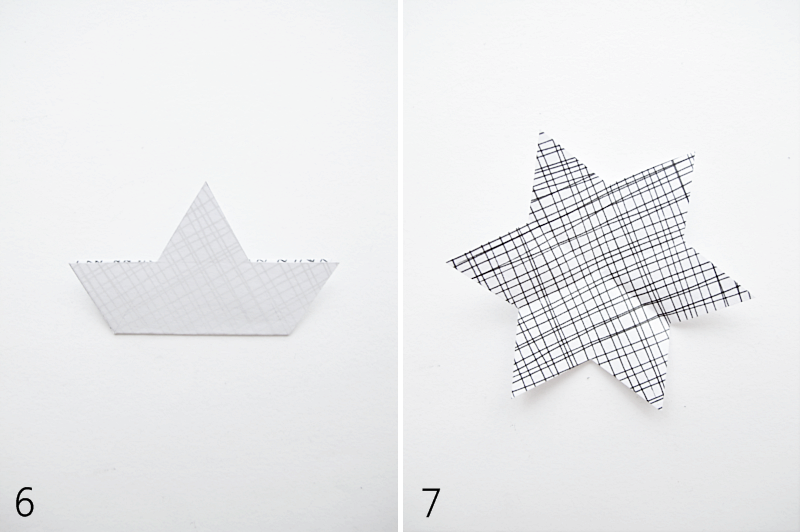
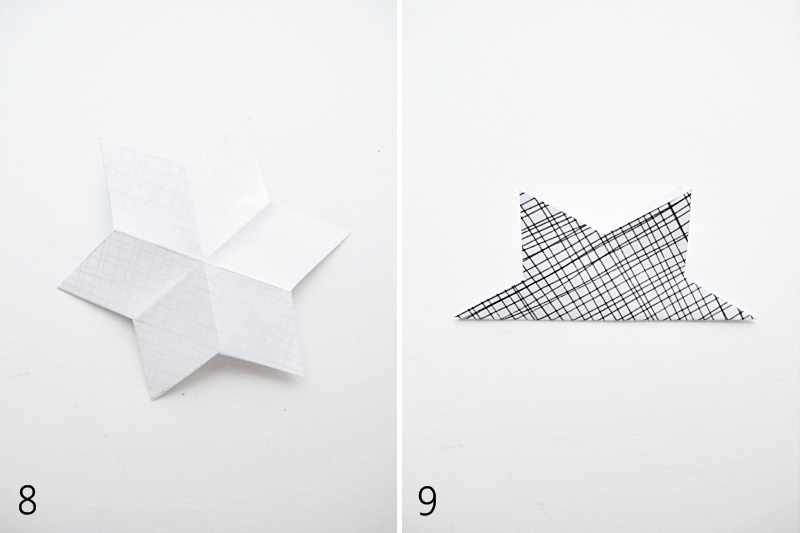
And here is the tricky part. You are now going to fold it together, using the previous foldings. Look how I did in the following pictures. ↓ /// Och nu börjar den lite trixiga biten. Du ska nu vika ihop hela bollen med hjälp av de vikningar du redan gjort. Se hur jag gjorde i bilderna nedanför. ↓
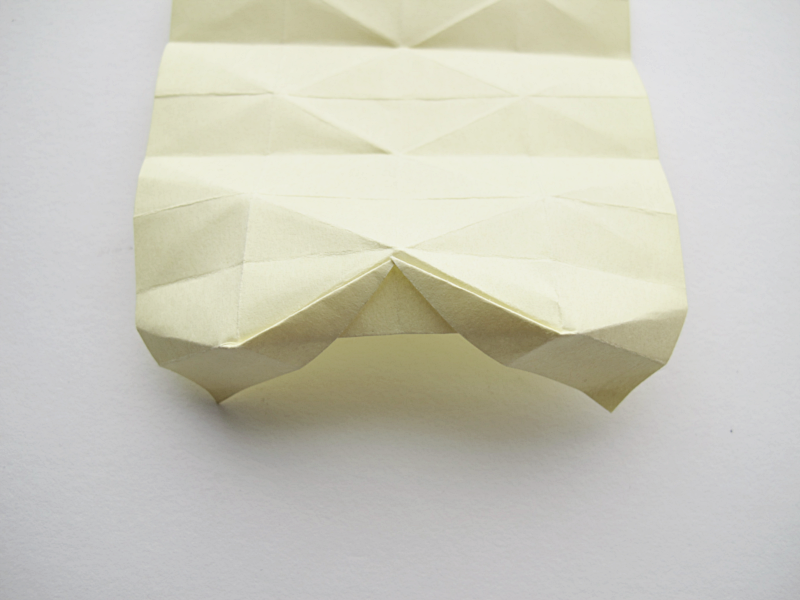
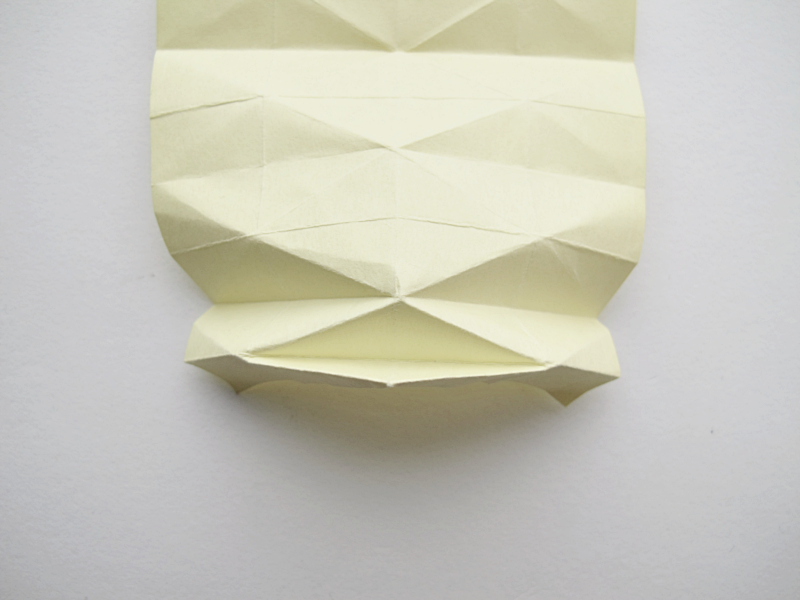
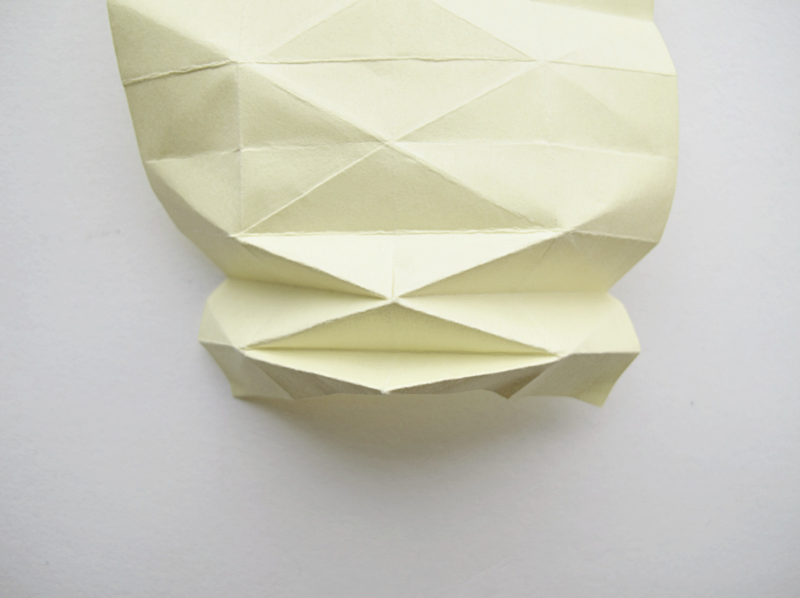
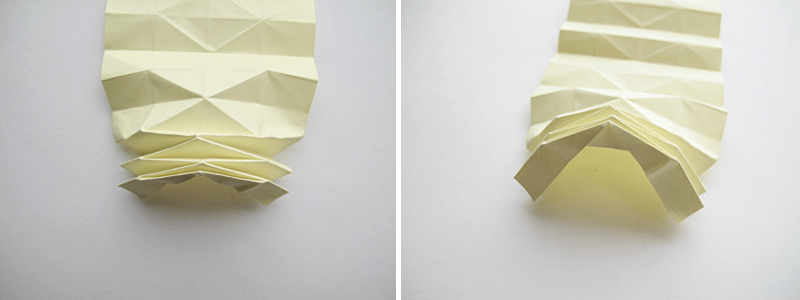
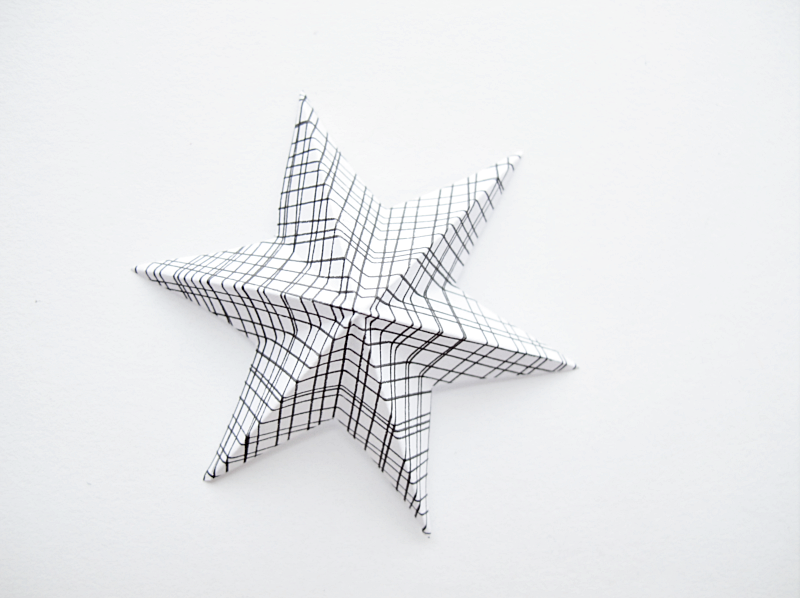
Are you still with me? Did it turn out great or in the trash? I hope it look something like this. ↓ /// Är ni fortfarande med? Blev det bra eller hamnade den i soporna? Jag hoppas ni har en sådan här. ↓
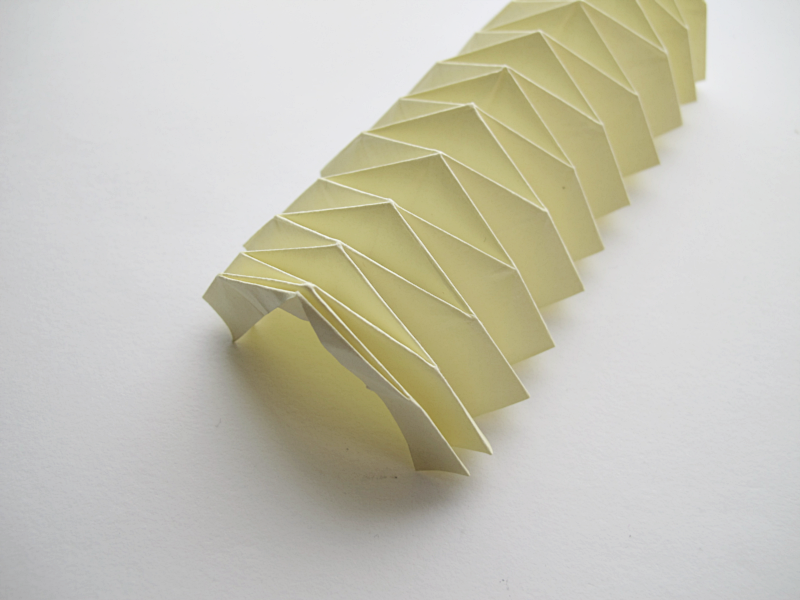
Turn it over, and fold the edge. ↓ /// Vänd på papperet och vik kanten inåt. ↓
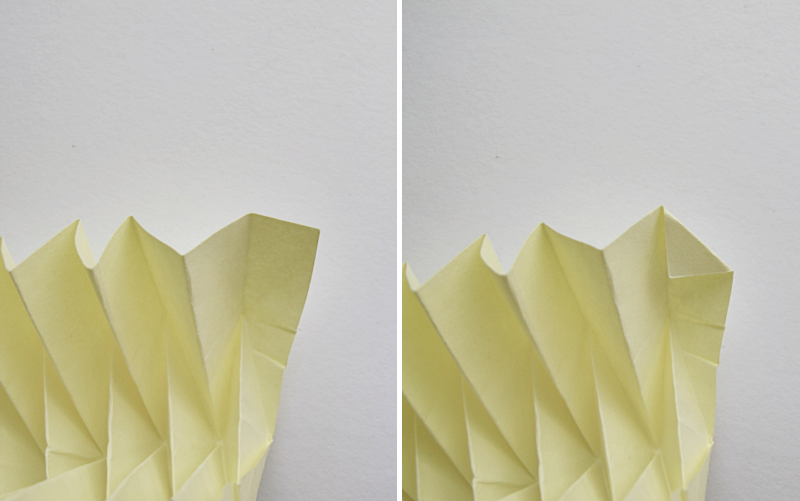
Fold the other edges to, all but the last. ↓ /// Vik de andra kanterna också. Alla utom den sista. ↓
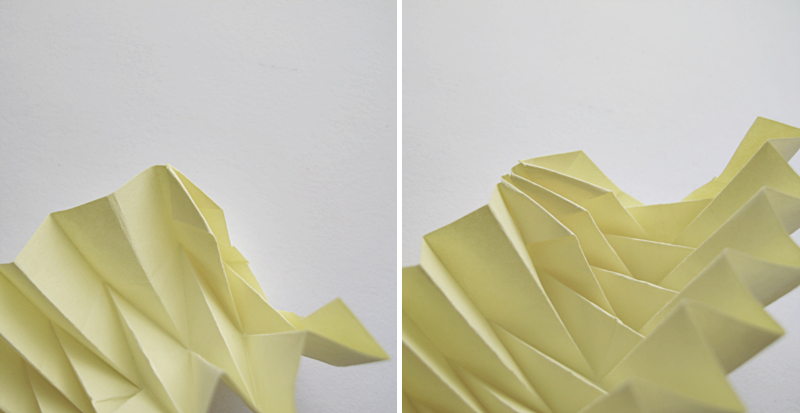
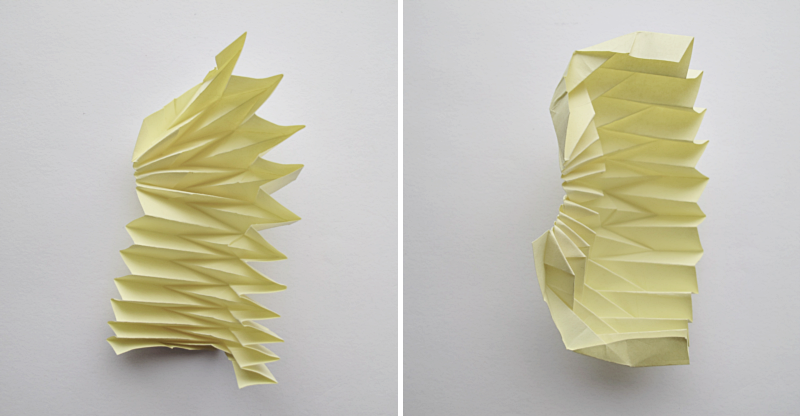
Once you folded one side, do the other. Everyone but the last. ↓ /// När du är klar på ena sidan gör du samma på den andra. Lämna den sista ovikt. ↓
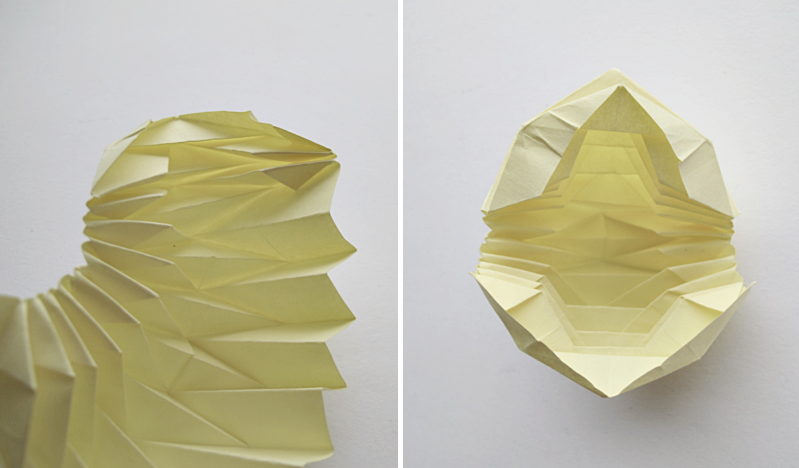
Now you´re going to fold the last edges in the opposite direction from the other ones. ↓ /// Nu ska du vika de två sista kanterna i motsatt riktning jämfört med de andra. ↓
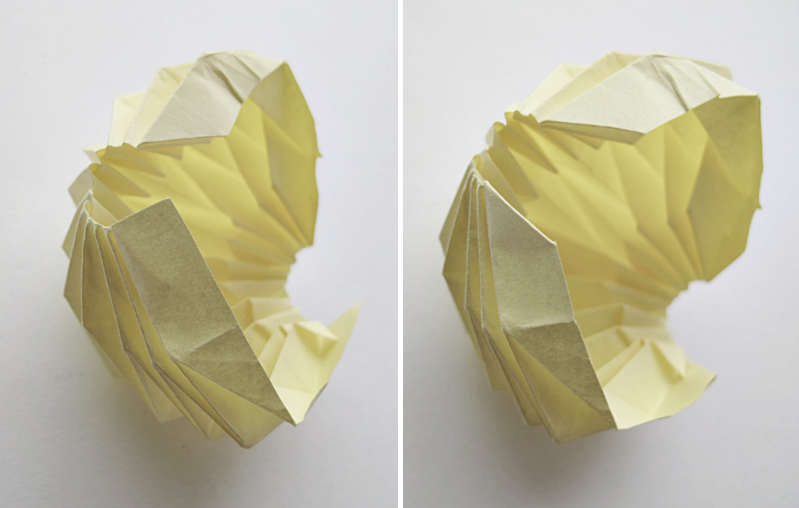
In order to fasten the sides of the boll together you have to gently pull one side over the other and attach it with some glue and you´re done! /// För att få de två sidorna av bollen att sitta ihop, drar du försiktigt en sida av bollen över den andra och fäster med lite lim. Och du är klar!