A great looking bedroom, from fantastic frank.
/// Finfint sovrum från fantastic frank.
fo: Martin Wichardt | stylist: Thomas Lingsell
A great looking bedroom, from fantastic frank.
/// Finfint sovrum från fantastic frank.
fo: Martin Wichardt | stylist: Thomas Lingsell
I must show you my new obsession. Making patterns. It´s so simple and you can vary the result in so many different ways. Just one dot here or another bubble there and the finished result changes. For this you need paper, paint, a scanner and some kind of editing program on your computer. I use Gimp 2. A really nice program and it´s free. You can download it here.
/// Jag måste bara visa er vad jag nu snöat in på. Göra mönster. Det är galet enkelt och man kan variera dem i oändlighet. Bara en liten prick här eller ett streck där och resultatet förändras helt. Till detta behöver du papper, färg, en scanner och någon typ av redigeringsprogram på datorn. Jag använder Gimp 2. Ett riktigt bra program, helt gratis och du kan ladda ner det här.
Take some copying paper or whatever paper you have lying around and cut it into a square. /// Ta en bit kopieringspapper och klipp det till en fyrkant.

Fold the paper from one corner to the other. /// Vik fyrkanten från ett hörn till det andra.

A tip for the next step is to use some sort of newspaper of something that protects the table while the paint is drying, and in case of some color dripping. For the paint, I used regular black acrylic paint./// Ett litet tips inför nästa steg är att använda någon tidning eller något underlag som skyddar bordet medan färgen torkar, och ifall det blir lite kladd. Som färg använde jag vanlig svart akrylfärg.

Now the fun begins, draw some bubbles or stripes or flowers or what ever you feel like, on half the paper. Don´t use a brush, just draw using the bottle. And don´t think so much. I´ve discovered that the ones I like the most, where the ones I did without thinking so much. /// Nu börjar det roliga. Måla några bubblor eller streck eller bara krumelurer på ena halvan av papperet. Använd inte pensel utan “måla” direkt med flaskan. Och fundera inte så mycket. Rita bara. Jag har upptäckt att de bilderna som blir finast är de som man bara gjort utan att tänka så mycket.

Gently fold the unpainted side over the painted. If you used a lot of paint you can press more on some places, and less on others just to get different looks on the lines. /// Vik nu försiktigt den omålade sidan över den målade. Om du använder mycket färg på dina krumelurer, så kan du trycka mer på vissa ställen och mindre på andra, för att få olika utseende på linjerna.

Unfold and tada! /// Vik upp och tada!


Let all your squares dry and then pick your favorites and scan them onto your computer. Open your editing program and use one square and from that make your pattern. Try to turn them and twist them to see different results. /// Låt fyrkanterna torka. Välj sedan dina favoriter, och skanna in dem på datorn. Öppna redigeringsprogrammet och från en ruta gör du ditt mönster. Prova att vrida och vända figurerna för att få olika resultat.

Imagine all you can do with this. Print it out and you can do your own gift wrapping paper, paintings, postcards or send it to a textile factory and make your own fabric, or to a printing office to make cuttingboards or even wallpapers.. /// Tänk allt man kan göra med dessa mönster. Skriv ut och gör eget omslagspapper, tavlor, vykort eller varför inte göra ett mönstrat tyg eller egna mönstrade underlägg, eller varför inte tapeter..
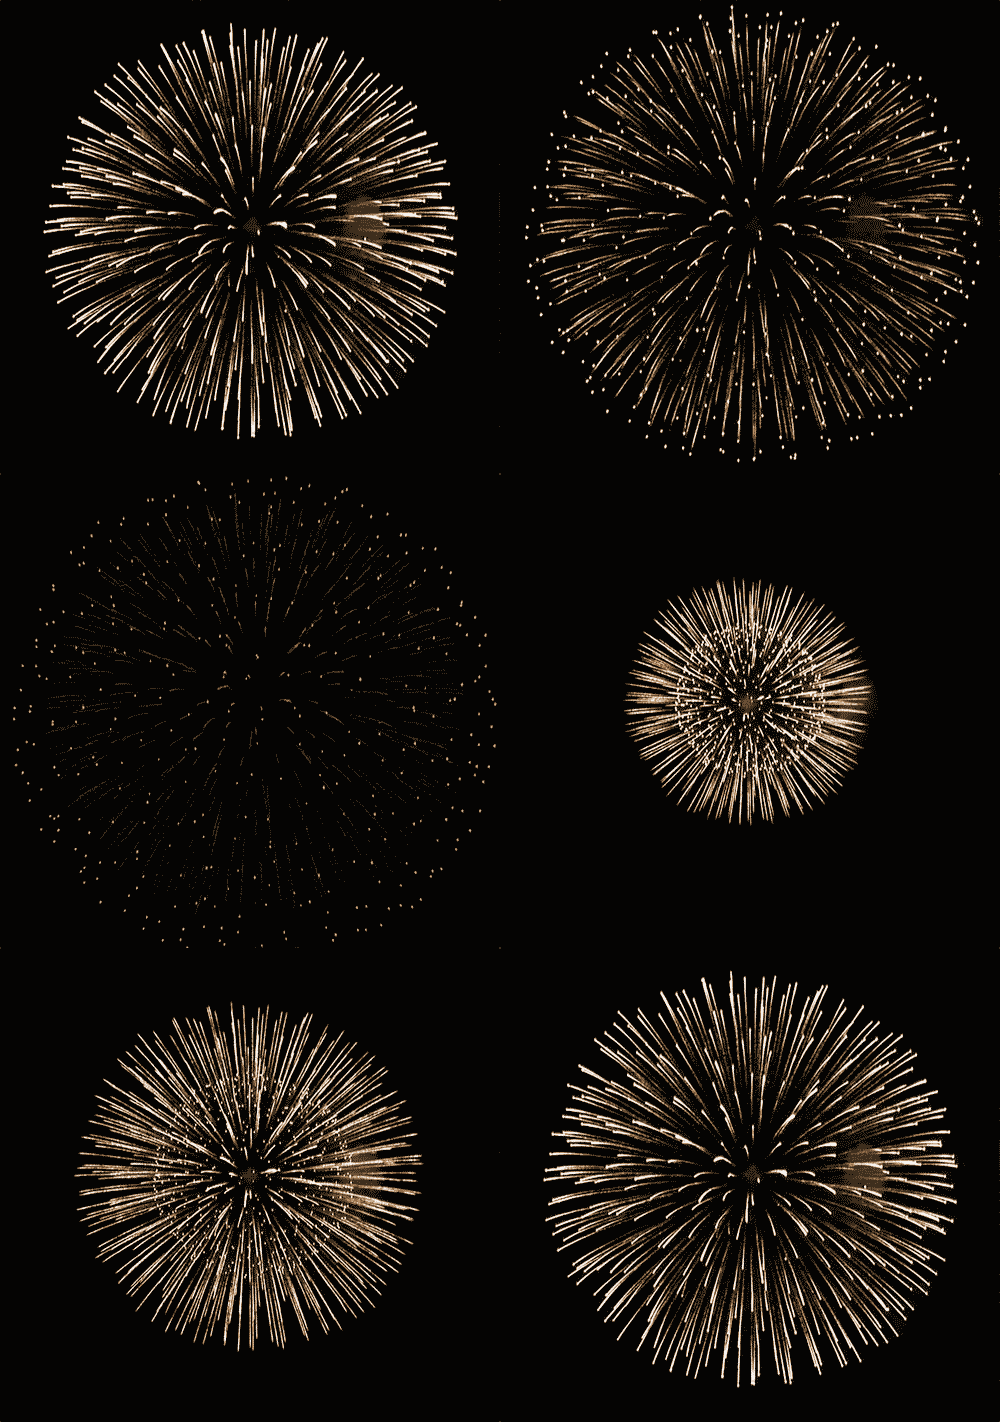
This is how some of mine turned out. (unedited) /// Så här blev några av mina krumelurer (oredigerade)


This might be the easiest diy tip you ever gonna get from me. But I´m going to share it anyway, just because I like it. If you, like me, have a lot of favorite magazine pictures, and they seem to change from day to day, this might be something for you. You know by the time we actually get around to frame them, we have found some other picture or two… So take a piece of hard cardboard, some clips and attach the picture. Done. This way you can lean them against a wall or hang them, and the next day, you can change to another picture in seconds. Just another version off the clipboards you might say.
/// En annan variant på clipboardsen. Använd klämmor och en bit hård kartong för att visa dina favoritbilder.


A nice apartment for sale in Stockholm, Sweden.
/// Fin fin lägenhet till salu i Stockholm.
fo: fantastic frank
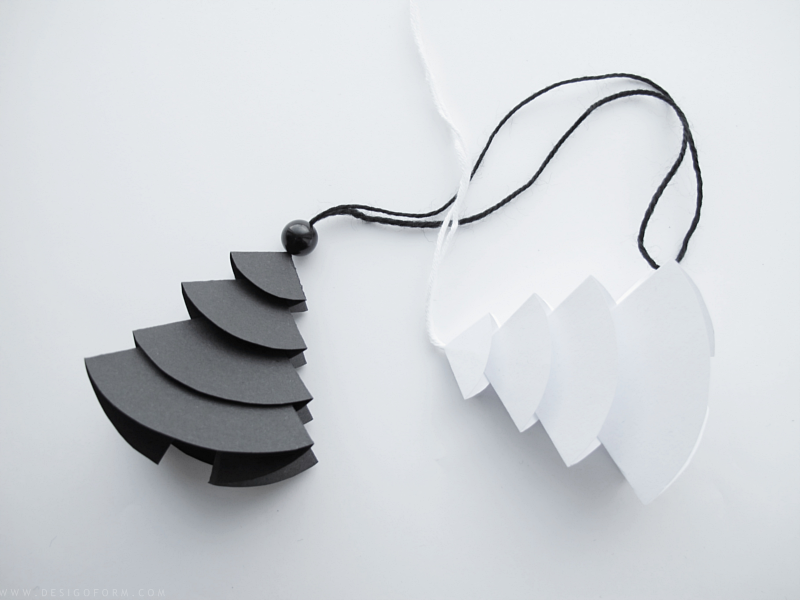
I recieved a question if I could make a tutorial on these trees that I showed on instagram. So here you go:
/// Jag fick en fråga hur jag gjorde dessa träd, som jag visade på en bild på instagram, och jag lovade en liten tutorial här på bloggen. Så här gjorde jag:
First you draw 4 circles. With the diameters 10,8,6 and 4 cm. And cut them out. Take one of the circles and fold it in half. ↓ /// Börja med att rita 4 cirklar med diametrarna 10, 8, 6 och 4 cm. Klipp sedan ut dem. Börja med en cirkel och vik den på mitten. ↓
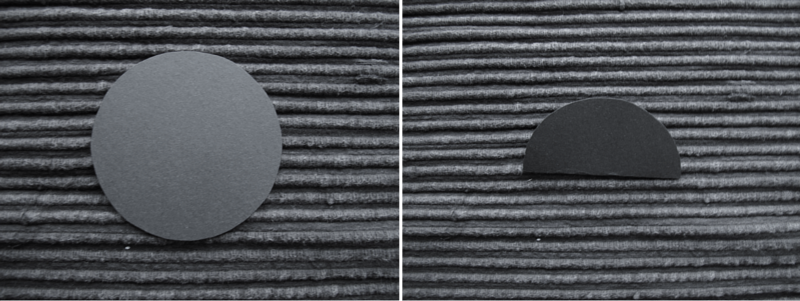
Unfold and fold it sideways. Turn it so it looks like this. ↓/// Vik upp, och vik den sedan åt sidan. Vänd så att den ser ut så här. ↓
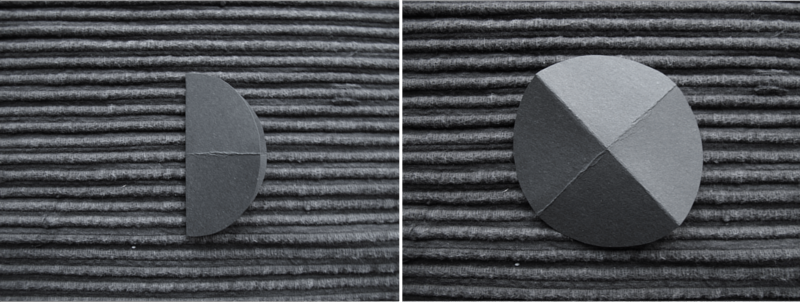
Fold it again. This time you take the top part and fold it towards you. Unfold, and it should look like this. ↓ /// Vik den igen. Denna gång tar du översta delen av cirkeln och viker den mot dig. Vik upp, och cirkeln ser ut så här. ↓
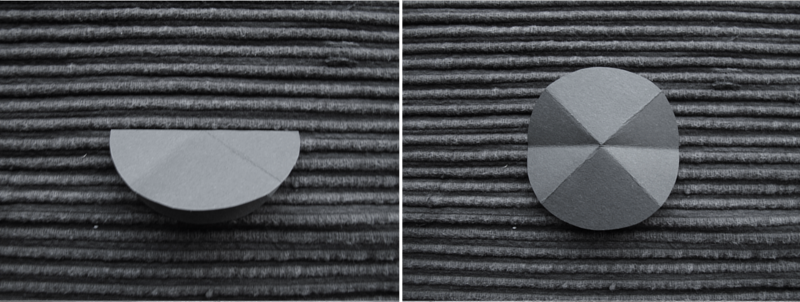
Push the sides to each other, so it takes the shape of a piece of cake. Now you´re finished with that circle. Do the same to the other circles too. ↓ /// Tryck ihop sidorna mot varandra, så att tårtbitsformen kommer fram. Nu är du klar med denna cirkel. Då kan du göra samma vikning på de resterande cirklarna. ↓
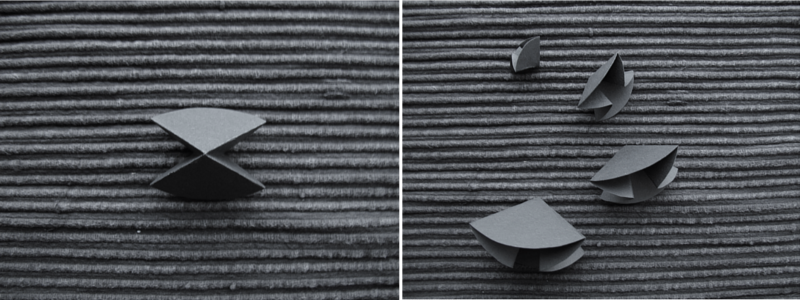
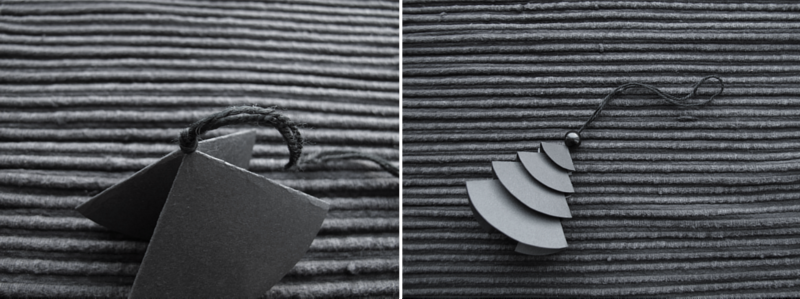
Cut a piece of yarn and tie a knot to tie the two ends together. Cut a small hole on the top of the paper and pull the yarn through the hole. You want the knot on the bottom side. ↓ /// Klipp en liten bit tråd och knyt ihop de två ändarna. Klipp ett litet hål i toppen och trä snöret igenom. Trä så att knuten kommer på undersidan. ↓
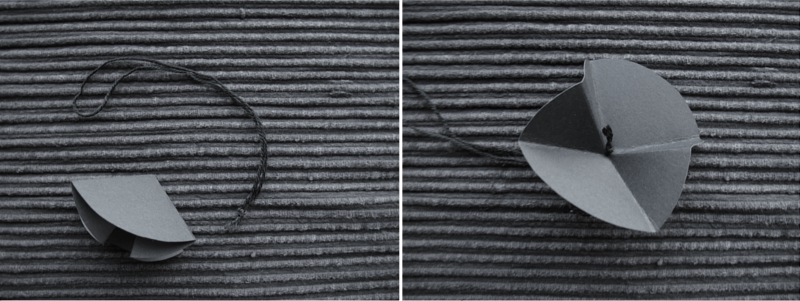
Tie another knot on top of the paper and attach the other circles too. Once you´re finish you can end with a bead as a tree topper or just leave it. Good luck! /// Knut ännu en knut på ovansidan av papperet. Sedan är det bara att trä på resterande cirklar på tråden. Och du är klar. Lycka till!