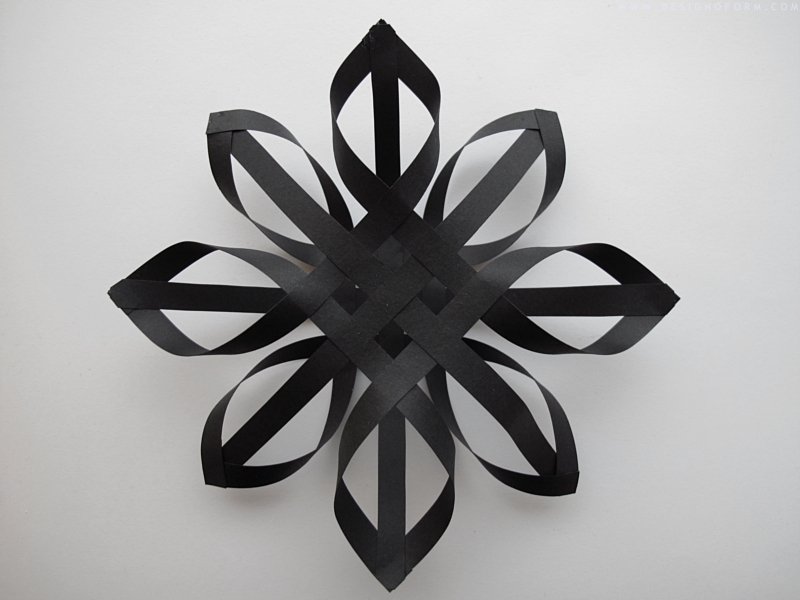
It´s not that many weeks left until christmas, so I wanted to show you an easy way on how to make your own christmas star. Once you learned the basics of making this kind of star, you can modify the look on it however you like it the most. /// Med bara fem veckor kvar till julafton, vill jag visa er hur man enkelt gör en egen julstjärna. När man väl har lärt sig grunden till den, så kan man ändra utseendet till den varianten man gillar mest.
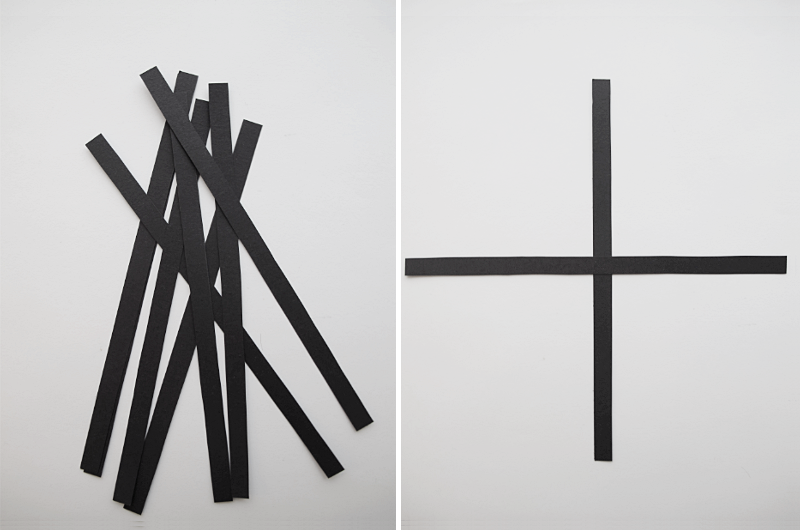
First you cut a paper into 12 pieces. (1cmx21cm). Then you glue two strips together like a cross. You can use paper clips or clothespins to keep it in place while it dries. ↓ /// Först klipper du ut 12 rektangulära bitar ur ett papper med måtten 1cmx21cm. Sedan limmar du ihop två av bitarna som ett kors. Du kan använda ett gem eller en klädnypa till att hålla papper på plats tills dess att limmet torkat. ↓
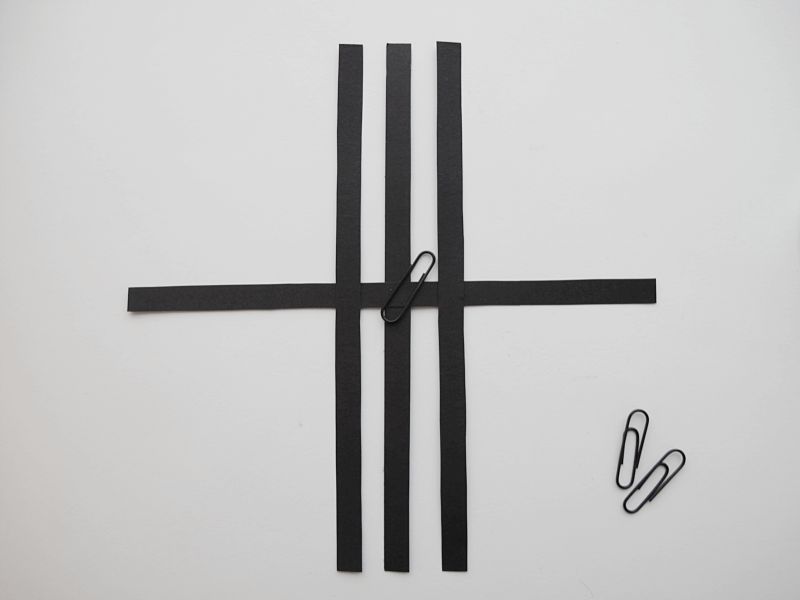
Then you add two more strips and alternate them over and under. ↓/// Sedan tar du två bitar till och limmar fast dem. Varva bitarna under och över. ↓
And do the same in the other direction. ↓ /// Gör nu likadant åt andra hållet. ↓
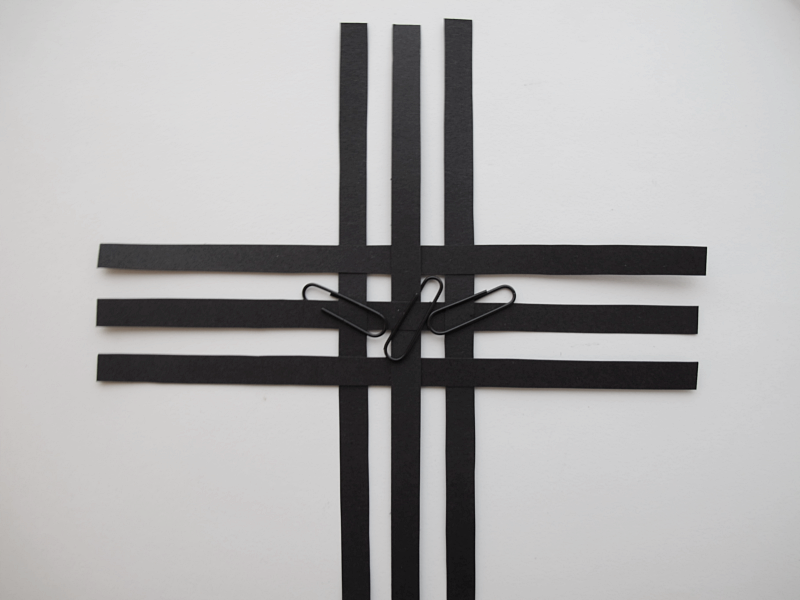
It should look like this: ↓ /// Nu borde det se ut så här: ↓
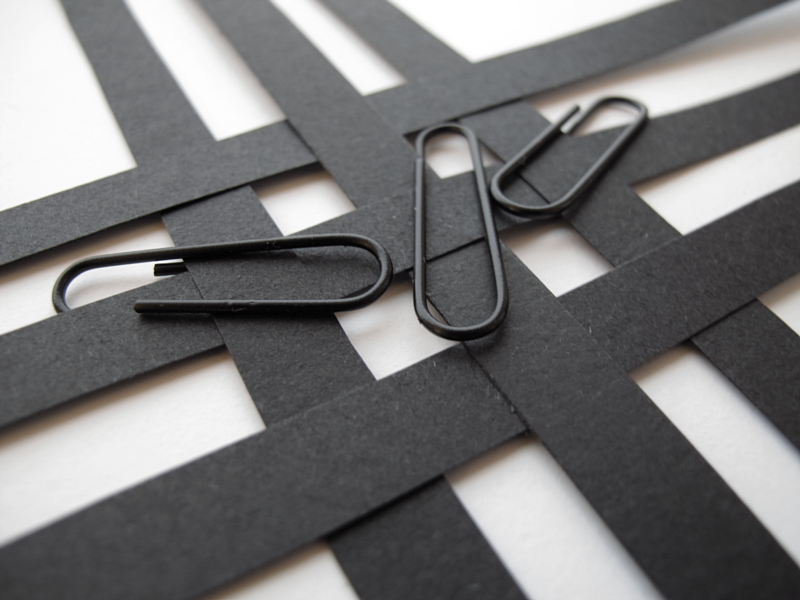
Now you are going to take two of the corner strips of two sections and glue them together. See pictures below. ↓ /// Nu ska du ta två av hörnbitarna i närliggande sektioner och limma fast dem med varandra. Se bilderna nedanför ↓
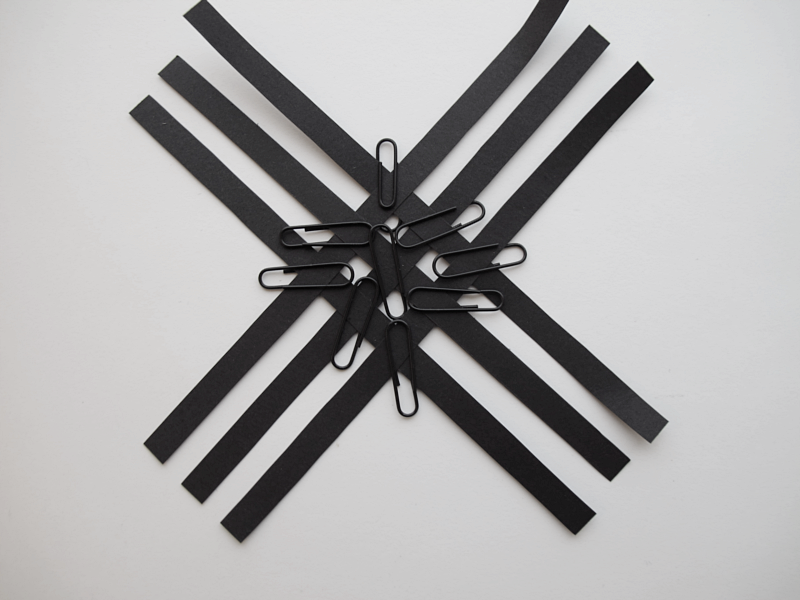
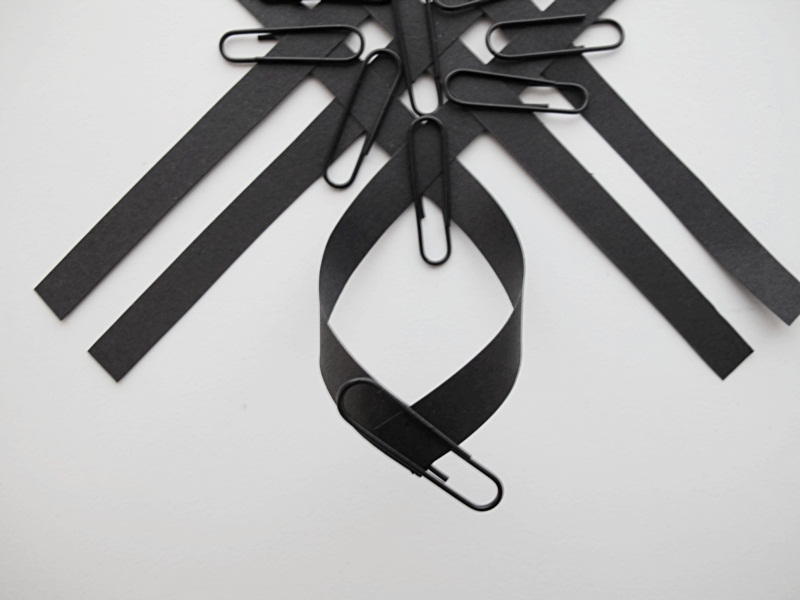
Repeat on the other sides. ↓ /// Gör likadant på de andra sidorna. ↓
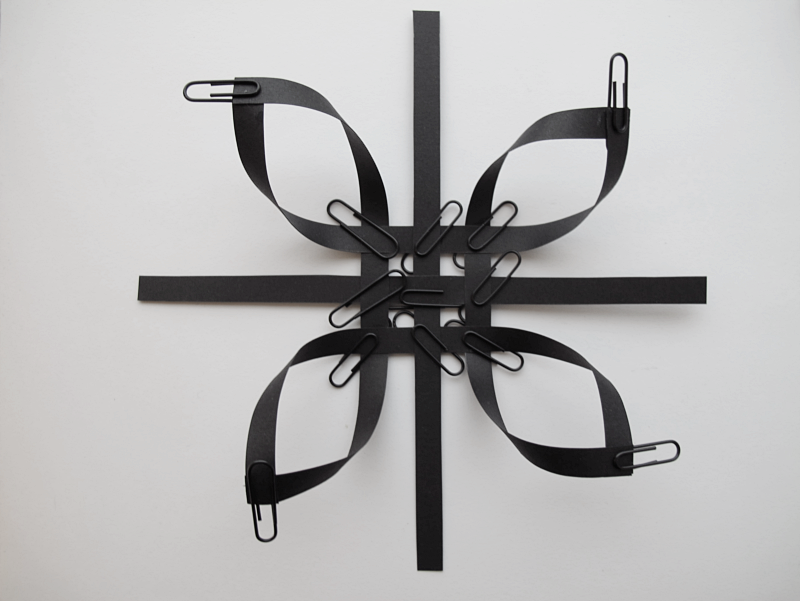
Repeat all the before steps so you end up with two pieces that looks like this. Turn one of them upside down and turn it 45°. ↓ /// Upprepa nu alla stegen igen så du får två bitar som ser ut så här. Vänd en av dem upp och ner och vrid på den lite. ↓
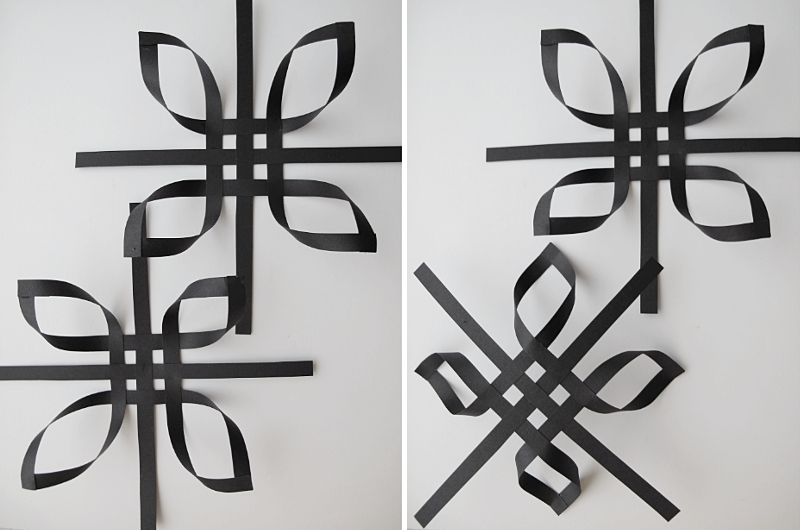
Now place one on top of the other. And thread the longer pieces inside the loops. (You might think that they are to long and feel the urge to cut them, but don´t do it, they are supposed to be that long) ↓ /// Placera den upp och nervända delen på den andra och trä igenom de långa bitarna i öglorna. (Nu kanske du tycker att de långa bitarna är lite för långa och vill klippa av dem. Men gör det inte, det är tänkt att de ska vara så långa.) ↓
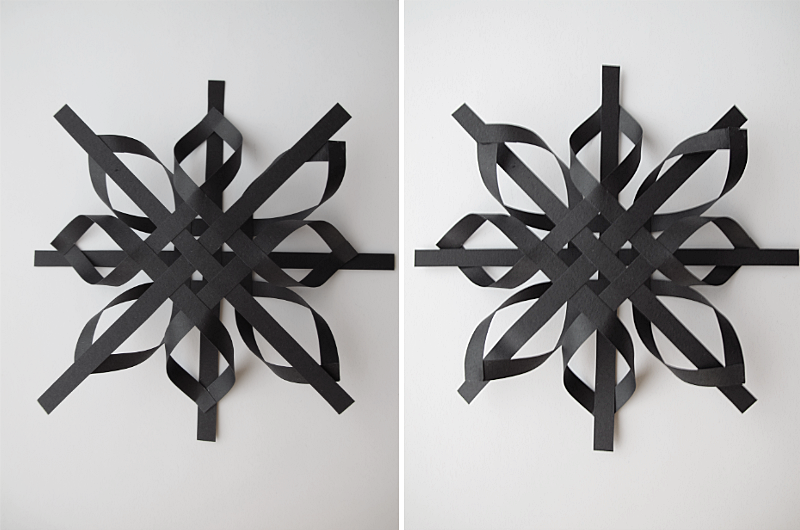
Glue the longer strips onto the corner of the loops. ↓ /// Limma fast de längre bitarna i hörnet på öglorna. ↓
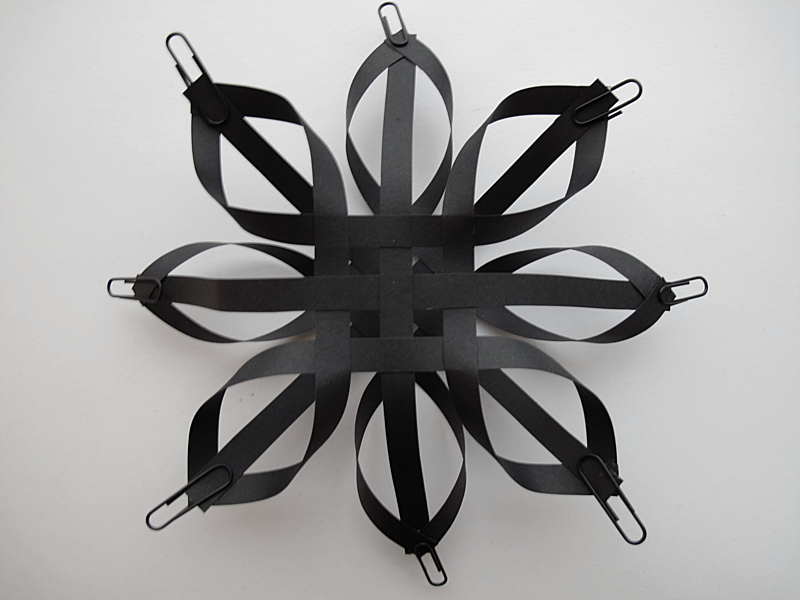
Once it dries you can cut the corners off. ↓/// När limmet har torkat kan du klippa av de utstickande hörnen med en sax. ↓
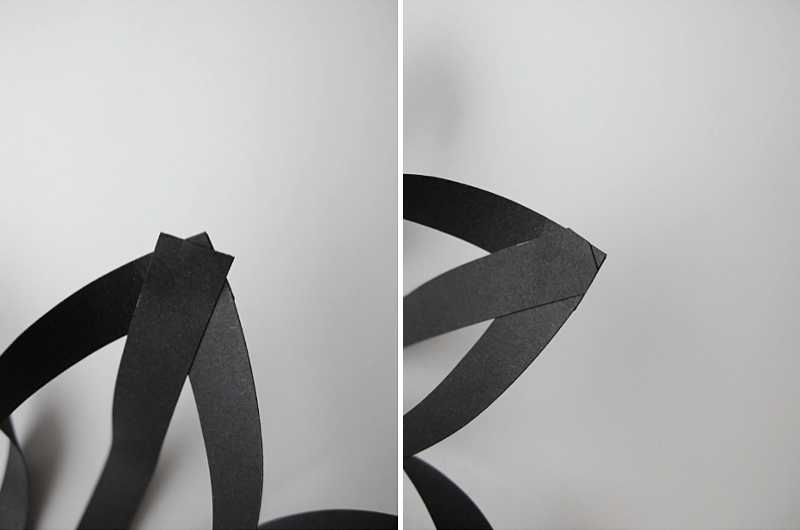
And you are done! /// Och du är nu klar!
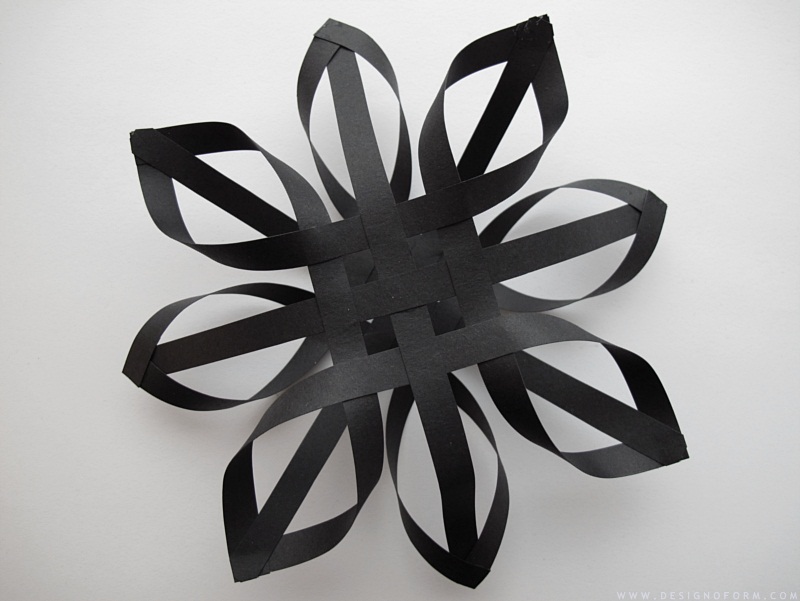
Good Luck! /// Lycka till!