Yes I could live here. Therese Sennerholt´s amazing home in the latest issue of Residence magazine. (nr4/2013)
/// Japp, jag skulle kunna bo här. Therses Sennerholt´s fina hem i senaste numret av Residence. (nr4 ) Spring och köp!
Yes I could live here. Therese Sennerholt´s amazing home in the latest issue of Residence magazine. (nr4/2013)
/// Japp, jag skulle kunna bo här. Therses Sennerholt´s fina hem i senaste numret av Residence. (nr4 ) Spring och köp!

Oh.. so many days. My computer sighed in the beginning of the week and never woke up again. Thankfully I had saved all the important stuff on a usb-stick. Anyway.. Now I´m back and going to make posts like never before. Oh and I wanted to thank you for all your nice comments and for poping by every day. I have the best readers! And about the picture, it´s a sneak peek of a diy that is coming up tomorrow.
/// Oj.. så många dagar sen sist. Min dator gav en lång suck i början av veckan, och ville sen inte vakna mer. Tack och lov hade jag sparat det mesta på ett usb minne. Iallafall.. Nu är jag tillbaka och ska posta inlägg som aldrig förr. Och så vill jag tacka för alla snälla kommentarer ni lämnar och för att ni tittar in här varje dag. Jag har dom bästa läsarna! Och ja just det, bilden visar ett diy som kommer upp i morgon.
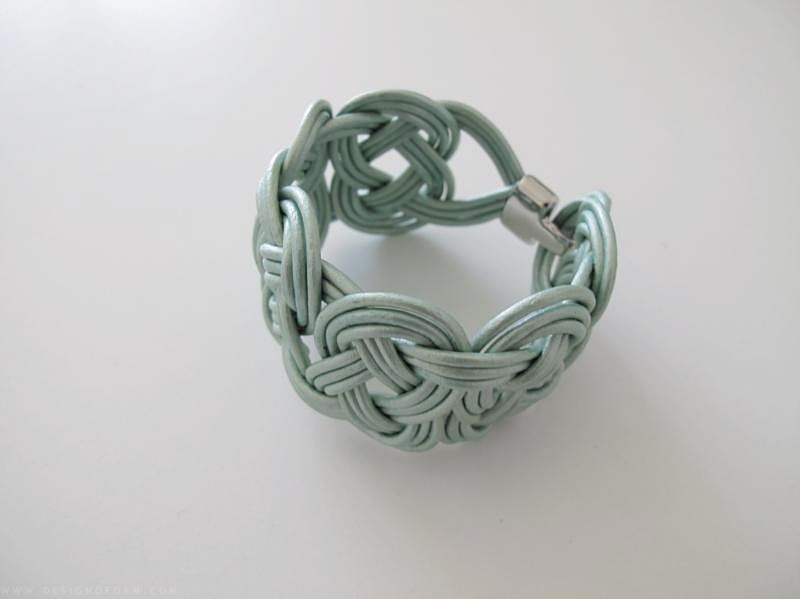
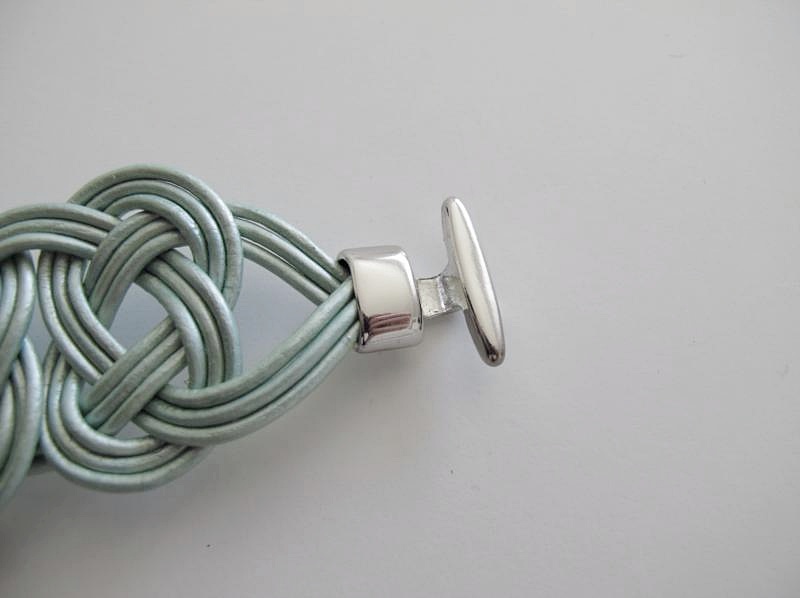
Time to make a braided bracelet. In this tutorial I used one thick thread, because it is easier to show what I am doing that way. But once you have the hang on the technique, you can use three thinner leather threads to get one that looks like the picture above. I used three threads, 2mm thick and about 1.65 m long. But make it a little bit longer just to be on the safe side.
/// Nu ska jag visa er hur man gör ett flätat armband. Jag har här använt ett tjockt snöre, för att det är enklare att visa vad jag gör. Men sen när ni har fått kläm på tekniken så kan ni använda tre stycken tunnare lädersnören. Då kommer armbandet se ut som på bilden ovan. Jag använde tre snören som var 2mm tjocka och ungefär 1.65 m långa. Men gör det lite längre bara för att vara på den säkra sidan.
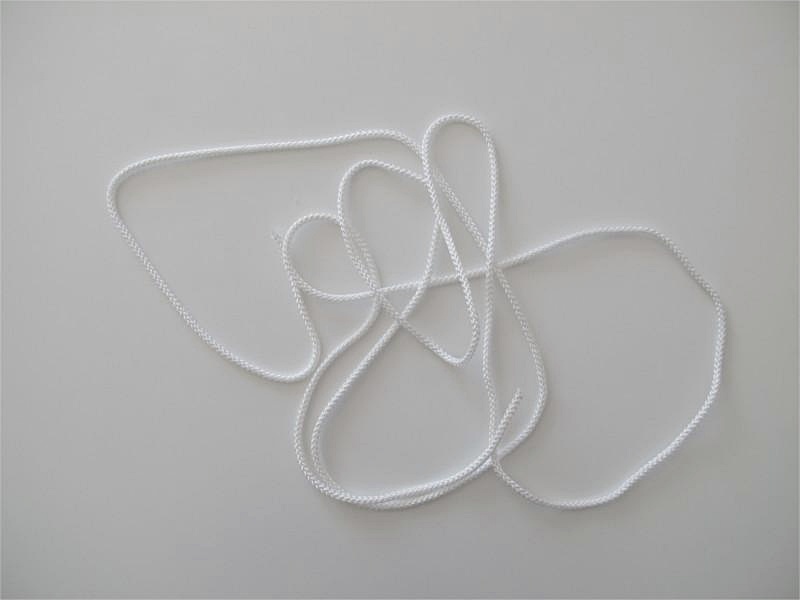
Start by finding the middle of your thread and mark it with a piece of tape. Then take the thread to the right and make a bubble under the left thread. Then take the left thread and slide it under and over the bubble. See the pictures. When you´re finished pull the ends. You might have to adjust the thread as you go. This is part one.
/// Börja med att hitta mitten på ditt snöre och tejpa fast den på bordet. Sedan tar du tråden till höger och gör en bubbla under den vänstra tråden. Ta sedan den vänstra änden och trä den under och över bubblan. Se bilderna. När du gjort det klart, så dra i de båda ändarna. Du kommer nog att behöva justera lite eftersom. Detta är del 1.
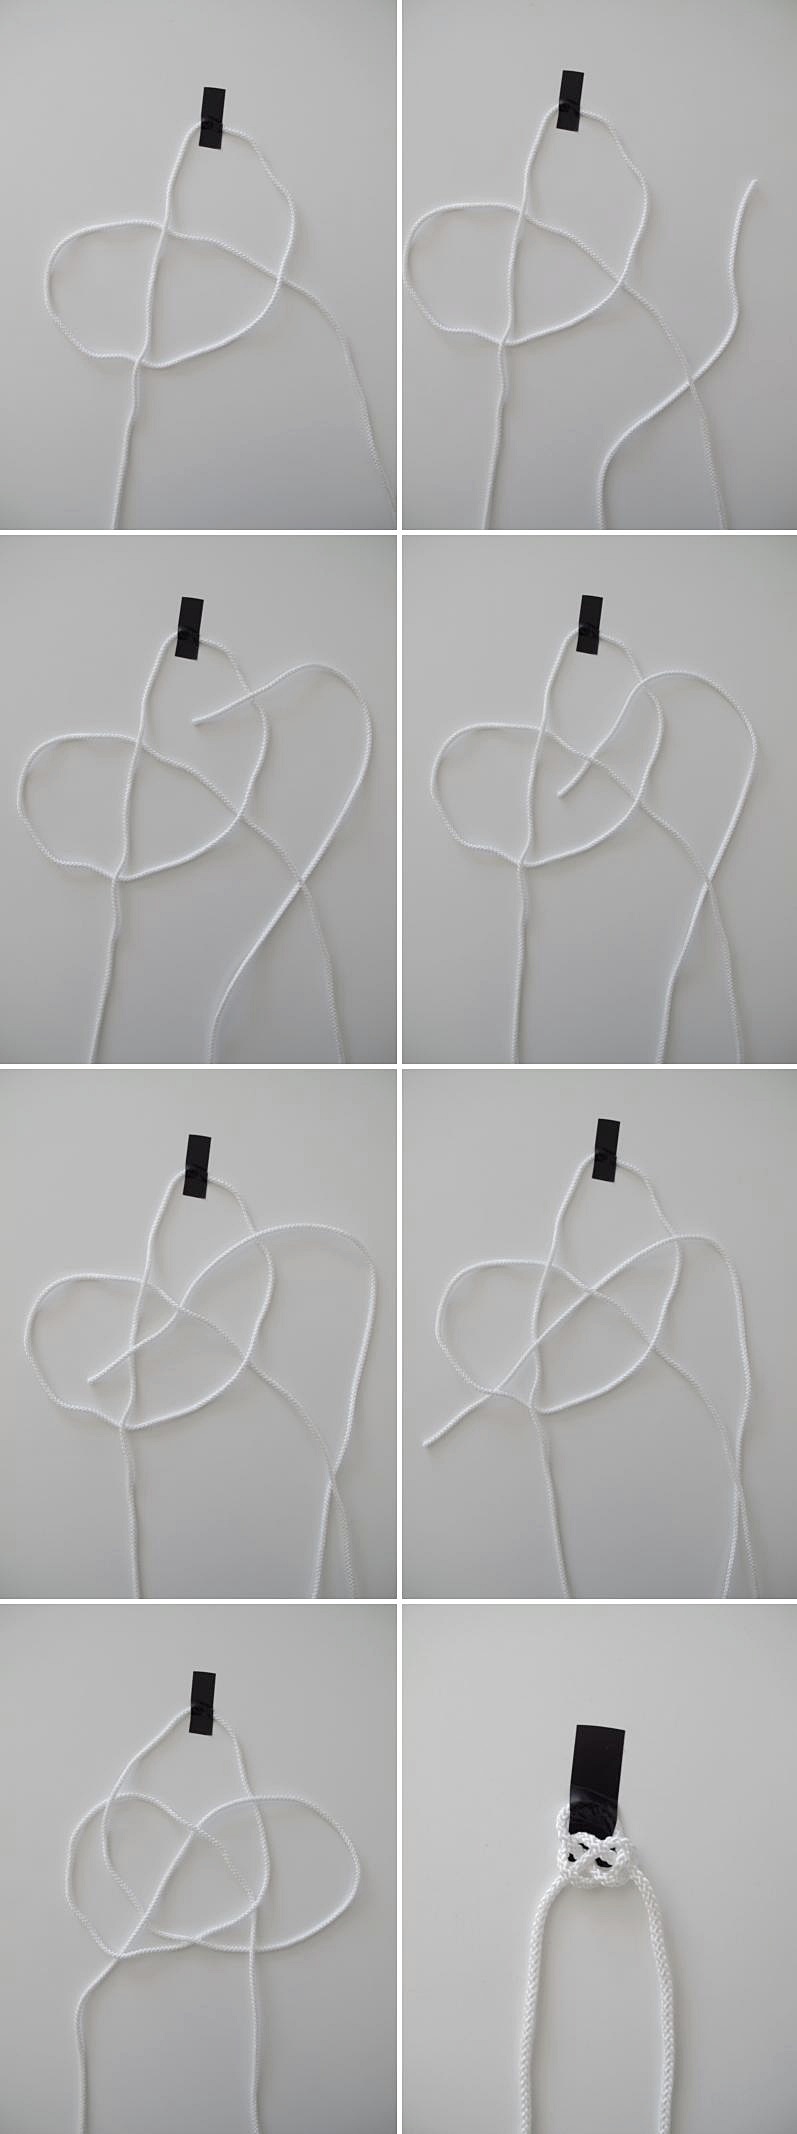
Now it´s time for part two. Make a bubble under the right thread using the left one. Then take the right thread and go under and over the bubble. Once again see pictures. And when you´re done. Pull the ends.
/// Nu är det dags för del 2. Använd den vänstra tråden och gör en ny bubbla under den högra. Ta sedan den högra änden och trä den under och över bubblan. Åter igen se bilderna. Och när du är klar. Dra i ändarna.
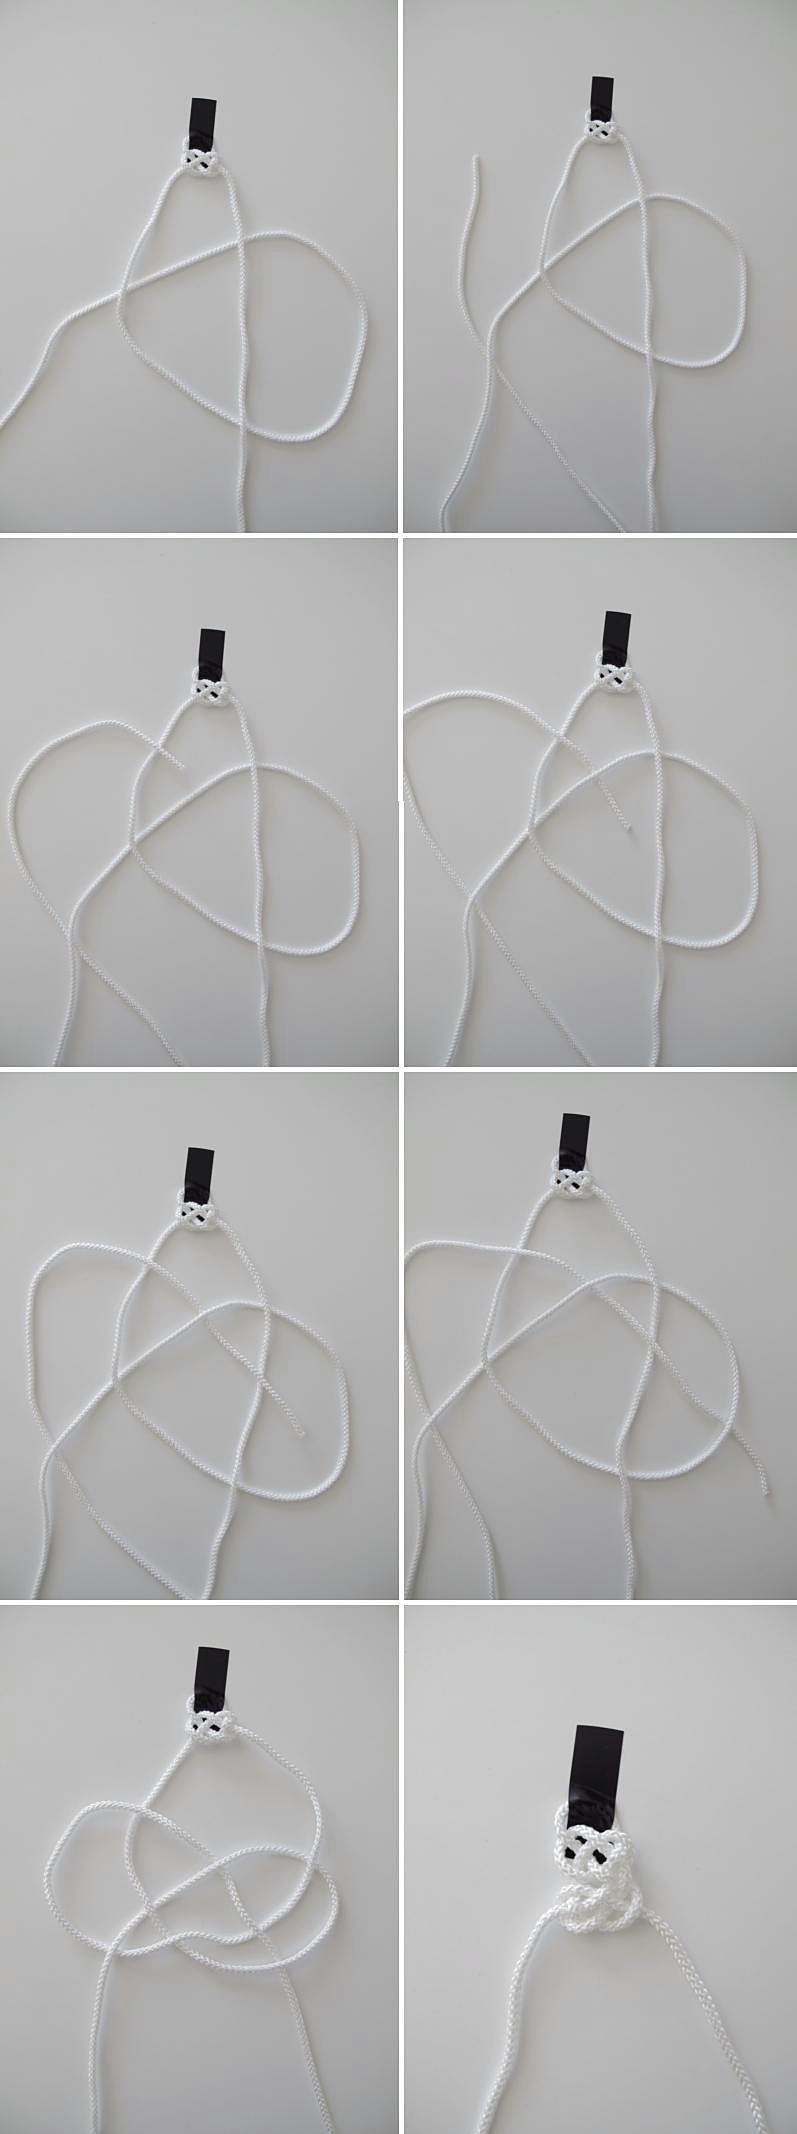
Then start over with part one again, and then part two. Make six or seven parts, depending on how wide your wrist is, then cut the threads off, and glue them on the lock. And you are done!
/// Och så börjar du om med del 1 igen och sedan del 2. Varva tills du har 6 eller 7 delar beroende på hur bred handled du har. När du har gjort så många du behöver, klipp av ändarna och limma fast dem i låset. Klart!

Today I like: 1. Bed side table: Componibili 2. Illustrated book: Human Anatomy 3. Ash-white shelf: String 4. Duvet covers with stripes: Basic 5. Mirror: Flip mirror 6. Origami light: Lagerhaus
/// Idag gillar jag: 1. Sängbord: Componibili 2. Illustrerad bok: Human Anatomy 3. Askvit hylla: String 4. Bäddset med ränder: Basic 5. Spegel: Flip mirror 6. Origami lampa: Lagerhaus
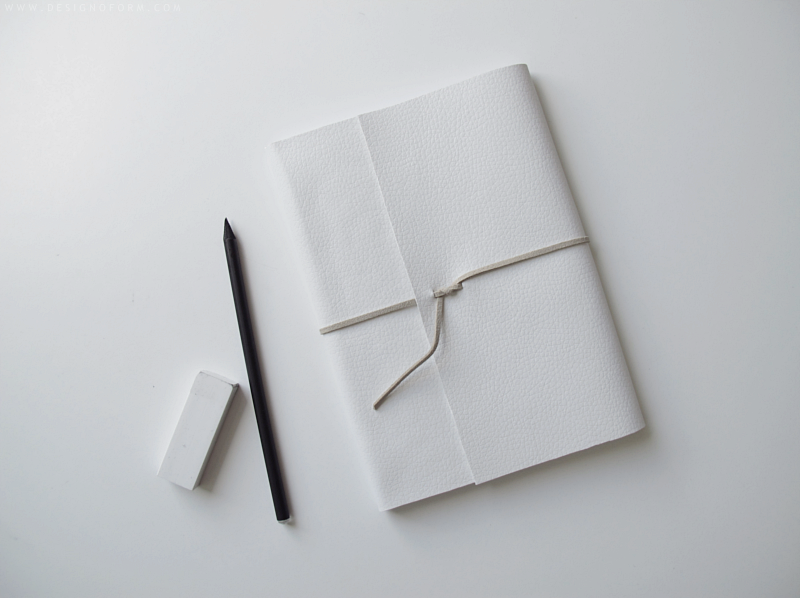
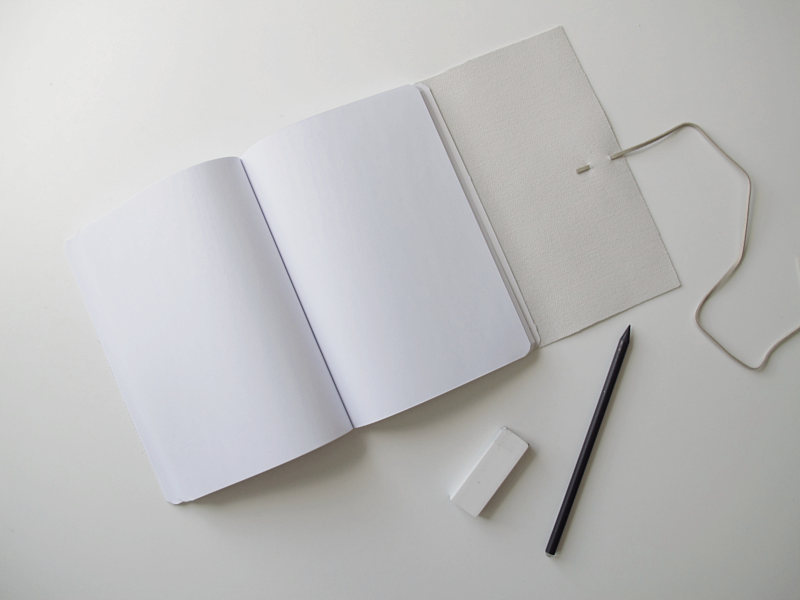
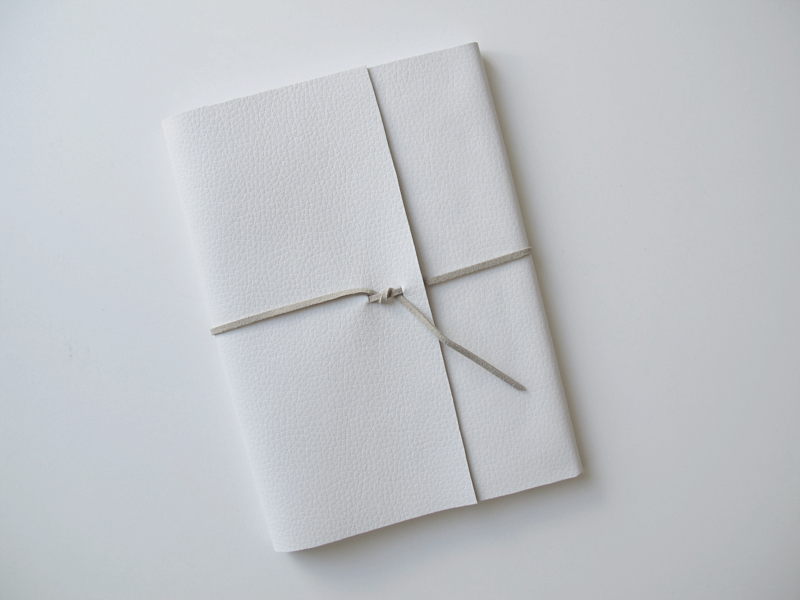
I want to show you an easy way to upgrade your note book. You need a piece of (fake) leather, some glue, a thread ( I used a light brown suede thread) and a pair of scissors. Start with removing the elastic band, if you have one of those on your note book. Don´t forget to remove the small metallic pieces too.
/// Nu tänkte jag visa hur du enkelt uppdaterar en anteckningsbok. Du behöver en bit (fusk) läder, lite lim, en tråd (jag använde en beige mocka tråd) och en sax. Börja med att klippa bort gummibandet, om du har en sån bok. Kom ihåg att ta bort de små metallbitarna också.
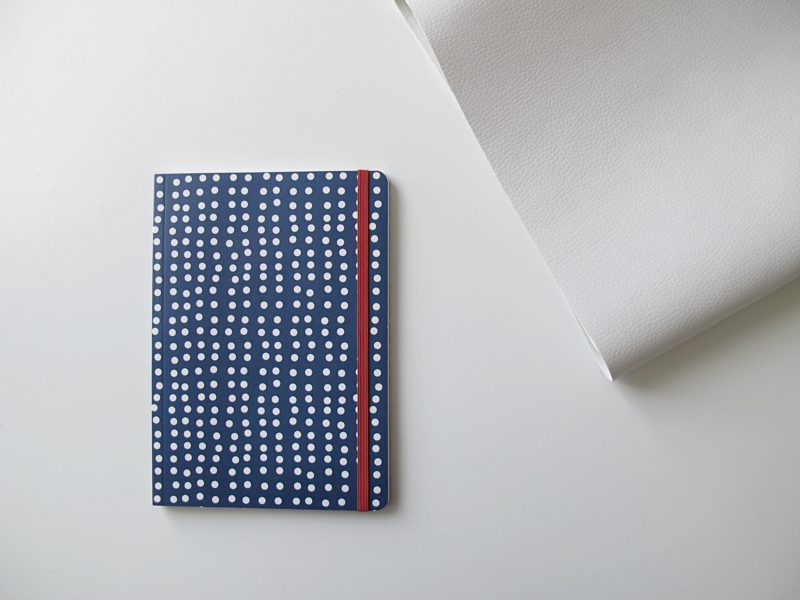
Now you should cut a piece of the leather with these dimensions: 2x the width of your book + 2x the back + three quarters the width. And on the other length as high as your note book is.
/// Nu ska du klippa ut en bit av lädret med dessa mått: 2x bredden på din bok + 2x bredden på bokryggen + 3/4 av bredden på din bok.
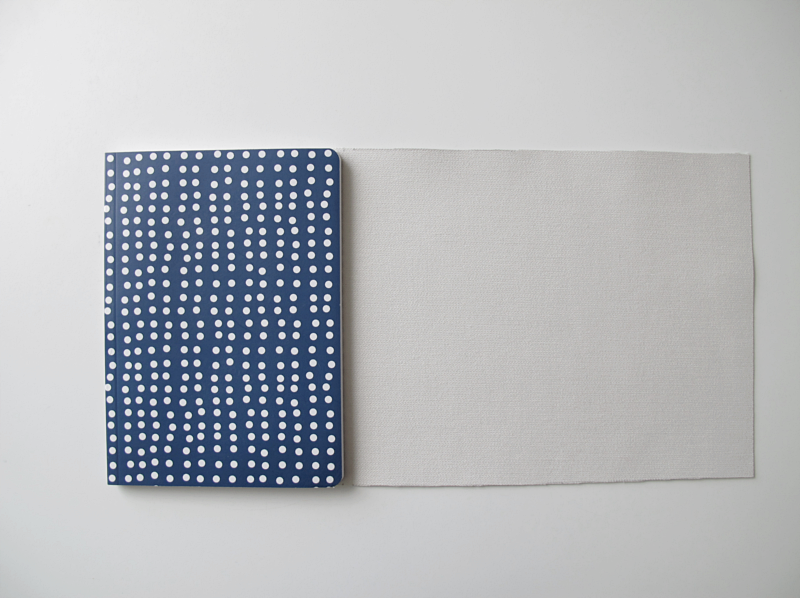
Put some glue on the front of the book. Make sure you put glue all the way to the corners. And gently put the leather piece on top of the glue and press. When that side has dried, put glue on the other side of the book and fold the piece of leather over that side too. And press. Don´t put any glue on the books spine.
/// Stryk lim på framsidan av din anteckningsbok. Var noga med att få ut limmet ända ut till kanterna. Lägg försiktigt på läderbiten och tryck till. När den sidan har torkat tar du och stryker lim på den andra sidan av boken. Och viker lädret över till den sidan och trycker till. Stryk inget lim på bokryggen.
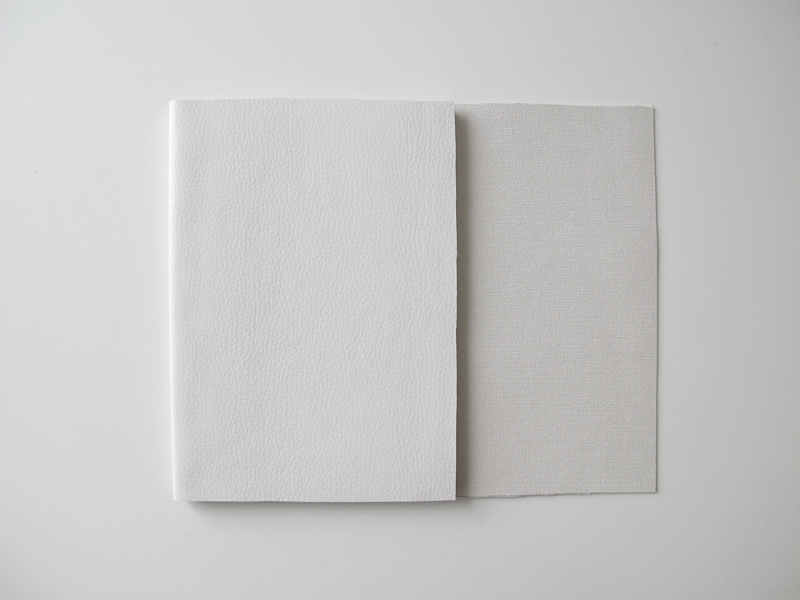
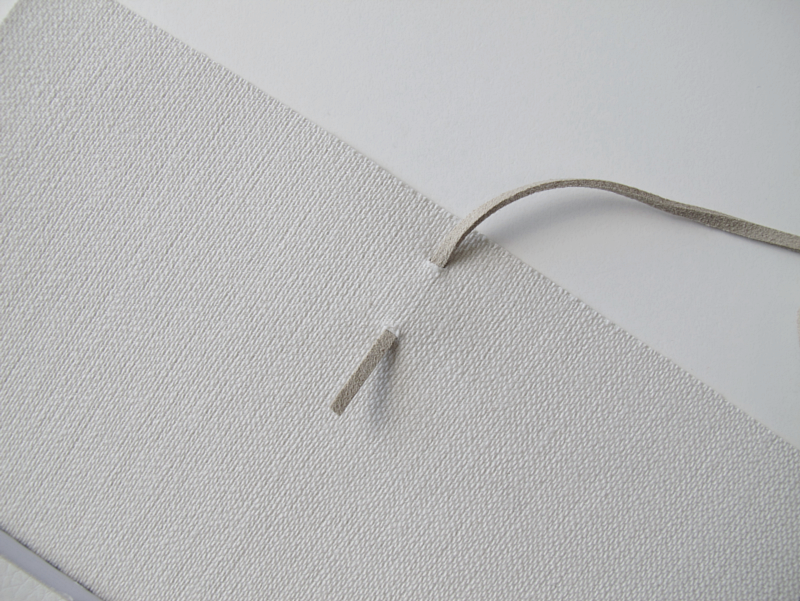
When the book has dried you can cut two small holes on the piece that have no glue. Make the holes as wide as the thread you´re using.
/// När limmet har torkat kan du göra två små hål på den biten som inte har något lim. Gör hålen så stora som den tråd du vill använda.
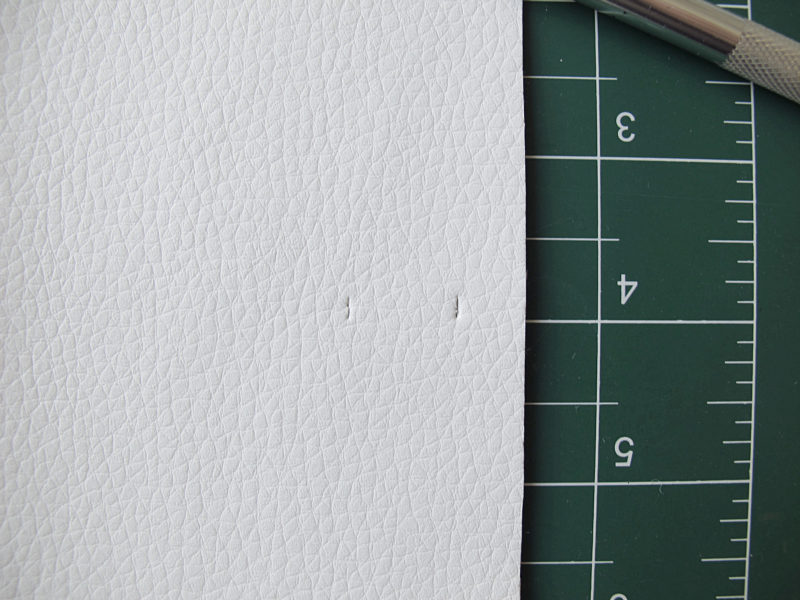
Slide the thread thru the holes. And glue the end to the leather.
/// Dra sedan tråden genom hålen och limma fast den lilla änden i lädret.
And you´re done! /// Och nu är du klar!