Blog

  • QUIET

    påse

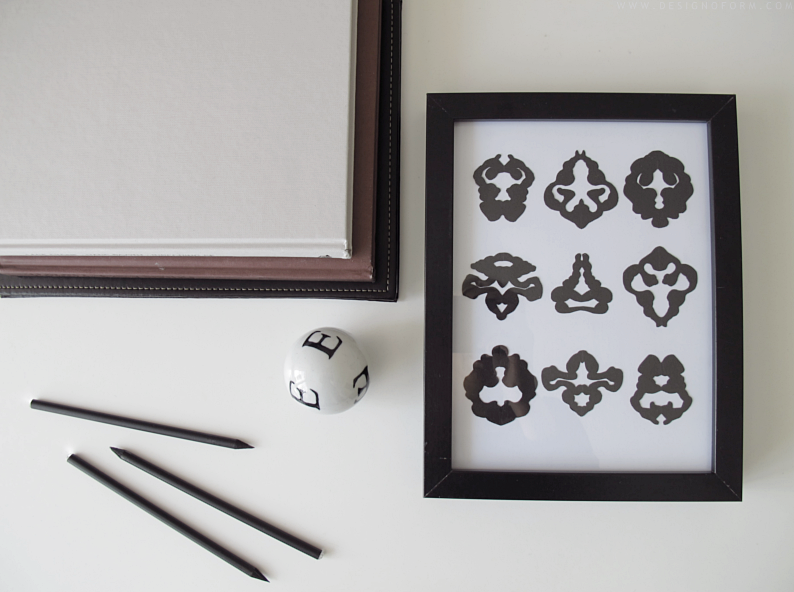
    Oh it´s been really quiet on the blog this week. I´ve been having problem with my internet so that´s why. On the other hand I been having a lot of time to make diy´s! This is a sneak peek of one that is coming up next week.

    /// Väldans vad det varit tyst på bloggen i veckan. Haft problem med internet. Men men.. nu ska det förhoppningsvis fungera. Här har ni iallafall en sneak peek på ett diy som kommer upp nästa vecka.

  • NINE SMALL FIGURES

    tavla

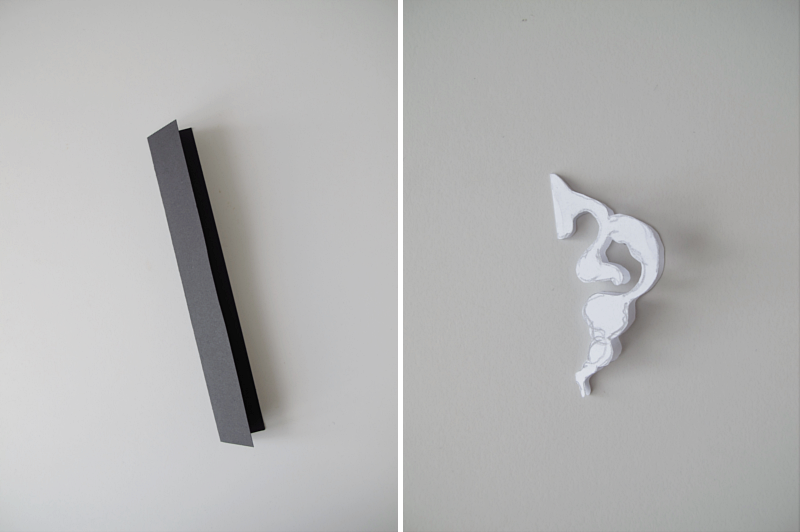
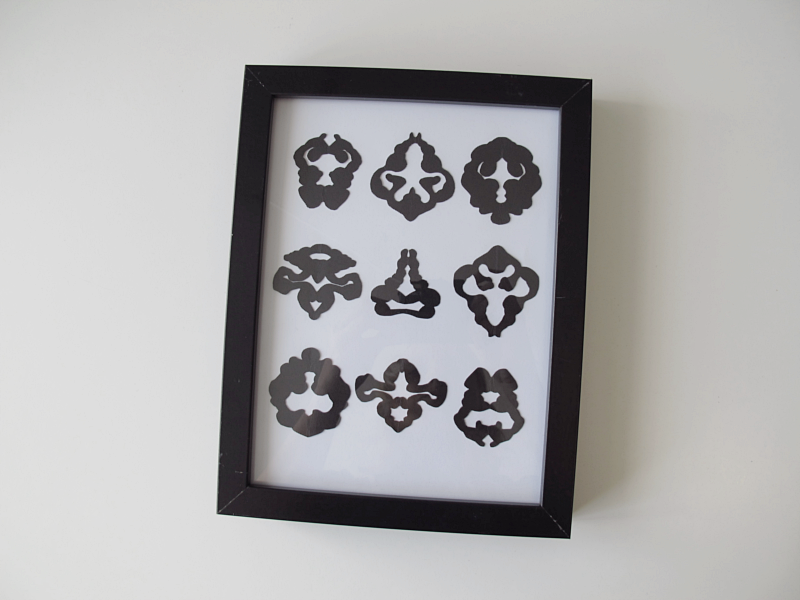
    I made a framed poster the other day using some of the figures I did in this post. I think it turned out great so I wanted to show you how I did, if you want one too. First you take one black paper and one white paper and fold them in half. Then you take the white paper and draw one of the figures on it.

    /// Jag gjorde en tavla häromdagen med hjälp av de små krumelurerna jag gjort i detta diy. Det var väldigt enkelt, så jag tänkte visa er hur jag gjort, ifall ni vill ha en likadan. Jag började med att vika ett svart papper och ett vitt papper på mitten. Sedan ritade jag av en av krumelurerna på det vita papperet.

    tavla

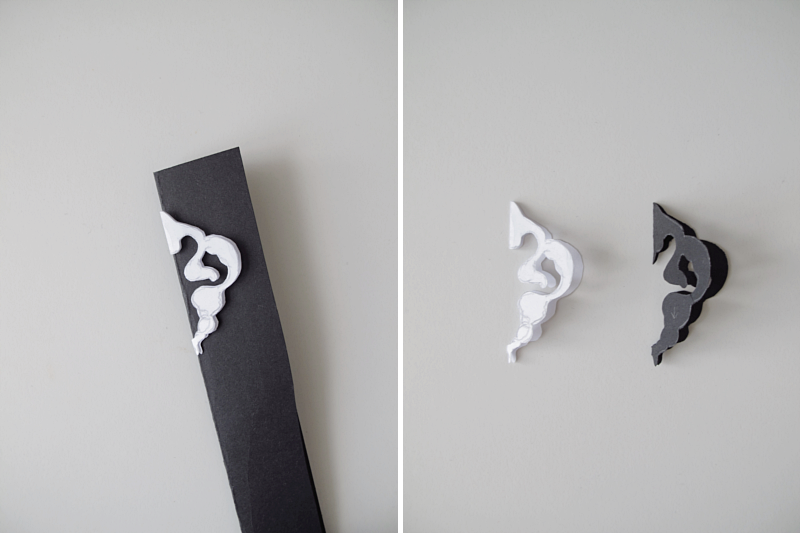
    Place the white paper figure on top of the black paper and draw it on. And then cut it out.

    /// Sedan lade jag den vita figuren uppe på det svarta papperet och ritade av den. Och så klippte jag ut den.

    tavla

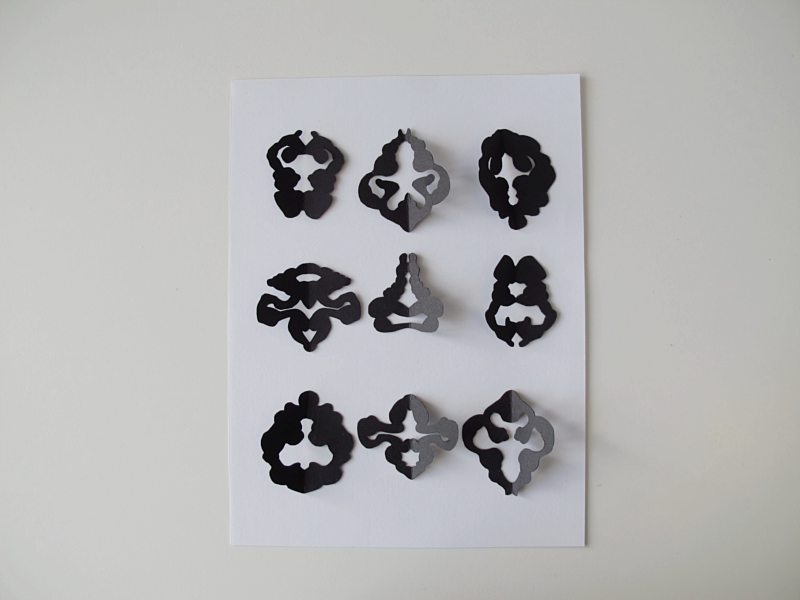
    Make 9 different figures. Move them around until you´re happy with the composition and then glue them on the paper.

    /// Jag gjorde 9 olika små figurer, och flyttade runt dem tills jag var nöjd. Sedan var det bara att limma fast dem.

    tavla

    And then frame it. Done! (If you wonder why I folded the black paper in half, it´s just because I found it easier to cut the holes in the middle of the figure with a small pair of scissors. If you don´t fold it you have to use a paper knife to cut the holes. )

    /// För att sedan rama in. Klart! (Om du undrar varför jag vek det svart papperet på mitten så beror det bara på att jag tycker det är enklare att klippa ut håligheterna i mitten på krumelurerna med sax istället för med papperskniv som man måste använda om man inte viker)

    tavla

  • I LIKE

    diy

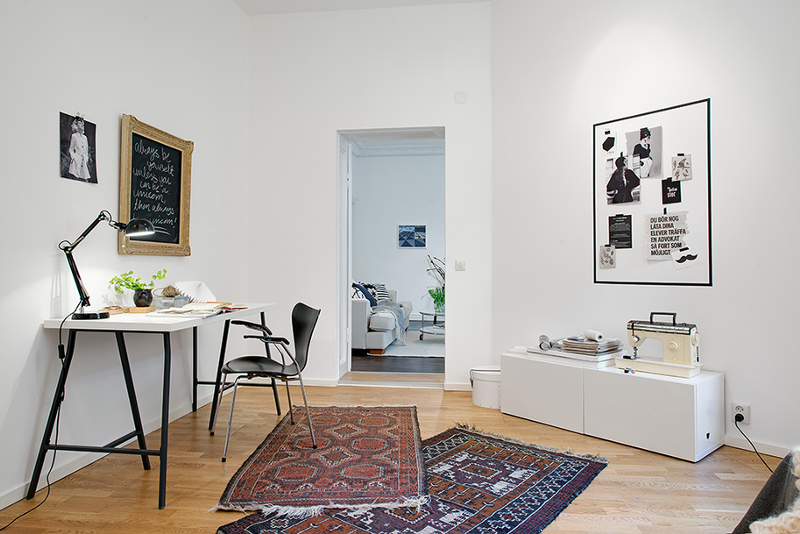
    I really like this idea with the washi tape around the moodboard. Especially when you have a big wall like that, it becomes more.. like a painting. Imagine stuffing it full with pictures. Creative chaos with some bounderies. :)

    /// Jag gillar denna idé med washitejp runt moodboarden. Speciellt när väggen är så stor. Blir på något sätt mer.. som en tavla så. Tänk att fylla den full med bilder. Kreativt kaos fast med ram. :) Det får bli dagens tips.

    fo: alvhem mäkleri

  • PAPER BEADS

    pärlor

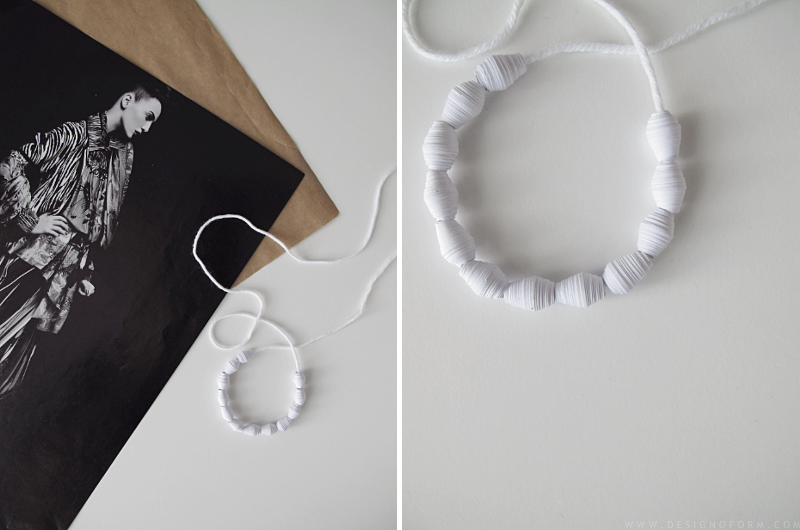
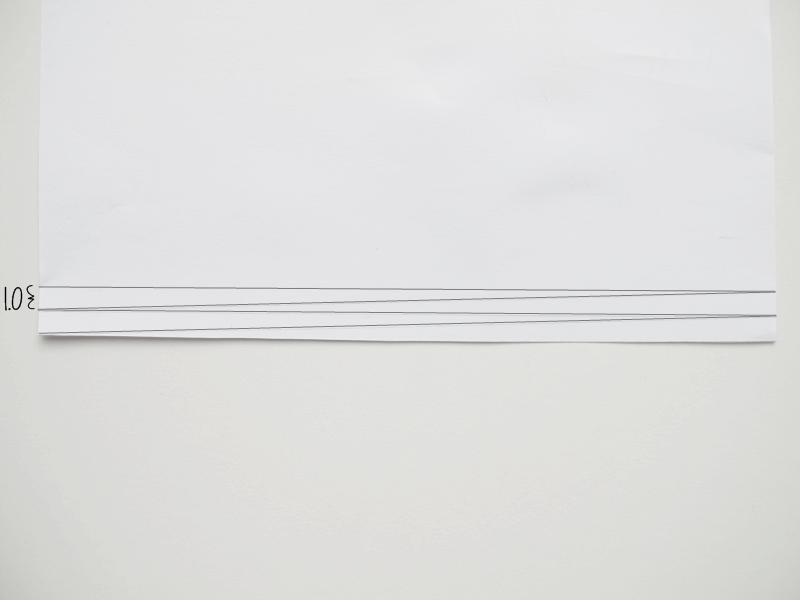
    A simple way to make beads is to use regular paper. First you draw triangles on a paper. I used an a4 so my triangles are about 30cm long and the widest 1cm. When you´re finished, cut them out.

    /// En enkelt  sätt att göra pärlor på, är att göra dem av papper. Börja med att rita upp trianglar på ett papper. Jag använde ett vanligt a4 så mina blev ung. 30cm långa och 1cm som bredast. Klipp sedan ut dem.
    pärlor

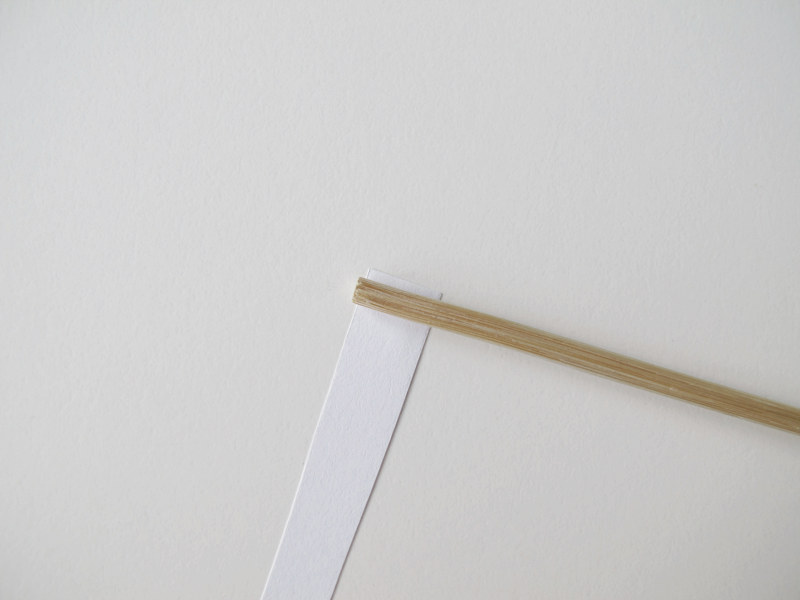
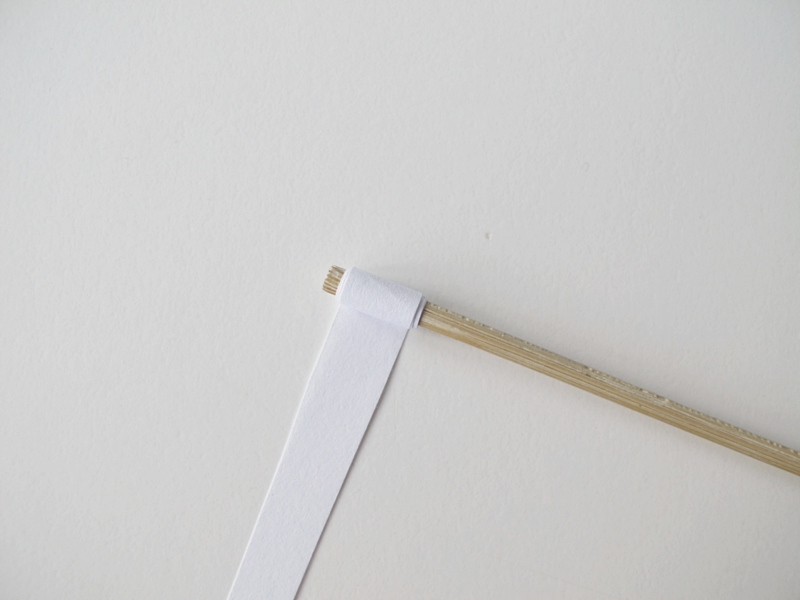
    Take a brochette and slowly roll the paper around it. Start with the widest part.

    /// Ta en grillpinne och rulla försiktigt pappertet runt. Börja med den bredaste delen av papperet.
    pärlor

    pärlor

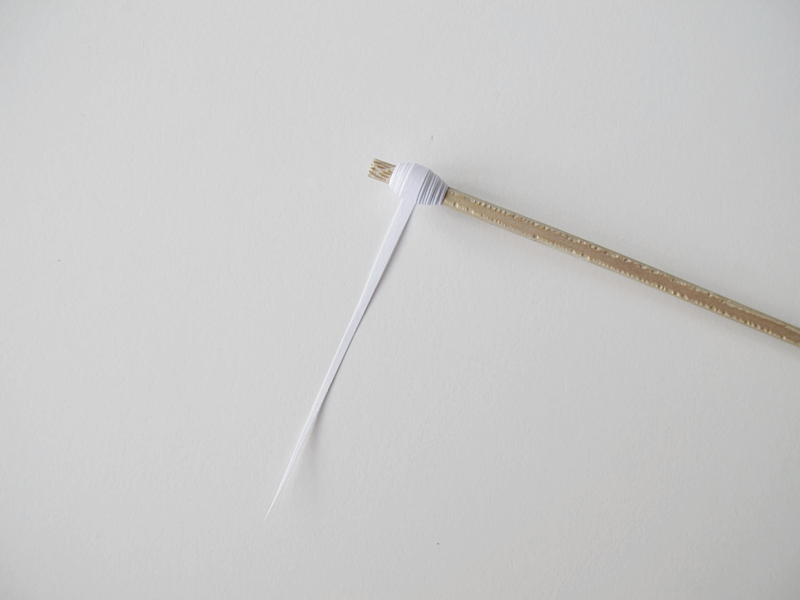
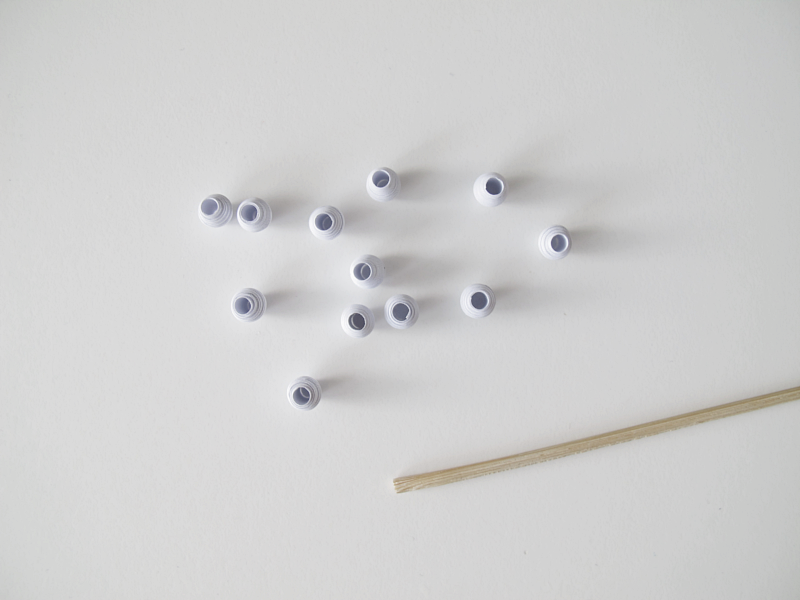
    As you roll you can put a dot of glue here and there just to secure it. When you´ve reached the last 5 cm of the triangle put glue  on the remaining part and continue to roll. Let it dry for a while and then gently remove it from the brochette. Now you can do the next bead.

    /// Medan du rullar kan du limma lite här och där för att få pärlan att hålla ihop. När du bara har 5cm kvar av pappertet, limma hela fliken och fortsätt sedan att rulla. Låt den torka lite grann och dra sedan av den från grillpinnen. Nu kan du börja på nästa pärla.
    pärlor

    For this diy I used a brochette but if you want bigger holes on your beads you can use a pencil. Or if you want smaller you can use a steel wire. It all depends on which kind of thread you´re using later on.  And you can also put a coat of paper coating on the beads to make them more durable.

    /// Jag använde en grillpinne i detta diy, men om du vill att dina pärlor ska ha större hål kan du rulla runt en penna istället, eller om du vill att de ska vara mindre kan du använde en ståltråd. Det beror ju på vilken typ av tråd du vill använda till pärlorna sedan. Ett litet tips kan också vara att måla pärlorna med ett lager lack för att de ska hålla längre.
    pärlor

  • MORE LAMPS

    lampa

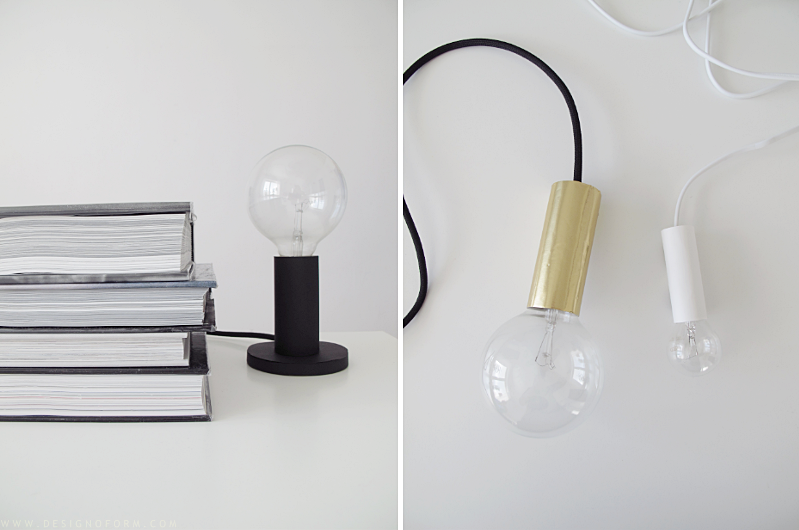
    I´m so happy you like the lamp diy in the previous post! And today I made two new ones. One black with a foot, and one tiny white one.

    /// Oj vad uppskattat lamp-inlägget blev! Så roligt att ni gillar. Blev till att göra två nya lampor idag. En svart med fot och en liten vit en.

  • DIY LAMP

    lampa

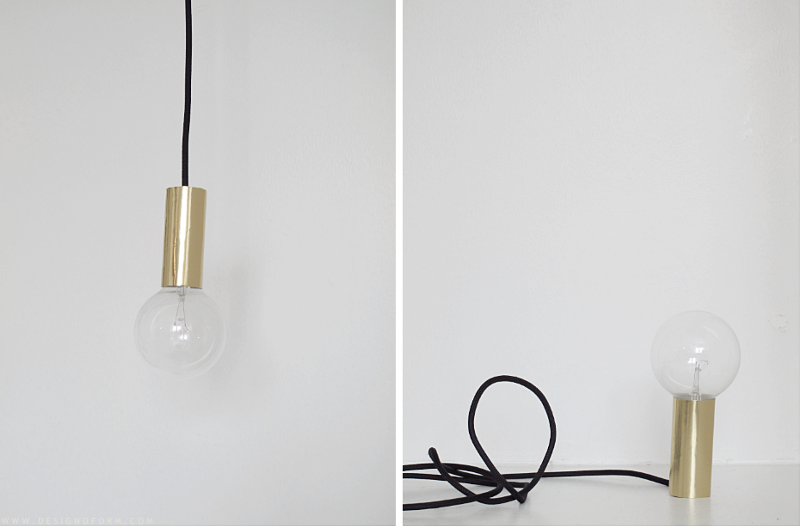
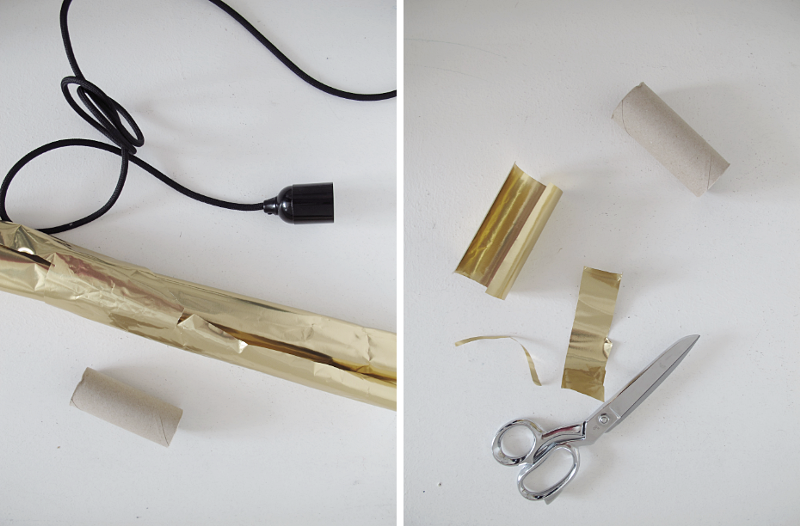
    I made this lamp today and I thought I show you how. Ridiculously easy to make and almost for free. What you need is a cord with a lamp socket, some gold paper, glue, a pair of scissors and an empty toilet paper roll. Start by cutting a piece of the paper in the same size as the paper roll.

    /// Jag gjorde denna lampa idag och tänkte visa er hur. Löjligt enkel att göra och nästan helst gratis. Vad du behöver är en lampsladd med sockel, guldfärgat papper, lim, sax och en tom toapappersrulle. Börja med att klippa en bit av guldpapperet lika stor som toapappersrullen.

    lampa

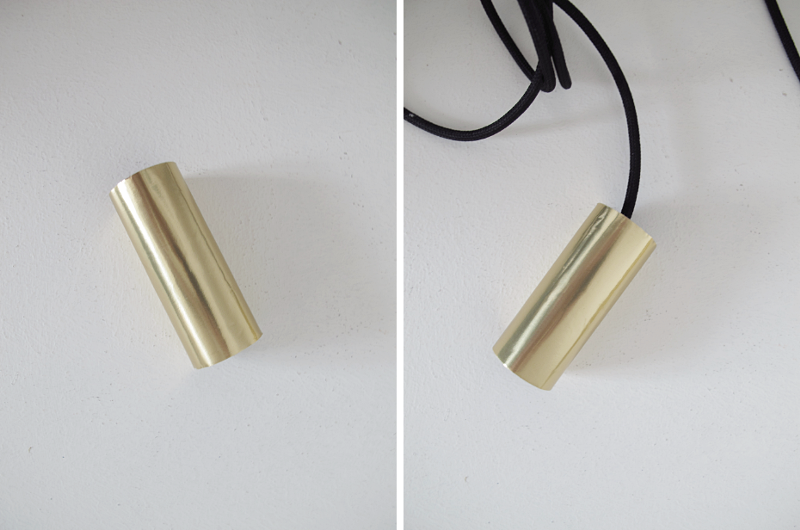
    Glue the paper unto the roll and gently pull the paper roll over the socket. If you want it to hang you are pretty much done, but if you want it to stand, just make a little hole on the bottom of the roll, and place the cord there.

    /// Limma fast guldpapperet på rullen och dra den försiktigt över sockeln. Om du vill ha lampan hängande så är du klar nu, men vill du ha den stående så gör ett litet hål längst ner på rullen så att du kan lägga sladden där.

    lampa

We use cookies to personalise content and ads, to provide social media features and to analyse our traffic. We also share information about your use of our site with our social media, advertising and analytics partners.
Accept
Decline