When you don’t have that much space, this is a pretty nice solution.
/// När du bor på liten yta, är detta en väldans fin lösning på förvaringen.
fo: fantastic frank
When you don’t have that much space, this is a pretty nice solution.
/// När du bor på liten yta, är detta en väldans fin lösning på förvaringen.
fo: fantastic frank
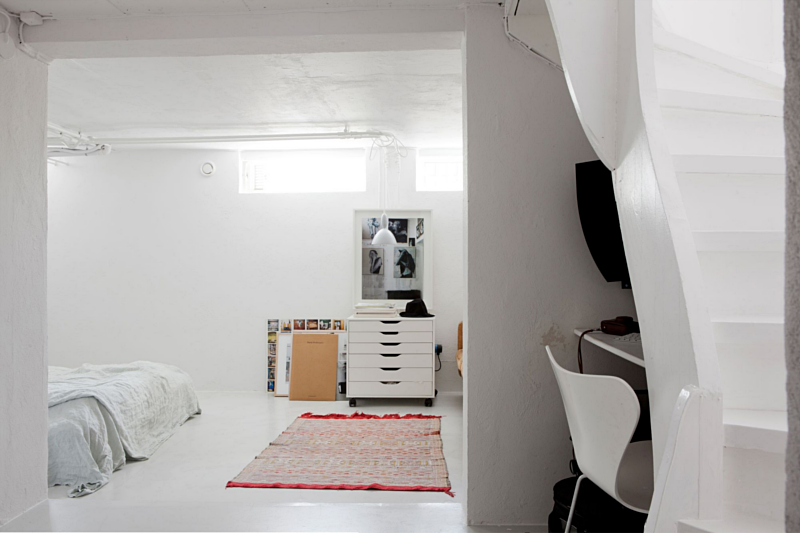
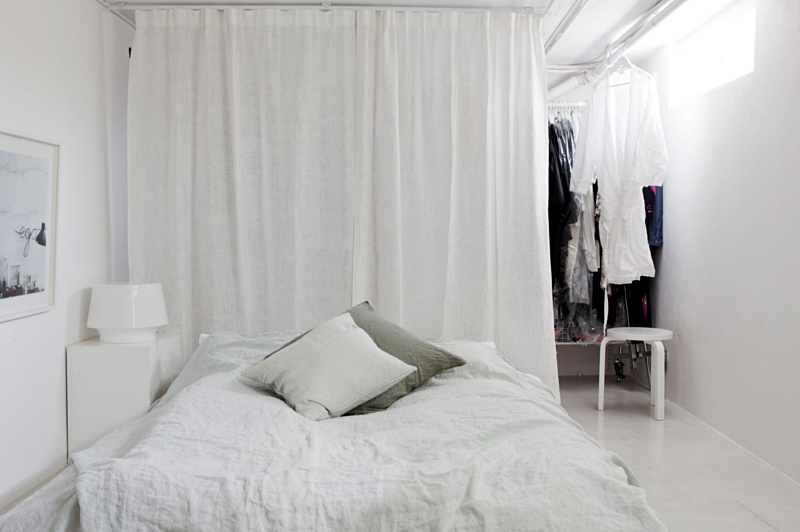
Let´s end this week with a beautiful bedroom. I really like how they managed to make it feel airy and light even though it’s a basement bedroom. Oh and the wardrobe (that actually works as a walk in closet) behind the fabric. So much better than big cupboards.
/// Ett bra avslut på denna vecka tycker jag detta fina sovrum är. Jag gillar verkligen hur dom har fått det att kännas luftigt och ljust fast det är i en källare. Och garderobslösningen. Med ett tunt tyg istället för tunga garderober. Gillas!
fo: hemnet | bolaget
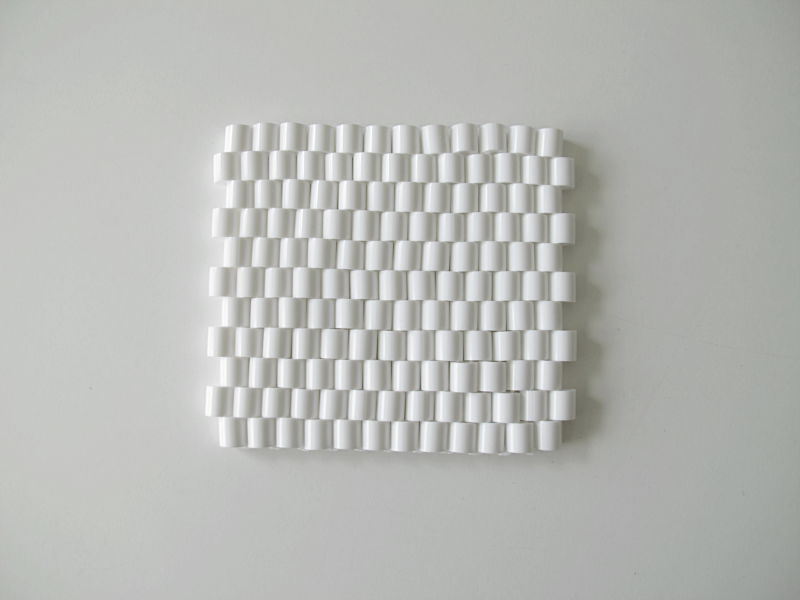
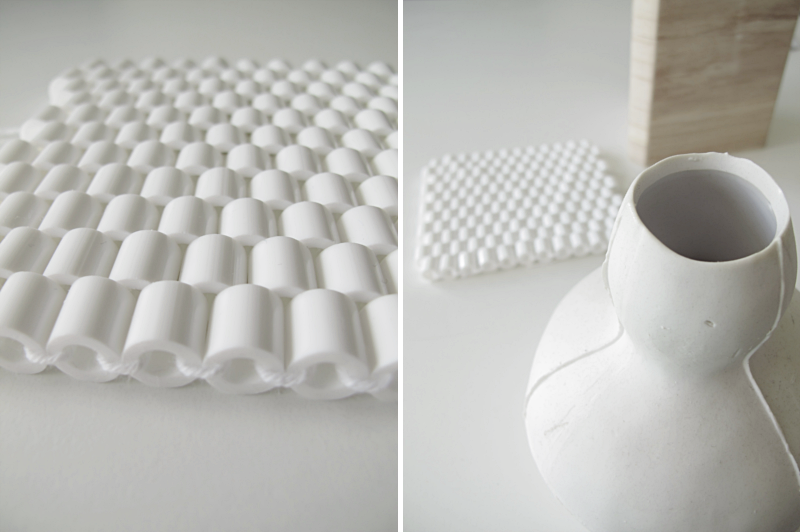
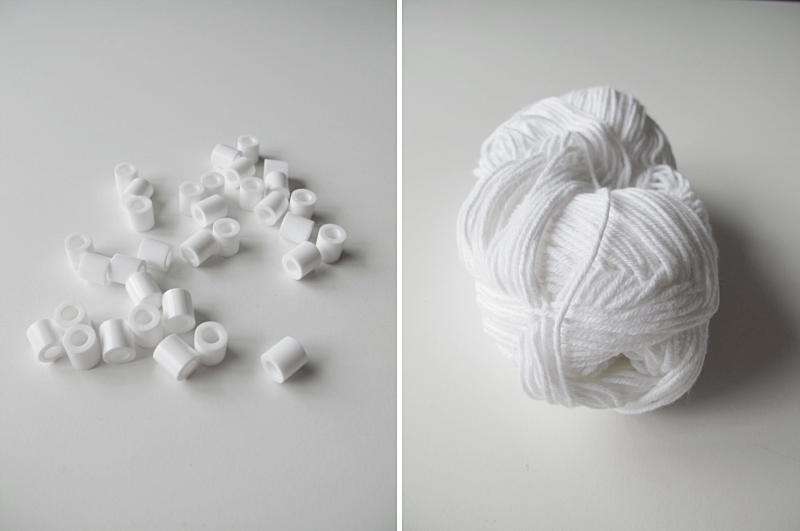
Today I´m going to show you another diy with beads. This is not really a tutorial for something specific, it’s more of a I’m-going-to-show-you-the-technique post. For this you need beads and some thread. I used Hama Maxi beads.
/// Idag tänkte jag visa er ett till diy med pärlor. Det är inte riktigt en tutorial för något specifikt, utan mer för att visa tekniken. Till detta behöver du pärlor och tråd. Jag använde Hama Maxi pärlor.
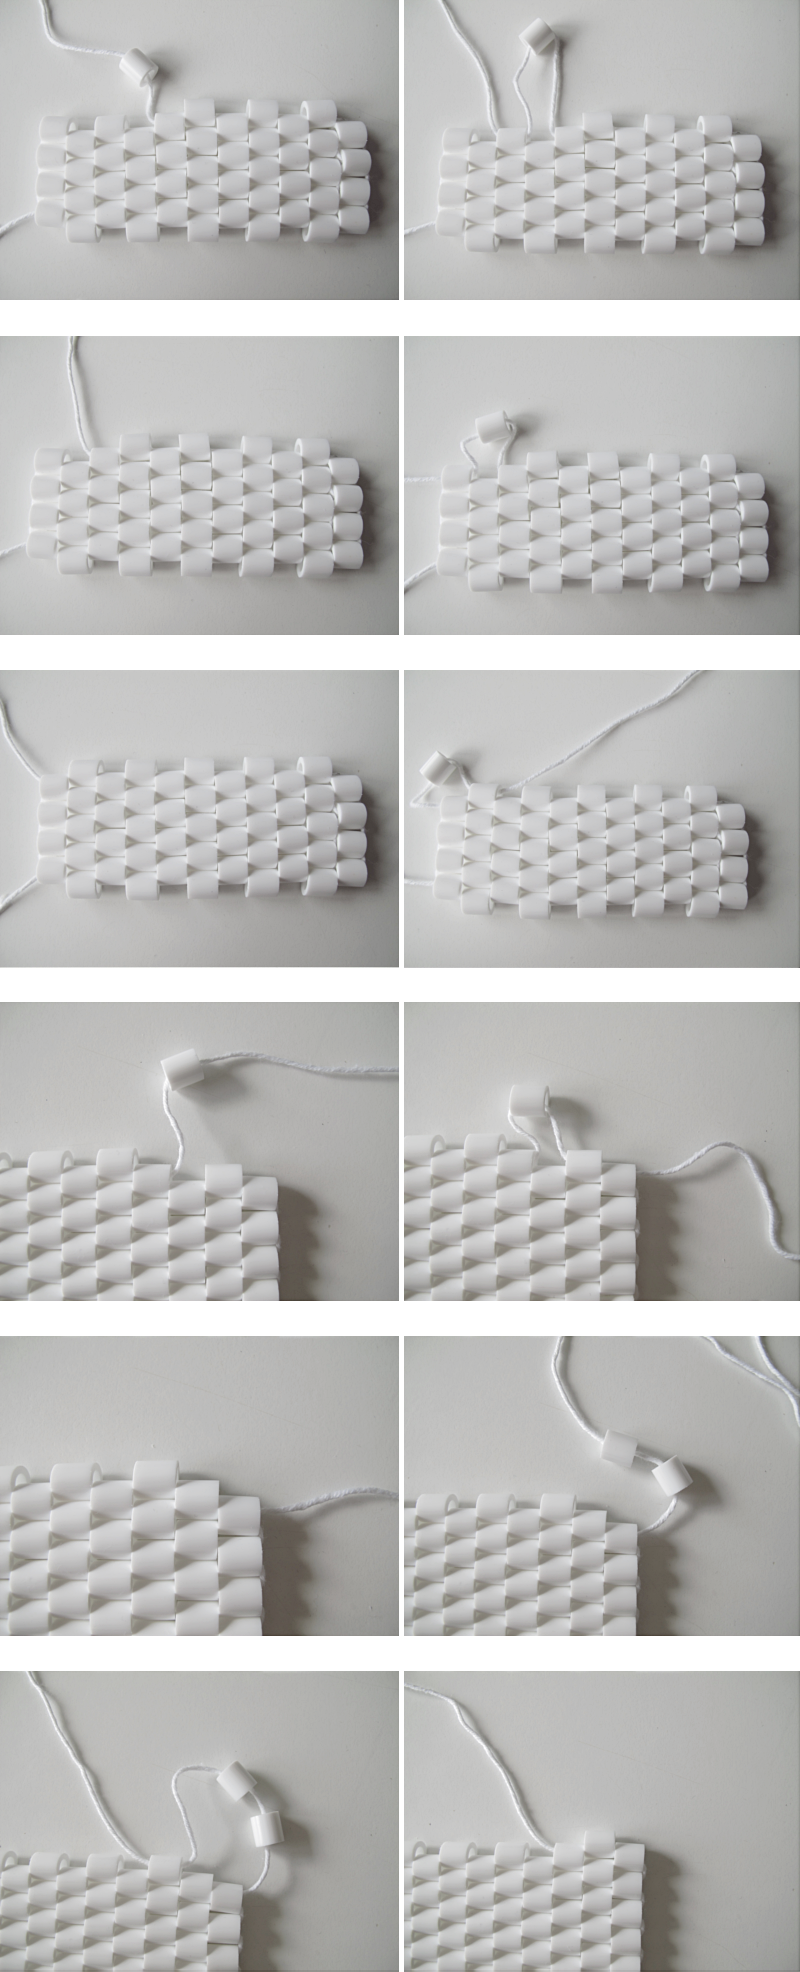
And here is how you do it:
/// Och så här gör du:
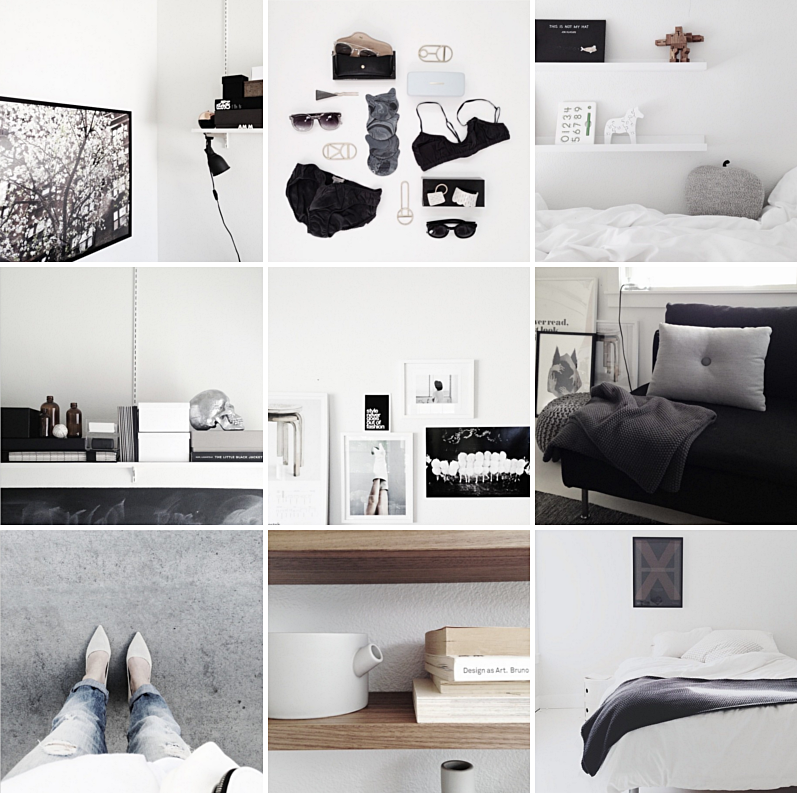
amerrymishap ( Had a bit of a struggle to decide which pictures to show you, since I like e.v.e.r.y one she posts. Inspiration overload! )
/// amerrymishap ( Hade lite svårt att välja bilder, för jag gillar verkligen alla bilder hon tar. Inspiration till tusen! )
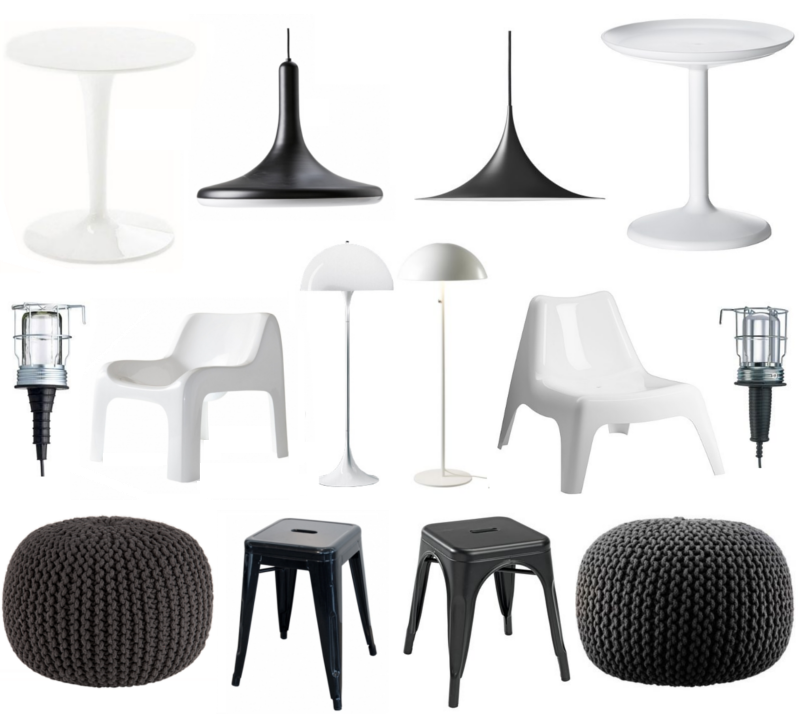 Kartell Sidetable /// Sidbord Ikea
Ilva Pendant light /// Taklampa Gubi
Reforma Worklamp /// Arbetslampa Clas Ohlson
ProFeelDesign Chair /// Stol Ikea
Louis Poulsen Floor lamp /// Golvlampa Ikea
Urban living Pouf /// Puff CB2
( 2738 euro or 664 euro /// 23769 kr eller 5768 kr)
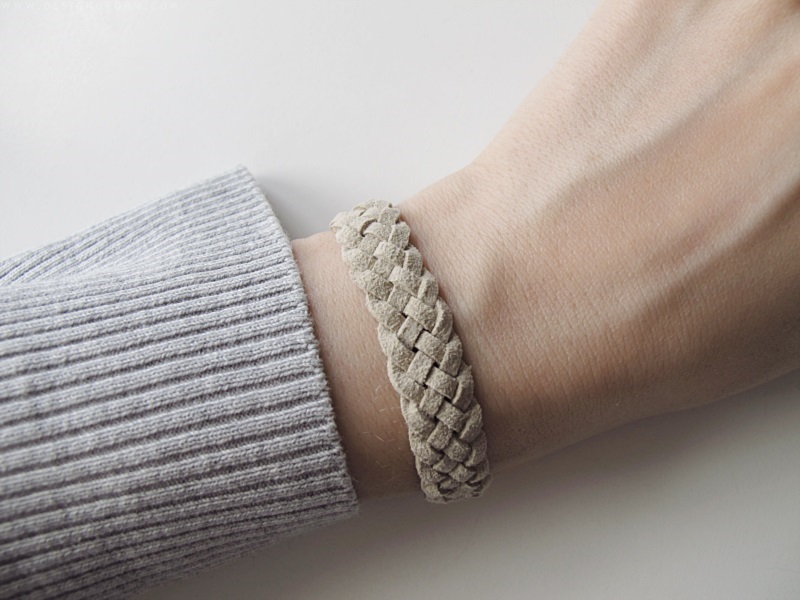
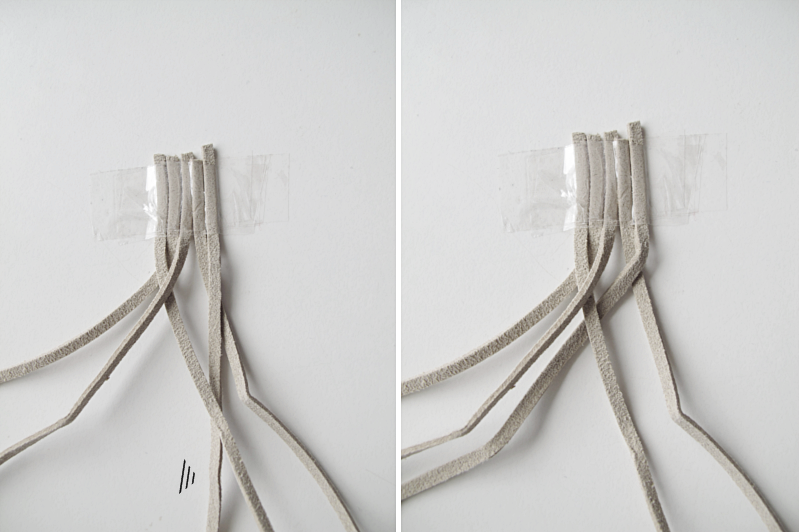
Today I’m going to show you how to make a five-strand-braid. First you want to attach the threads to a plane surface.
/// Idag tänkte jag visa er hur man gör denna fläta med fem snören. Börja med att fästa snörena på en plan yta.
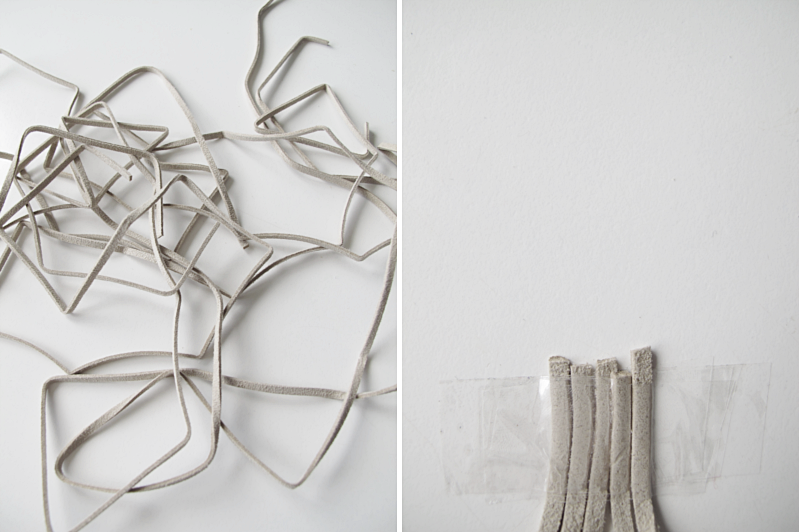
Divide the threads so that you have three on the left side and two on the right. Then start with the left side: Take the thread with the arrow, and place it over the thread next to it.
/// Dela upp snörena så att du har tre på vänstra sidan och två på högra. Så är det dags att börja på vänster sida: Ta snöret med pilen, och lägg den över snöret bredvid.
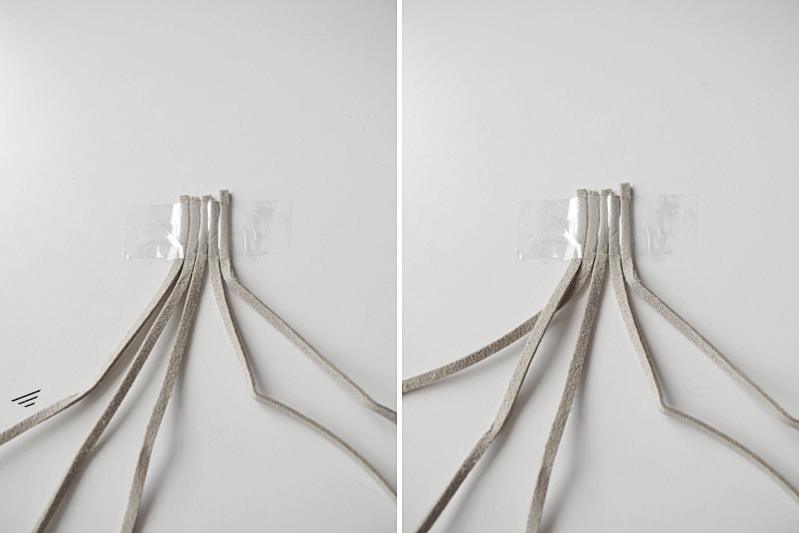
Take the thread with the arrow and place it over the thread to the left.
/// Ta snöret med pilen och lägg den över snöret till vänster.
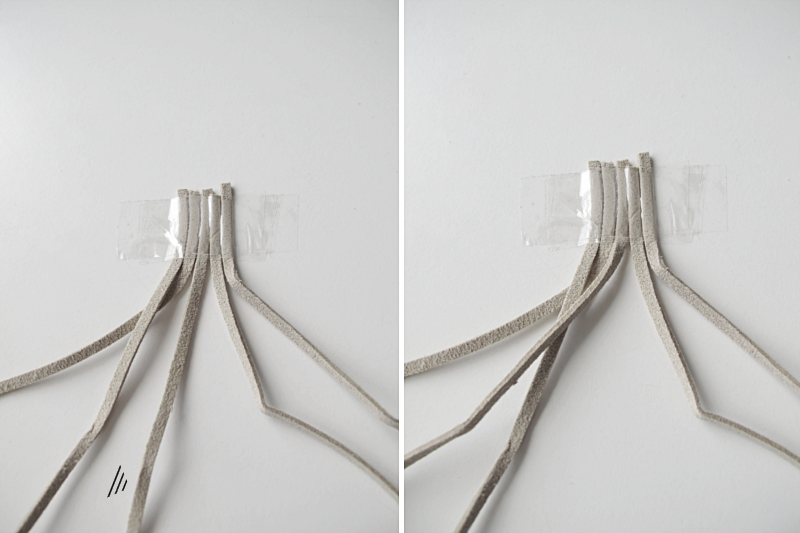
Take the thread with the arrow and move it over to the right side.
/// Ta snöret med pilen och flytta över den till höger sida.
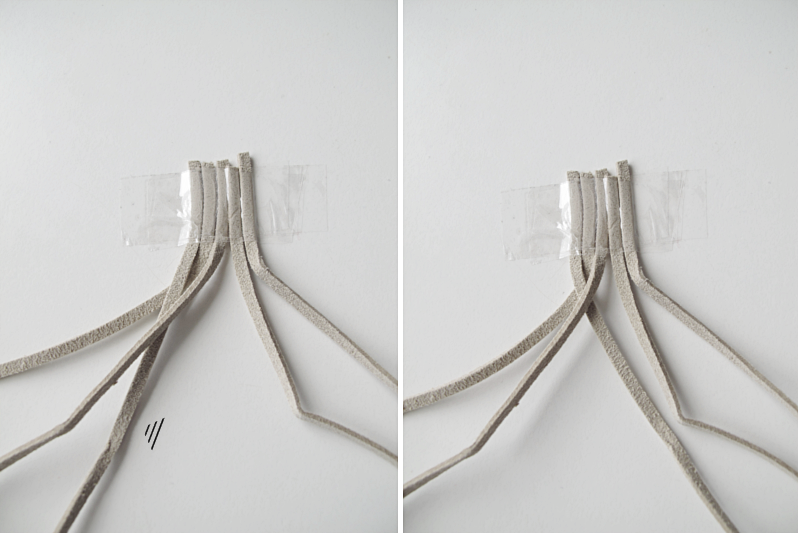
Then continue with the right side. This is actually the same as we did on the left side. Only mirrored. Take the thread with the arrow and place it over the thread next to it.
/// Och nu fortsätter vi på höger sida. Du ska göra precis som vi gjorde på vänster sida. Bara spegelvänt. Ta snöret med pilen och lägg den över snöret bredvid.
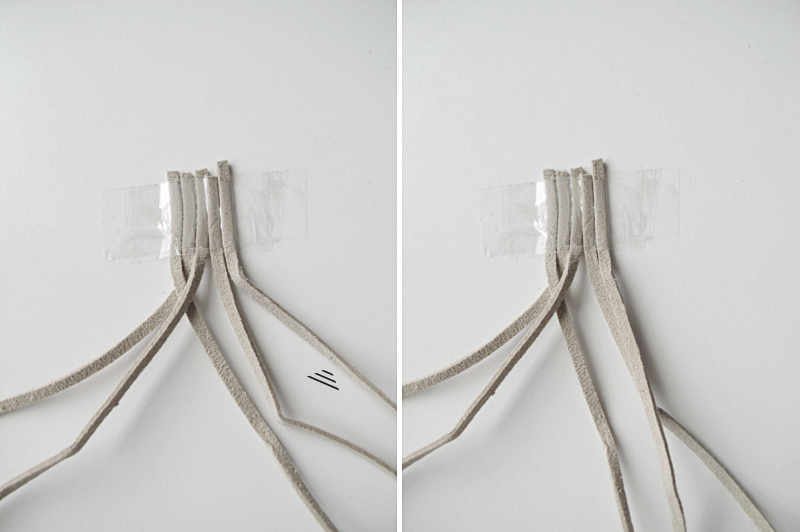
Take the thread with the arrow, and place it over the thread to the right.
/// Ta snöret med pilen, och lägg den över snöret till höger.
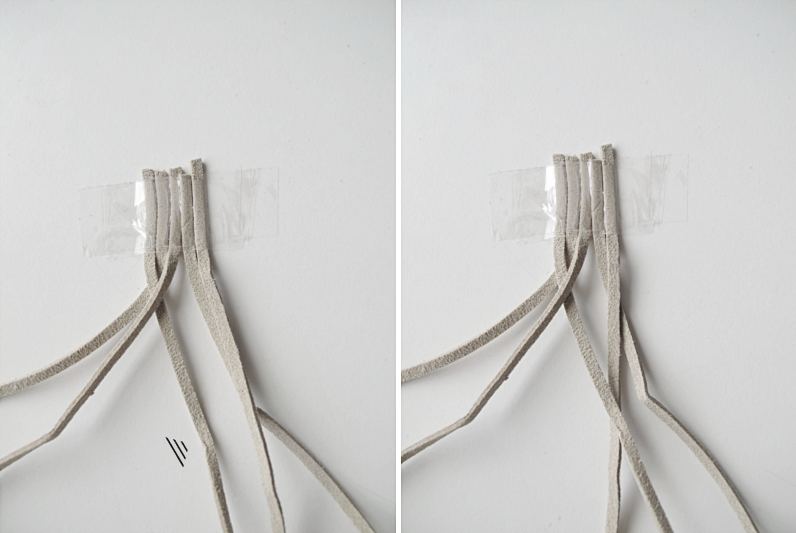
Move the thread with the arrow over to the left side and start from the beginning again. (from: ..start with the left side ). Repeat these steps until you have the length that you want. If you’re making a bracelet you can use one of these as a lock. Good luck!
/// Flytta över snöret med pilen till vänster sida och starta om från början igen. (från: ..börja på vänster sida.) Så alternerar du dessa sidor tills det att du har den längden du vill på flätan. Om du vill använda flätan som armband kan du använda dessa som lås. Lycka till!