PATTERNED ENVELOPES

diy

diy

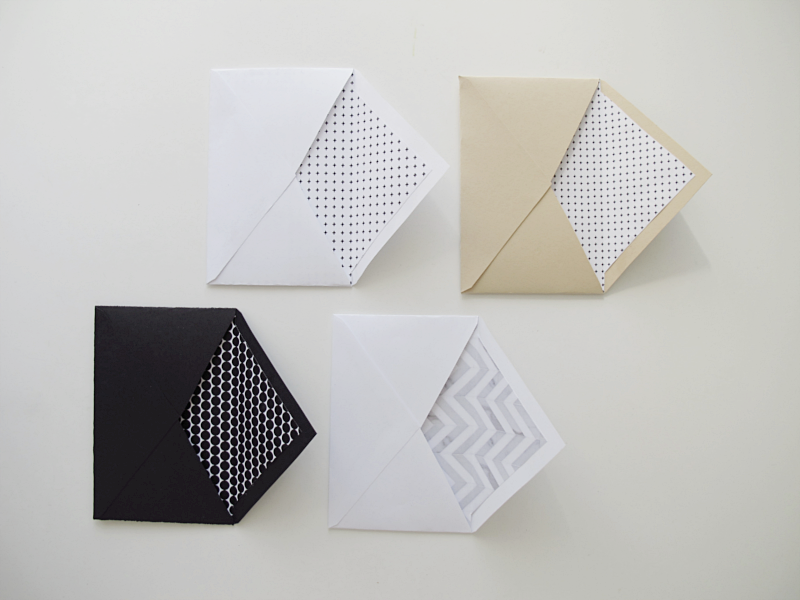
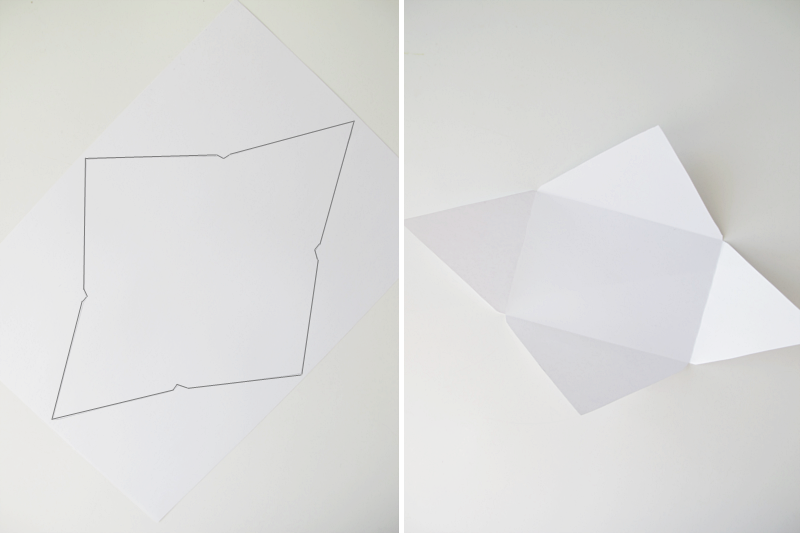
Todays diy shows a really easy way to update your envelopes. To make them more personal. First you take an envelope you already have at home, and use that as a template. Cut it out and fold.

/// Dagens diy är superenkelt. Och visar hur du snabbt uppdaterar dina kuvert, och gör dem mer personliga. Börja med att leta åt ett kuvert som du redan har hemma och använd det som mall. Rita av, klipp ut och vik.

diy

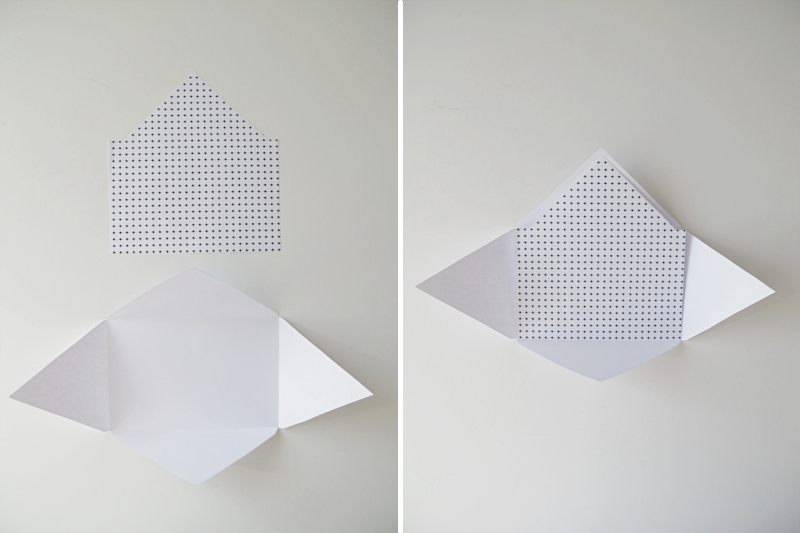
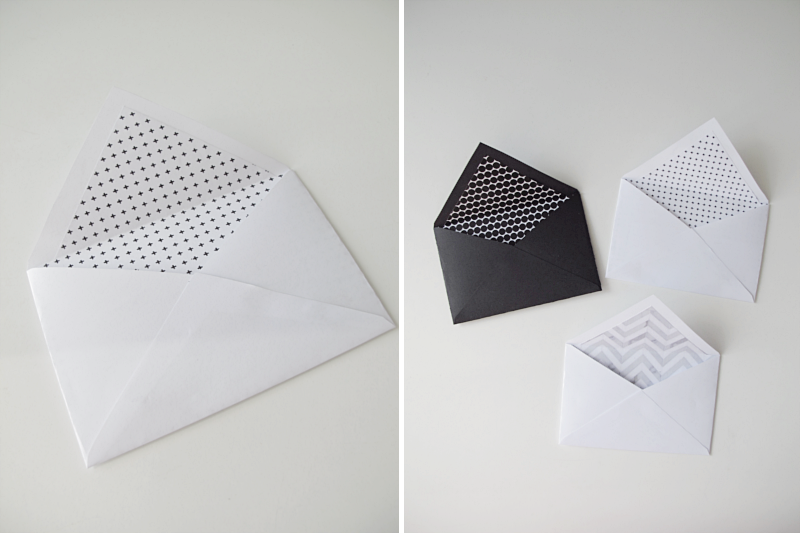
Then you take a paper with a pattern you like and cut it into this shape. As big as the front of the envelope, but with an extra triangle on top. 1cm smaller than the envelope, on two of the sides.

/// Sedan tar du ett papper med ett mönster du gillar, och klipper det i denna form. Lika stor som framsidan på kuvertet, men med en extra triangel uppe på. Två av sidorna ska vara 1cm innanför kanten.

diy

Glue the patterned paper on to the envelope, and then glue the two sides together.

/// Limma fast det mönstrade papperet, och limma sedan ihop de två sidorna.

diy

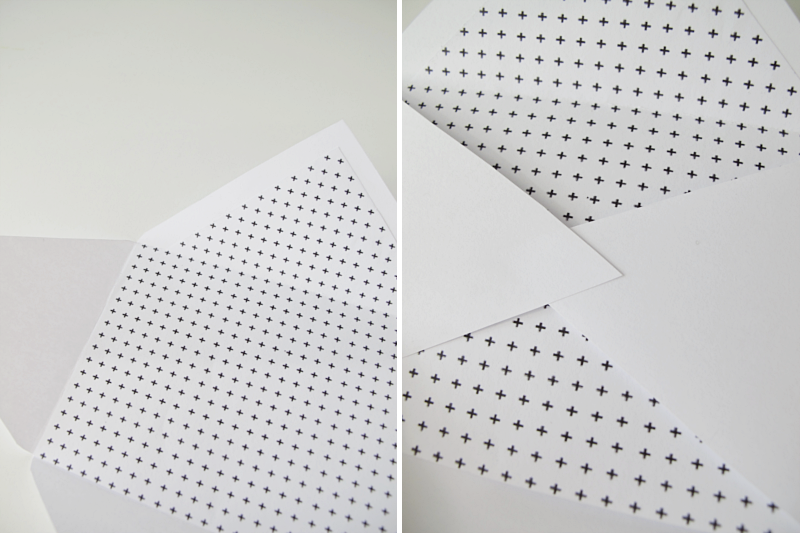
Glue the bottom piece to the sides and you are done! Easy, wasn´t it?

/// Avsluta med att limma fast botten med sidorna och du är klar! Enkelt va?

diy


Posted

in

by

Tags:

Comments

13 responses to “PATTERNED ENVELOPES”

  1. Tusen takk for kjempelekker diy om konvolutter :) Dette skal jeg hjem og prøve ut!

    1. designoform

      Oj vad roligt att man kan inspirera! :)

  2. These are so cute! I will have to make some envelopes like this. I am thinking with maybe a bright yellow pattern? xx. McKenna Lou
    http://www.lynnandlou.com

  3. Sidse

    Hi! Where do you buy the paper with pretty patterns? I love them :-)

    1. designoform

      Oh I made them myself, with a lot of inspiration from pinterest! :)

    2. Sidse

      You’re good. Perhaps another lovely DIY?! ;-)

      1. designoform

        Haha :)

  4. Linda Gunneklev

    Hi har set du laver de fineste papir diamanter,
    Hvordan folder man dem ? Har du en “opskrift”
    Med venlig hilsen
    Linda (Danmark )

  5. Wow, they look great. Beautiful DIY!
    Have a nice week!
    X

    1. designoform

      Thank you! You too :)

  6. […] in här för steg för steg […]

Leave a Reply

Your email address will not be published. Required fields are marked *

We use cookies to personalise content and ads, to provide social media features and to analyse our traffic. We also share information about your use of our site with our social media, advertising and analytics partners.
Accept
Decline