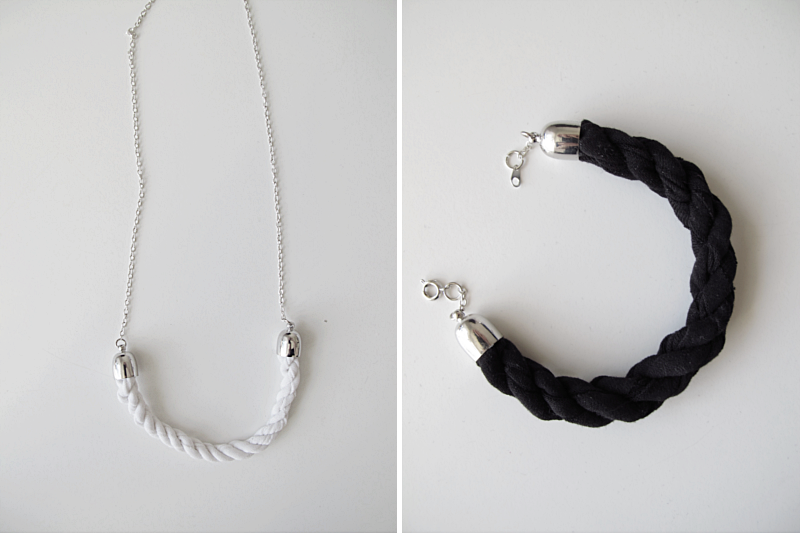
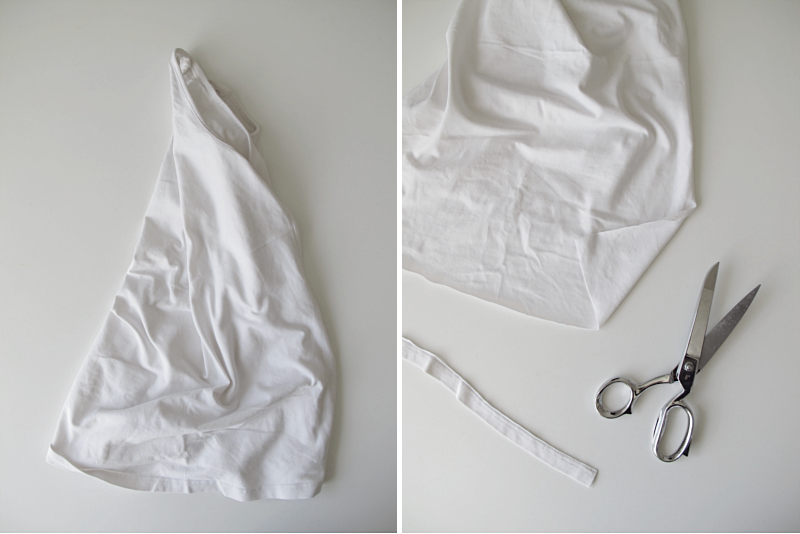
Here´s another braid tutorial. I made a necklace and a bracelet from this diy, but you can pretty much do whatever you like. First take an old top in a stretchy material ( you don´t want the sides to start threading). Cut off the bottom seam.
/// Idag tänkte jag visa er ett väldigt enkelt sätt att göra flätor på. Jag gjorde ett halsband och ett armband. Börja med att leta åt ett gammalt linne eller en topp. Så länge det är i ett stetchigt material. ( Annars kan tyget börja tråda). Klipp bort den nedersta sömmen på linnet.
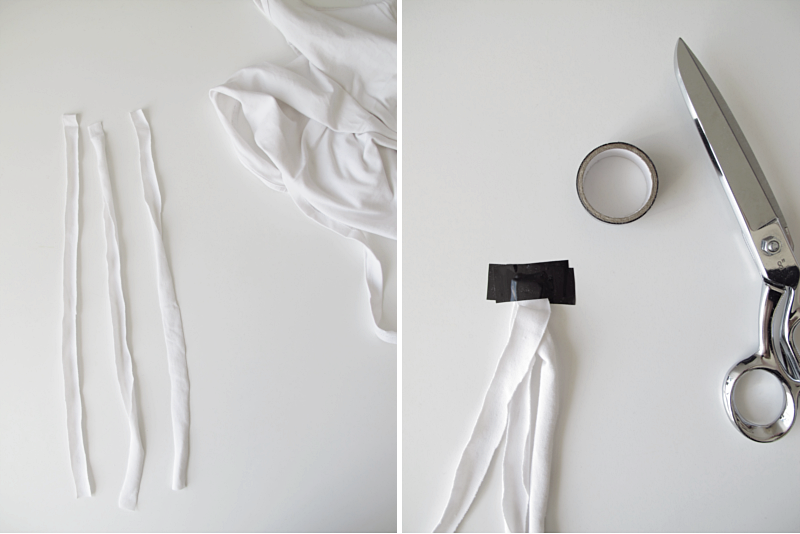
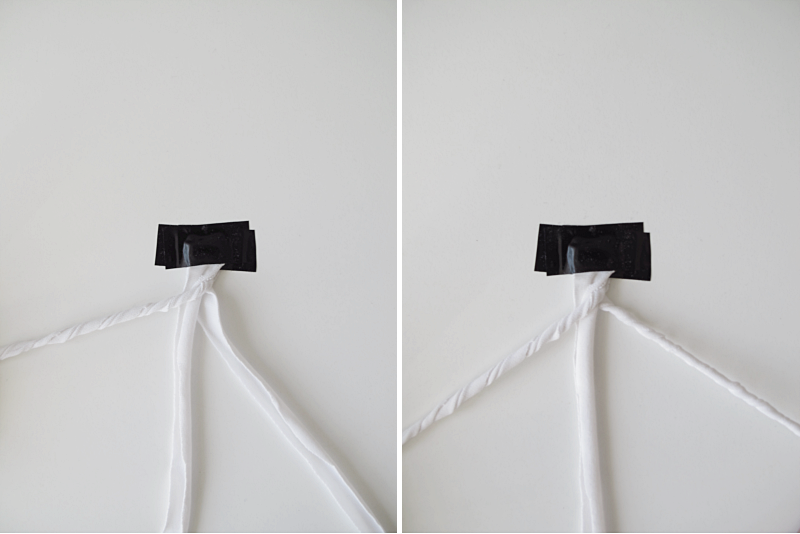
Then cut three strands of fabric. I made mine about 1.5cm on the white one, and about 3cm on the black one. Take three pieces of tape and attach the strands to a flat surface.
/// Klipp sedan tre avlånga bitar av tyget. På den vita gjorde jag bitarna 1.5 cm breda och på den svarta var de 3cm. Ta sedan tre bitar tejp och fäst tygbitarna på en plan yta.
Take the strand on the right and turn it a few times. You want to turn if clockwise
/// Ta biten längst till höger och vrid den ett par varv. Du ska vrida den medurs.
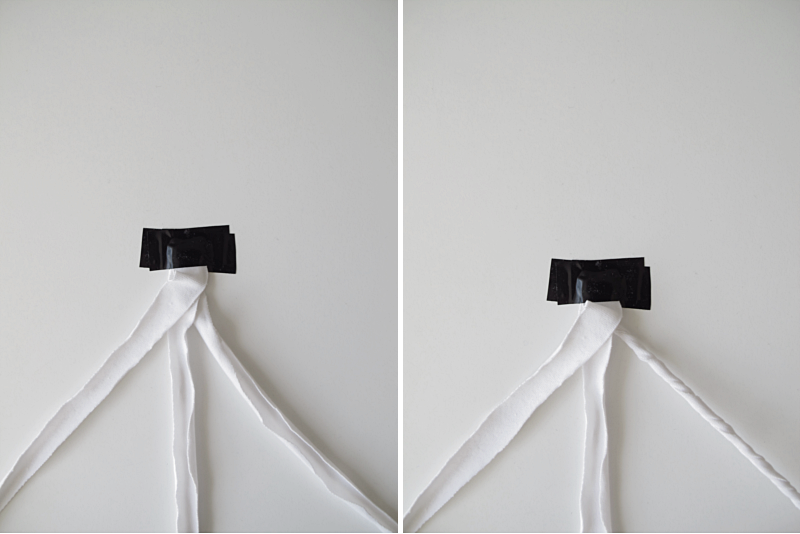
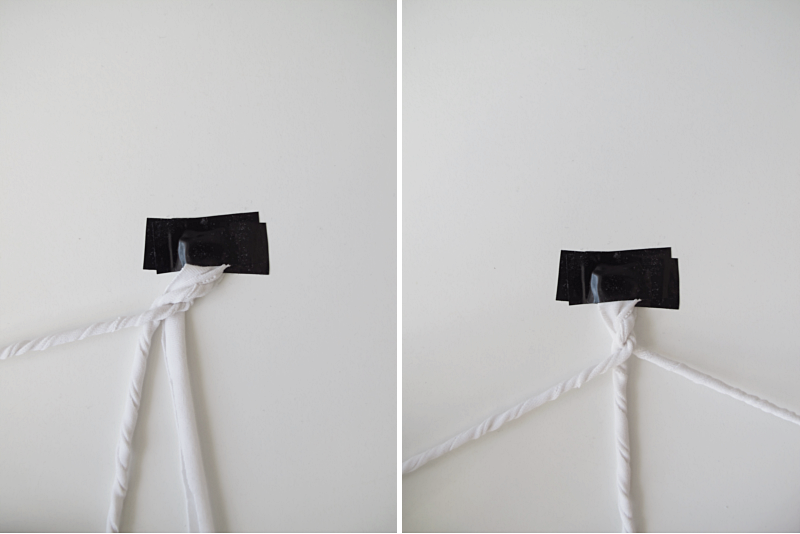
When you have turned it a couple of times, move it over the other two strands and place it on the left side. Take something heavy, and put it on top of the strand so it will stay in place, and still be turned. Now take the strand to the right and turn that one too. Turn it a couple of times.
/// När du har vridigt den ett par varv, flytta den över de andra två bitarna och lägg den längst till vänster. Ta något tungt och ställ på den snurrade tygbiten. Både för att hålla den på plats, men också så att den inte rullar upp sig. Ta sedan den biten som är längst till höger och vrid den också ett par gånger.
Then move that one too, over the other strands and to the left side. And place something heavy on that one too. Then it´s time for the third strand. Turn it a couple of times and..
/// Flytta sedan den också längst till vänster, och ställ något tungt på den med. Nu är det dags för den tredje biten. Vrid den ett par gånger…
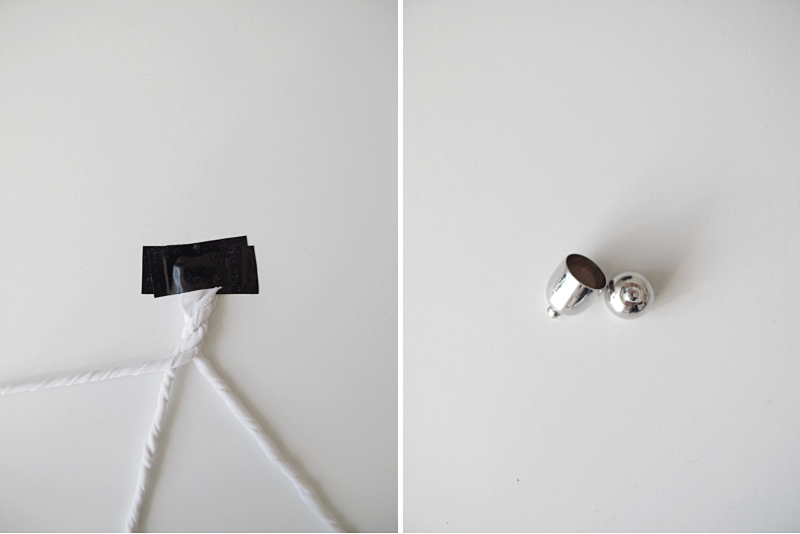
… move it over the other two strands. And you remember the heavy thing, right? Now just repeat these steps until you have it as long as you want it to be. When you are finished, it´s important that you dont let go of the braid. Hold the strands together and put a tiny dot of glue in the middle and wait for it to dry. Then you take two end pieces and glue them on the ends.
/// … och flytta sedan över den till vänstra sidan. Och du kommer väl ihåg den tunga saken va? Nu är det bara att repetera stegen till du har en så lång fläta som du behöver. När du är klar är det viktigt att du håller ihop de tre bitarna. Sätt en klick lim i mitten och håll ihop dem, tills de har torkat. Sedan limmar du bara på ändknopparna.
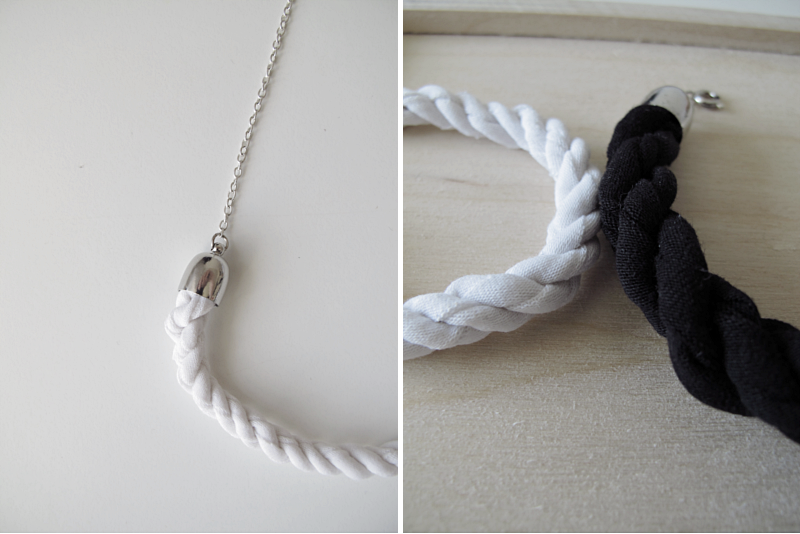
If you want to make a necklace, like the one I did, you just attach a long chain to the end pieces, and if you´re doing a bracelet, you attach a lock and you are done!
/// Om du vill göra ett halsband som jag gjort, så sätter du bara fast en lång kedja i ändknopparna. Ska du istället göra ett armband så sätter du fast ett lås istället. Och du är klar!
Leave a Reply