Menu Close

Tag: paper (page 1 of 17)

DIY BOX (I KNOW!)

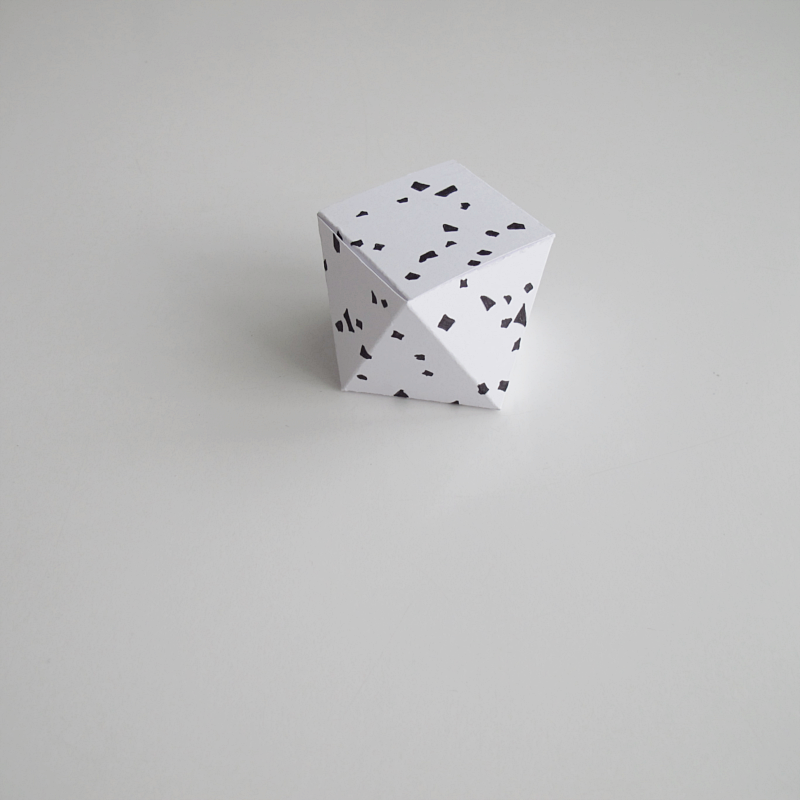
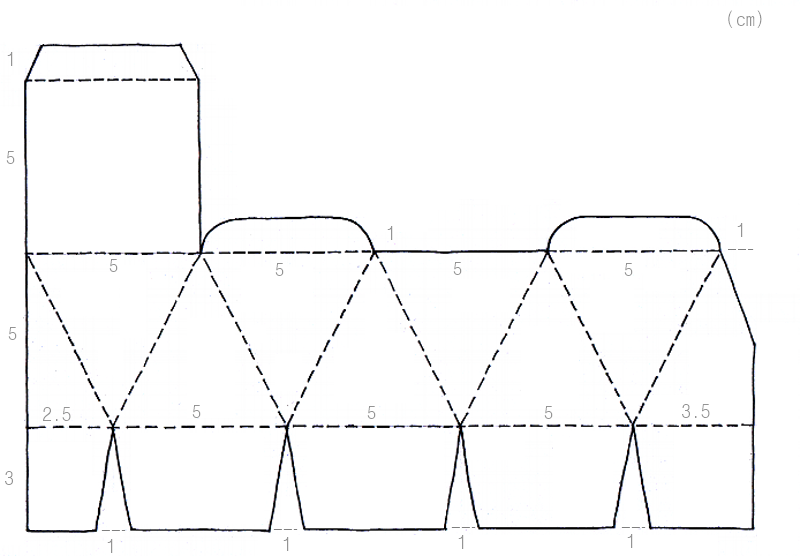
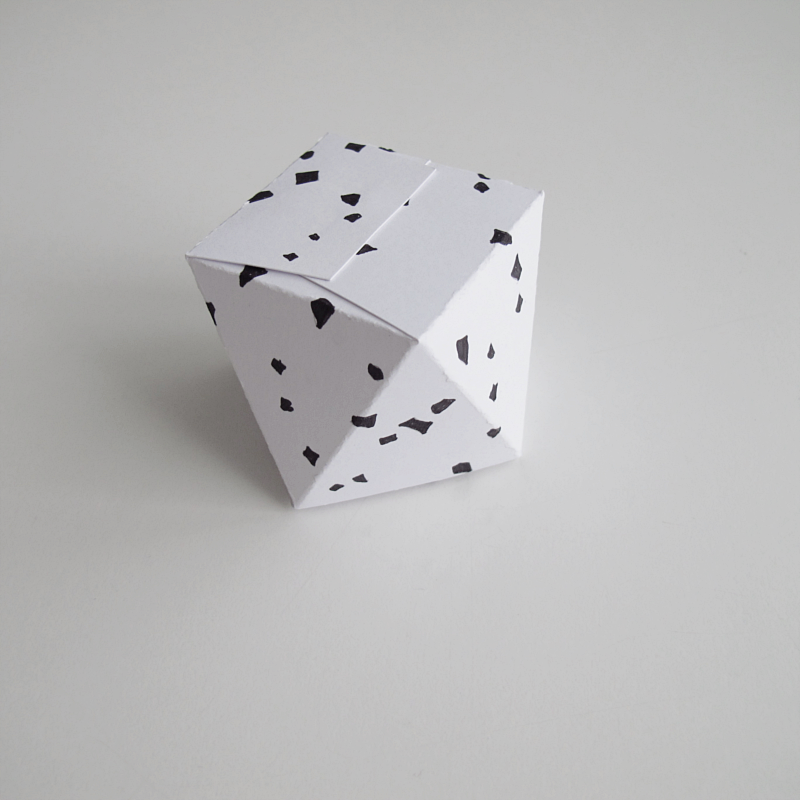
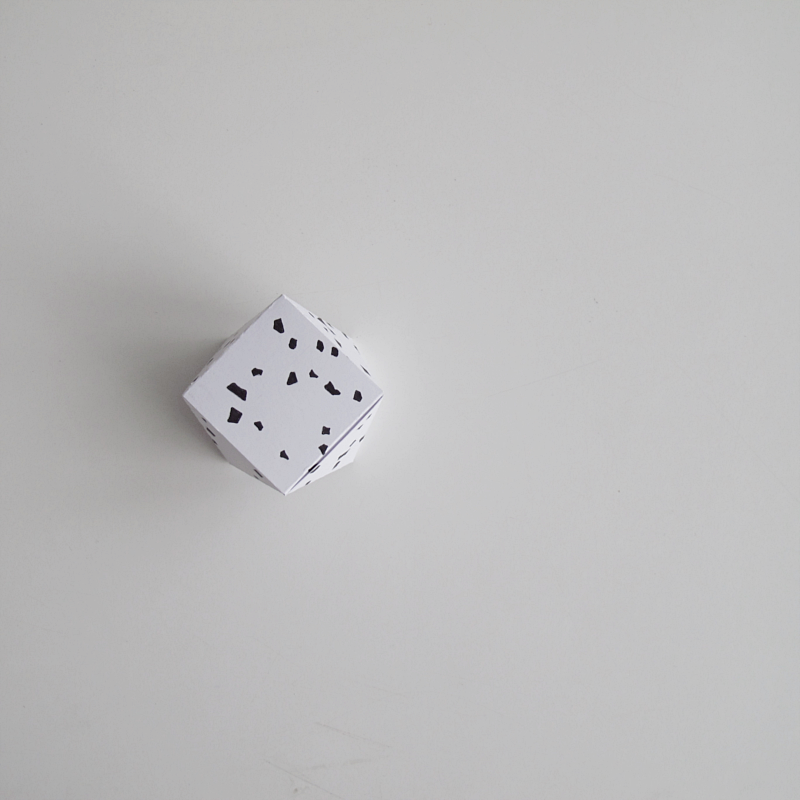
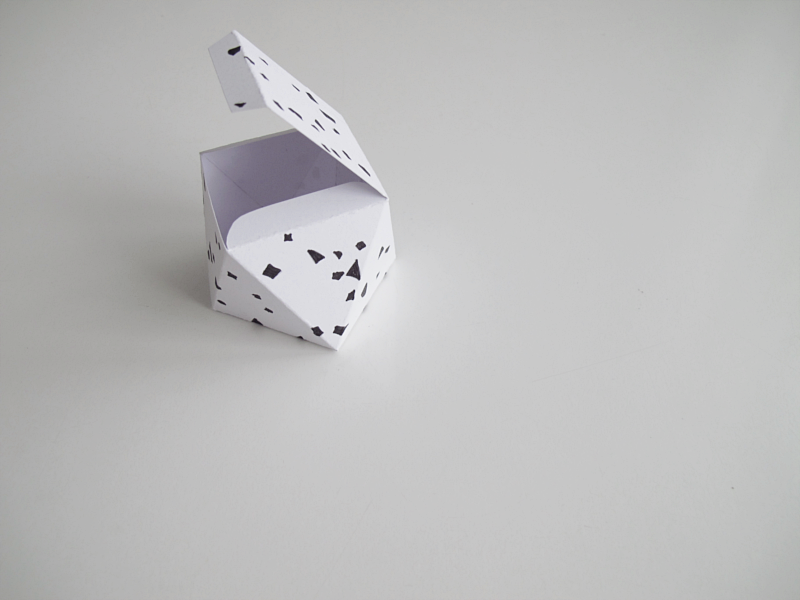
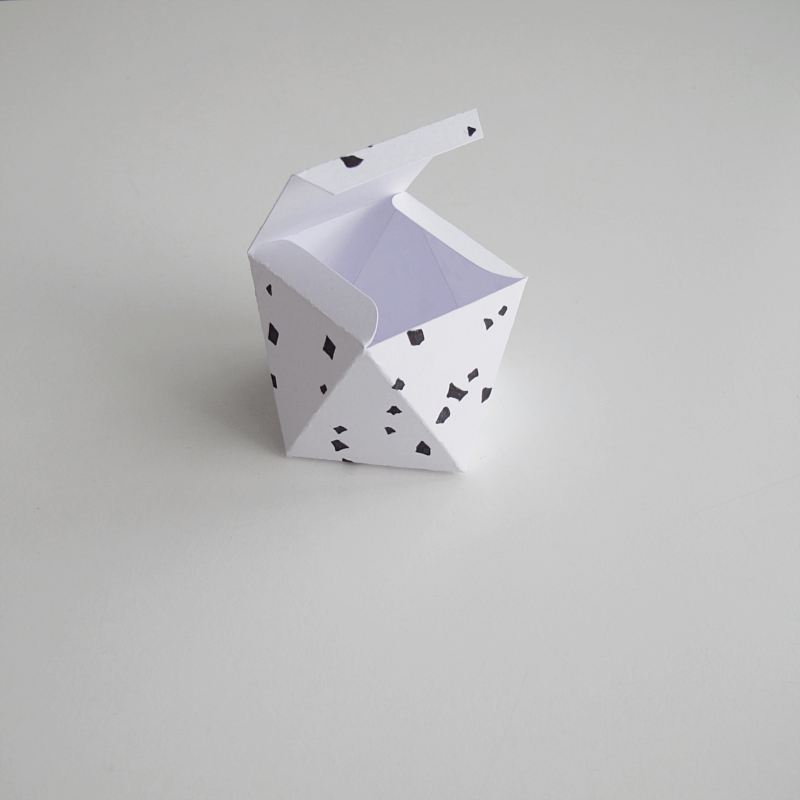
I couldn’t stay away from the small paper boxes. What is there to say… Anyway, it’s super easy to make. Draw the figure, cut it out, fold along the dotted lines, glue it together and you’re done! Just to make mine a bit more fun I drew a couple of “dots” on it.

/// Jag kunde inte hålla mig borta från de små pappersboxarna ändå. Ja vad säger man… Den är iallafall superenkel att göra. Bara rita upp måtten, klipp ut, vik längst med alla prickade linjer, limma ihop och klart! Bara för att göra min lite roligare målade jag svarta små “prickar” på den.

diy box

diy box template

diy box

diy box

diy box

diy box

DIY – ENVELOPE WITH A LOCK

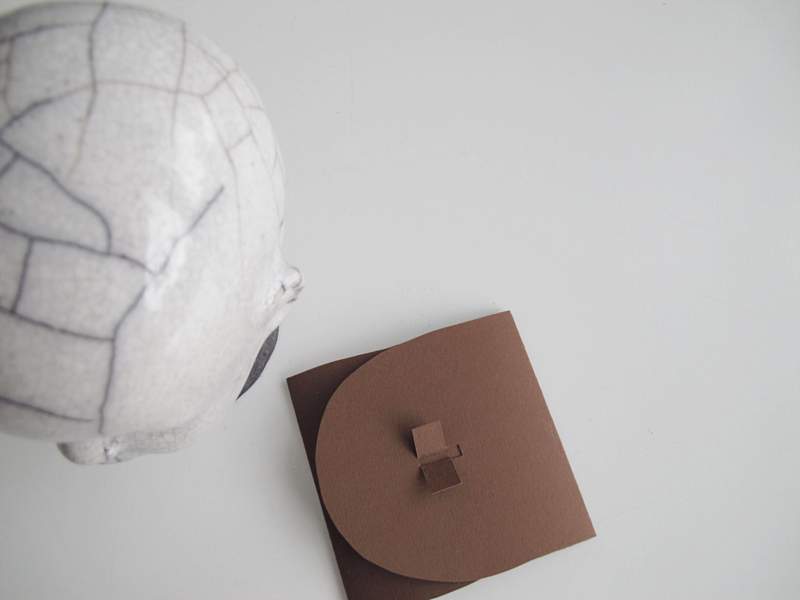
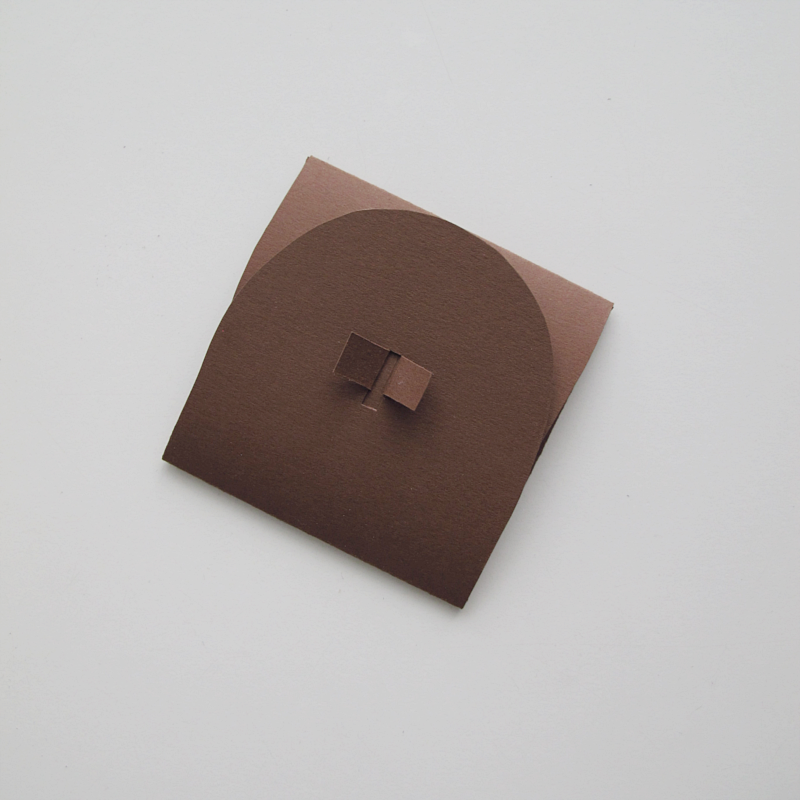
Hi guys! I found this DIY envelope on pinterest and I just had to try it myself. The “lock” on the envelope actually works surprisingly well, even if you might not think so.

/// Hallå på er! Jag hittade det här DIY:et via pinterest och var bara tvungen att prova. “Låset” fungerar faktiskt förvånansvärt bra, även om man kanske inte kan tro det.

diy envelope | designoform

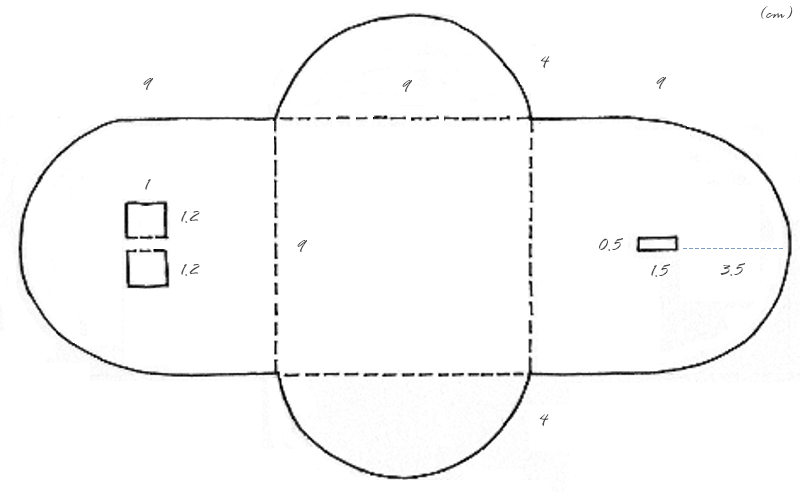
Easy to make and all you need is carton, a pair of scissors, a paper knife, a ruler, eraser and a pencil. Start by making this figure.

/// Enkelt att göra är det också. Allt du behöver är kartong, sax, papperskniv, linjal, sudd och blyertspenna. Börja med att göra den här figuren.

diy envelope | designoform

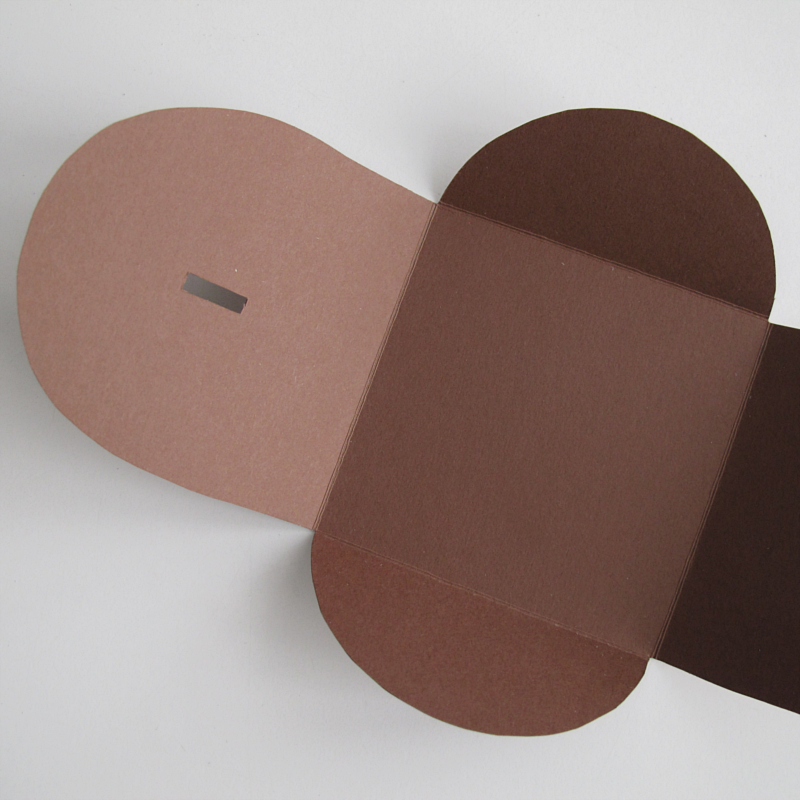
Cut along all the lines, and fold along all the dotted ones. To make the “lock” I folded the envelope and made a mark inside the hole, to know where the lock should be.

/// Klipp längst med alla linjer, och vik längs med de prickade linjerna. För att göra “låset” skar jag först ut hålet för låset, sedan vek jag ihop kuvertet och markerade vart hålet hamnade. På så vis visste jag vart flikarna skulle göras.

diy envelope | designoform

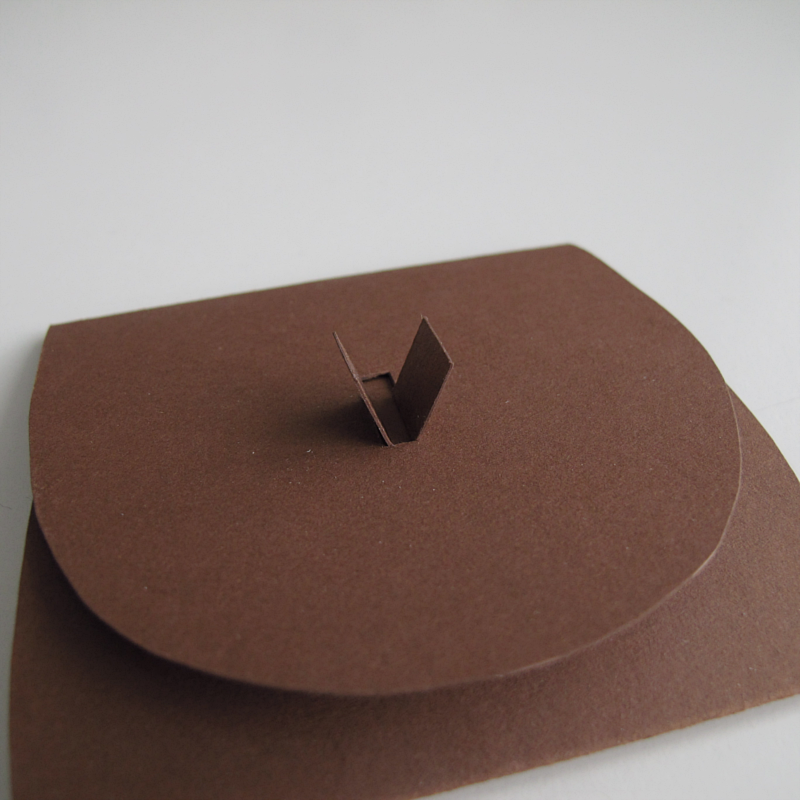
To “lock” the envelope just slide the flaps in the hole and fold them to the sides.

/// För att “låsa” kuvertet trär man de två flikarna i hålet och sedan viker man dom utåt.

diy envelope | designoform

Done!

/// Klart!

diy envelope | designoform

DIY – ENVELOPE

diy envelope | designoform

I don’t really know what to call this DIY but it works a bit like an envelope. Pretty easy to make and you can change the look how you want. Change the size or move the notch further to the right if you want.

/// Jag vet inte riktigt vad jag ska kalla detta DIY men det fungerar ju lite som ett kuvert. Ganska enkelt att göra och går att förändra utseendet på hur du vill, du kan exempelvis ändra på storleken eller flytta skåran längre åt höger.

diy envelope | designoform
You need:

→ carton
→ pencil
→ eraser
→ ruler
→ a round object ( I used a gluestick)
→ paperknife
→ a pair of scissors

/// Du behöver:
→ kartong
→ penna
→ sudd
→ linjal
→ något runt (jag använde ett limstift)
→ papperskniv
→ sax

Start by drawing this figure on your paper. Then you cut it out, fold along the dotted lines and cut out the notch with the paperknife. I did my 2 millimeters wide.

/// Börja med att rita ut den här figuren på ditt papper. Klipp ut den, vik längst med de streckade linjerna och skär ut skåran med papperskniven. Jag gjorde min 2 millimeter bred.

template

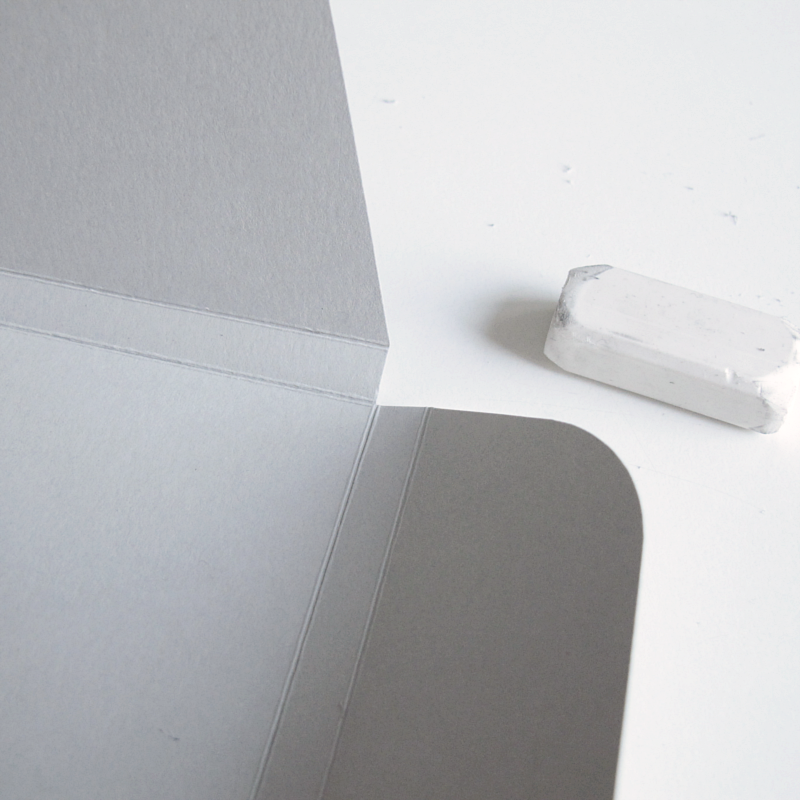
When it’s time to make the flap on the right side of the picture, I first folded that flap inwards, then the flap with the notch. After that I measured out where the notch was by drawing on the inside of it. Then I unfolded the envelope again and drew  a V-shape right next to the mark, and to every corner. Cut out the V and round off the top using the round object. Erase all the pencil marks and you are done!

/// När det var dags för att göra fliken på höger sida i bilden, så vek jag först in den sidan, sedan den sidan med med skåran. Därefter mätade jag ut var skåran var genom att rita på insidan av den. Därefter vek jag upp kuvertet igen och så ritade jag ut en V-form alldeles bredvid den utritade skåran, och till varje hörn. Därefter klippte jag ut V-et och rundade av toppen. Sudda bort blyertsstrecken och klart!

diy envelope | designoform

DIY- SIMPLE DIY BOX

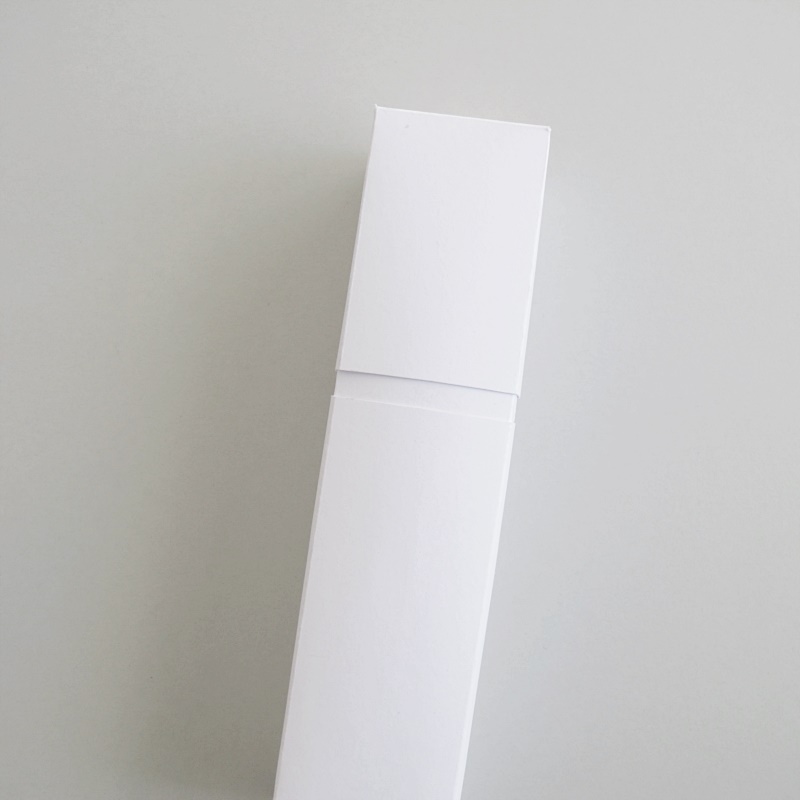
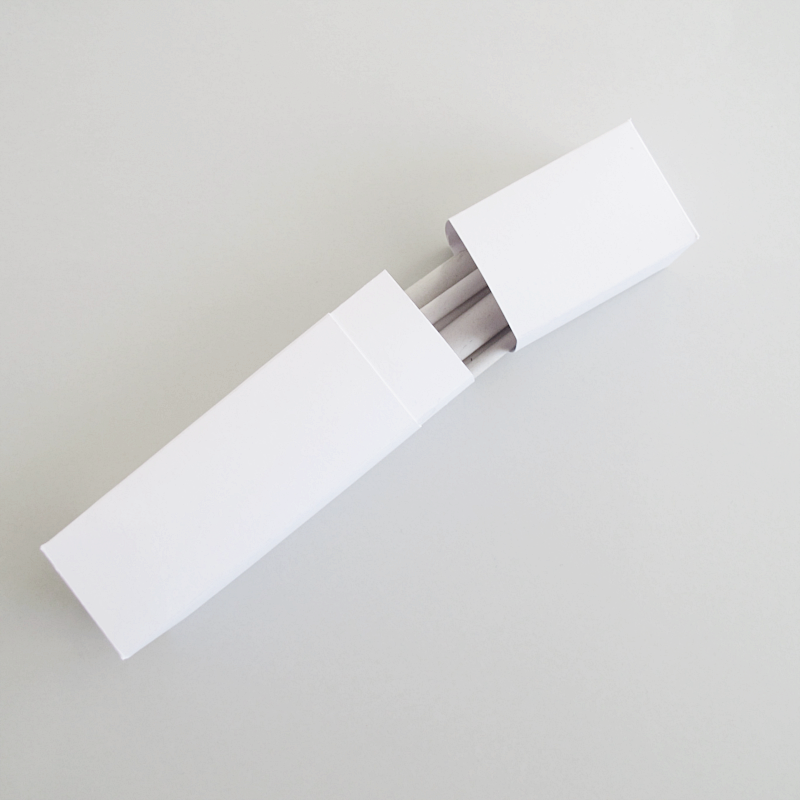
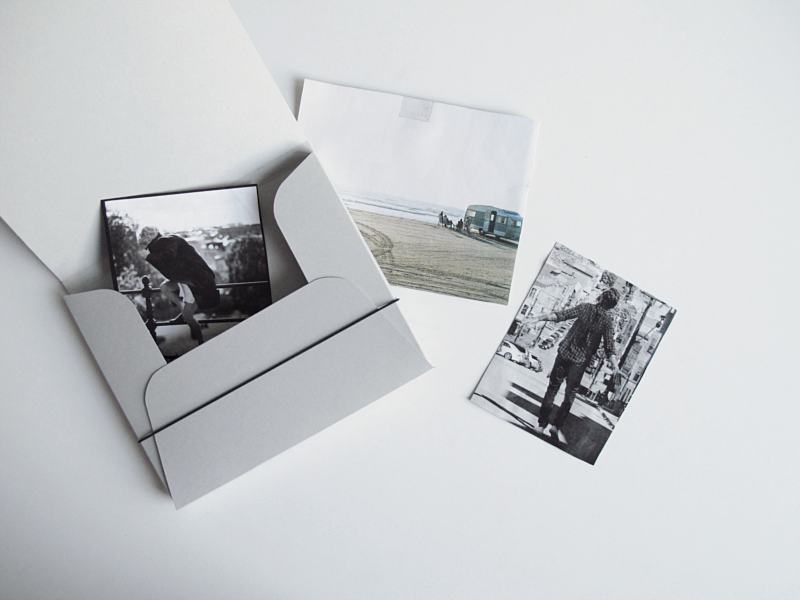
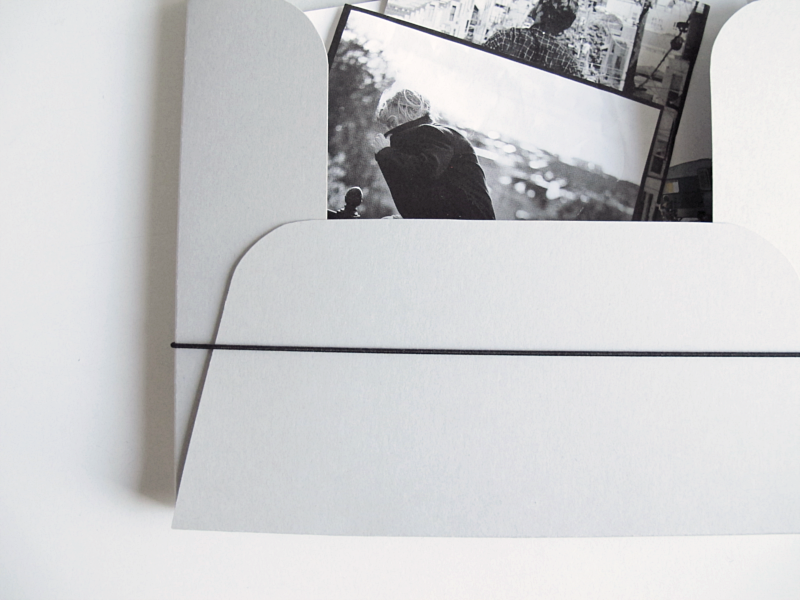
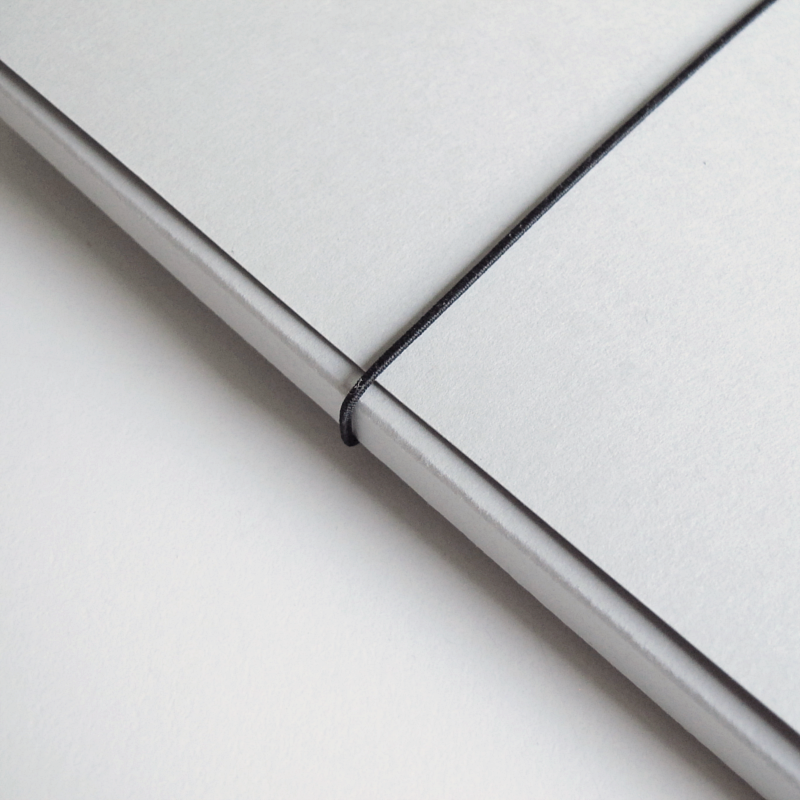
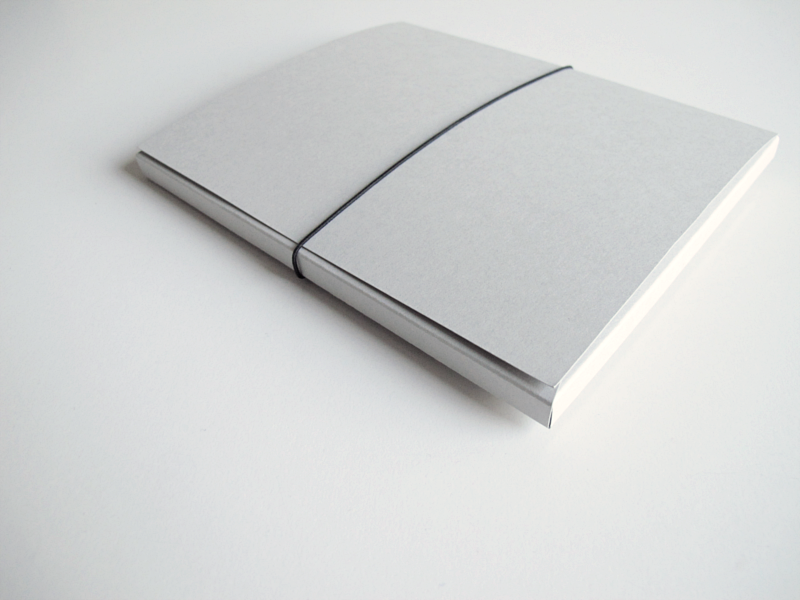
Speaking about simple DIY’s that don’t require a lot of special tools, here comes a super simple and quick one. If you want to you can glue the box together, or use a elastic band as I did, or you can just leave it as it is. Hope you like it!

/// På tal om sådana där DIY som man inte behöver en massa specialverktyg till, så kommer här ett jätteenkelt och snabbgjort DIY. Vill man så kan man limma ihop asken, eller så kan man göra som jag och använda ett litet elastiskt band, eller så låter man den bara vara som den är. Hoppas ni gillar!

diy | designoform

diy | designoform

diy | designoform

diy | designoform

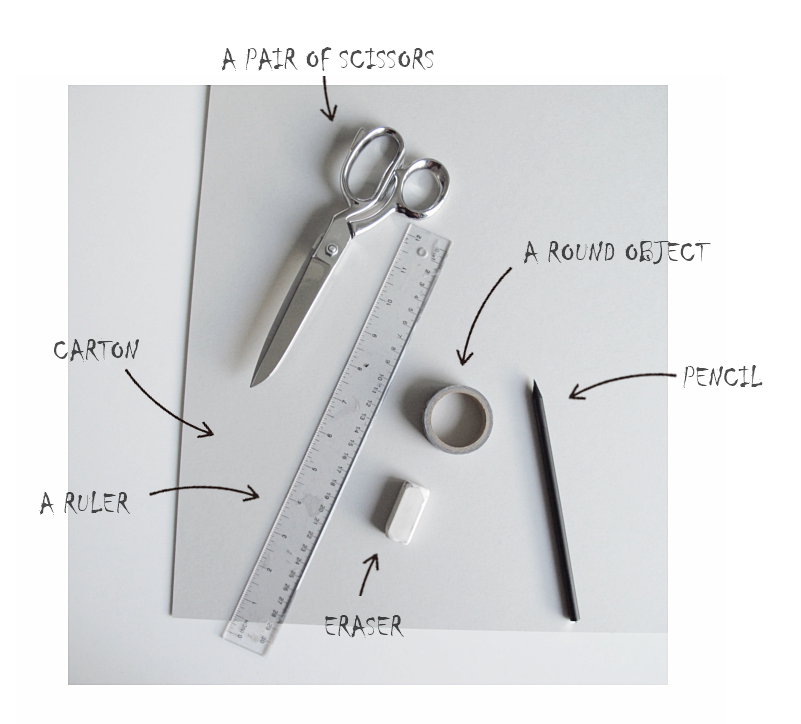
You need:

/// Du behöver: sax, kartong, linjal, sudd, blyertspenna, ett runt föremål
diy | designoform
This is how you do it:

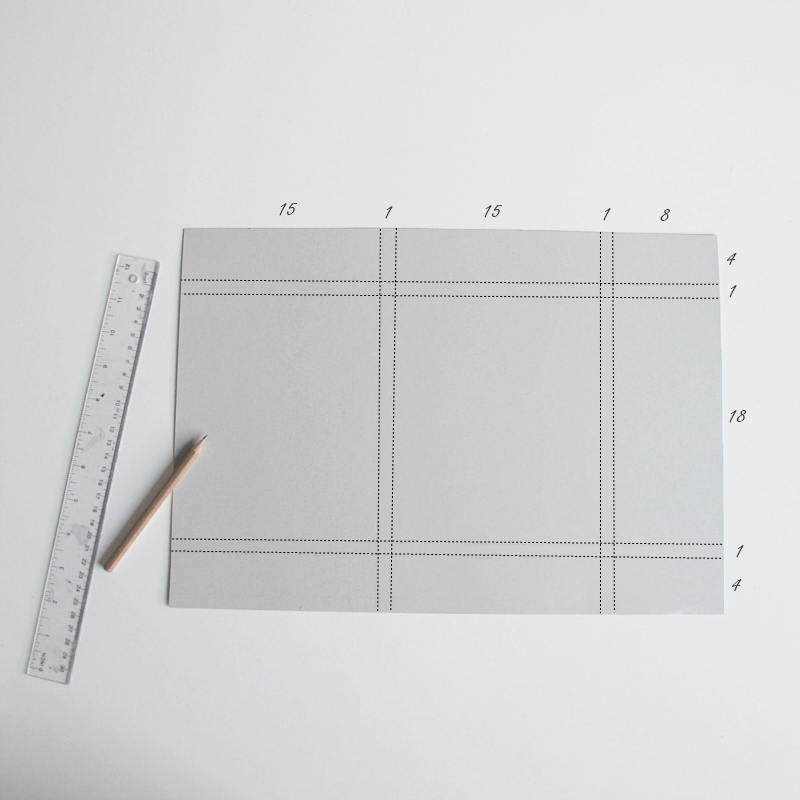
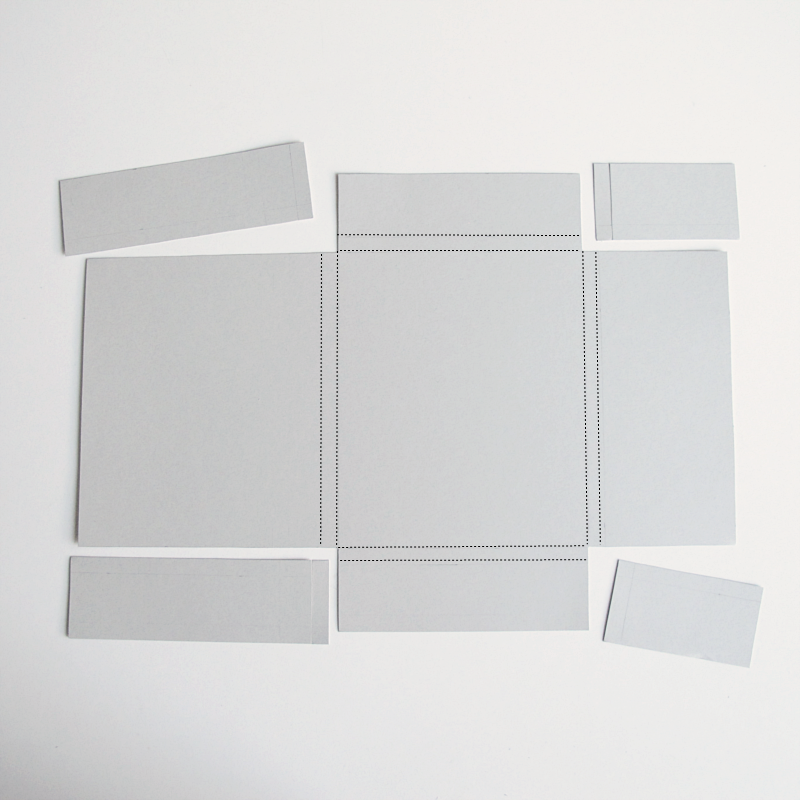
Start by drawing up a figure with these dimensions (in cm). (Whoops, apparently you need two pencils ;))

/// Börja med att rita upp en figur med dessa mått (i cm). (Oj hoppsan, tydligen behöver man två pennor ;))

diy | designoform

Cut away the corners.

/// Klipp bort hörnen.

diy | designoform

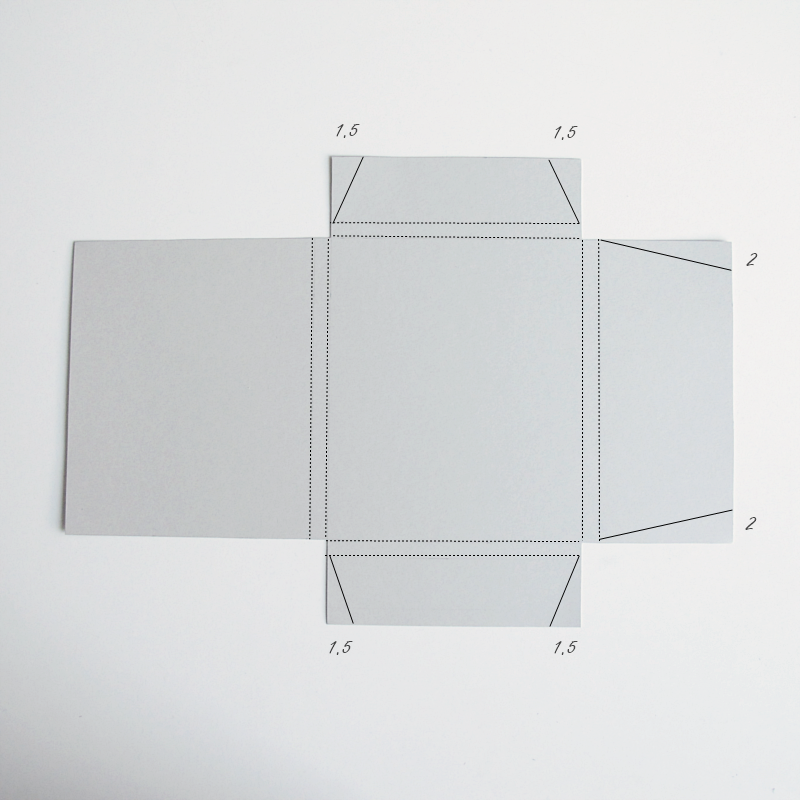
Measure and draw a mark 1.5 cm and 2 cm in (on the flaps). See picture below. ↓

/// Mäta och rita ut 1,5 cm respektive 2 cm in på flikarna. Se bilden ↓

diy | designoform

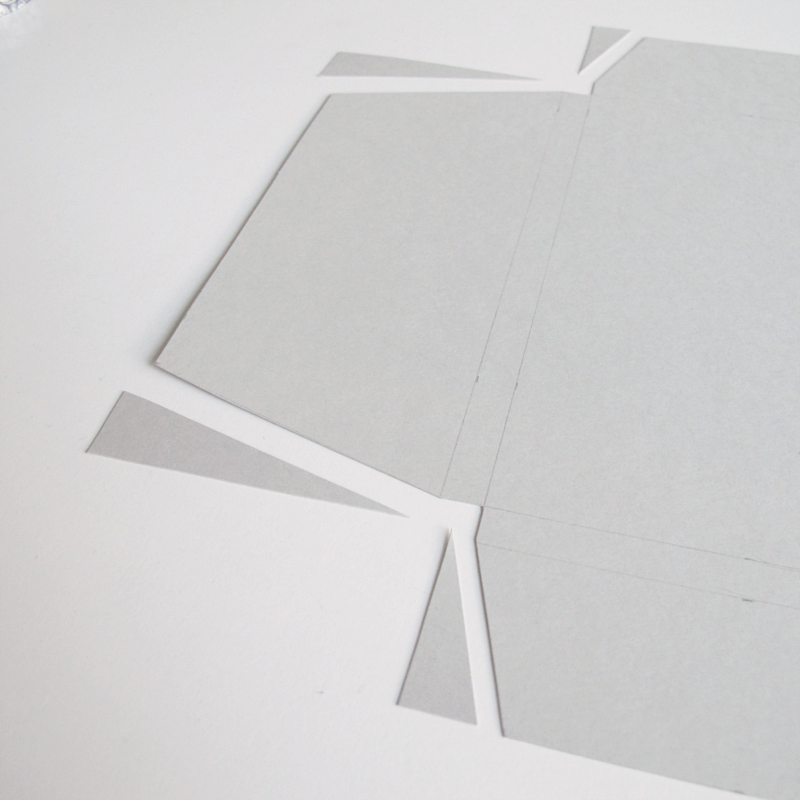
Then cut along the lines you just made.

/// Klipp ut flikarna.

diy | designoform

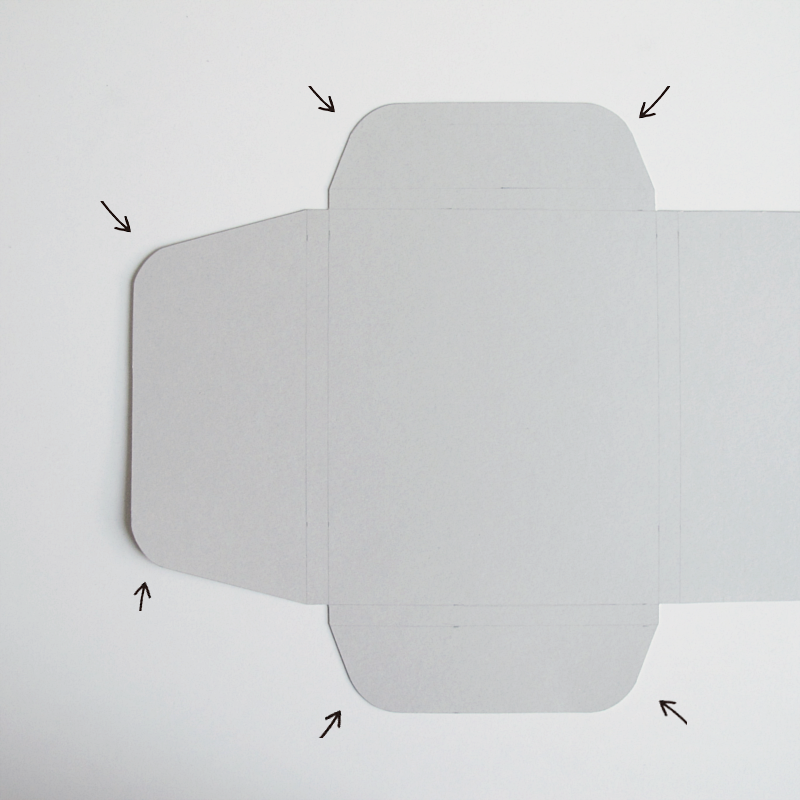
Round of the corners using your round object.

/// Runda sedan av hörnen med hjälp av ditt runda föremål.

diy | designoform

Fold along the lines, and erase all pencil marks. And you are done!

/// Vik längs med linjerna och sudda bort alla blyertsstreck. Och du är klar!

diy | designoform

diy | designoform

diy | designoform

DIY- STORAGE BOX

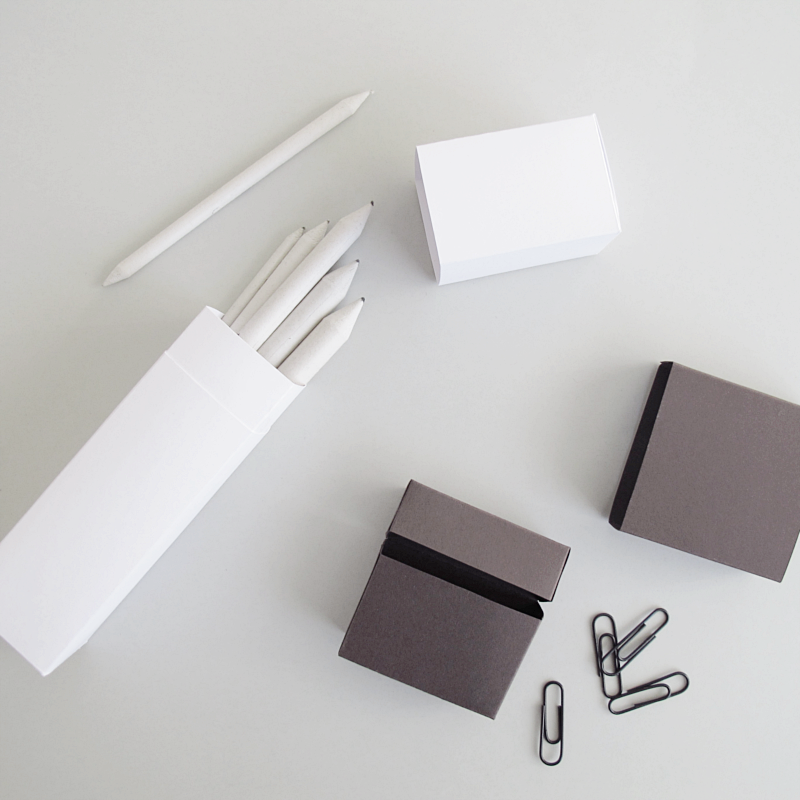
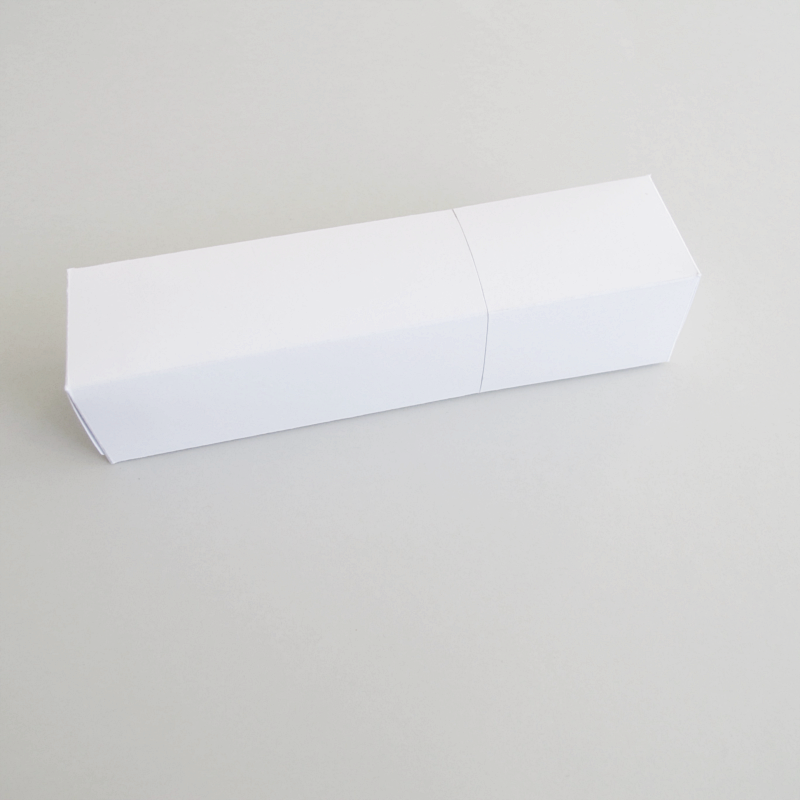
When I made the small boxes a few weeks ago I also got an idea about making a bigger box but with a different look, and today I finally got time to make it. As always here comes the tutorial if you want to make one too.

/// När jag gjorde de små askarna för ett par veckor sedan  fick jag även en idé om att göra en större ask, men med ett litet annat utseende, och idag fick jag äntligen tid att pyssla ihop den. Som vanligt kommer här en beskrivning om du också vill göra en.
diy box | designoform

diy box | designoform

diy box | designoform

diy box | designoform

You need:
→ Carton
→ A pair of scissors
→ A ruler
→ Glue
→ Eraser
→ Pencil

/// Du behöver:
→ Hobbykartong
→ Sax
→ Linjal
→ Lim
→ Sudd
→ Penna

diy box | designoform

This is how you do it:

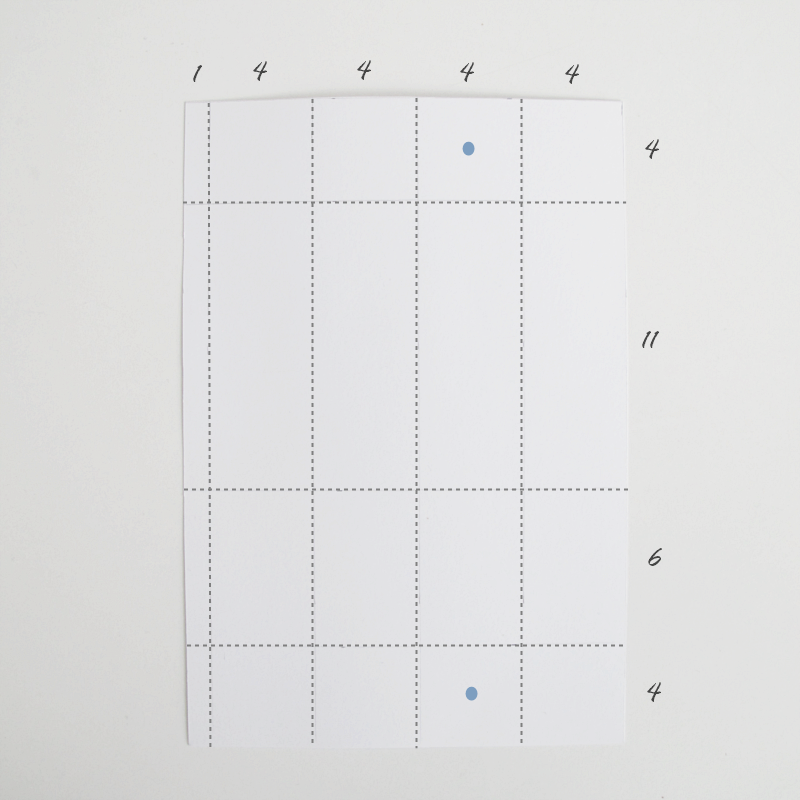
Start by drawing up a figure with these dimensions (in cm).

/// Börja med att rita upp en figur med dessa mått (i cm).
diy box | designoform

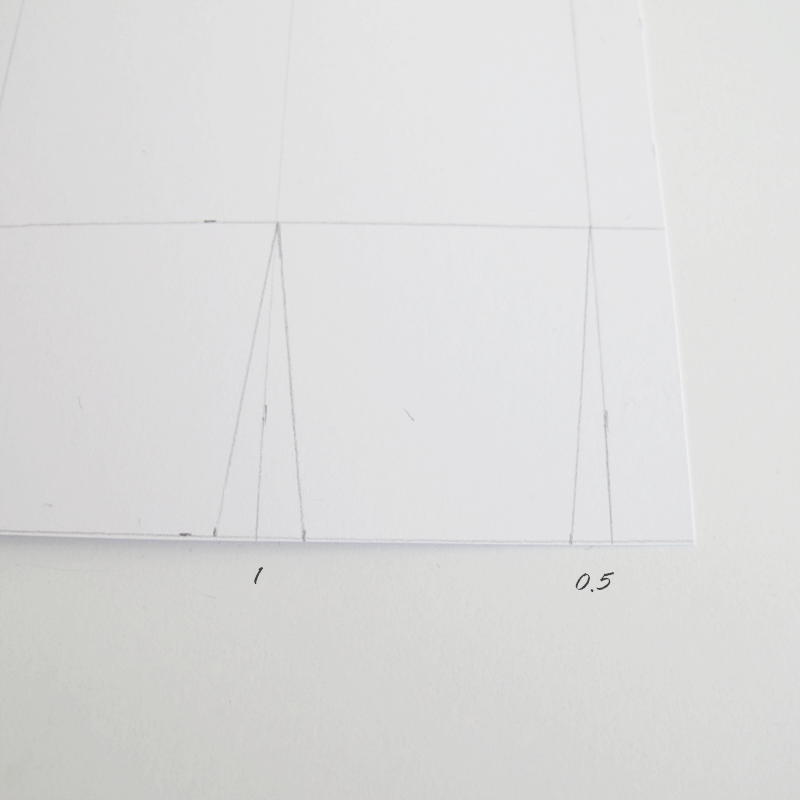
Draw “triangles” on each side of the 4×4 squares at the ends of the paper. But leave the two with the blue dots (see the picture above) as they are.

/// Rita ut “kilar” på varje sida av 4×4 bitarna längst ut på ändarna av papperet. Men lämna de två med blå prick (som syns på bilden ovan)  som dom är.
diy box | designoform

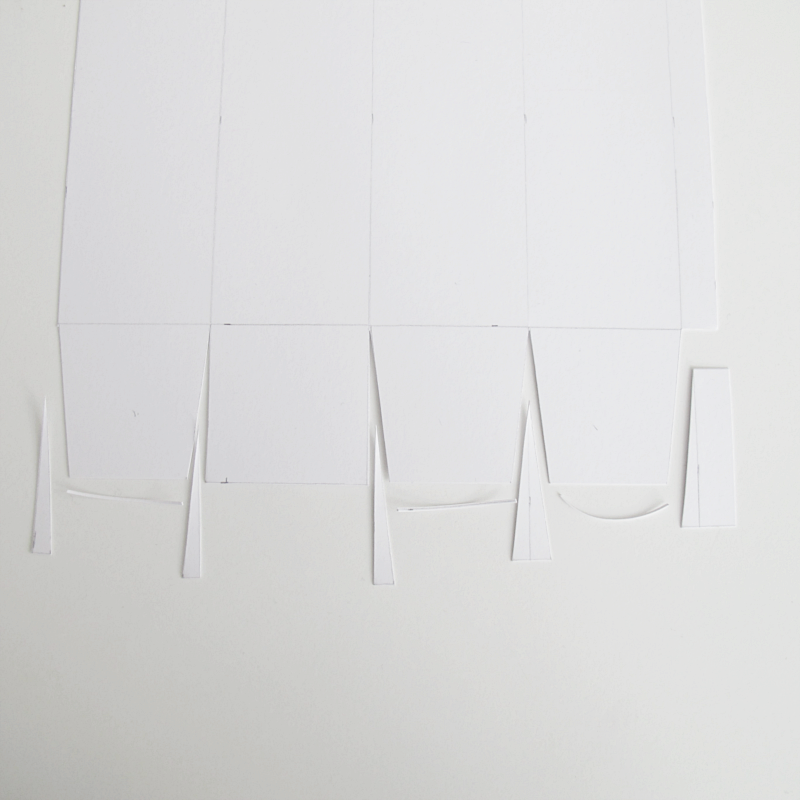
Cut out the “triangles”, and then cut off a few millimeters on the ends.

/// Klipp ut “kilarna”, och sedan klipper du av några millimeter på flikarna.
diy box | designoform

Now it’s time for the 4×4 squares with the blue dots. Cut off a few millimeters on three of the sides. Then round the corners.

/// Nu är det dags för flikarna med blå prickar. Klipp bort några millimeter på tre av sidorna. Runda sedan av hörnen.
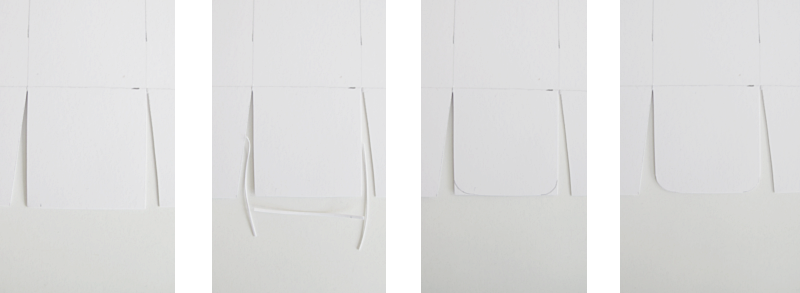
diy box | designoform

Fold along all lines, except the line in the middle of the paper (see picture below).

/// Vik längst med alla linjer utom den som är på mitten av papperet (som bilden nedan visar)
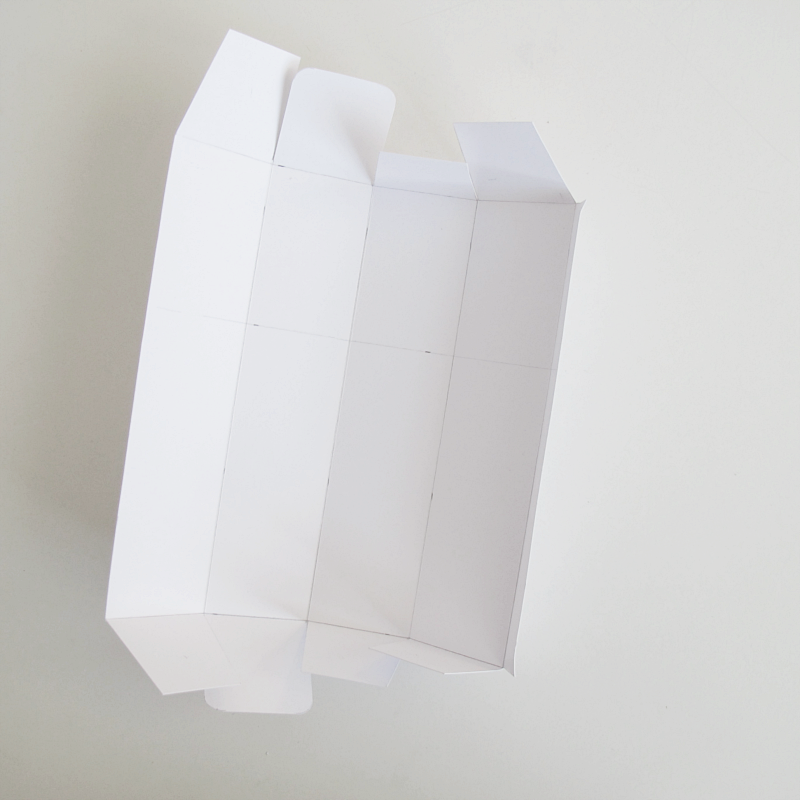
diy box | designoform

Then cut along the line (the one you didn’t fold in the previous step). And erase all pencil lines.

/// Klipp sedan längst den linjen som du inte vek. Och sudda bort alla blyertsstreck.
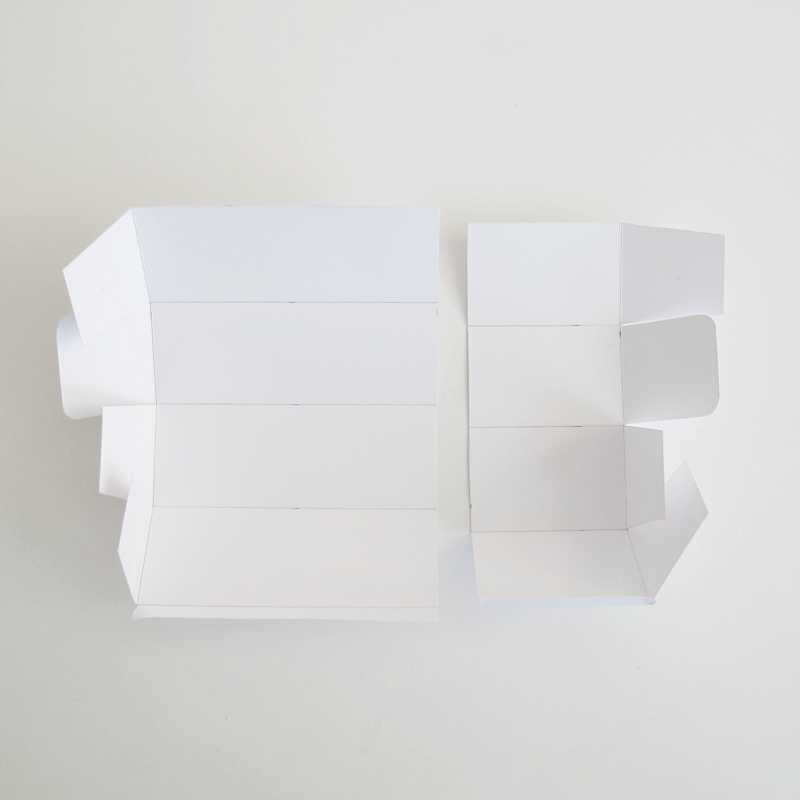
diy box | designoform

Glue the sides together on the smaller piece.

/// Limma ihop sidan på den mindre biten.
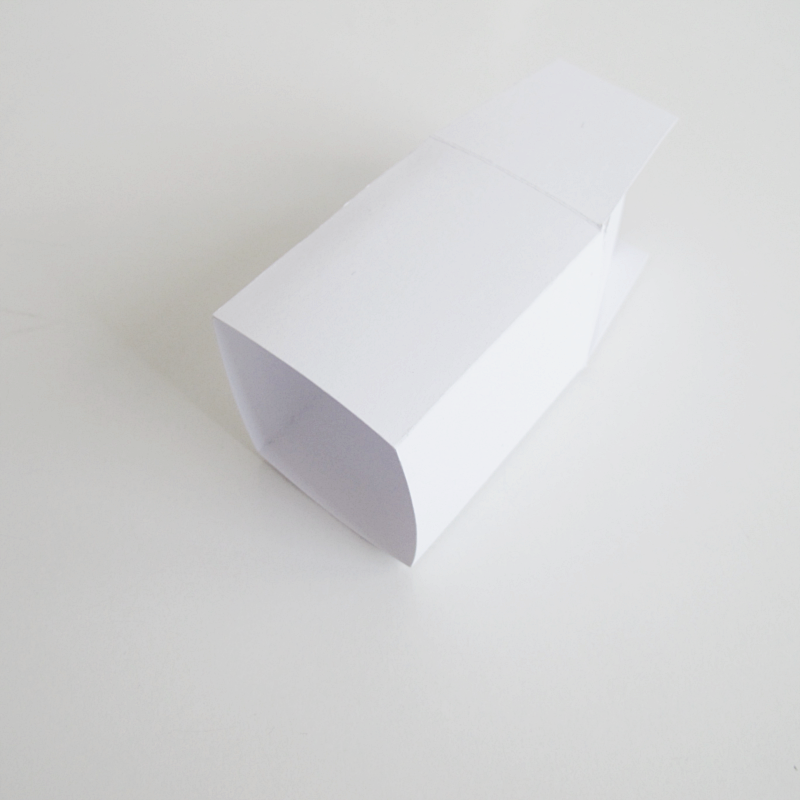
diy box | designoform

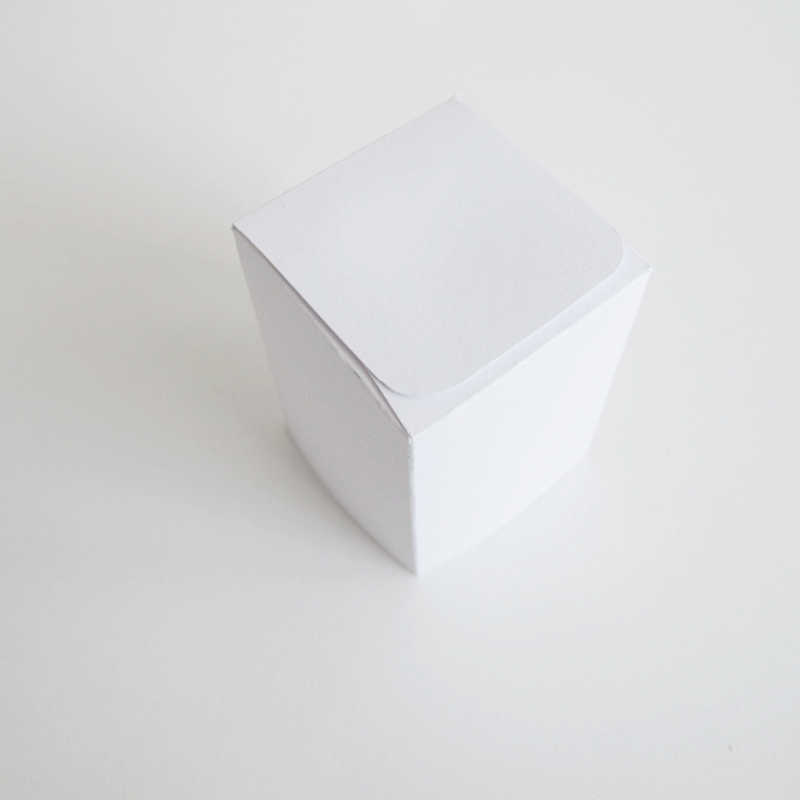
And then the top. Let the flap with the rounded corners be on top.

/// Och sedan toppen. Låt fliken med rundande hörn vara längst upp.
diy box | designoform

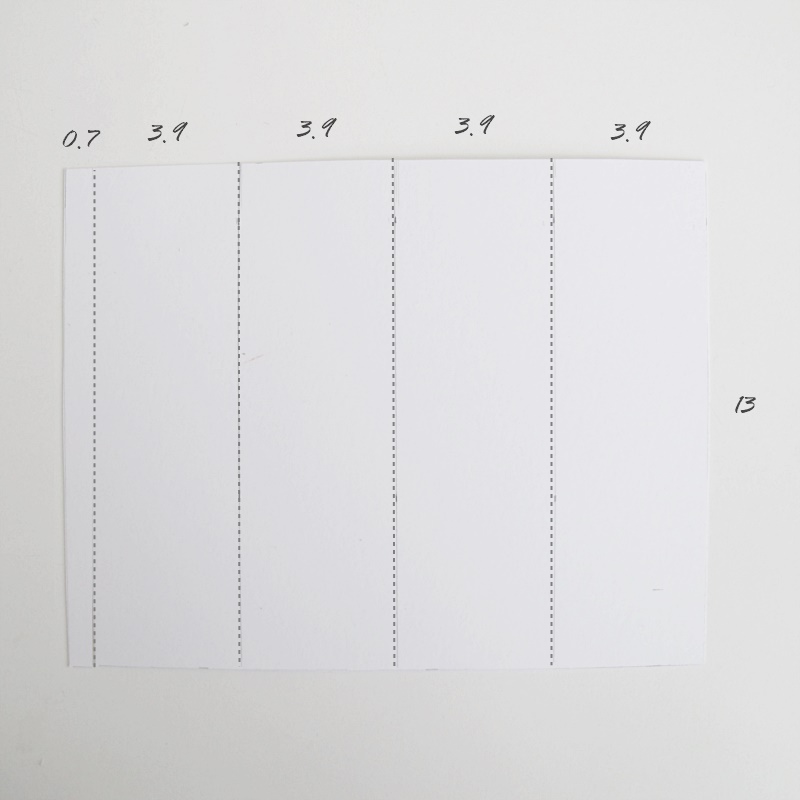
Now it’s time to draw another figure. Depending on how thick the paper is, you might have to alter the dimensions a bit. (see why in the following steps)

/// Dags att rita ut ännu en figur. Beroende på hur tjock kartong du använder kan du behöva ändra på måtten lite. (se varför i stegen som följer)
diy box | designoform

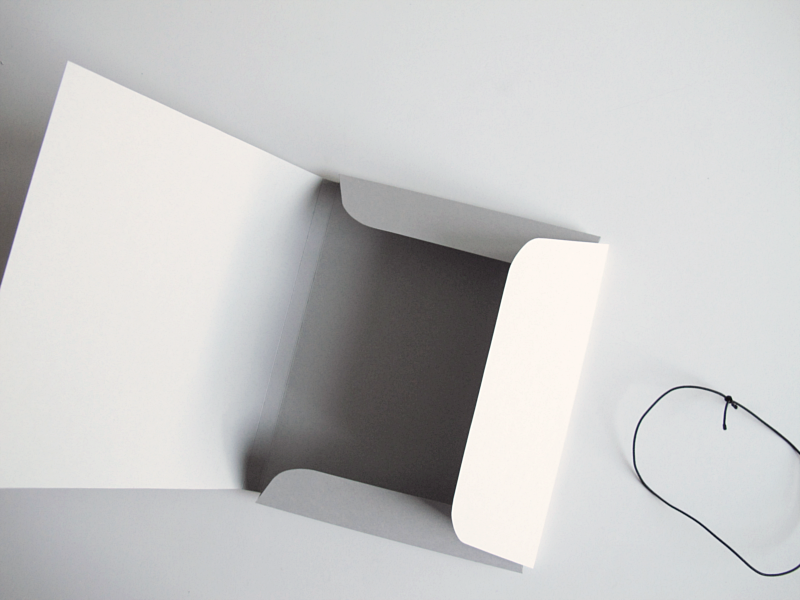
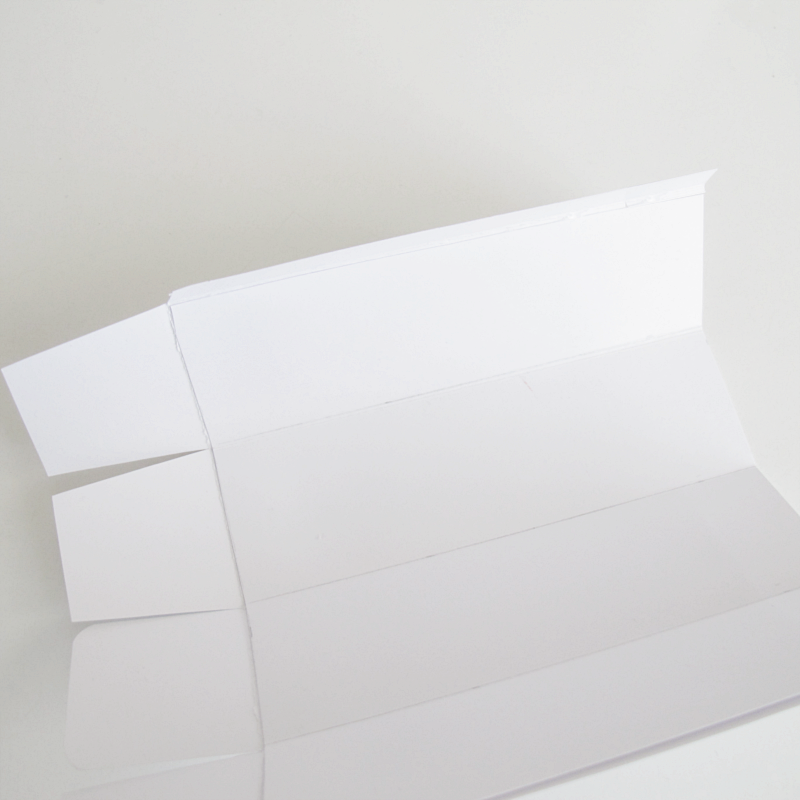
Fold along all lines, erase the pencil lines and then glue the piece you just made on the inside of the bigger piece of paper. Glue it so that you have the end of the paper where the flaps starts…

/// Vik längst med alla linjer, sudda bort blyertsstreck  och limma sedan fast biten på insidan av den biten du gjorde tidigare. Sätt den kant i kant där flikarna börjar…
diy box | designoform

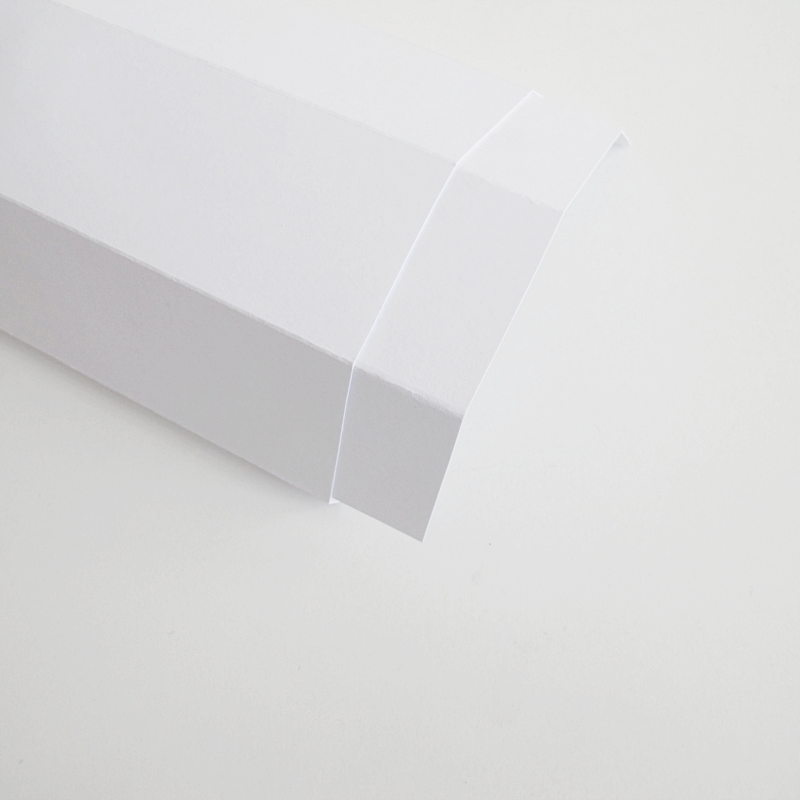
…so that the piece on the inside is sticking out two centimeters.

/// … så att den sticker ut två centimeter.
diy box | designoform

Glue the sides together.

/// Limma ihop sidan.
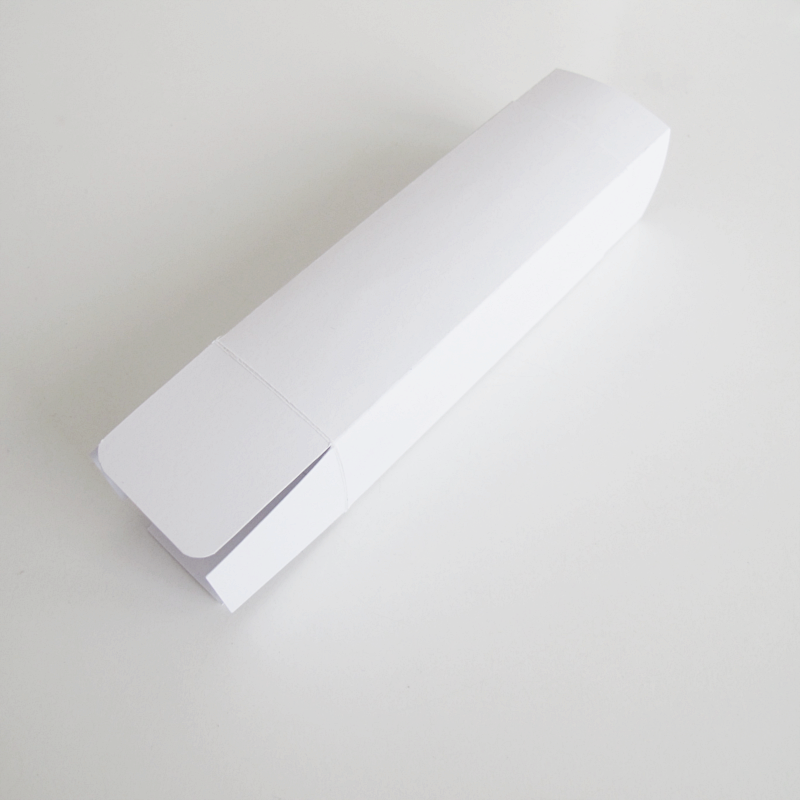
diy box | designoform

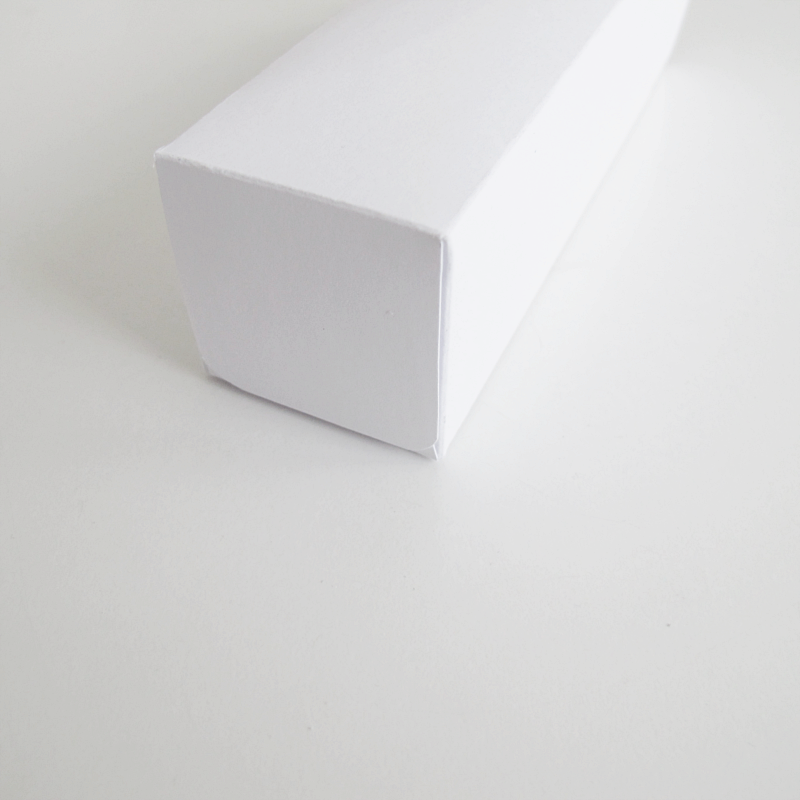
And then the bottom. Let the flap with the rounded corners be on the outside. Let the glue dry and you are done!

/// Och sedan botten. Låt även här den fliken med rundade hörn vara längst ut. Låt limmet torka och du är klar!
diy box | designoform

like

This pencil case
These folding boxes
This storage box


Spara