Menu Close

Tag: DIY (page 5 of 40)

DIY – MIRROR CUBE

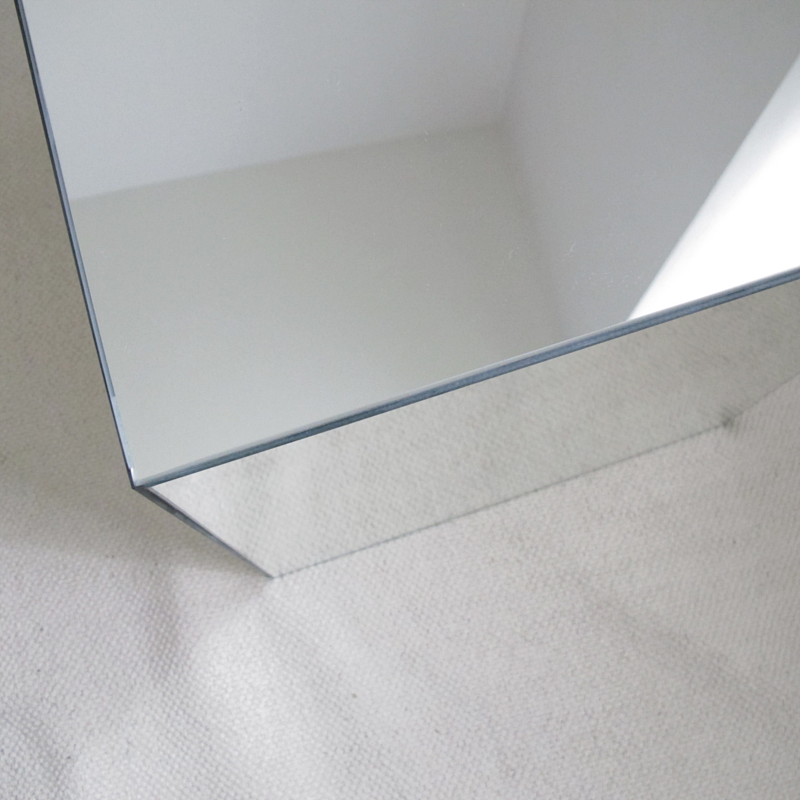
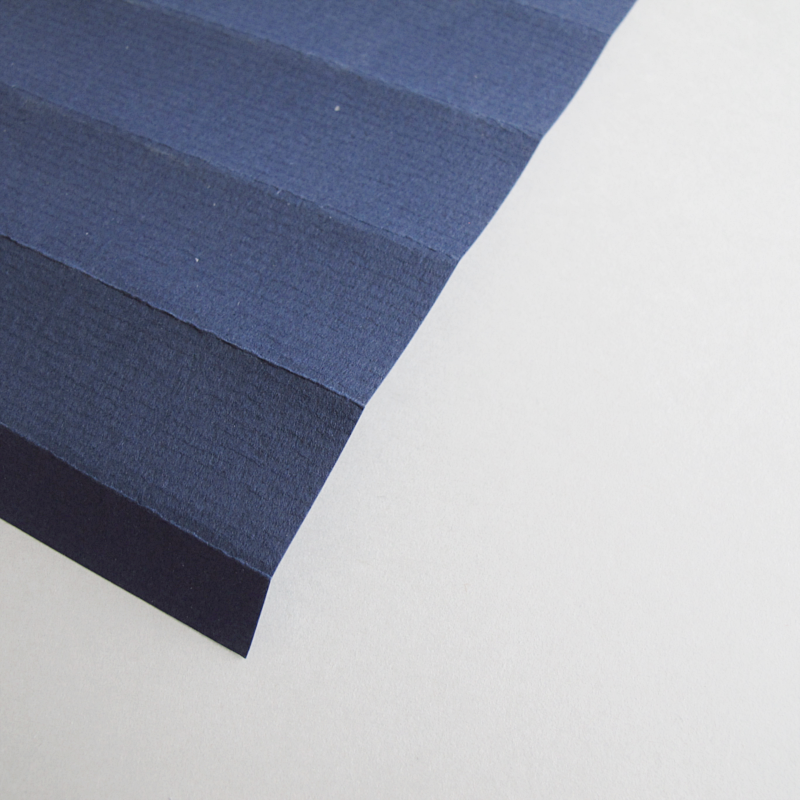
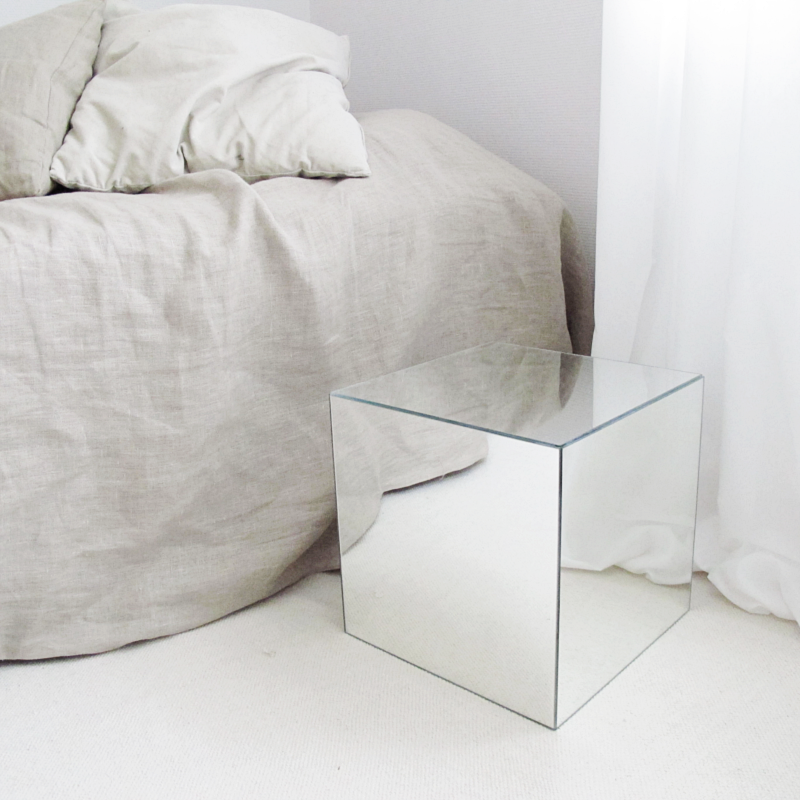
It wasn’t to hard to figure out from the “I spy a DIY”-post what this weeks DIY would be, right? A DIY Mirror cube.  I would like to start by sharing some  thoughts..

♦ Of course you can build a wood frame inside the cube instead, but I didn’t have the opportunity to do that so I used superglue. And the cube passed my can-I-sit-on-it? test.

♦ Be two when you make this cube. It was not easy to hold, glue (and take photos!) at the same time.

♦ I thought I was so clever when I was at Ikea and came up with this DIY, but look what I found when I was searching for photos for my “I spy a DIY”-post. Ikea!

♦ And last, I’m so sorry that the steps at the end of the tutorial don’t have pictures but I hope you can understand how to do it anyway.

/// Det var kanske inte allt för svårt att gissa från “I spy a DIY”- inlägget tidigare vad som skulle vara veckans DIY, eller hur? En spegel kub.  Några tankar innan vi börjar dock:

♦ Såklart kan du göra den här kuben med en träram inuti istället, men då jag inte hade möjlighet till det så använde jag superlim istället. Kuben klarade mitt kan-jag-sitta-på-den? test, så den håller ganska bra.

♦ Försök var två när du gör kuben. Att hålla, limma, (och ta kort!) var inte helt lätt.

♦ Jag trodde jag var så klurig när jag gick på Ikea häromdagen och fick idén till kuben, men titta här vad jag hittade när jag letade bilder till “I spy A diy”-inlägget. Ikea var allt före på den!

♦ Och så slutligen så ber jag så hemskt mycket om ursäkt då de sista stegen inte har några bilder, men jag hoppas ni ska förstå ändå.
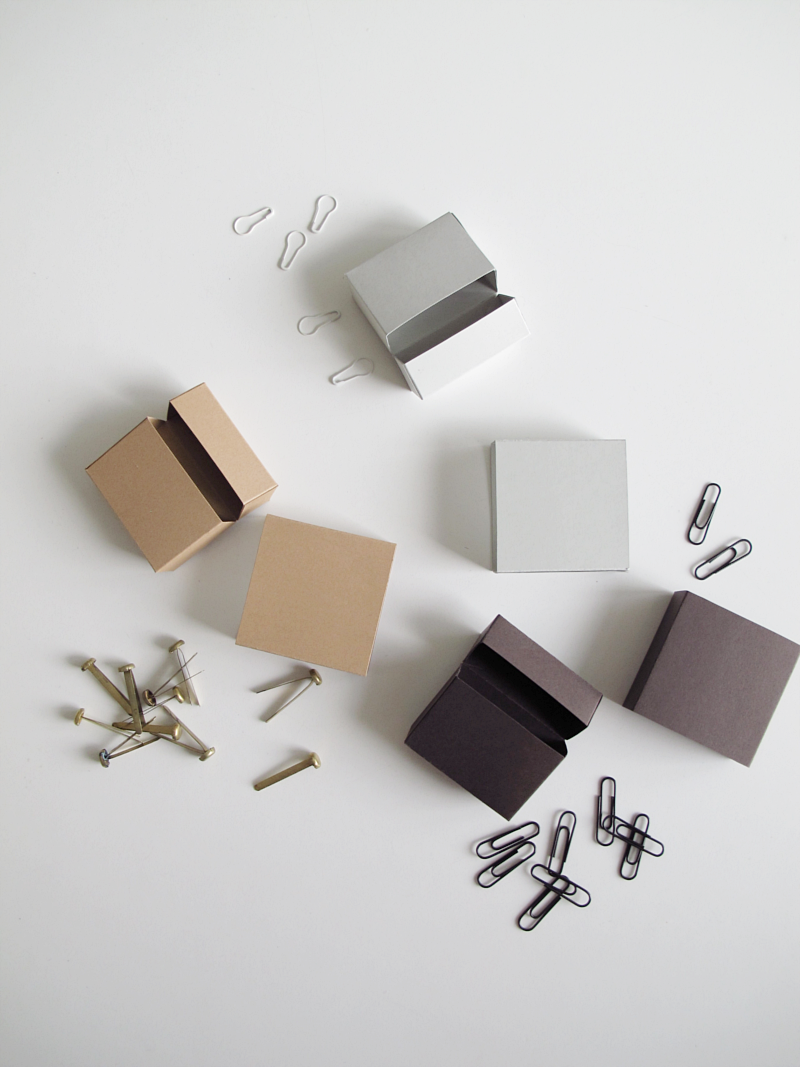
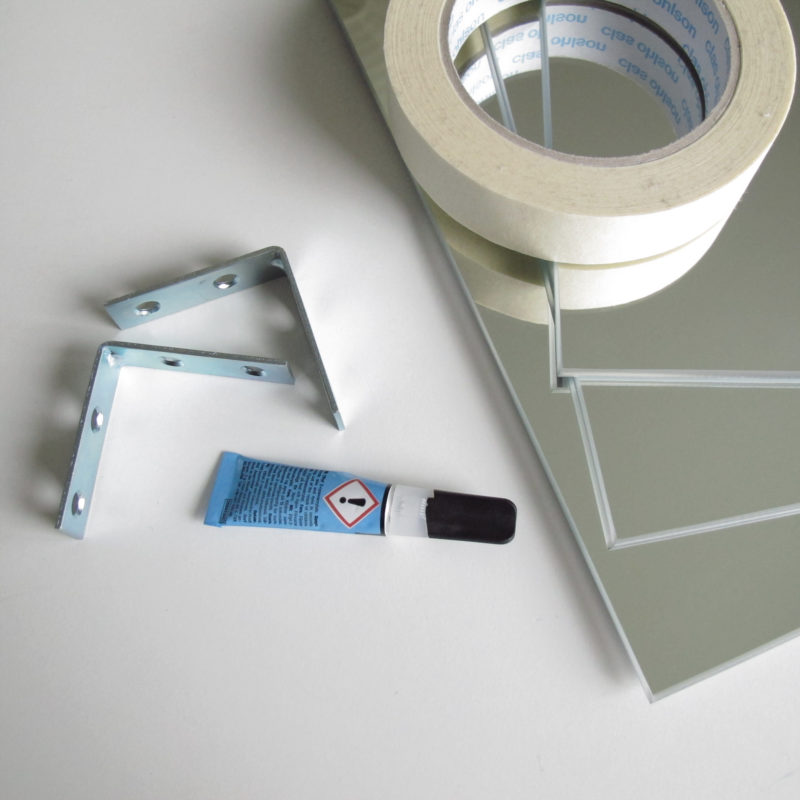
diy mirror cube

For this you need:

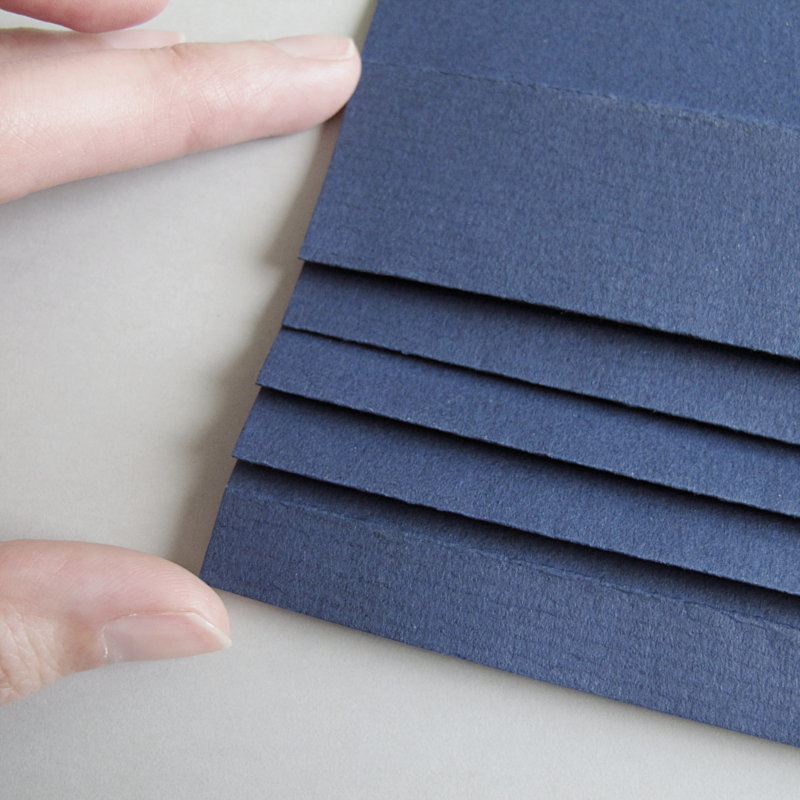
→ Two boxes of LOTS mirrors from Ikea, or 6 mirrors in the same size.
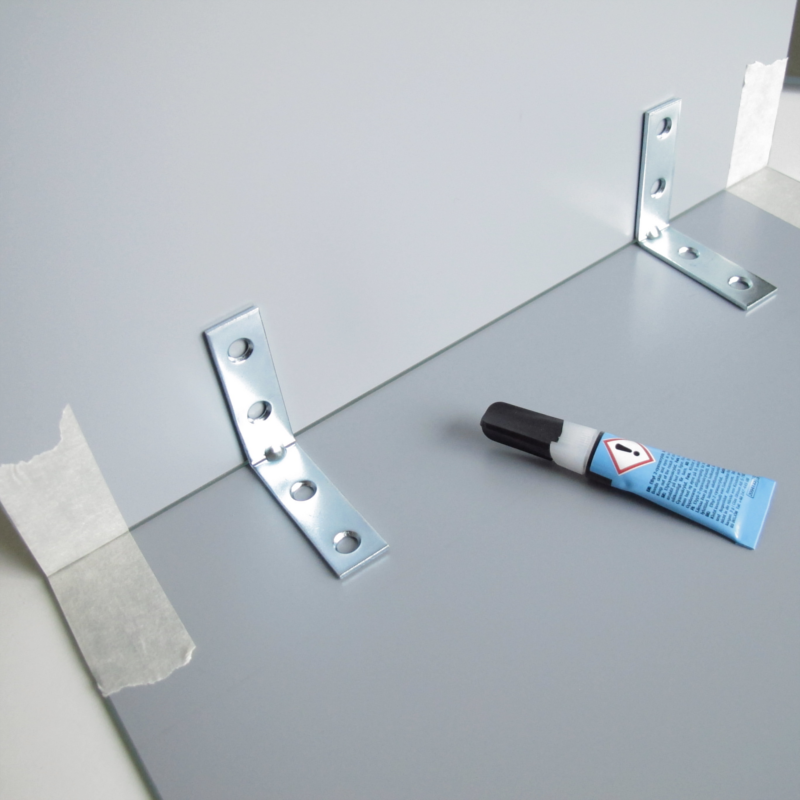
→ 24 corner brace ( is that the right english word?. anyway. I used these.  I also used two in every “corner” where the mirrors met)
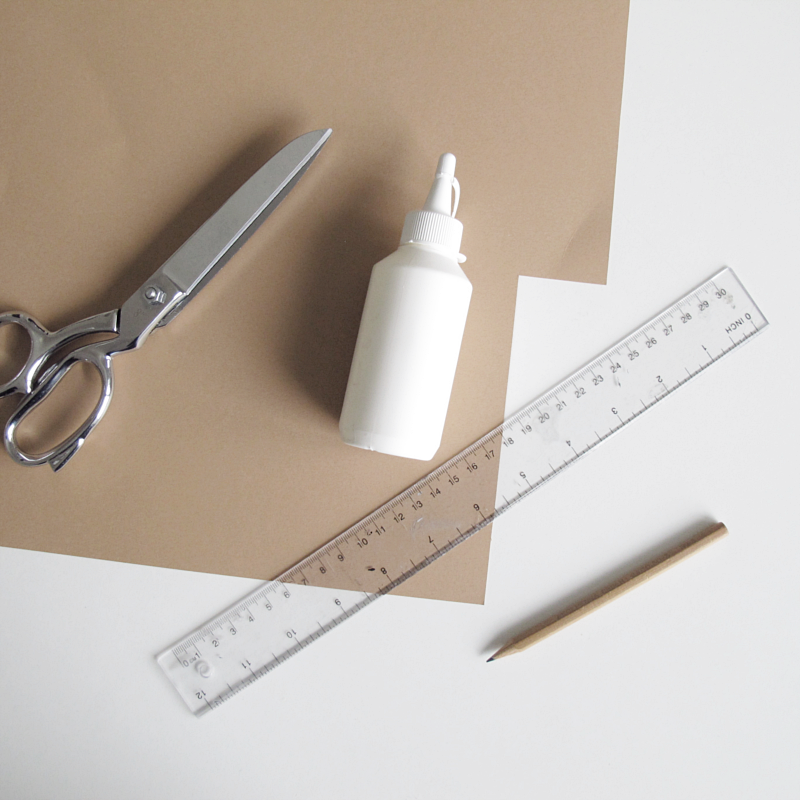
→ Super glue
→ Freezer tape

/// Till detta behöver du:

→ Två förpackningar LOTS spegel från Ikea, alternativt 6 st lika stora speglar.
→ 24 st vinkeljärn (här kan man möjligen använda färre vinkeljärn men jag ville gardera lite så jag har två vinkeljärn i varje hörn där två speglar möts).
→ Superlim
→ Frystejp

diymirrorcube

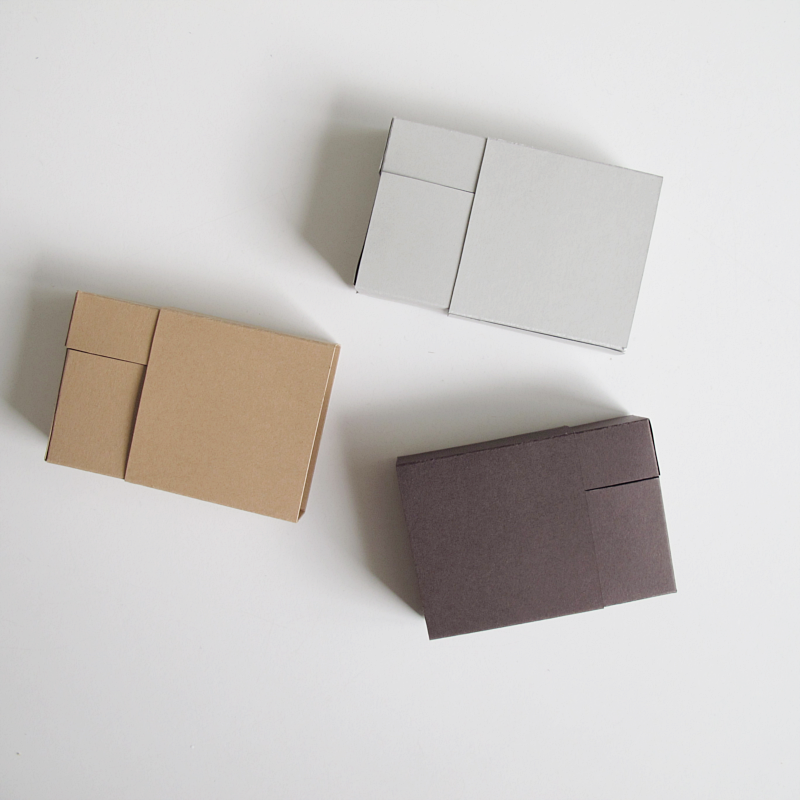
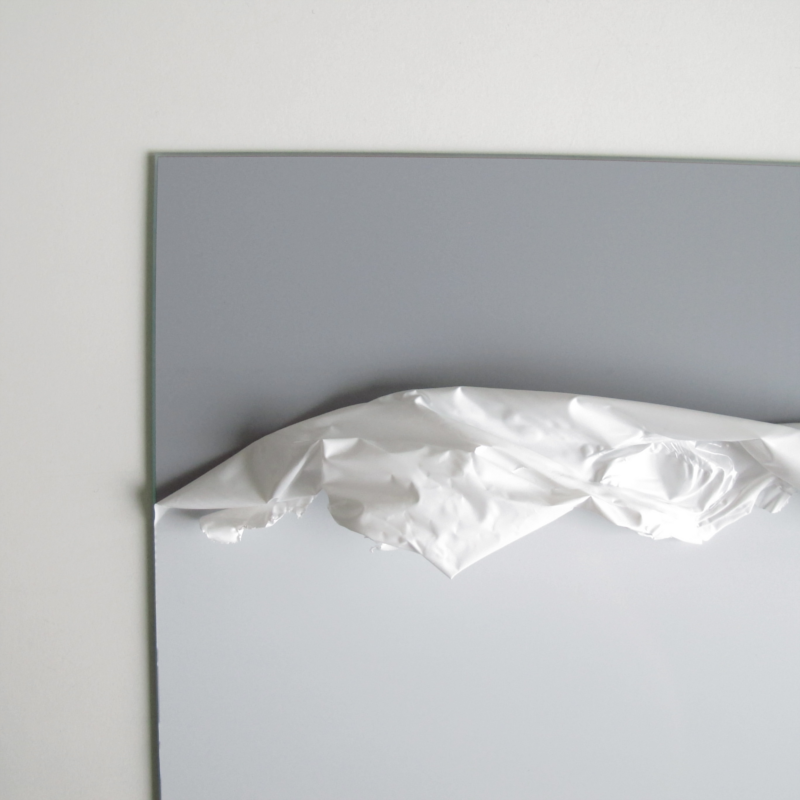
Start by removing the protective plastic (if you have that)

/// Börja med att dra bort skyddsplasten från speglarna (om en sådan finns)

diy mirror cube

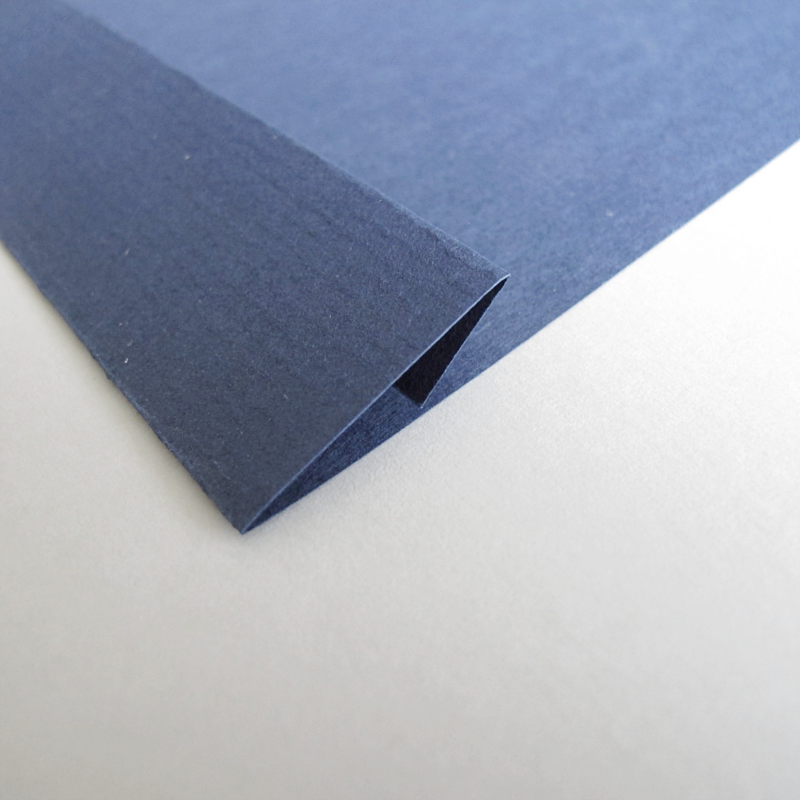
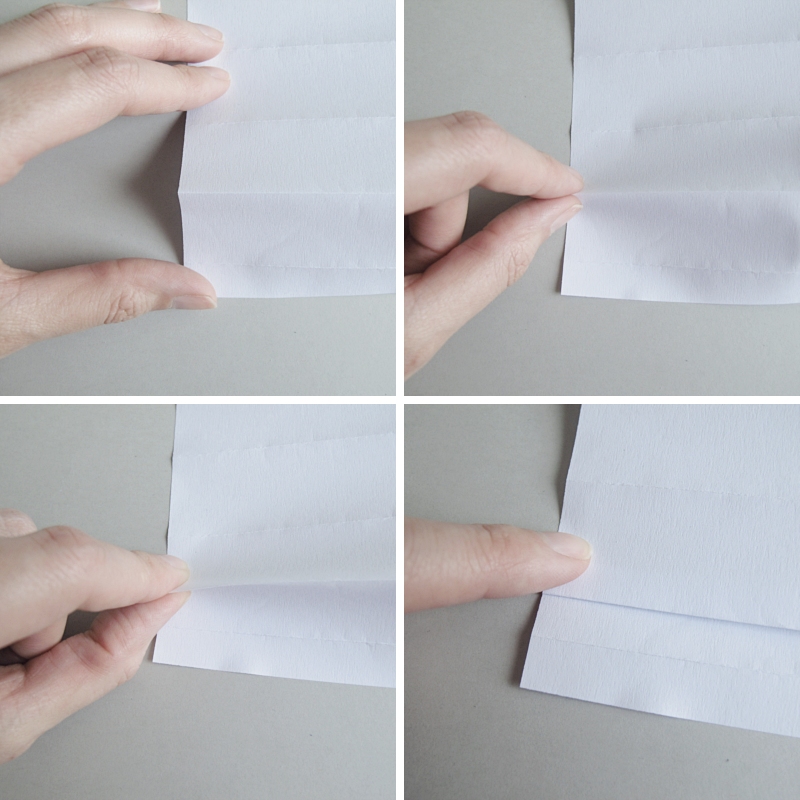
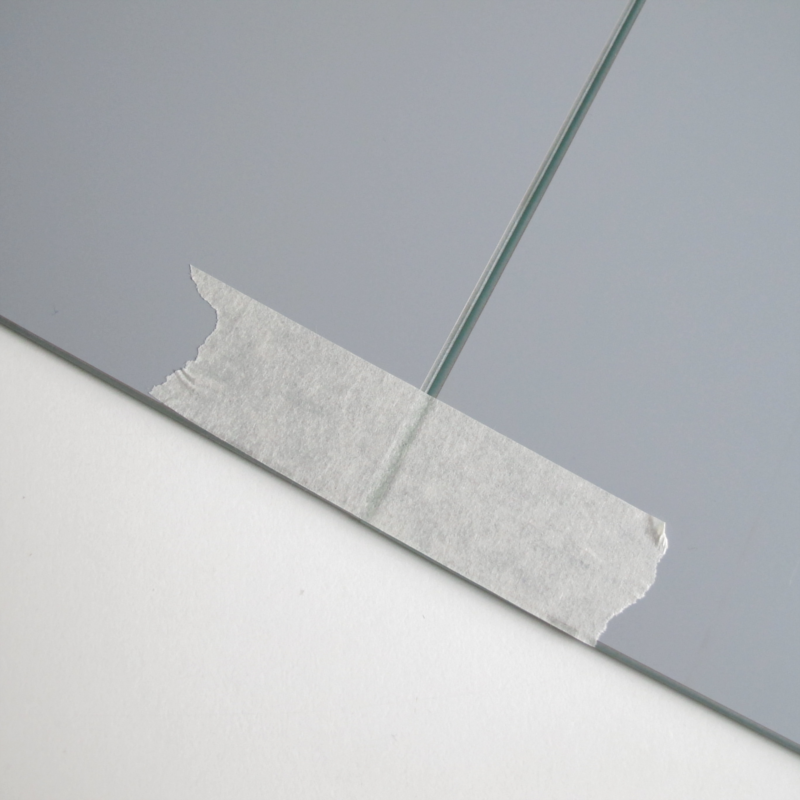
Put a bit of tape on the backside of the mirror to keep them together.

/// Sätt sedan ihop speglarna med en bit frystejp  på baksidan så att de hålls på plats.

diy mirror cube

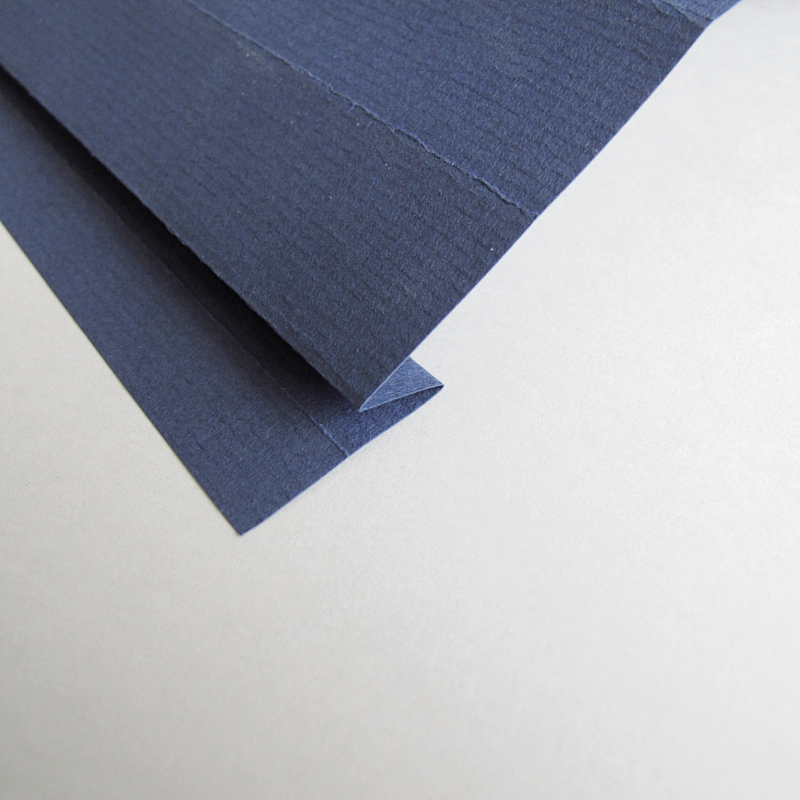
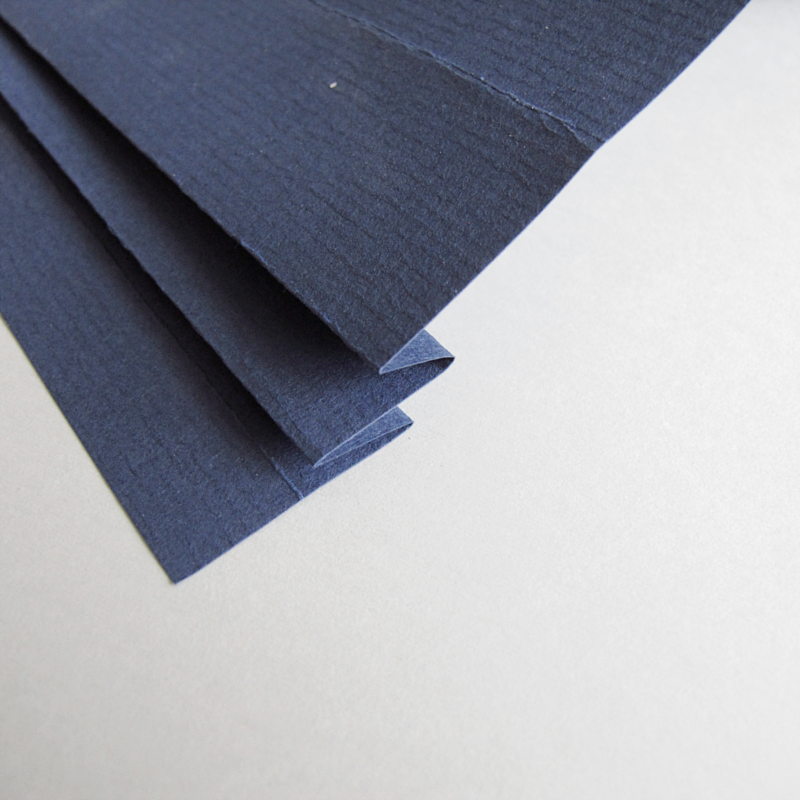
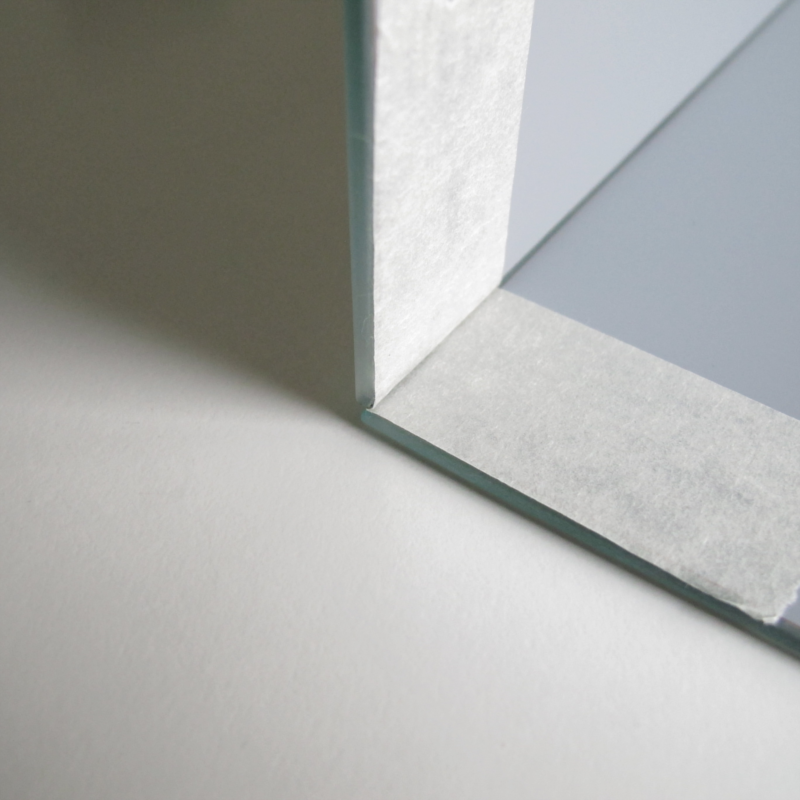
When you fold the mirror upwards half the mirror, (the one you hold in your hand) should be sticking out.

/// När du viker upp ena spegeln ska den spegeln som du håller i handen sticka ut till hälften.

diy mirror cube

Time to glue the corner braces to the mirrors. Like this ↓ Then continue all the way around so that you have four “walls”. I forgot to take pictures, and I think that has something to do with the fact that somewhere here I glued my fingers together an became a bit frustrated. But I think you understand, right?

/// Limma fast vinkeljärnen med hjälp av superlim. Såhär ↓ Fortsätt så hela vägen runt, så att du har fyra “väggar”. Här missade jag att ta bilder då jag kämpade med ihoplimmade fingrar och en uns av frustration, men ni förstår hur jag menar va?

diy mirror cube

When that is done, let the glue dry a bit more, and then it’s time to glue the bottom mirror (that one is easy, just place it on a plan surface and place the unfinished cube ontop) and then the top mirror. That one is a bit tricky, but you want to glue the corner braces on the “walls” first and then place the last mirror on top. To know how “high” to place the corner brace, try to have the corner brace just at the end of the mirror/”wall” and it it should be ok.

Let the cube dry (mine said 24 hours) and then you can start decorating. If you want to you can place some furniture pads on the bottom, to avoid scratches. And done!

/// När det är klart och limmet fått torka lite så limmar du fast botten spegeln (den går ganska bra, lägg bara spegel på en plan yta och sedan den halvfärdiga kuben ovanpå) och sedan spegeln på toppen. Här är det lite klurigare. Men du vill limma fast vinkeljärnen i “väggarna” först.  Att veta hur “högt” vinkeljärnen ska sitta på den halvfärdiga kuben, ser man om man placerar vinkeljärnen precis kant i kant med där “väggarna” tar slut. Sedan limmar du fast sista spegel.

Låt kuben torka (mitt lim skulle torka i 24timmar) och sedan är det bara att använda kuben. Om man vill kan man också lägga små möbeltassar på undersidan så att inte spegeln repas. Klart!

diy mirror cube

diy mirror cube

DIY – LACK MAKEOVER

via ikea livet hemma

Do you remember the tiled bench by Matilda gillar that I posted a while ago? Now the crew behind Ikea Livet hemma has made a similiar DIY with the famous LACK tables. Nice! For instructions click here (In swedish but use google translate!)

/// Kommer ni ihåg den fina kaklade bänken som Matilda gillar gjort och som jag visade för ett tag sedan? Nu har gänget på Ikea Livet hemma gjort en liknande variant på det välkända LACK borden, och fint blev det! Beskrivning till hur du gör ditt eget bord hittar du här.

fo: Ikea Livet hemma | Ragnar Ómarsson | Styling: Pella Hedeby, Alicia Sjöström

WEEKLY WONDERS

Friday again (time flies! ) and time for another Weekly wonders list. First up is Marjolein Delhaas who has released her new products for 2017 and this diary/weekly planer is my favorite. See more news here

/// Fredag igen (vart tar veckorna vägen egentligen?) och det är dags för en ny veckans lista. Först ut är Marjolein Delhaas som har släppt nya produkter för 2017 och jag fastnade för den här dagboken/veckoplaneraren. För att se mer nyheter klicka här.

Marjolein Delhaas

Marjolein Delhaas

Via April and May, which incidentally has the finest blog design right now, I got wind of Koel magazine. This is how the crew behind KOEL describes their first issue:

/// Via April and May, som förövrigt har den finaste bloggdesignen just nu, så fick jag nys om Koel magazine. Såhär beskriver gänget bakom KOEL själva sitt första nummer:

KOEL is all about yarns and interior design. A treat of visuals, ready-to-make patterns, tricks of the trade, more visuals and simply lots of inspiration to create your own signature yarn pieces. In our debut issue we talk to contemporary fibre celebs such as Tamara Maynes, reveal exclusive patterns by Purl Soho and many other in the know designers, introduce you to easy to master craft techniques, take you on a global tour to find hidden gem supply shops and there’s more, but will keep you in suspense a little longer until you have purchased your very first issue

You can read more about it, or buy your own issue here.

/// Du kan läsa mer eller kanske till och med beställa ditt eget nummer här.

koel magazine via april and may

april and may

This apartment for sale via fantastic frank has alot of clever DIY’s. My favorite was the unpainted masonite with holes by the desk and the shelves in the bedroom.

/// Den här lägenheten till salu via Fantastic frank har många fina DIY’s. Mina favoriter var den omålade masonitskivan med hål och hyllsystemet i sovrummet.

via fantasticfrank

fantastic frank

And let’s end this list with Ikea Livet hemma and Pella’s amazing DIY. BEKANT desk screen as a headboard. Love it!

/// Och så avslutar vi denna lista med Ikea Livet hemma och Pellas fina DIY. Skrivbordsavskärmaren BEKANT som sänggavel. Vilken bra idé!

livethemma

Ikea Livet hemma | Kristofer Johnsson

Have the best weekend!

/// Trevlig helg och så ses vi på måndag igen!

Spara

Spara

DIY – BOXES

Something that makes me frustrated is all the tiny bits and bobs that really doesn’t have a special place but seems to be everywhere (but you can’t find it when you actually need it). Like paperclips and things like that. So I desided to make these tiny boxes to hopefully get a little more organized. If you want one too, here comes a tutorial.

/// Jag blir så frustrerad över alla små gem och klämmor som egentligen inte har någon speciell plats men som ändå finns överallt (men som man ändå inte hittar när man letar) så jag bestämde mig för att göra små askar för att förhoppningsvis få lite mer ordning. Om du också vill ha likadana så kommer här  i vanlig ordning en beskrivning.

diy box

diy box

For this you need:

→ carton
→ glue
→ a ruler
→ a pencil
→ a pair of scissors
→ eraser (If you are using a carton with light color)

/// Till detta behöver du:

→ hobbykartong
→ lim
→ linjal
→ blyertspenna
→ sax

Ev:
→ sudd (om du använder en  ljusare kartong)

diy box

This is how you do it:

Draw these figures on your carton (in centimeters). Then cut them out.

/// Rita och klipp ut två figurer på kartongen med dessa mått. Måtten är i cm.

diy box

Then you measure a bit more.

/// Sedan ritar du lite till.

diy box

Cut it out like the picture shows.

/// Klipp som bilden visar.

diy box

Time to fold. Fold along all lines, and fold them towards you. Except the line where the white dots are, that line you fold backwards/away from you.

/// Nu är det dags att vika. Vik längst alla linjer, och vik dem mot dig. Förutom den linjen som är vit på bilden, där viker du från dig.

diy box

Like this. ↓ You can now also erase all the pencil lines.

/// Såhär. ↓ Om du använder en ljus kartong så kan du nu också sudda bort alla blyertsstreck.

diy box

Glue the box together by folding the tiny flaps in the bottom inwards..

/// Limma ihop asken genom att vika in de små flikarna i botten…

diy box

.. . then you fold the flap on the side so that you get that one on the inside..

/// … sedan stoppar du in fliken på sidan av asken på insidan…

diy box

..and finally, the big flap at the bottom.

/// .. och så sist, den stora fliken i botten.

diy box

Like this.

/// Såhär.

diy box

Before you glue the upper part of the box, cut away a few millimeters of the top flaps.

/// Innan du limmar ihop övre delen på asken så klipp bort ett par millimeter på den översta flikarna.

diy box

Then you fold these flaps (the top ones) inwards and glue them onto the sides.

/// Sedan viker du in dessa flikar (de övre) och limmar fast dem på sidorna.

diy box

After that you fold the lower flaps inwards and glue those too. Now you are finished with this part.

/// Sedan viker du in de nedre flikarna och limmar fast dem också. Nu är denna delen klar.

diy box

Over to the other piece of carton, the one that will work as a cover. Fold along the lines, (if you use a lighter colored paper erase all pencil lines), glue the two ends together, slide the box into the cover and you are done!

/// Så till den mindre biten, den som ska fungera som fodral. Vik längst med alla linjer, sudda eventuellt bort blyertsstreck och slutligen så limmar du ihop kortsidorna. Trä asken i fodralet, och du är klar!

diy box

diy box

diy box

diy box

Spara

DIY – GIFT WRAPPING WITH JAPANESE PLEATS

If you think that your one color gift wrapping paper is a bit boring you can do this kind of japanese pleating to make it look a little bit nicer. How you choose to fold, what width you use, how many foldings and where you place them on the gift is all up to you. I did two versions, one with the foldings alongside the box, and one with the folds on one side of the box.

/// Om man tycker att ett vanligt enfärgat omslagspapper ser lite tråkigt ut så kan man göra sådana här små japanska vikningar för att få det att se lite roligare ut. Hur du väljer att vika, hur många vikningar, hur breda de ska vara och vilken väg bestämmer du själv. Jag provade på två varianter, en med vikningarna längs med paketet och en med vikningarna på ena sidan av paketet.

diy wrapping

diy wrapping

For this you need:

→ Paper
→ Tape or Glue

/// Till detta behöver du:

→ Papper
→ Tejp eller Lim

diy wrapping

How to:

Start by folding the end upwards, about 1 cm.

/// Vik upp ena änden på papperet. Ungefär 1 cm.

diy wrapping

Fold it again but fold it the duoble length, about 2cm.

/// Vik igen men vik nu dubbelt så långt, det vill säga 2 cm.

diy wrapping

Fold as many times as you like, for the pattern you want to make. I folded  6 times to match the width of my box.

/// Fortsätt tills du är nöjd. Jag vek tills jag fick 6 st viklinjer för det passade bredden på mitt paket.

diy wrapping

Turn the paper upside down.

/// Vänd papperet upp och ner.

diy wrapping

Now it’s time to fold again. Pinch the folding line (photo 2) and carefully drag it towards you and down (photo 3). And press down when you reach the middle (photo 4).

///  Nu är det dags att vika igen. Ta tag i själva viklinjen, kläm åt försiktigt (bild2) och dra den mot dig och neråt (bild 3). Och tryck sedan ner den när du är ungefär på mitten (bild 4).

diy wrapping

This is how the folding looks like from the side.

/// Så här ser vikningen ut från sidan.

diy wrapping

diy wrapping

Try to get all the foldings the same width.

/// Försök få vikningarna lika breda.

diy wrapping

When the folding is done you wrap the gift. If you find it a bit tricky you can put a piece of tape on the back on the gift wrapping where you folded, to keep it from stretching.  And then you are finished! Here you can see how the back of the gift looks like.

/// När du vikt färdigt är det bara att slå in paketet som du skulle göra i vanliga fall. Om du tycker det är lite trixigt så kan du sätta en liten tejpbit på baksidan av vikningarna vilket gör att papperet inte längre kan dras ut. Sedan är du klar! Bilden nedan visar hur baksidan på mitt paket ser ut.

diy wrapping

Spara