This DIY that I found over at Cchobby is both silly simple and brilliant at the same time. It’s a star made out of small paper bags.
/// Det här DIY:et som jag hittade hos Cchobby är både löjligt enkelt och underbart på en och samma gång. Det är en stjärna gjord av papperspåsar.
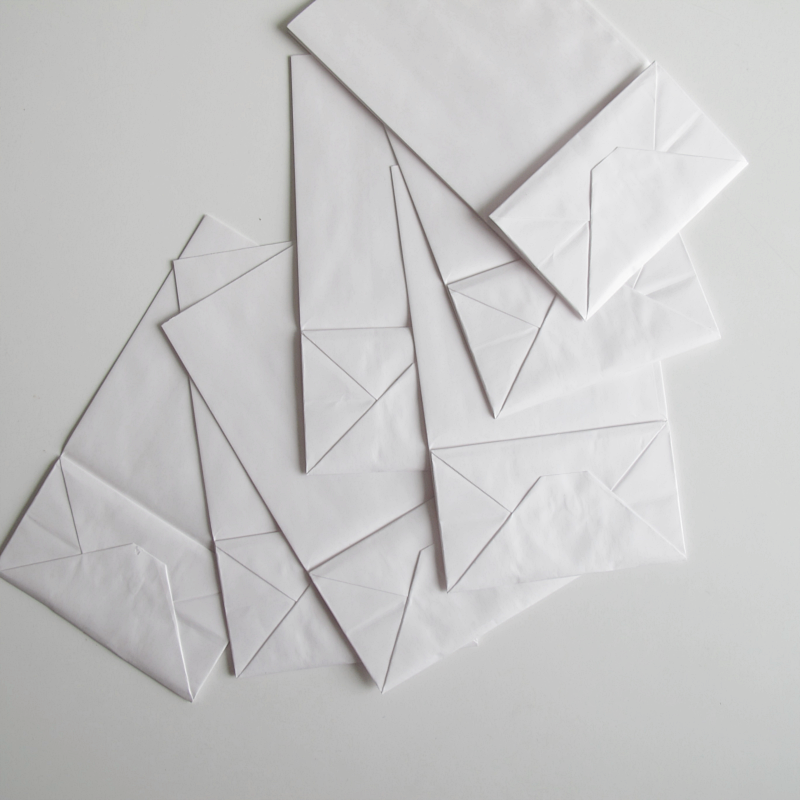
For this you need:
→ 6-7 small bags with block bottom (if you want a “fuller” star you use 7)
→ Glue
→ A pair of scissors
/// Du behöver:
→ 6-7 papperspåsar med kloss botten (om du vill ha en tätare stjärna så använd 7st)
→ Lim
→ Sax
And this is how you do it:
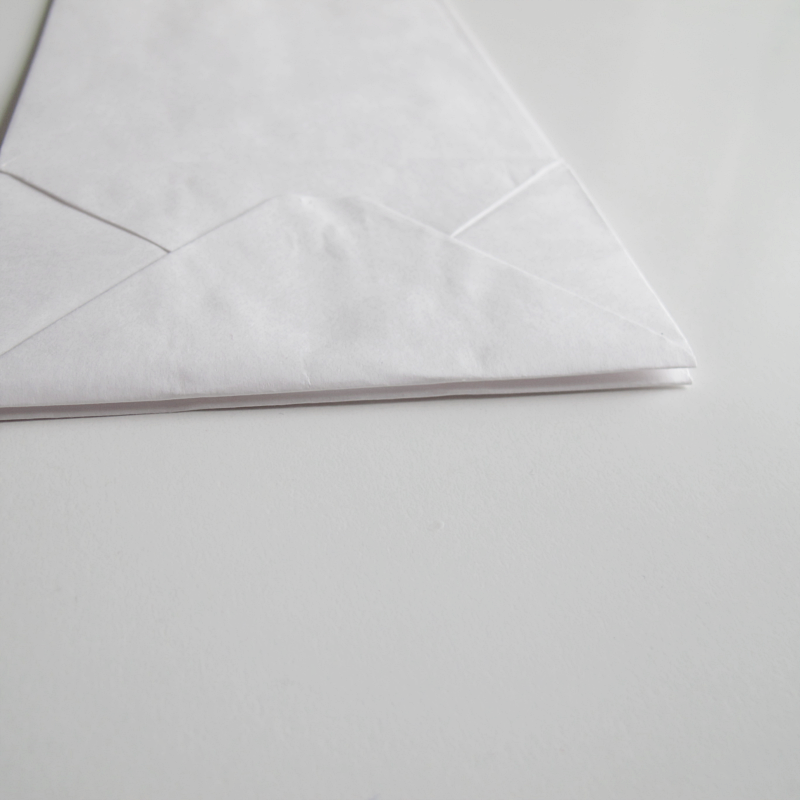
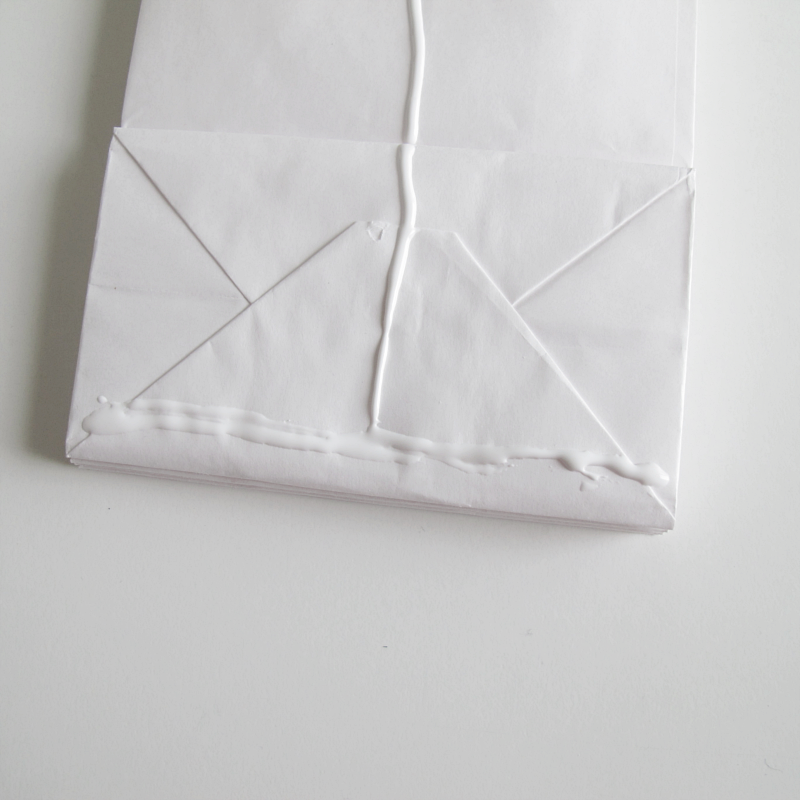
Place one of the bags with the bottom up, and put some glue on it like the picture shows. (Just a heads up: The amount of bags makes the cutting a bit tricky so if you want to make a lot of pattern on your star you might want to cut that out before you glue.)
/// Placera en av påsarna med botten uppåt och limma som bilden visar. (Ett tips på vägen: Om du vill göra ett avancerat mönster på din stjärna så klipp innan du limmar för 7 påsar är ganska svårt att klippa igenom samtidigt.)
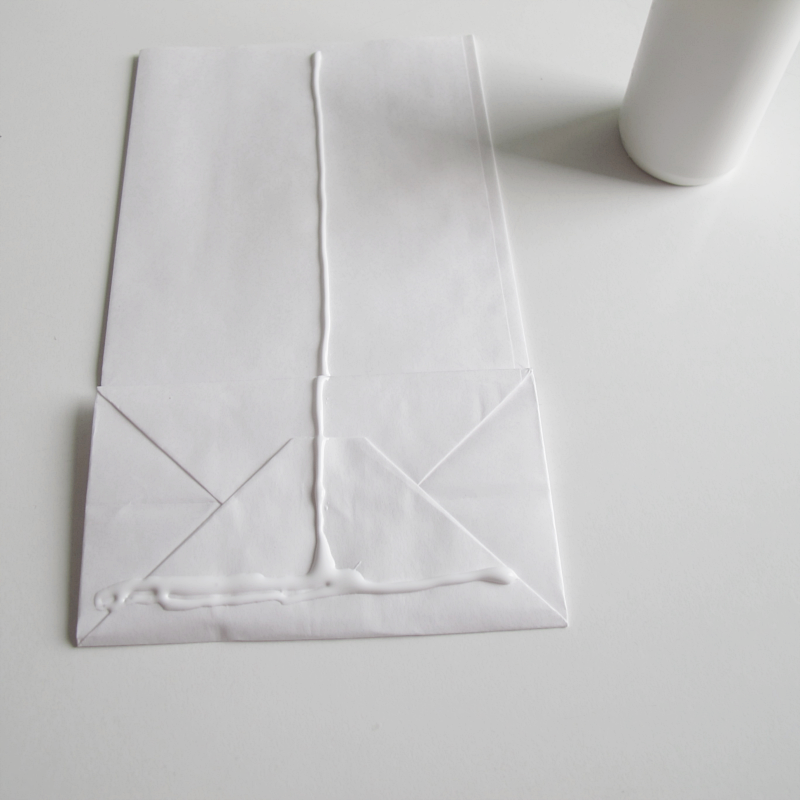
Place another bag on top of the other and press. Glue the rest of the bags in the same way.
/// Lägg nästa påse på den första och tryck till. Limma sedan fast de andra påsarna på samma sätt.
When the glue is dry it’s time to make the shape and patterns on the star.
/// När limmet torkat är det dags att göra formen och mönstret på stjärnan.
♦
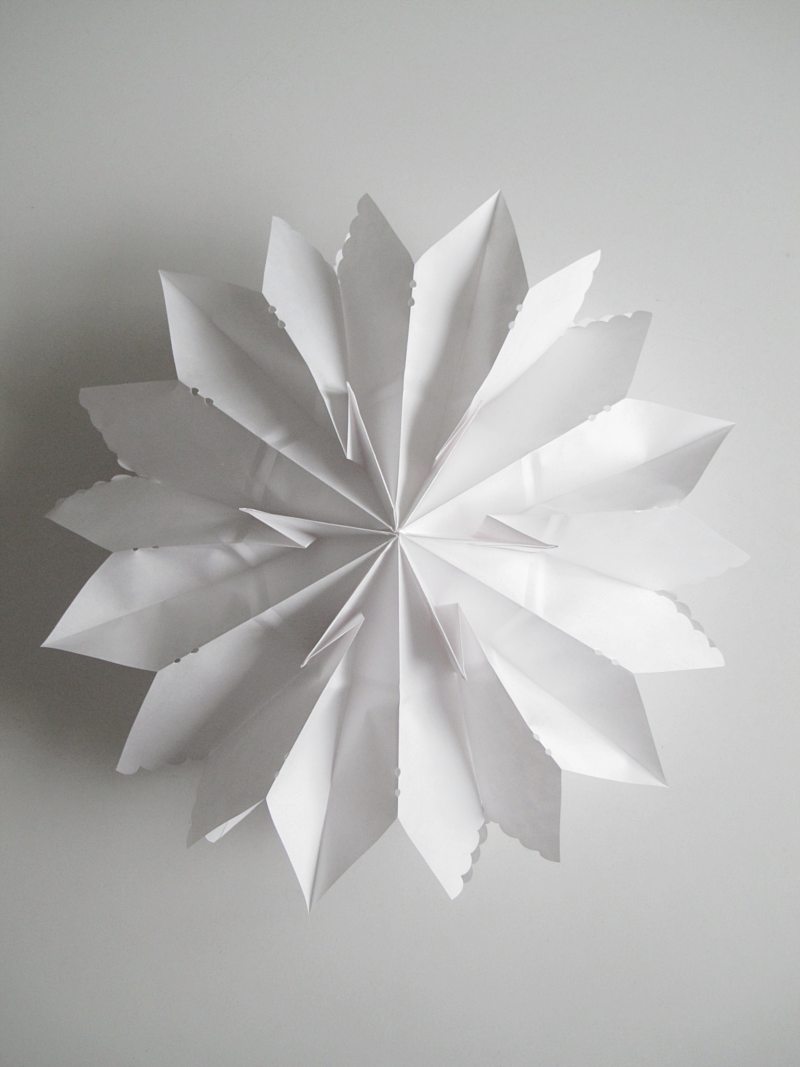
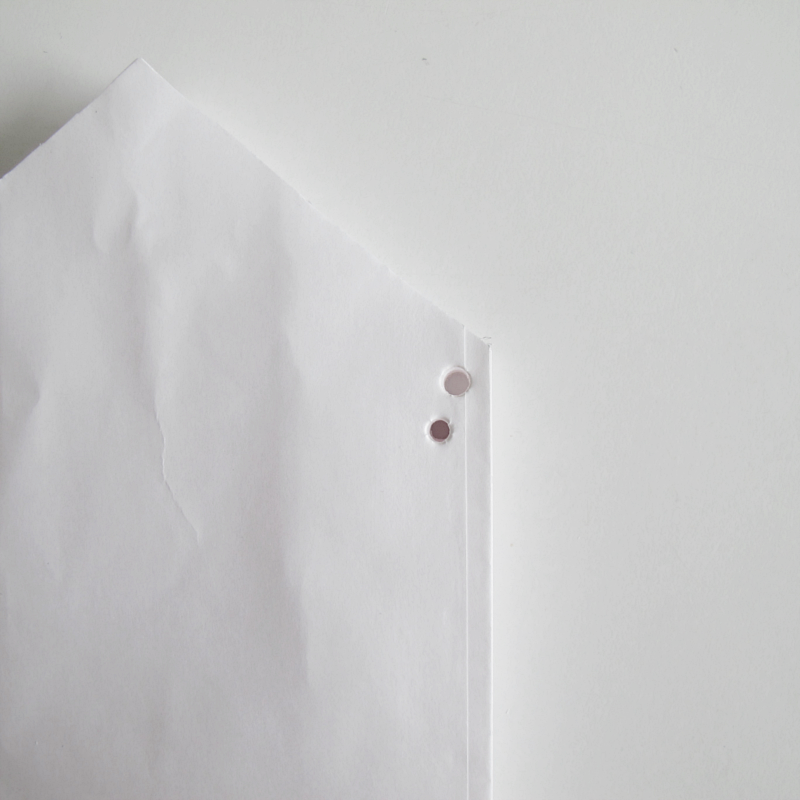
To make this star ↓ you use 7 paper bags, make a V-shaped top and cut out two small holes on the side.
/// För att göra den här stjärnan ↓ så använder du 7 påsar, klipper en V-formad topp och gör små hål på sidan.
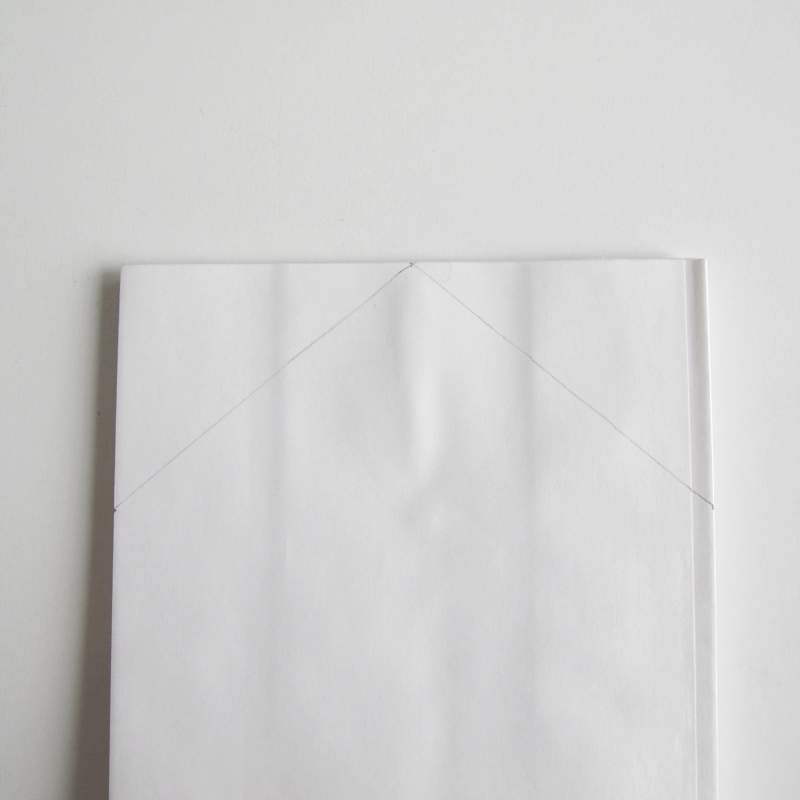
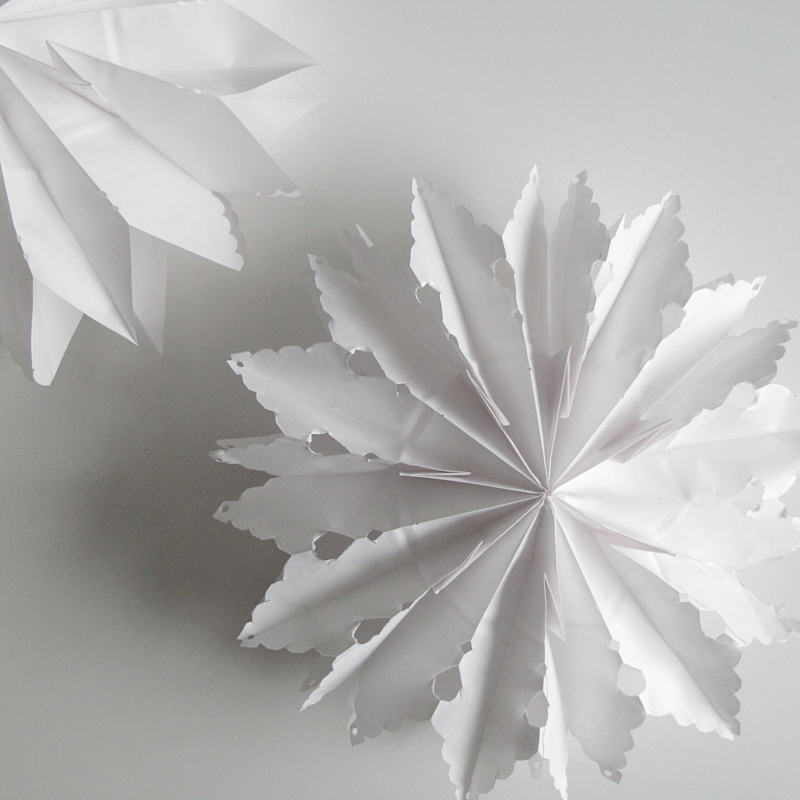
To make the star in the first picture you use 6 paper bags, make a M-shaped top where you make the inside of the M (the V shape of the letter M) “bubbly”, and cut two holes, at the same hight as in the picture above but make them just at the end of the bags.
/// För att göra stjärnan på första bilden så använder du 6 st påsar, klipper en M-formad topp där insidan på M:et (V-formen på bokstaven M) klipps i ett “bubbel”-mönster. Sedan gör du två små hål. På samma höjd som i stjärnan innan men nu gör du dem precis på kanten av påsarna.
♦
When you are happy with the result just put glue on the top bag like you did with the other ones and glue it to the first bag. And you are done!
/// När du är nöjd med ditt mönster så limmar du den översta/sista påsen på samma sätt som de andra med den första påsen och du är klar!
♦
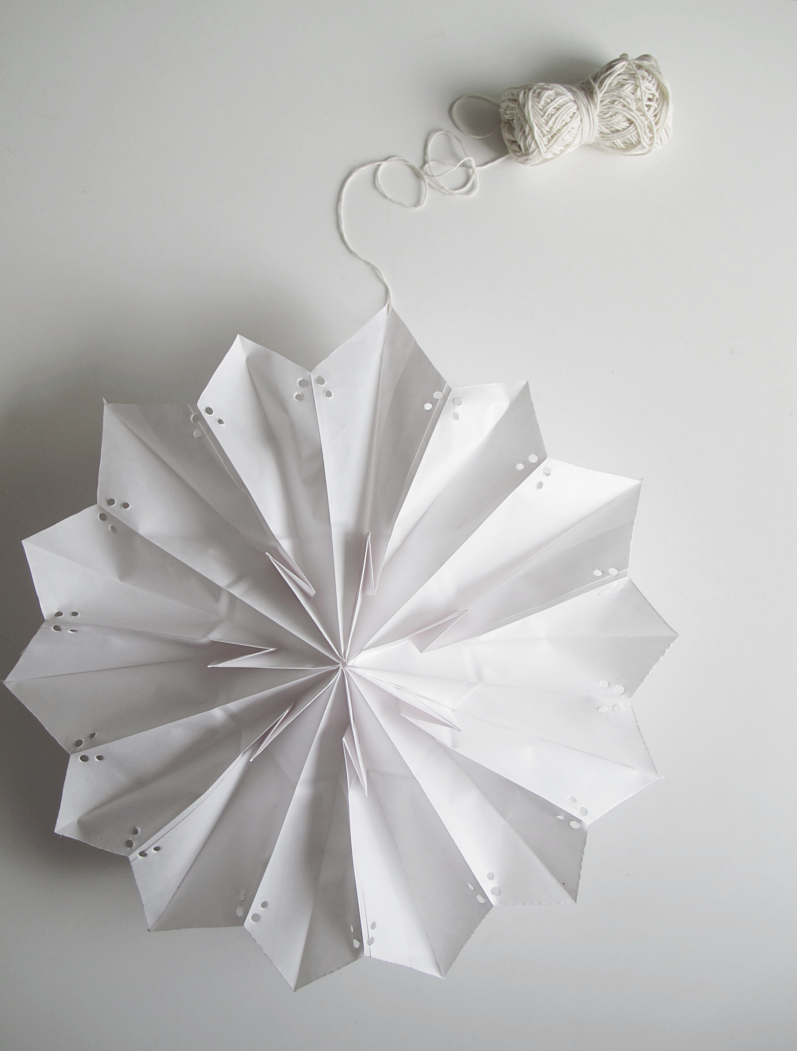
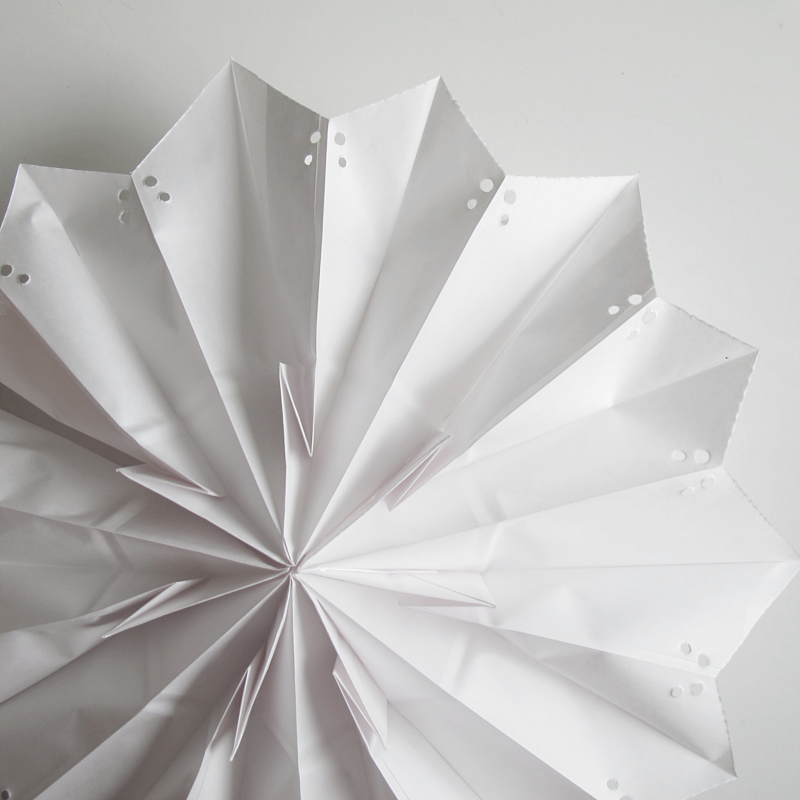
The picture bellow shows the star I did when I was trying to decide what pattern I liked (so I didn’t think about cutting it to look “good”.) But I still wanted to show you that one, so you can see how you can change the look of the star depending on how you cut the pattern. That star is made out of 7 bags, the top is an M-shape with the whole M made “bubbly”. I made a teardrop shape an under that a V-shaped cut. And I made holes on the points of the star.
/// Bilden nedanför visar en stjärna som jag gjorde när jag försökte bestämma mig för vilket mönster jag ville ha, så den är inte så jättefint klippt, men jag ville ändå visa er den för att visa hur man kan förändra utseendet på stjärnan beroende på hur man klipper mönstret. Den är gjord med 7 påsar, har en M-formad topp där hela M:et är klippt “bubbligt”, sedan har jag gjort ett droppformat hål precis på kanten och under den ett V-format jack, och till sist gjorde jag hål längst ut på stjärnan spetsar.