Today I want to show you a really simple way to make patterned paper. And I know that there are special tools for making these kinds of patterns, but here in Sweden we have a saying that goes something like “you take what you have”, and I don’t have one of those, so I used a crochet hook ..
/// Idag vill jag visa er ett enkelt sätt att göra mönstrade papper. Och jag vet att det finns speciella verktyg för att göra sådana mönster, men nu har jag ingen sån så jag använde en virknål…

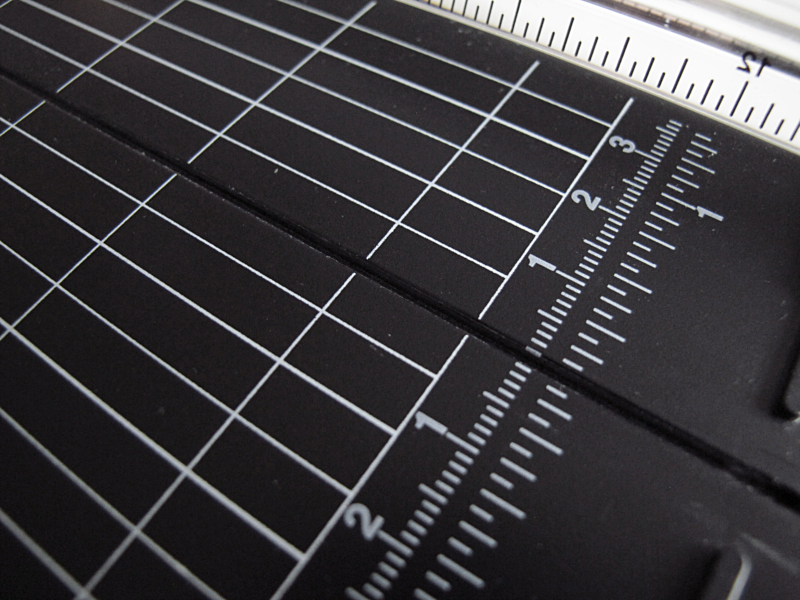
..and my Paper Cutter with a ruler. No fancy one, I think I bought it for about 21 € /24 $. The key thing here is to make sure that the end of the crochet hook is bigger than the score on the Paper cutter, and that you use paper that are a bit thicker, carton will work just fine.
///… och min skärmaskin för papper. Alltså inte alls något speciellt verktyg. Det viktiga att komma ihåg här är att se till att änden på virknålen är bredare än skåran på skärmaskinen och att man använder lite tjockare papper. Hobbykartong funkar utmärkt.
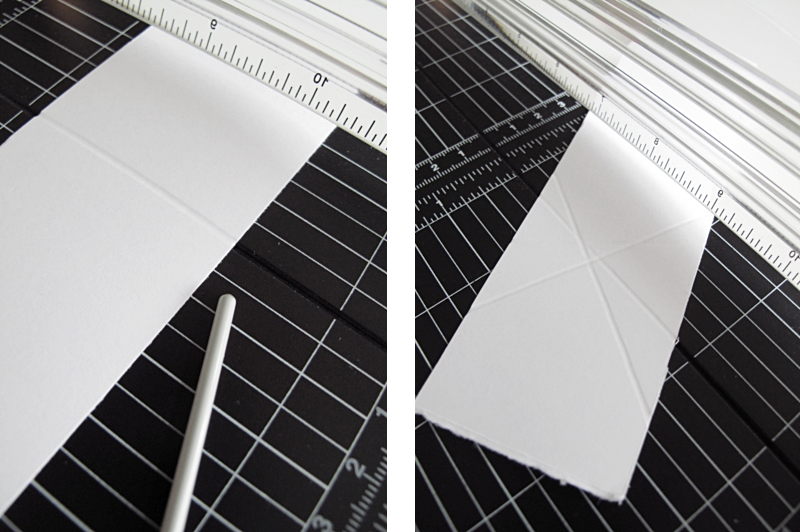
Then you just place the paper over the score and use the “wrong” end of the crochet hook to make lines. Easy as that! Turn the paper to make patterns.
/// Sedan är det bara att lägga papperet över skåran och dra med “fel” sida av virknålen. Enkelt va? Vrid papperet för att få olika mönster.
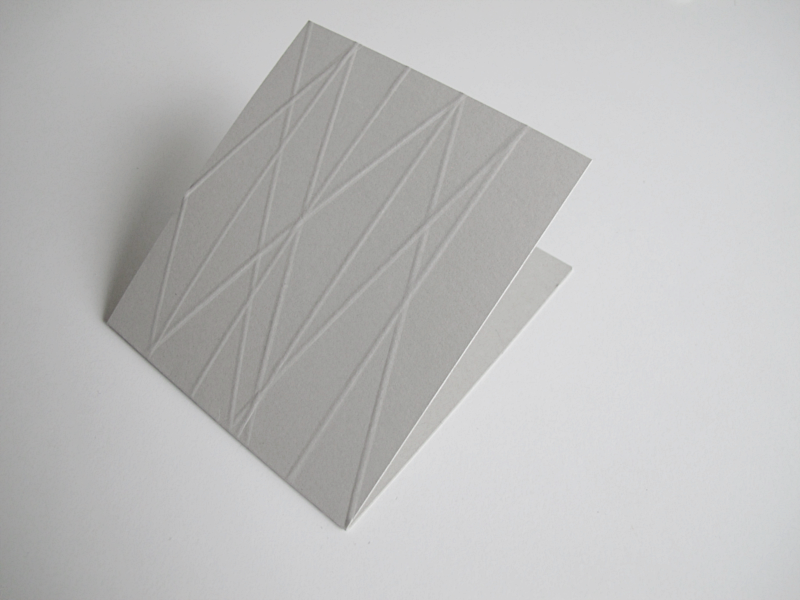
In this picture you can see (I hope) that some of the lines are ridges and some are valleys. You can experiment with the patterns by turning the paper upside down when making the lines.
/// På den här bilden kan ni se (hoppas jag) att linjerna är både vad man kallar åsar och dalar. Det är bara att vända papperet upp och ner när man drar linjerna för att få variation på mönstret.
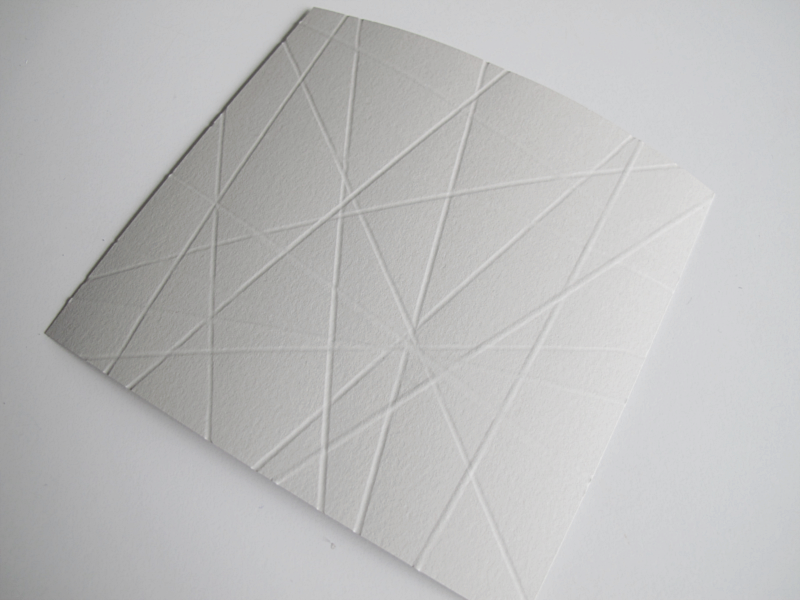
Here you can see some of the patterns I did.
/// Här är några av de mönster jag gjort.

If you want to see a herringbone pattern I did with wet paper you can click here.
/// Vill ni se när jag gjorde fiskbensmönster på blött papper så klicka här.
Tenz says:
Definitely adding this to my DIY to try list!
Tenz
http://www.shesabouthatlife.com
xxx
May 25, 2016 — 17:36
designoform says:
Yay! ;)
May 26, 2016 — 14:23
reco says:
awesome!
June 22, 2016 — 19:22
designoform says:
Thank you. And super easy to make!
June 27, 2016 — 16:53