Menu Close

Category: DIY – FABRIC (page 3 of 6)

DIY CUSHION

kudde

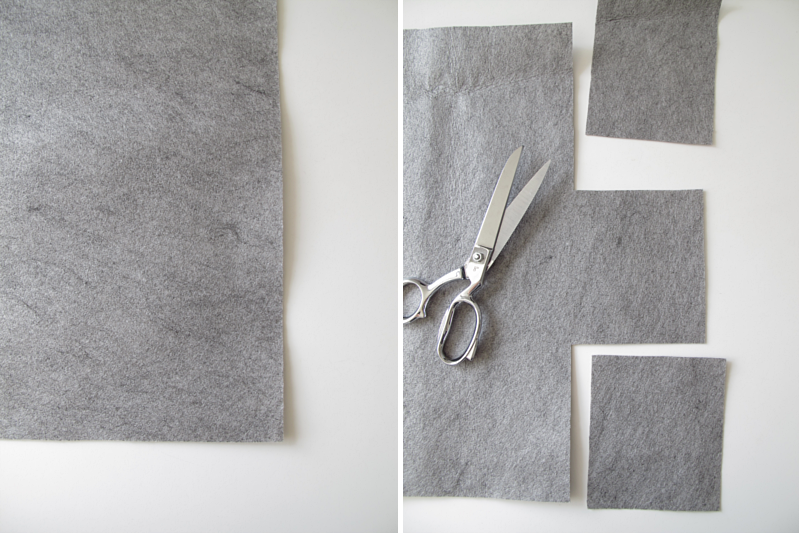
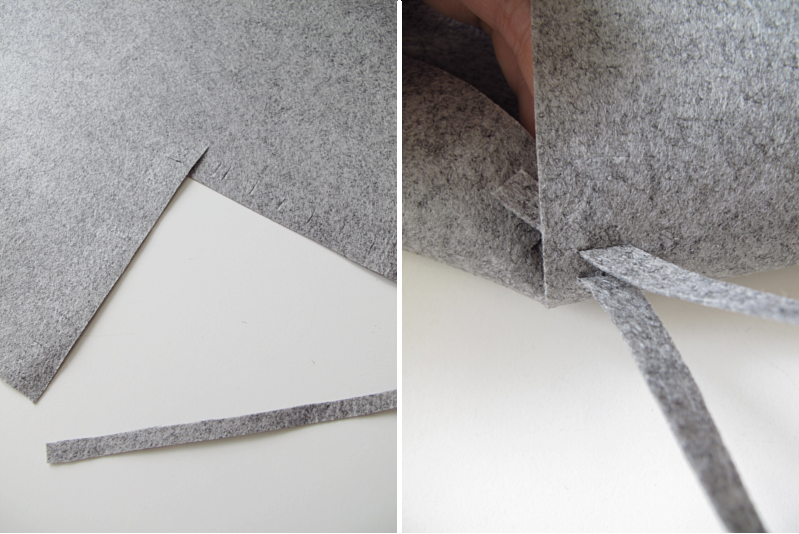
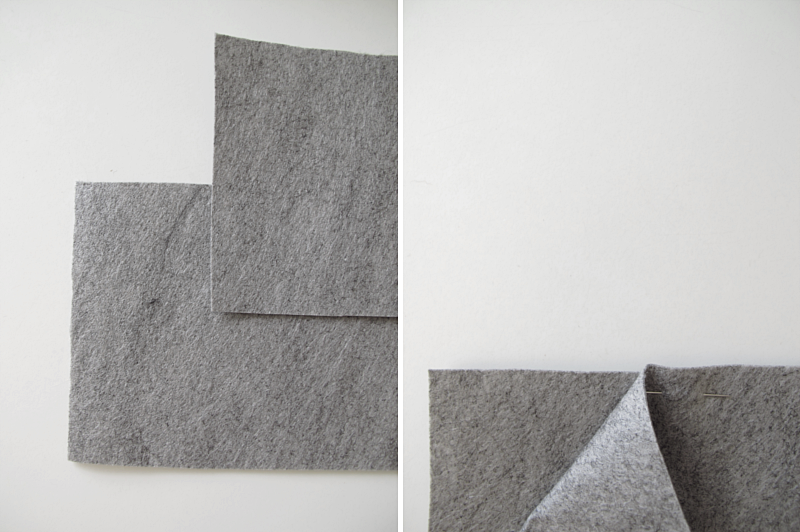
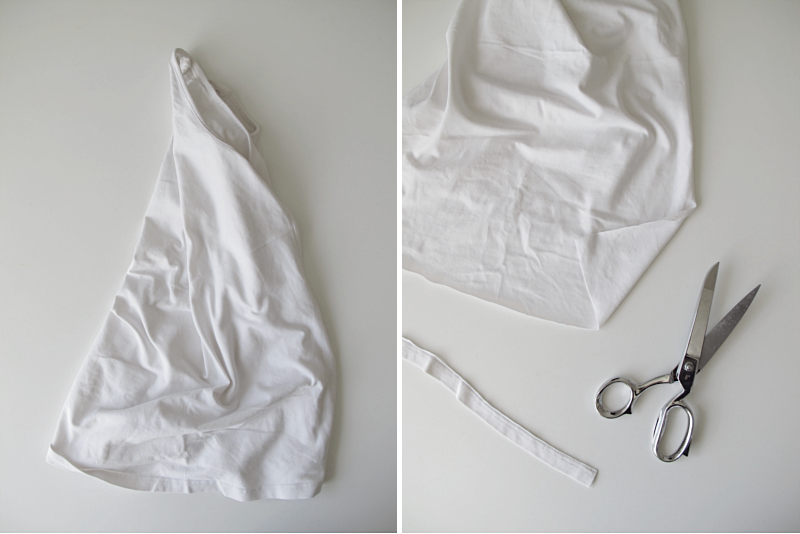
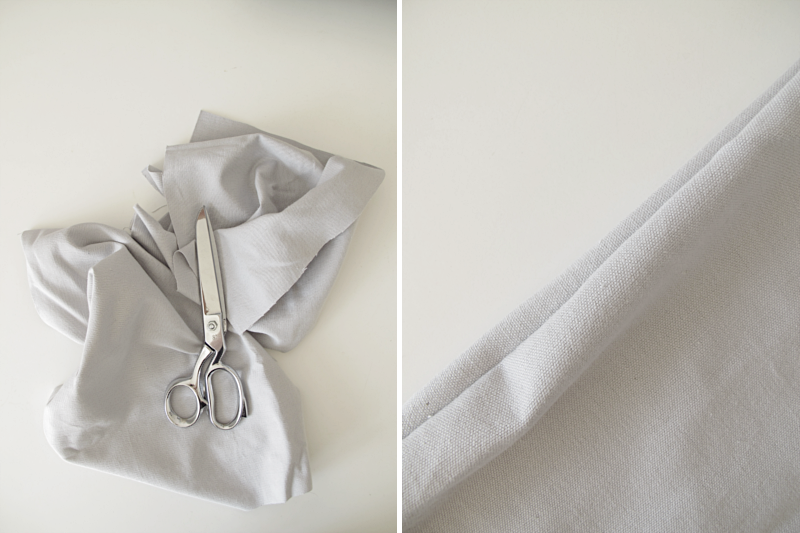
Start by cutting out two pieces of fabric. How big depends on where you want to use your cushion. Just remember that the cushion will “shrink” on two of the sides, when you start filling it. Place the fabric so that you have the frontside of the fabric facing eachother. Then sew three of the sides together, and turn it inside out.

/// Börja med att klippa ut två bitar tyg. Hur stor du vill att de ska vara beror på var du ska ha din dyna. Men kom ihåg att dynan “krymper” på två av sidorna när du fyller den. Lägg rätsidorna mot varandra och sy ihop tre av sidorna. Vänd den sedan ut och in.

kudde

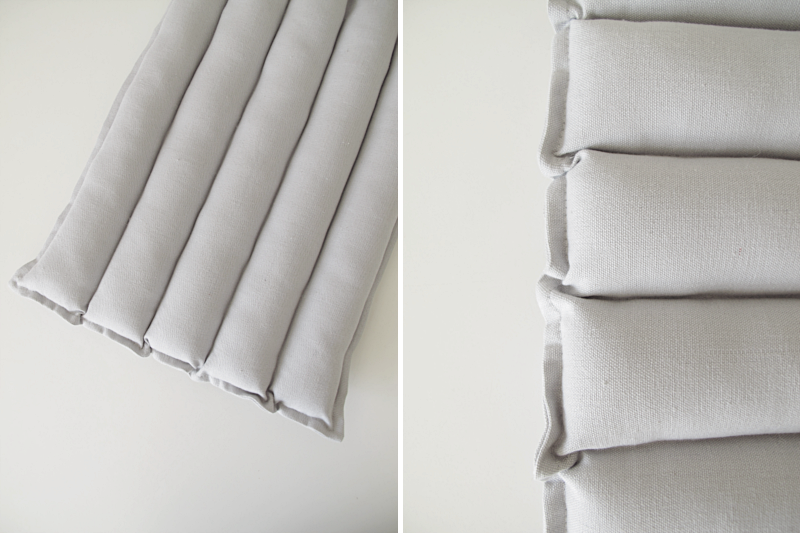
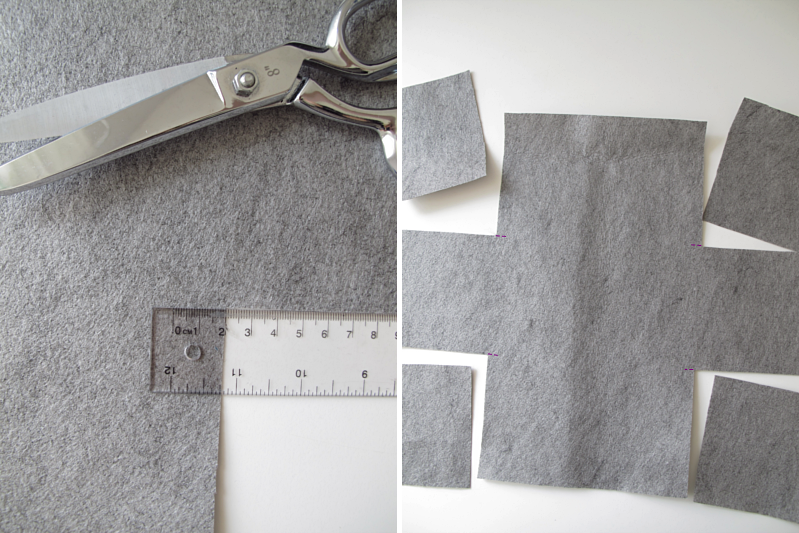
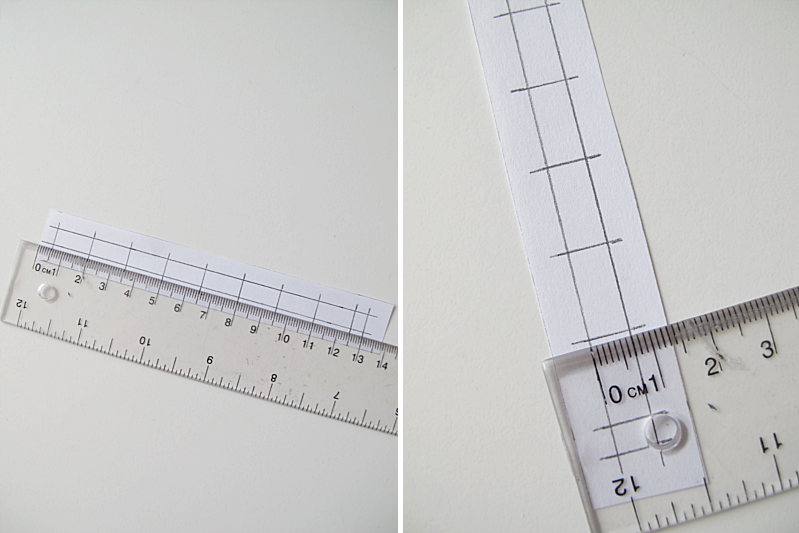
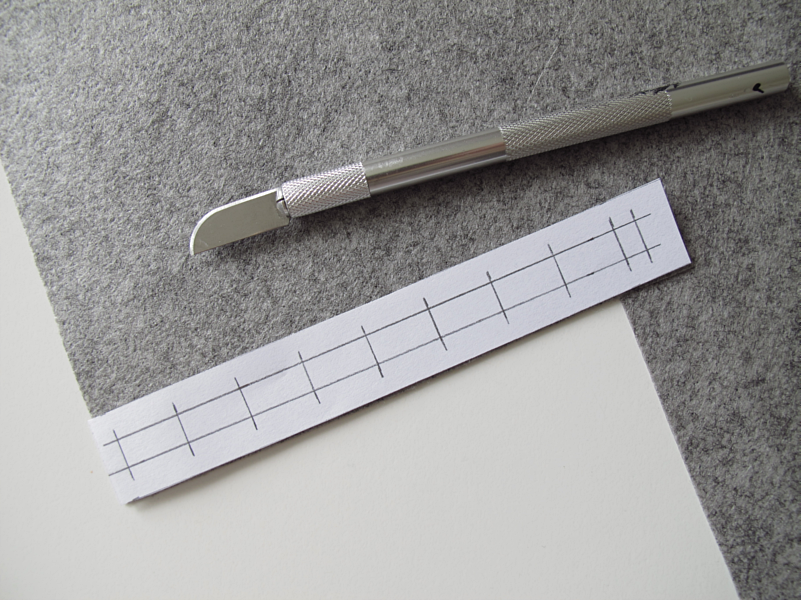
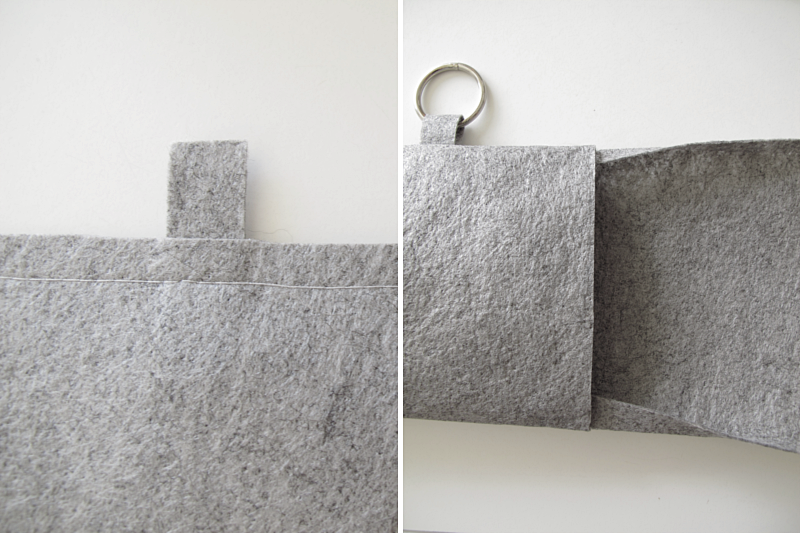
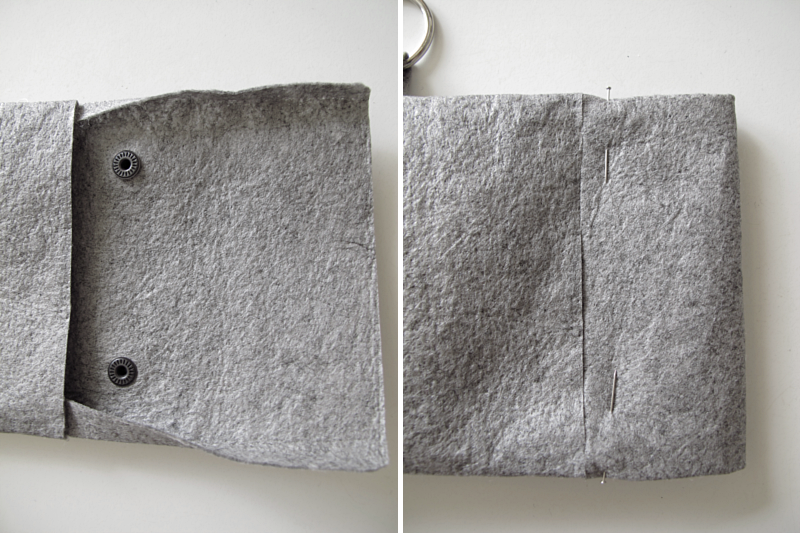
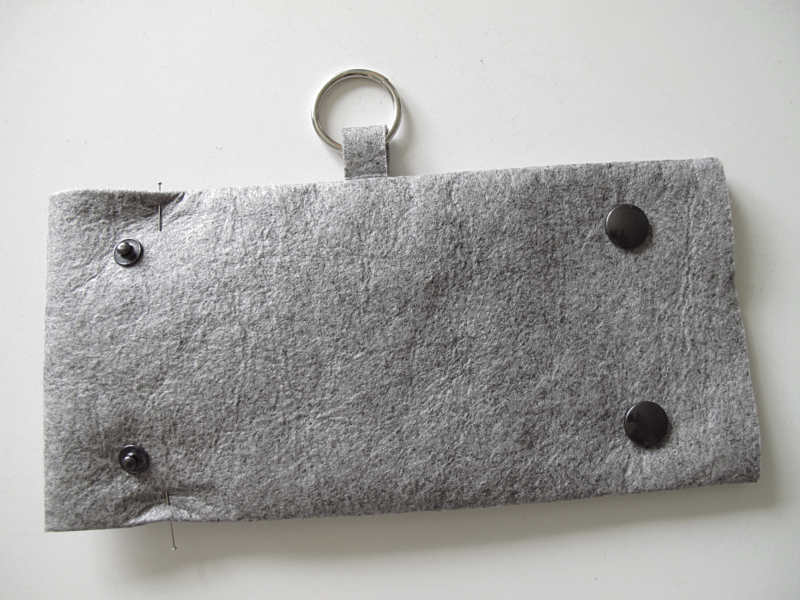
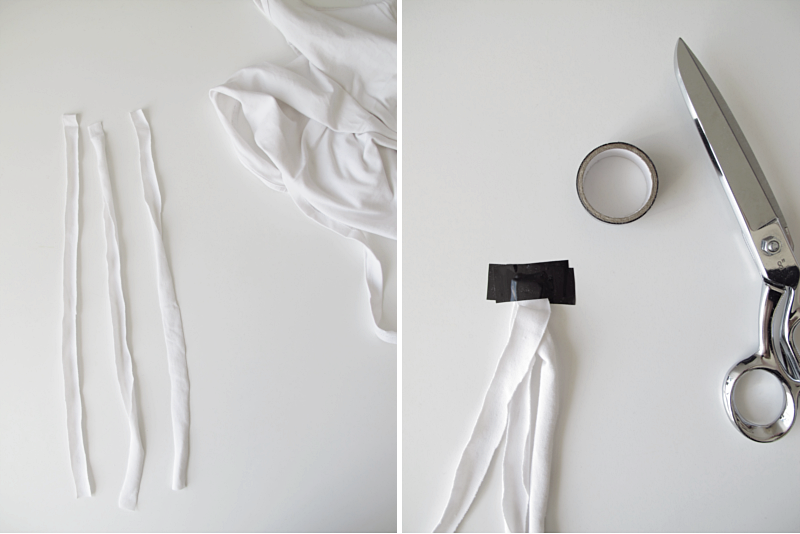
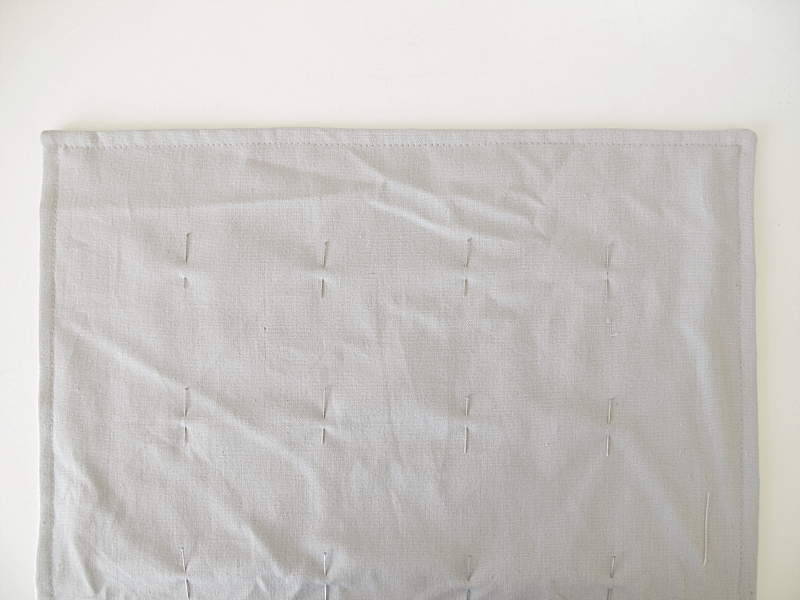
Sew another seam along the edge off the cushion. On the same three sides. Then you want to decide how many “pockets” you want on your cushion. I wanted 5, so I measured the length between the seams and devided it by 5. The number you get is the length between the seams. (Like this: My cushion measured 35,5 cm. I divided that with 5, and that was 7.1cm. Therefore I made my pockets 7.1cm wide). I used needles to show my 7.1 cm mark.

/// Sy en till sömn längst med kanten. På alla de tre sidorna som du sydde på tidigare. Nu ska du bestämma hur många kanaler du vill ha på din dyna. Jag ville ha 5, så jag började med att mäta hur bred min dyna var mellan sömmarna. För att sedan dela den summan med 5. Då får du fram hur breda kanalerna ska vara. (Såhär: Min dyna var 35.5 cm bred. Delade det med 5, vilket ger summan 7.1cm. Alltså gjorde jag mina kanaler 7.1 cm breda). Mäta upp och märk med nålar där du ska sy.

kudde

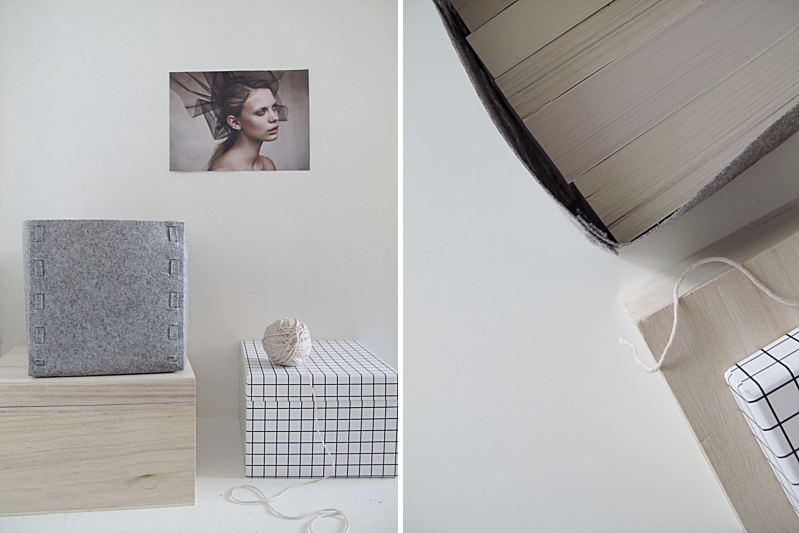
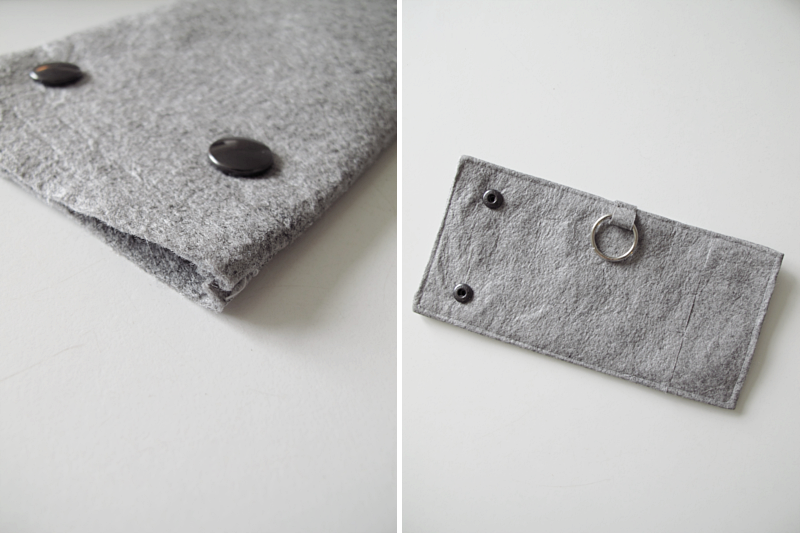
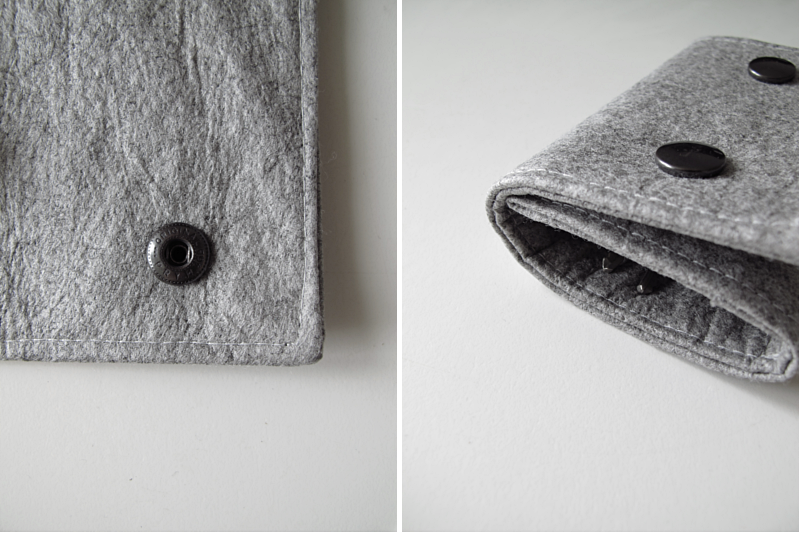
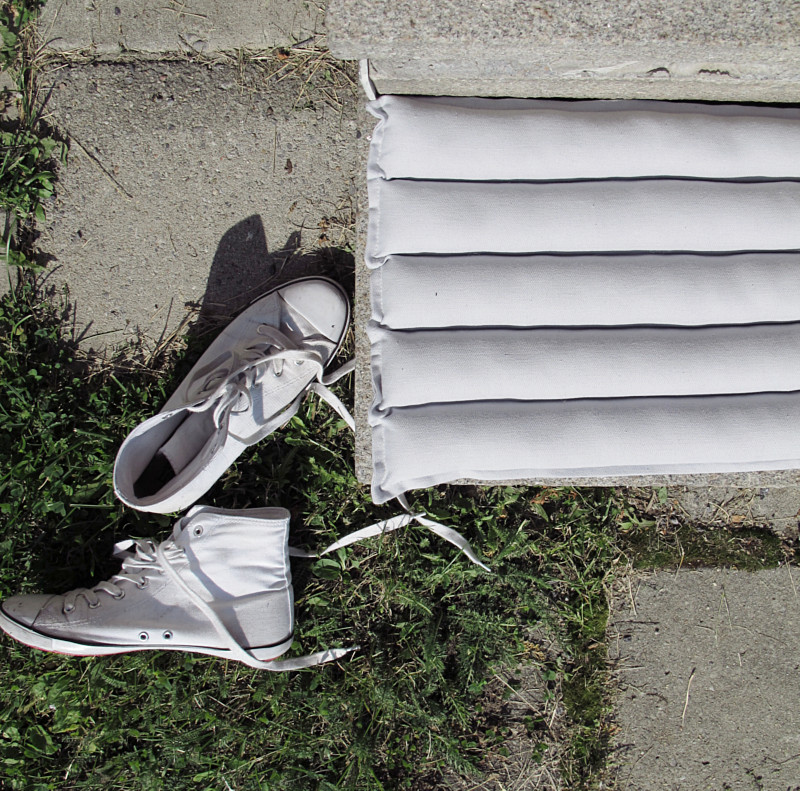
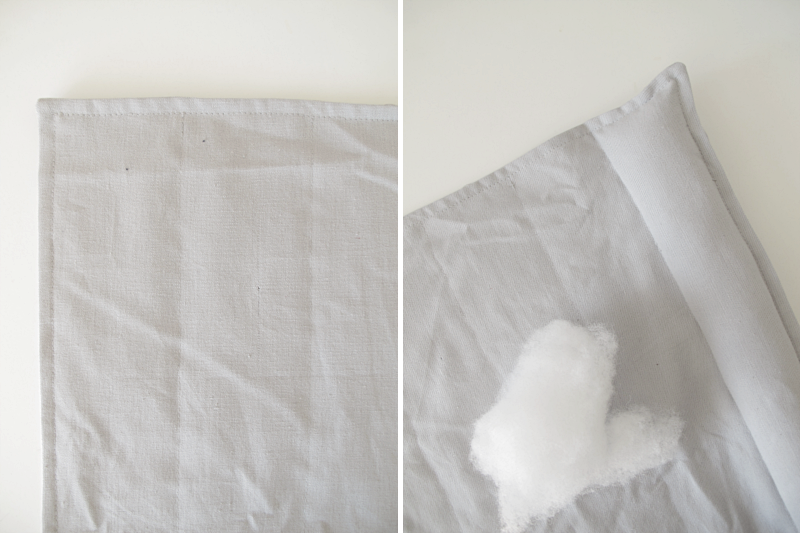
Sew along the needles. Remember to leave a bit on the end of the cushion. So that you have room to fold the excess fabric inwards and make a nice finish. When that is done, you can fill your cushion. Be sure to fill the “pockets” with a lot of stuffing, almost to much. When you´re satisfied with the result, just sew the cushion together.

/// Sy så längs med nålarna. Kom ihåg att inte sy hela vägen ner, då du vill lämna lite rum för att kunna vika in tyget där nere och göra ett fint avslut. När du har sytt färdigt är det dags att fylla din dyna. Tänk på att fylla den lite för mycket så att den blir skön att sitta på. När det är klart så syr du ihop din dyna.

kudde

And you are done!

/// Och du är klar!

kudde

STORAGE BOX

storage

Today I´m going to show you a diy storage box. A diy that requires no sewing or glue. Start with a piece of (“harder”) fabric, that is 48 x 43.5 cm.  Cut the corners off. The pieces you are cutting off, should be 12cm from left to right and 14 cm from the top to the bottom.

/// Idag tänkte jag visa er ett förvaringslåda diy som inte kräver att du ska sy eller limma något. Börja med en bit (lite “styvare”) tyg som är 48 x 43.5cm. Klipp bort hörnen. De bitar som du klipper bort ska vara 12cm från vänster till höger och 14 cm från toppen till botten.

storage

Then cut a 2 cm long cut in all four corners. See the picture where the purple dotted lines shows.

/// Klipp sedan ett 2cm långt jack i de fyra hörnen. Se på bilden var de lila prickade linjerna visar.

storage

Make a template out of paper. 2 cm x 14 cm. This is to help you with the “stiches” that holds the storage box together.  I did my “stiches” 1,5 cm long, and the space between them, the same. ( Here you can decide if you want your “stiches” to be smaller or longer then the ones I did. Just make sure you have enough fabric to finish.)  If you want your box to look like the one I did, make marks at 0.5 cm, 2 cm, 3.5 cm, 5 cm, 6.5 cm, 8 cm, 9.5 cm, 11 cm , 12.5 cm and 13 cm. I wanted the thread to be 0.7 cm wide, so I made a space in the middle of the template 0.7 cm wide.

/// Gör en mall av vanligt papper. 2 cm x 14 cm. Den här mallen ska du sedan använda när du ska göra hål för tråden som håller ihop lådan. Jag ville att mina “stygn” skulle vara 1,5 cm och mellanrummen lika långa. ( Men här kan du själv bestämma hur långa eller korta “stygn” du vill göra. Kolla bara innan du börjar att du har tillräckligt med tyg på slutet). Om du vill att din låda ska se likadan ut som den jag gjorde, så gör du markeringar på 0.5 cm, 2 cm, 3.5 cm, 5 cm, 6.5 cm, 8 cm, 9.5 cm, 11 cm, 12.5 cm och 13 cm. Jag ville att tråden skulle vara 0.7cm så jag gjorde även en markering i mitten av mallen 0.7 cm bred.

storage

Place the template on top of the fabric and start cutting along the shorter lines. You want the cuts to be a tiny bit wider than the thread, otherwise you cant get the thread through.

/// Lägg mallen på tyget och skär längst med de kortare linjerna. Skär dem en liten bit bredare än 0.7 cm så att du får igenom tråden.

storage

Here you can see, that I cut on both sides of the empty space. Now it´s time to make threads out of the fabric. 4 of them and make them about 16 cm long. When you´re done with that, it´s time to put the box together. Start at the bottom and make sure you have the end of the thread on the inside of the box.

/// Här kan du se att jag skurit på båda sidor om kanten. Gör sedan 4 trådar, 0.7 cm breda och ungefär 16cm långa. När det är klart kan du börja trä ihop din låda. Börja i botten och tänk på att ha trådens ände på insidan av lådan.

storage

Gently pull it through the cuts. You can use the tip of a pencil to easier get them through. When you have reached the top of the box, cut the excess part off.

/// Dra så försiktigt trådarna igenom hålen. Jag använde en blyertspenna, utan stift, som hjälp med att få tråden igenom. När du har kommit till toppen på lådan, så klipper du bara av den överblivna delen.

storage

And you are done! As you can see, I had a hard time deciding which thread I like the most. In the first picture I have used two 2mm leather cords and in the tutorial, strips of grey fabric.

/// Och du är klar! Som ni kan se hade jag lite svårt att välja tråd till min låda. Började med tygtråden för att sedan prova med 2 stycken 2mm lädersnören. (första bilden).

storage

COMBINED

diy

diy

This weeks diy is a combined card and keyholder.

1. Make two rectangles out of a thick fabric that doesn´t thread. One 18,5cm x 13cm, and the other 28cm x 13cm.  2. Place the longer piece on top of the smaller one, make sure that the two short sides are in a line. And pin them together.

/// Denna veckas diy är en kombinerad kort och nyckelhållare. 

1. Börja med att göra två rektanglar ur ett tjockt tyg som inte trådar sig. En ska vara 18,5cm x 13cm och den andra 28cm x 13 cm.          2. Lägg den längre rektangeln på den kortare, se till att de vänstra kortsidorna är precis ovanför varandra. Nåla sedan ihop dem.

diy

3. Make a strip of the fabric, 1,5 cm wide and 5 cm long. 4. Slide it through a silver ring, and place the ring between the two pieces of fabric. About 11,5 cm from the left side.

/// 3. Klipp en remsa ur tyget. 1,5 cm x 5cm. 4. Trä den igenom en ring och placera ringen mellan de två rektanglarna. Ungefär 11,5 cm från vänstra kanten.

diy

5. Now it´s time to sew. Sew the two longer sides together (with 1cm seam allowance), and leave the short sides. 6. Cut off the excess part from the ring holder strip, and turn the whole thing inside out.

/// 5. Nu är det dags att sy. Sy ihop långsidorna (med en sömsmån på 1cm), men lämna kortsidorna osydda. 6. Klipp av den överflödiga delen av  remsan som håller i ringen. Vänd den ut och in.

diy

7. Attach the eyelets, 1,5 cm from the edge. (on the upper fabric). How you do that, is written on the back of the box they came in. Make sure to turn them the right way. 8. Then fold the piece of fabric like the picture shows, and pin it.

/// 7. Sätt fast tryckknapparna 1,5 cm från kanten (på de övre tyget). Hur du gör det står på baksidan av förpackningen. Kom ihåg att sätta dem rätt väg. 8. Vik sedan in tyget, precis som bilden visar, och nåla.

diy

9. Attach the buttons. About 4cm from the left. Now your keyholder should look like this.

/// 9. Sätt fast den andra delen av trycknapparna. 4cm från kanten. Nu ska din korthållare se ut såhär.

diy

10. Fold this end of the fabric inwards. 11. And sew a seam around the whole thing.

/// 10. Vik in kanten. 11. Och sy en söm runt hela.

diy

12. And you are done!

/// 12. Och du är klar!

diy

diy

FINALLY IT`S HERE

korthållare

Finally it here. The PDF-file for the card holder I made in this post. Hope you like it! Oh and make sure to change the printer settings to “no border”.

/// Äntligen är den här. Pdf-filen till korthållaren jag gjorde i detta inlägg. Jag vet att ni är många som väntat på den! Och kom ihåg att ändra skrivarinställningen till “ingen marginal”. Hoppas ni gillar!

THREE STRAND BRAID

bracelet

Here´s another braid tutorial. I made a necklace and a bracelet from this diy, but you can pretty much do whatever you like. First take an old top in a stretchy material ( you don´t want the sides to start threading). Cut off the bottom seam.

/// Idag tänkte jag visa er ett väldigt enkelt sätt att göra flätor på. Jag gjorde ett halsband och ett armband. Börja med att leta åt ett gammalt linne eller en topp. Så länge det är i ett stetchigt material. ( Annars kan tyget börja tråda). Klipp bort den nedersta sömmen på linnet.

bracelet

Then cut three strands of fabric. I made mine about 1.5cm on the white one, and about 3cm on the black one. Take three pieces of tape and attach the strands to a flat surface.

/// Klipp sedan tre avlånga bitar av tyget. På den vita gjorde jag bitarna 1.5 cm breda och på den svarta var de 3cm. Ta sedan tre bitar tejp och fäst tygbitarna på en plan yta.

bracelet

Take the strand on the right and turn it a few times. You want to turn if clockwise

/// Ta biten längst till höger och vrid den ett par varv. Du ska vrida den medurs.

bracelet

When you have turned it a couple of times, move it over the other two strands and place it on the left side. Take something heavy, and put it on top of the strand so it will stay in place, and still be turned. Now take the strand to the right and turn that one too. Turn it a couple of times.

/// När du har vridigt den ett par varv, flytta den över de andra två bitarna och lägg den längst till vänster. Ta något tungt och ställ på den snurrade tygbiten. Både för att hålla den på plats, men också så att den inte rullar upp sig. Ta sedan den biten som är längst till höger och vrid den också ett par gånger.

bracelet

Then move that one too, over the other strands and to the left side. And place something heavy on that one too. Then it´s time for the third strand. Turn it a couple of times and..

/// Flytta sedan den också längst till vänster, och ställ något tungt på den med. Nu är det dags för den tredje biten. Vrid den ett par gånger…

bracelet

… move it over the other two strands. And you remember the heavy thing, right? Now just repeat these steps until you have it as long as you want it to be. When you are finished, it´s important that you dont let go of the braid. Hold the strands together and put a tiny dot of glue in the middle and wait for it to dry. Then you take two end pieces and glue them on the ends.

/// … och flytta sedan över den till vänstra sidan. Och du kommer väl ihåg den tunga saken va? Nu är det bara att repetera stegen till du har en så lång fläta som du behöver. När du är klar är det viktigt att du håller ihop de tre bitarna. Sätt en klick lim i mitten och håll ihop dem, tills de har torkat. Sedan limmar du bara på ändknopparna.

bracelet

If you want to make a necklace, like the one I did, you just attach a long chain to the end pieces, and if you´re doing a bracelet, you attach a lock and you are done!

/// Om du vill göra ett halsband som jag gjort, så sätter du bara fast en lång kedja i ändknopparna. Ska du istället göra ett armband så sätter du fast ett lås istället. Och du är klar!

bracelet