Menu Close

Category: DIY – FABRIC (page 2 of 6)

DIY -LINEN POTHOLDERS

diy potholders9

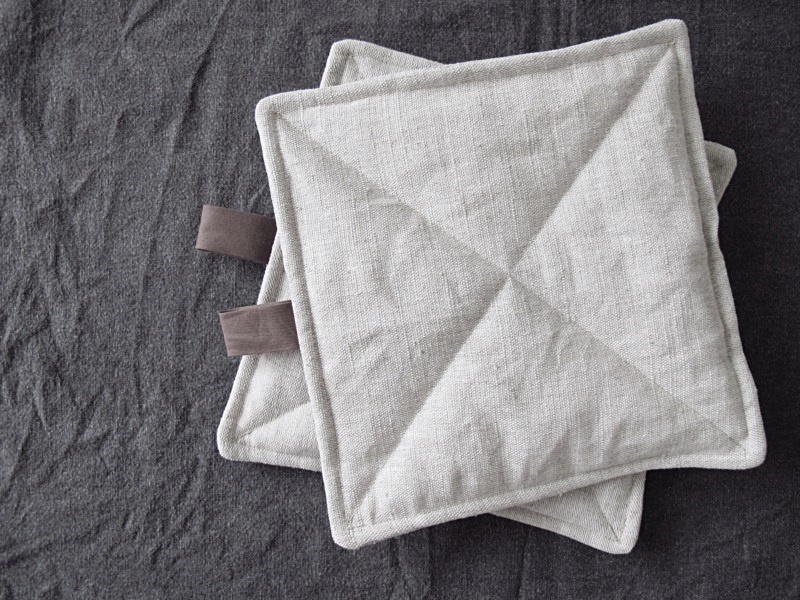
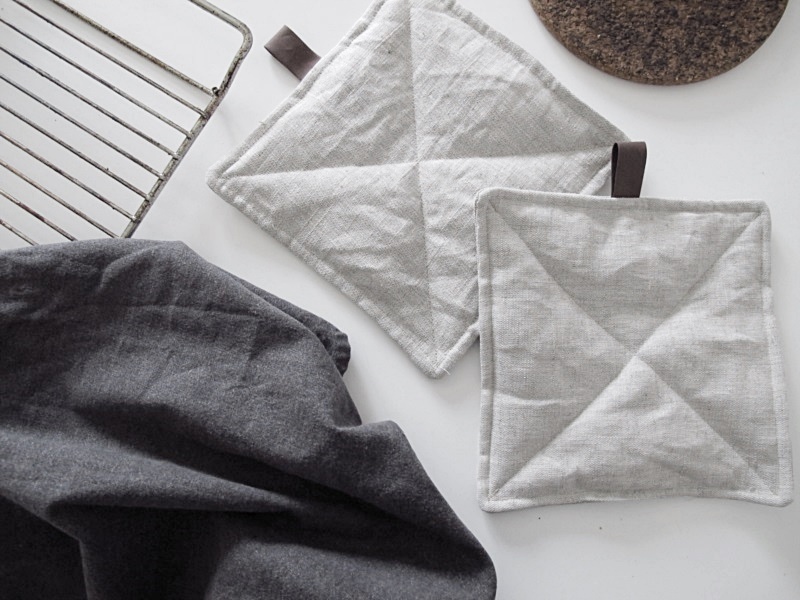
I really like linen, and the combination brown and beige, so that’s what I used when I made these potholders. But I actually used a fabric that was 50% linen and 50% cotton, just because I really like the structure and feel of it.

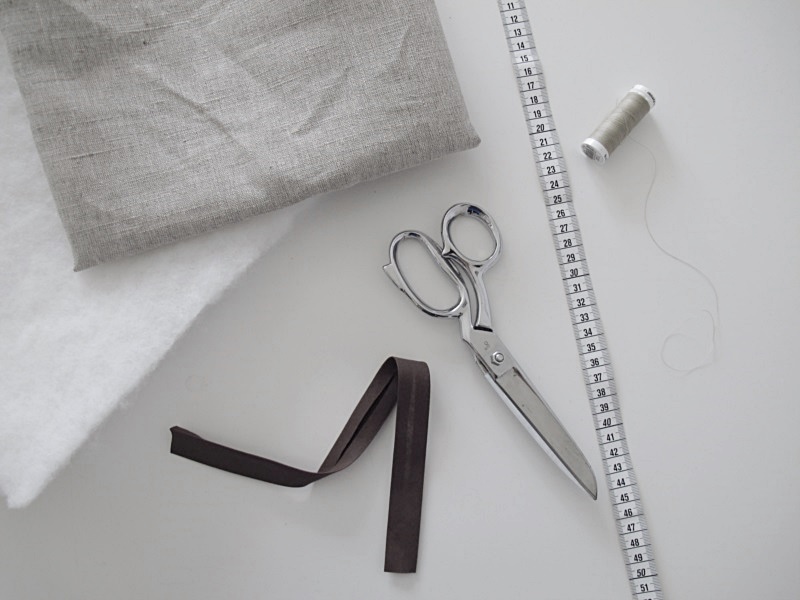
If you want to make your own you need: fabric, batting fabric (I used 130g/m2), binding (2 cm wide), a measuring tape, thread, a pair of scissors, a needle and a sewing machine.

/// Jag gillar linne, och jag gillar kombinationen brunt och beige, så det var det jag använde när jag gjorde dessa grytlappar. Om sanningen ska fram så är tyget faktiskt 50% linne och 50% bomull, bara för att jag gillade strukturen och känslan på tyget.

Om du vill göra likadana så behöver du: linnetyg, vadd ( jag använde 130g/m2), 2 cm brett kantband, måttband, tråd, en sax, nål och en symaskin.

diy potholders1

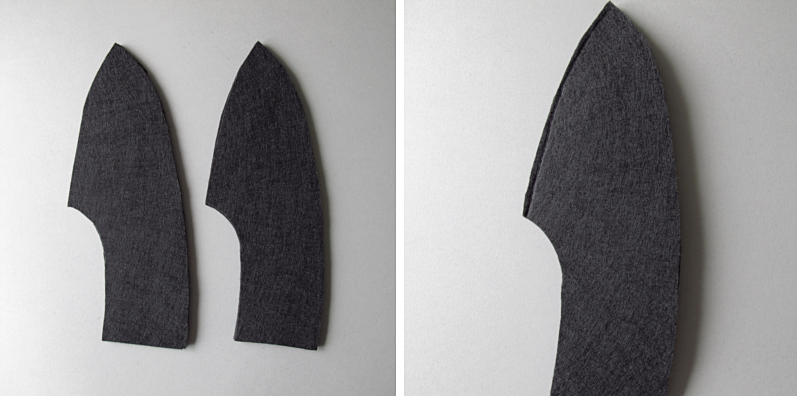
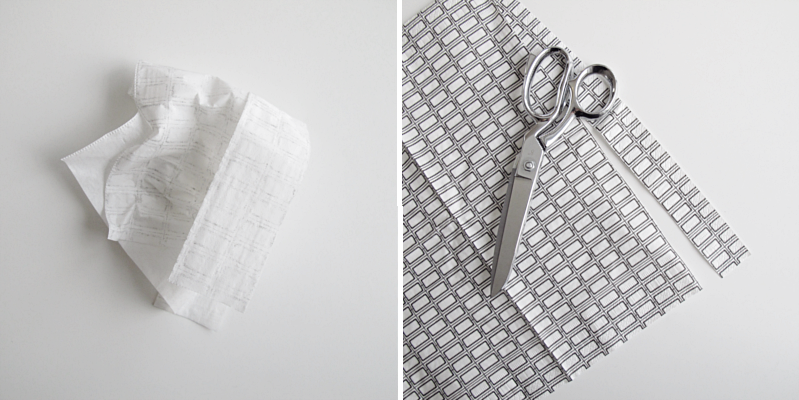
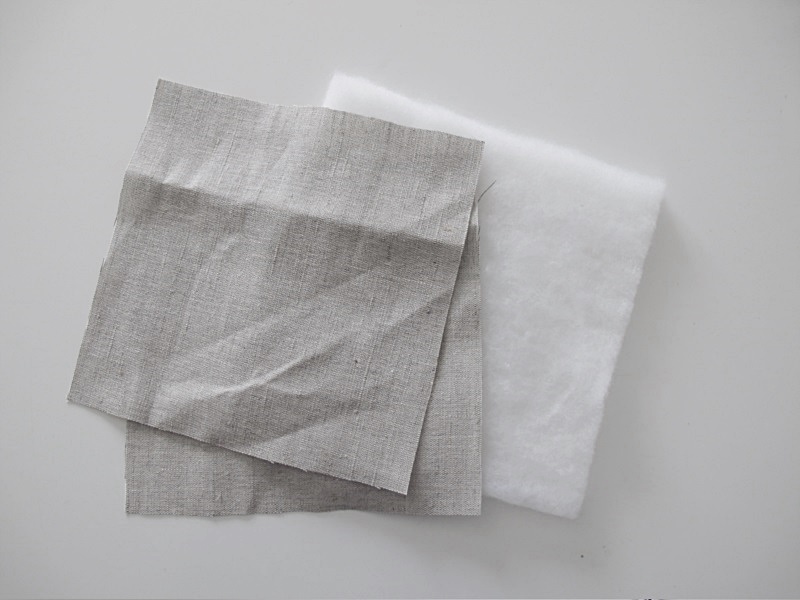
Start by cutting two squares out of the linen fabric, 22x22cm. Then you cut one square from the batting fabric too. Same size.

/// Börja med att klippa ut två fyrkanter av tyget och en fyrkant från vadden. 22x22cm.

diy potholders2

Then you zigzag around the edges of the linen fabric.

/// Sicksacka runt kanterna på de två tygbitarna.

diy potholders3

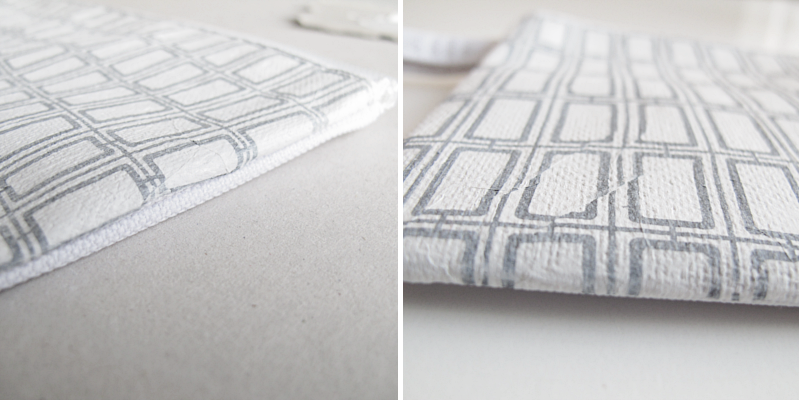
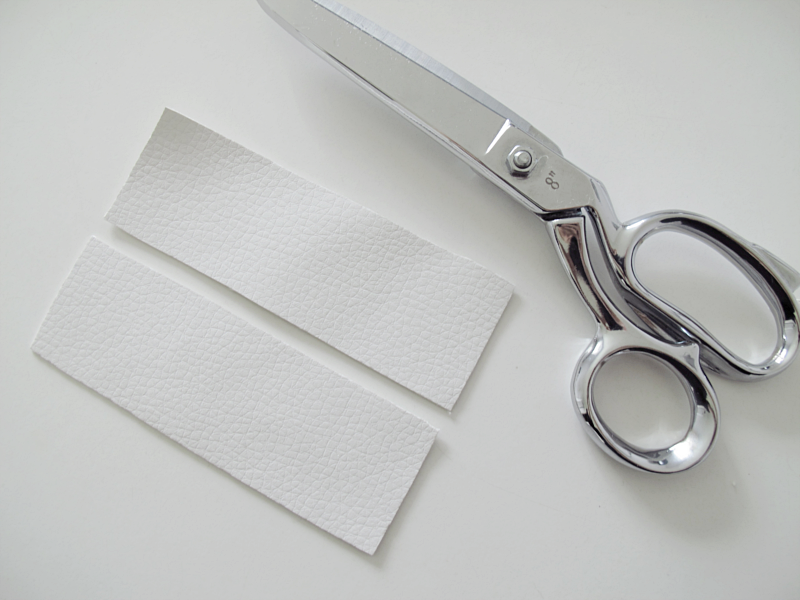
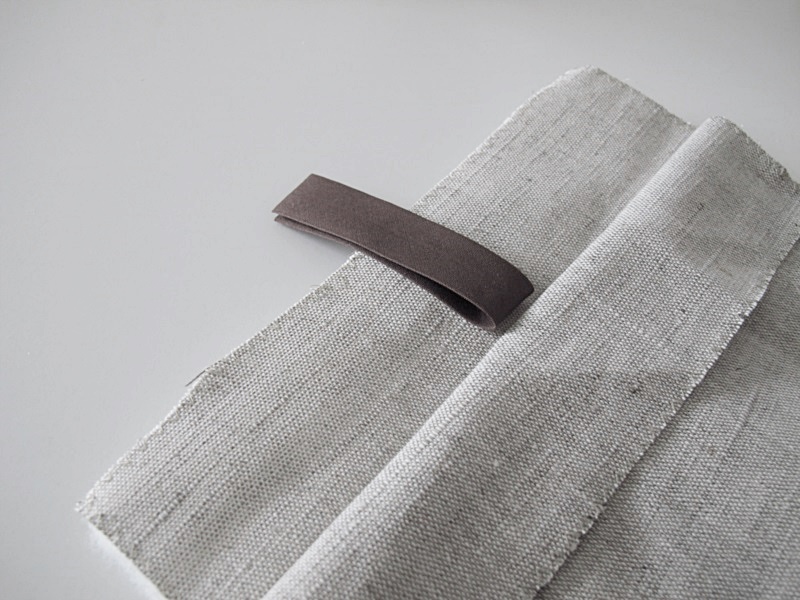
Then you place the batting fabric on a plain surface, and put the two pieces of fabric on top. Fold down the top fabric and place your piece of binding like the picture shows. I used a binding about 12 cm long. Make sure you have 10 cm on each side of the binding.

/// Lägg vadden på en plan yta, och lägg sedan de två tygbitarna ovanpå. Vik sedan ner en bit av det översta tyget och lägg ditt kantband där, som bilden visar. Mitt kantband var ungefär 12cm långt. Se till att du har 10cm på vardera sida av kantbandet.

diy potholders5

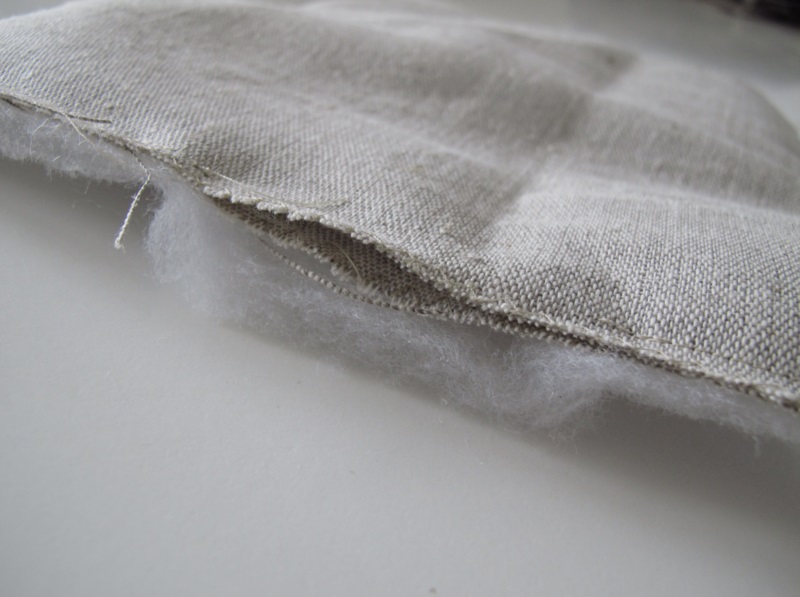
Sew the pieces together using the sewing machine. Put the side with the batting fabric upwards when you sew.  Make sure you leave a small opening at the bottom of the potholder.

/// Sy ihop delarna med hjälp av symaskinen. Ha sidan med vadden uppåt när du syr. Kom också ihåg att lämna en liten öppning längst ner på grytlappen.

diy potholders6

Then you turn the potholder inside out using the opening.

/// Vänd sedan grytlappen ut och med hjälp av hålet.

diy potholders7

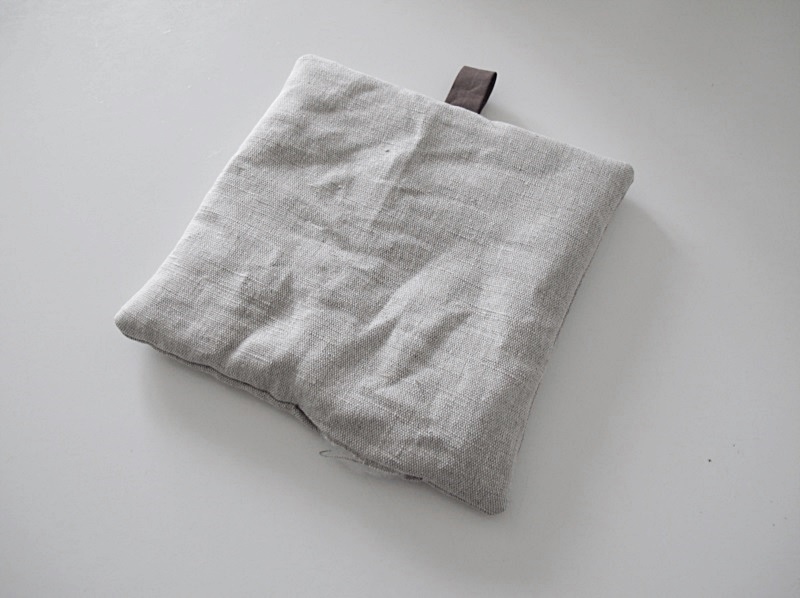
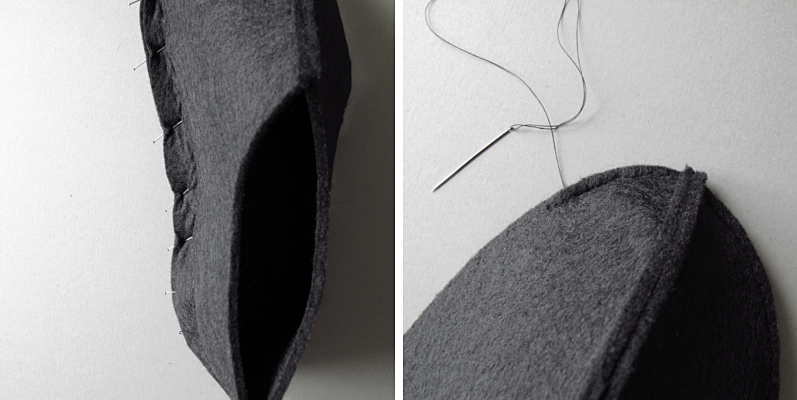
Sew together the opening by hand, and then you sew, using the sewing machine of course ;), a border around the potholder.

/// Sy igen hålet för hand med nål och tråd, sedan syr du ett kant runt grytlappen, med symaskinen såklart ;)

diy potholders8

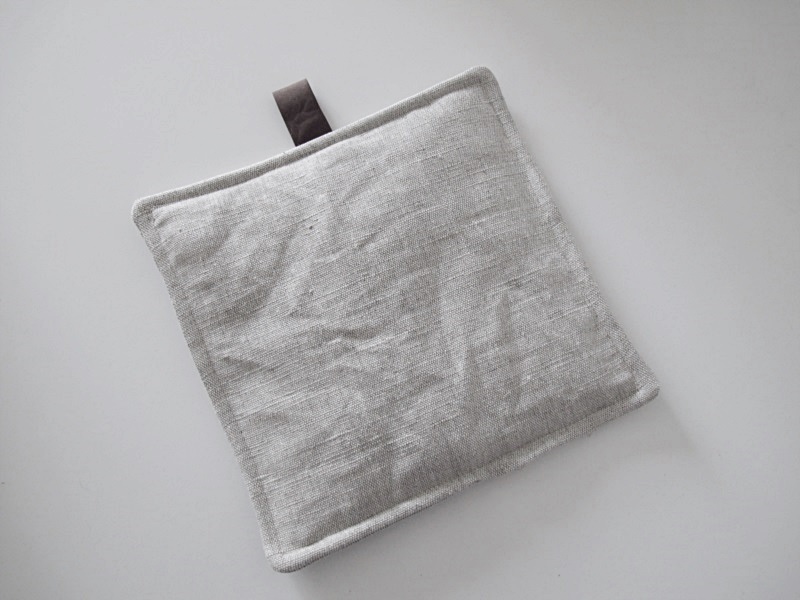
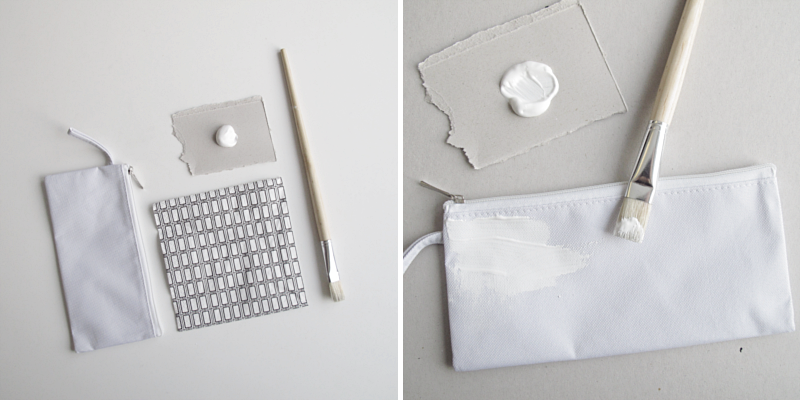
If you want to you can be finish now, or you can sew some pattern on your potholder. I made an X on my. Good luck!

/// Nu kan du vara klar eller så kan du välja att göra ett mönster på din grytlapp. Jag valde att göra ett X. Lycka till!

diy potholders92

DIY – FELT SLIPPERS

tofflor

tofflor

I’ve had a sheet of thick felt for ages without really knowing what to make of it. But then I saw a picture of slippers made ​​out of felt and thought I would give it a try. I used this template. Cut out two soles pieces and four side parts.

/// Jag har haft ett ark tjock filt jättelänge utan att riktigt veta vad jag ska göra av det. Men så såg jag en bild på tofflor i filt och tänkte jag skulle prova. Använde denna mall. Klippte ut två delar sulor och fyra sidodelar.

tofflor

Then I put  the side parts together two and two. And sewed a seam half a cm from the edge, on the side that later on will be above the toes.

/// Sedan la jag ihop sidodelarna två och två. Och sydde en sömn en halv cm in från kanten på den sida som senare kommer att vara ovanför tårna.

tofflor

Then I pinned the side piece to the sole. Started up by the toes and pinned me down. Doing it this way, I notice in time that the side pieces were a bit to long when the fabric meet at the heel. So I just cut them off. When it was finished I sewed the sole. And I finished the slippers by sewing the heel part together. Done!

/// När det var klart nålade jag fast sidodelen med sulan. Började uppe vid tårna och nålade mig nedåt. Här märker man också om sidodelarna är lite för långa sedan när de möts nere vid hälen. Då är det bara att klippa av dem. När det var klart sydde jag fast sulan. Avslutade sedan med häldelen. Klart!

tofflor

I used a 42 x 60 cm sheet. And that is enough for one par of slippers in size 6.5 (england) / 9 (usa) or smaller. The felt is 3 mm thick.

/// Jag använde ett filt ark som mätte 42 x 60 cm och det räcker till ett par filttofflor i storlek 40 eller mindre. Filten är 3 mm tjock.

DIY DECOUPAGE WITH A TWIST

diy

Today’s diy is a decoupage-diy. But in a slightly different way. With white fabric paint instead of a special decoupage lacquer. You need a toilet bag or pencil case (or whatever you might want to decorate) made out of white fabric, a napkin with a pattern that you like, a brush and of course the fabric paint. Start by painting one side of the pencil case with the white color. You may need to put a protective paper on the inside of your pencil case, depending on how thick the fabric is, so that the paint does not flow through.

/// Dagens diy är ett decoupage diy. Men på ett litet annorlunda sätt.  Nämligen med vit textilfärg istället för ett speciellt decoupage lack. Du behöver en necessär eller pennfodral (eller vad du nu kan tänkas vilja dekorera) i vitt tyg, en servett med ett mönster som du gillar, en pensel och så textilfärgen förståss. Börja med att måla ena sidan av pennfodralet med den vita färgen. Du kanske behöver lägga in ett skyddande papper på insidan av ditt pennfodral, beroende på hur tjockt tyget är, så att färgen inte rinner igenom.

diy

Take one of the napkins and fold it out. Then remove the back of the napkin so that you only get the thinnest piece with the patten left. I also chose to cut off the edges of the napkin. You know the part with the small “bumps”.

/// När det är klart tar du en av servetterna och viker ut den. Ta sedan bort den bakre delen av servetten så att du bara får den tunnaste framsidan kvar. Jag valde också att klippa bort den lite “knottriga” ytterkanten på min servett.

diy

Gently place the napkin on top of the paint. Try to make it as wrinkle-free as you can. Then take the brush and gently paint another layer on top of the napkin. At the same time you can use the brush to straighten any wrinkles in the tissue.

/// Lägg så försiktigt servetten på den målade sidan. Försök att lägga den så slätt du bara kan. Ta sedan pensel och måla försiktigt ett lager till med färg ovanpå servetten. Nu kan du även släta till eventuella rynkor i servetten.

diy

Be sure to really paint the napkin into all the corners and edges. Then let the pen case dry and do the same on the other side. Let it dry again, and you’re done! On the last picture you can see how the case looks when it dry. The wrinkles has become a pattern, but is  no longer “standing”.

/// Var noga med att verkligen måla in servetten i alla hörnen och i kanterna. Låt så pennfodralet torka och gör likadant på andra sidan. Låt den torka igen, och du är klar! På den sista bilden ser ni hur fodralet ser ut när det torkat. Rynkorna har blivit ett mönster men “står” inte längre upp.

diy

DIY – BLACK MARBLE TOTE BAG

marble marble

My first attempt to make marble, ever. But I’m happy with the result. I used a black tote bag, a small brush, protective plastic and white fabric paint for light colors (that’s what I had at home, but I thought it worked well.) Used the plastic inside the bag so that the color wouldn’t “wander off”. Then I googled on black marble to get a reference image. After that I just started painting… A bit scary I must say, and therefor I missed  to take during pictures.

/// Mitt första försök att göra marmor, någonsin. Men jag är nöjd. Jag använde en svart tygväska, en smal pensel, skyddsplast och vit tygfärg för ljusa färger (det var det jag hade hemma, men jag tyckte det fungerade bra.) Började med att stoppa in plast inne i väskan så att färgen inte skulle rinner igenom. Sedan googlade jag på svart marmor för att få en referensbild. Och så var det bara att börja. En aningens läskigt, därför missade jag helt att ta några medans bilder, men så här blev det iallafall.

marble

(one of my reference images)

DIY LEATHER KEY HOLDER

nyckel

Today’s supereasy diy is a leather key holder.

/// Dagens superenkla diy är en nyckelring i läder.

nyckel

Cut two rectangles out of the leather.

/// Klipp två rektanglar av lädret.

nyckel

Glue them together with some textile glue and make a hole in one end.

/// Limma ihop dem med textillim och gör ett hål i ena änden.

nyckel

Cut the corners in a round shape and slide a chain through the hole, a key, and another piece of leather and you are done!

/// Runda hörnen och trä en kedja genom hålet, nyckeln och en till bit av läder och du är klar!