Menu Close

Month: June 2016 (page 3 of 4)

FRIDAY AND A NEW CATEGORY

Before I shut down my computer for the weekend I thought I should introduce you to a new category on the blog. Kind of a mini sweep of my favorite items, news or thoughts from the past week. Hope you like it!

/// Innan jag stänger av datorn för helgen så tänkte jag introducera er till en ny kategori på bloggen. Lite av ett mini-svep av mina favoritprodukter, nyheter eller bara tankar från den senaste veckan. Hoppas ni gillar!

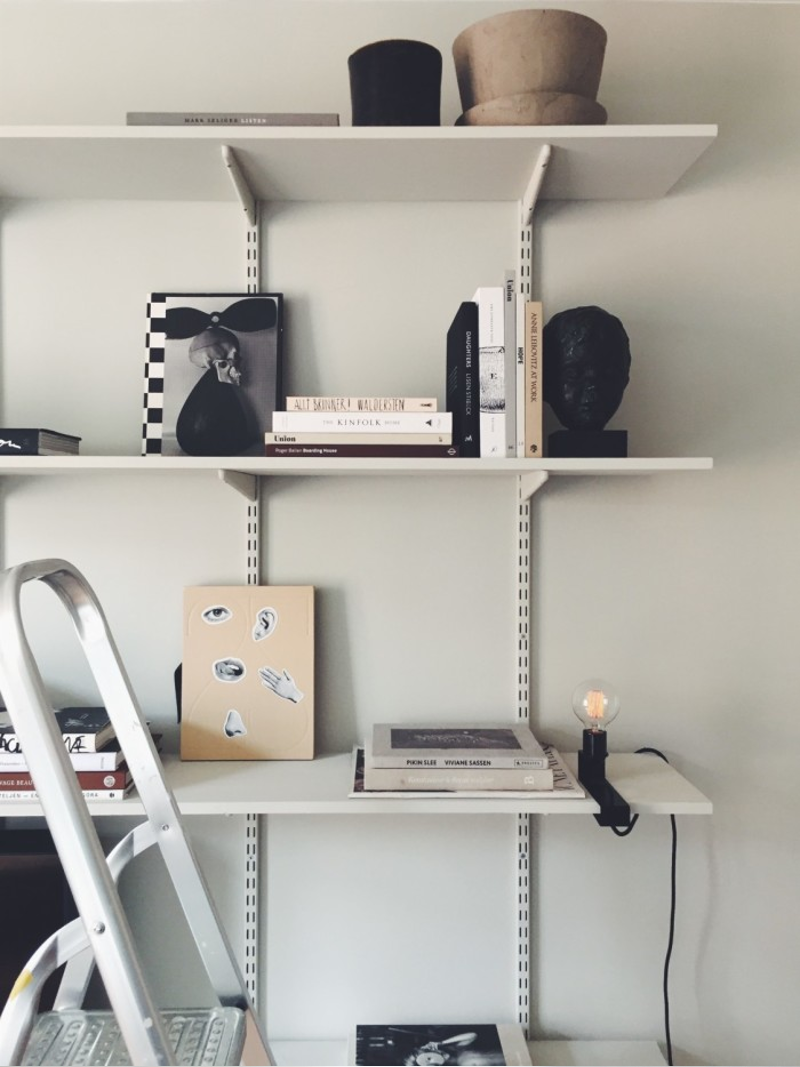
First up is my excitement about interior stylist Josefin Hååg’s move to her new apartment. And all the small glimpses she shows us on her blog or on instagram. It looks great and I love the  stories she shares about the process, but for every picture posted, I just want to see more and more..

/// Först ut är inredaren Josefin Hååg’s flytt till nya lägenheten. Alla bilder hon visar både på bloggen och på instagram och de små berättelserna hon skriver om själva processen är så fina, men gör mig bara sugen på att se mer och mer..

josefin

Josefin Hååg

Next up is the news about HAY and Tom Dixon’s collaborations with IKEA. For me Tom Dixon is about copper and brass, and I’m eager to see how he’ going to combine that with Ikea, or if he make something completely different.

/// Sedan har vi nyheten om HAY och Tom Dixon’s samarbeten med IKEA. För mig är Tom Dixon koppar och mässing och det ska bli intressant att se hur han kombinerar det med IKEA. Eller om han gör något helt annat.

hay

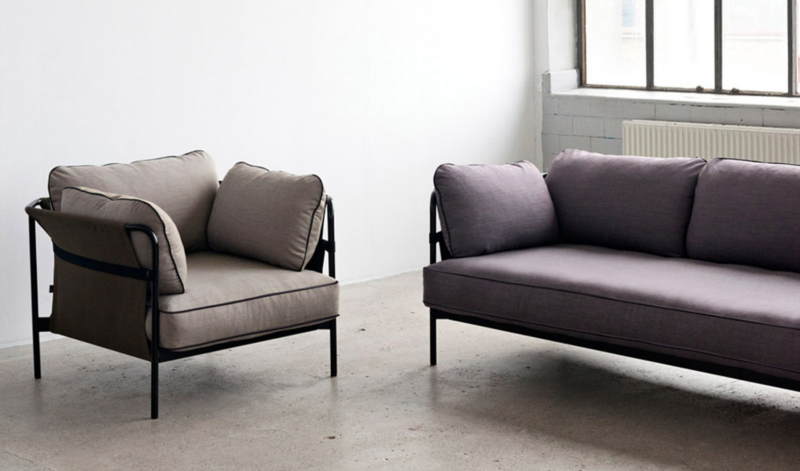
Bouroullec sofa from Hay

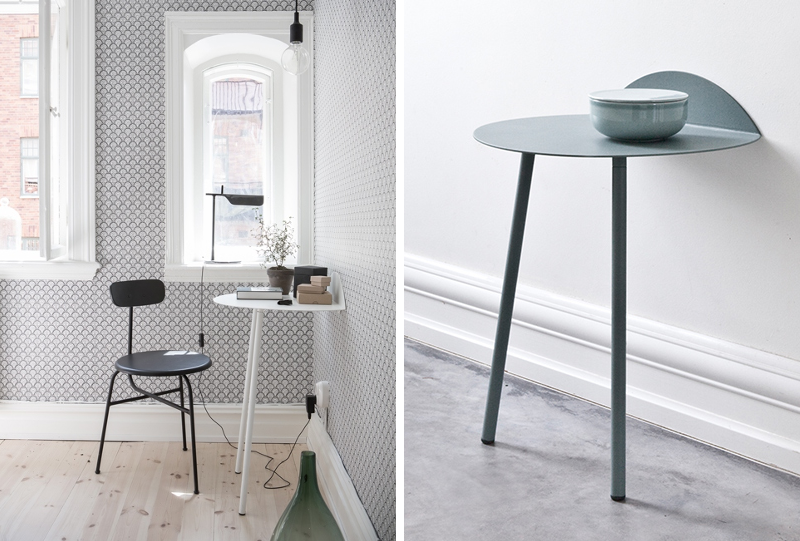
This small workspace with Yeh wall table by Kenyon Yeh for Menu. Big is not always better.

/// Denna lilla arbetsplats med Yeh wall table av Kenyon Yeh för Menu. Hur fint som helst, och en smart lösning om utrymmet inte riktigt finns.

workstation

Alvhem / Dezeen

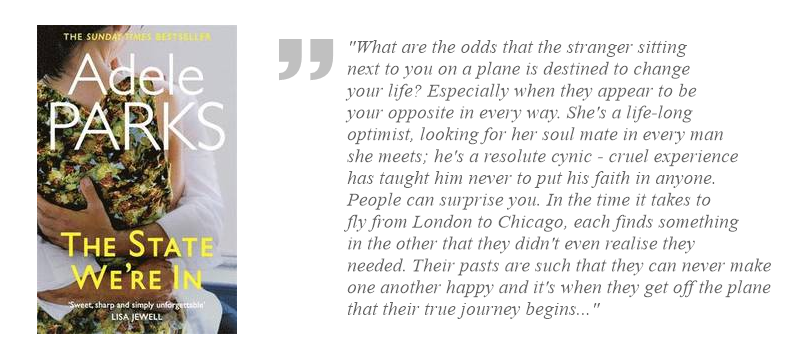
A last but not least, his book. I read Adele Park’s “The state we’re in” this week, and books usually don’t make me cry, but this did.. And I don’t really know if I like it or not. Have any of you read it? What did you think?

/// Och avslutningsvis denna bok. Jag läste Adele Park’s “Främlingar” häromdagen och den “stannade” kvar efter att jag läst den klart, både på ett bra och dåligt sätt. Och jag vet inte riktigt om jag gillar den eller inte.. Har någon av er läst den? Vad tyckte ni? 

adele

Hope you have a great weekend!

/// Trevlig helg på er!

INSTAGRAM FAVORITE #15

cjhendry

cj_hendry. So much talent! I want to be like her.

/// cj_hendry. Vad hon kan! Min absoluta favorit.

CHRISTIAN AND BJÖRN

christian

christian

christian

christian

christian

The beautiful home of the founder of Artilleriet, Christian and his husband Björn. More pictures in the latest issue of Residence (#6)

/// Slägg dig i väggen fint hemma hos Artilleriet’s grundare Christian och hans Björn. Mer bilder och historien bakom finns i senaste numret av Residence (#6)

fo: Residence / Kristofer Johnsson / Styling: Lotta Agaton

DIY – PAPER PEN HOLDER

penholder

Todays diy is really simple, but I still love the look of the pen holder. Depending on from which angle you’re looking it sometimes feel like it is going to fall over, but it doesn’t.

For this you will need:

→ A piece of thicker paper (carton)
→ A pencil
→ Eraser
→ Ruler
→ Glue
→ A pair of scissors.

/// Dagens diy är verkligen jätteenkelt att göra, men jag gillar verkligen hur penhållaren ser ut. Beroende från vilken vinkel man tittar så känns det ibland som att den ska tippa över, fast den inte gör det.

Till detta behöver du:

→ En bit hobbykartong
→ En blyerts
→ Sudd
→ Linjal
→ Lim
→ Sax

How to:

Start by cutting out a piece of the carton with these measurement.

/// Börja med att rita upp och klippa ut en figur ur kartongen med dessa mått.

penholder

Then you fold along the lines (except the one that is 8.5 cm long).

/// Vik sedan längs med alla linjer (förrutom den som är 8.5 cm)

penholder

Erase all the pencil marks.

///Sudda bort alla blyertsstreck.

penholder

Put some glue on the pieces that are 1 cm wide. Start with the bottom, and then the side. (You might want to cut off some of the carton on the 1 cm piece that are at the side, depending on which kind of paper you are using..)

/// Sätt lim på delarna som är 1 cm breda, och tryck sedan ihop botten först och sedan sidan (Här kanske du också behöver klippa bort lite av 1 cm- fliken som är på sidan beroende på hur tjockt papper du använder..)

penholder

penholder5

And you are done!

/// Och du är klar!

penholder
penholder

DIY – CORK TRIVET

kork5

I’ve seen alot of trivet diy’s with this kind of thin cork, but I wanted to make it a bit different, so I decided to make it with a braided pattern.

For this diy you will need cork, a pair of scissors, a ruler and glue.

/// Jag har sett ganska många underläggs-diy’s med denna rullbara kork, men jag ville försöka göra det lite annorlunda så jag bestämde mig för att göra ett flätat mönster på mitt.

För detta diy behöver du: rullbar kork, en sax, en linjal och lim.

kork

Start by cutting the cork into 1 cm wide strips. I made mine 16cm long and I used 25 pieces, but if you want a bigger trivet just make them longer and more of them.

/// Börja med att klippa korken i 1 cm breda och 16 cm långa bitar. Jag använde mig av 25 stycken allt som allt, men om du vill göra ditt underlägg större så klipper du såklart längre bitar och fler.

kork1

Then you glue the first row like the picture shows.

/// Limma sedan ihop bitarna som bilden visar.

kork2

Then you thread another piece of cork again like the picture shows. And another one.. Don’t glue them into place yet, because as you go you can make the braiding tighter and tighter. But be careful with the cork so it doesn’t brake.

/// Sedan tar du en till bit och trär in den, också här som bilden visar. Och så fortsätter du så… Men limma inte dem på plats ännu för ju mer man flätar ju tajtare kan man göra underlägget, men vad försiktig så inte korken går sönder.

kork3

Continue like this until you reach the other end. Here I ended up cutting off a piece of the ends of the cork, because I wanted to finish with a horizontal strip. Then you glue the ends of the strips togehter.

I also cut four thin strips and glue them on all sides of the trivet to get a nicer finish. And you are done!

/// Fortsätt så tills du kommer till anda sidan. Här fick jag klippa bort lite överflödig kork, för jag ville avsluta med en vågrät bit. Nu kan du också limma ihop ändarna på bitarna.

Jag klippte även fyra tunnare bitar och limmade fast dem på kanten rund, för att få ett fint avslut. Och nu är du klar!

kork4